
When you don’t run a carbureted bike for a while and it runs rough or won’t idle, it’s probably because the slow jet is clogged. It’s not from dirt or contaminants getting into the fuel; it’s from the fuel itself. The fuel congeals when the bike sits for an extended period (we’re talking months here), the jet clogs, and your bike just won’t idle or run well at small throttle openings. That often occurs if you let your bike sit over the winter. One way to potentially avoid this is to close the petcock and run the bike out of fuel when you’re done riding. I don’t do that, though, mostly because I don’t want to let the bike idle for an extended period and, truth be told, I’m lazy.
I wrote the CSC maintenance tutorials for the TT250, so I had a bit of a leg up doing this myself on my TT250 when I had the problem recently. I hadn’t ridden my TT250 in a few months, it was hard starting and I couldn’t get it to idle when I finally did get it to start. I knew what was going on immediately: It was the slow jet clogging. All carbed bikes will do this (it’s not a problem unique to the TT250).
Everything I’m showing you here is right out of the CSC TT250 carb maintenance tutorial. That tutorial covers everything about the carb. This blog is specifically focused on cleaning the slow speed jet to address the idling and slow speed roughness issue.
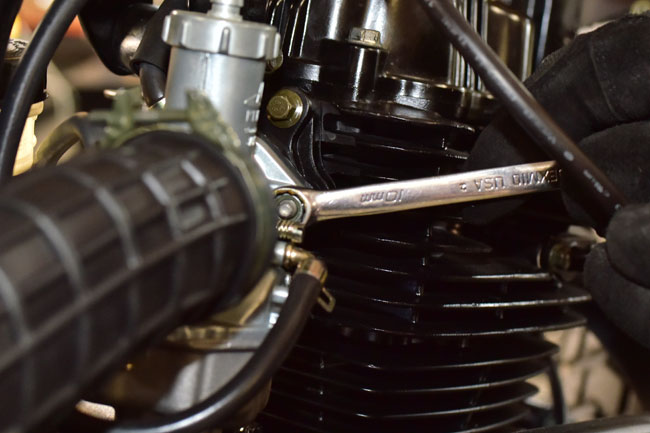
I find the best way to do this is to pull the carb off the engine. To do that, you’ll need to remove the bike’s side panels. Close the fuel petcock and remove the fuel line from it to the carb (you’ll spill a little gas, so don’t do this around open flame or heat). Like a lot of maintenance actions on modern motorcycles, half the job is just removing stuff that’s in the way first.

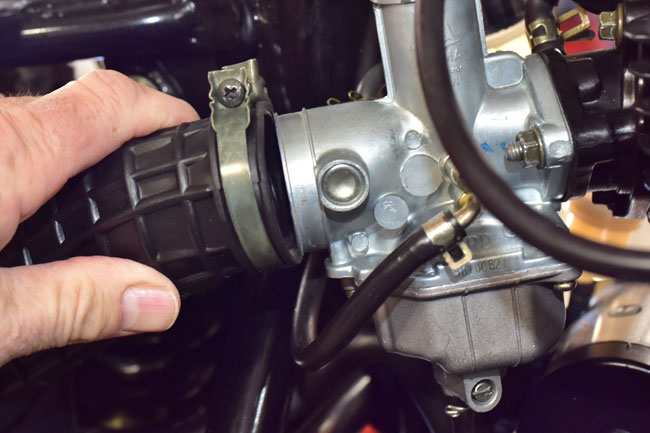
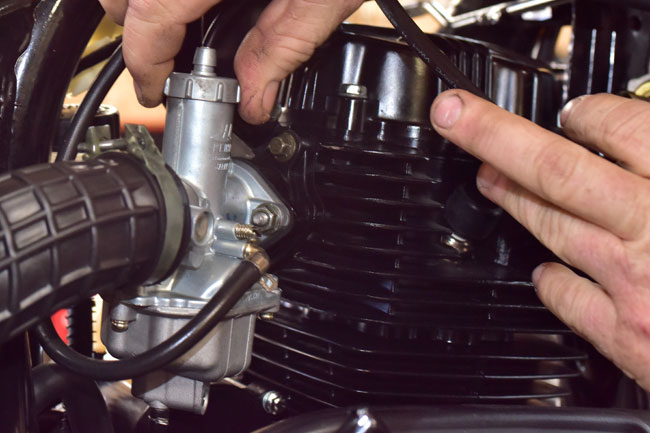
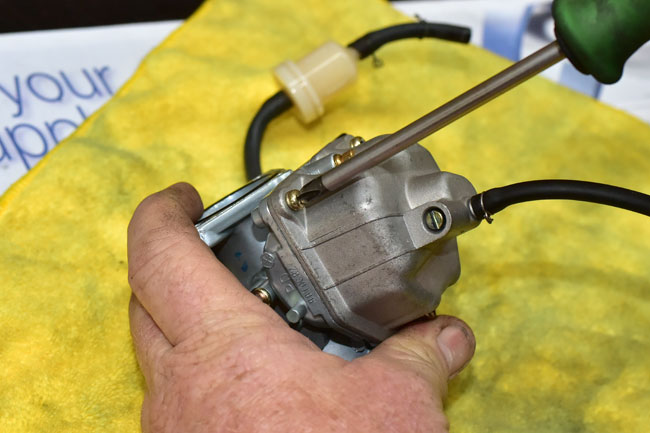
At this point, you can remove the carb from the bike, and then the float bowl from the carburetor. This will provide access to the jets. Some folks might think that you can remove the float bowl with the carb still on the bike, but I’ve not found a way to do that. It’s best to do it the way I describe here.
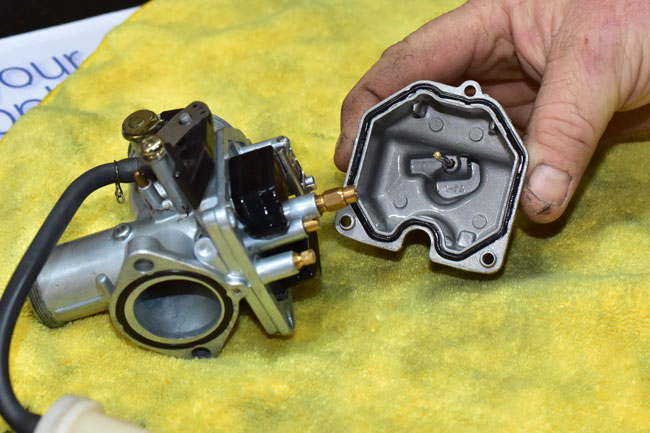
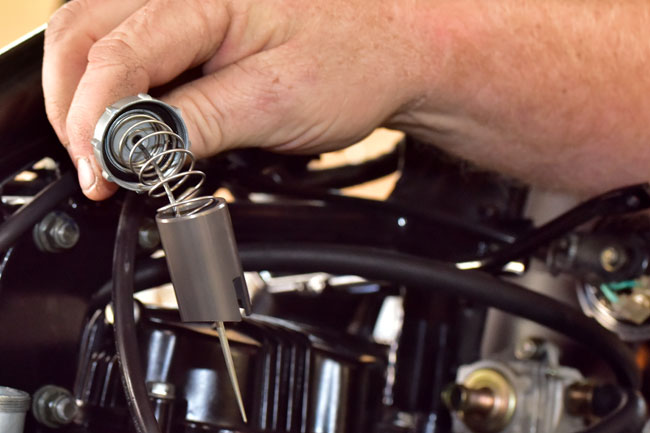
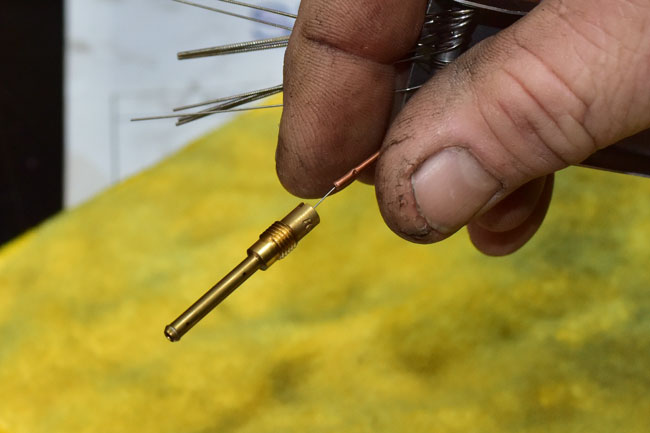
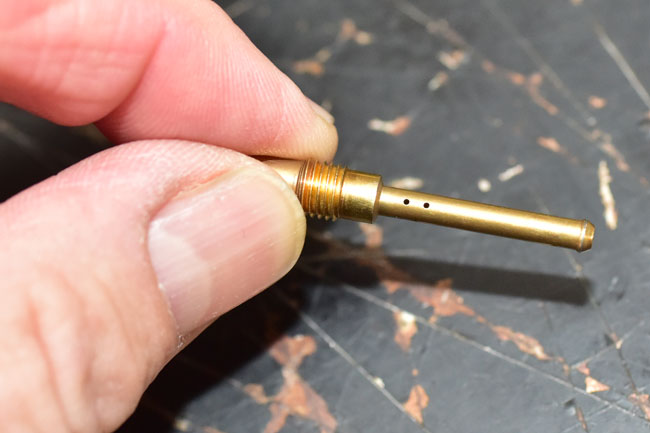
After have removed the float bowl, you’ll be able to see the jets. The one we’re interested in here is the slow jet. Remove it with a flat-bladed screwdriver.
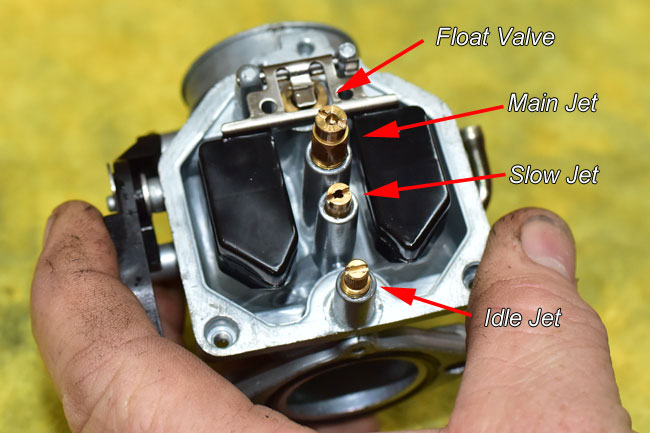
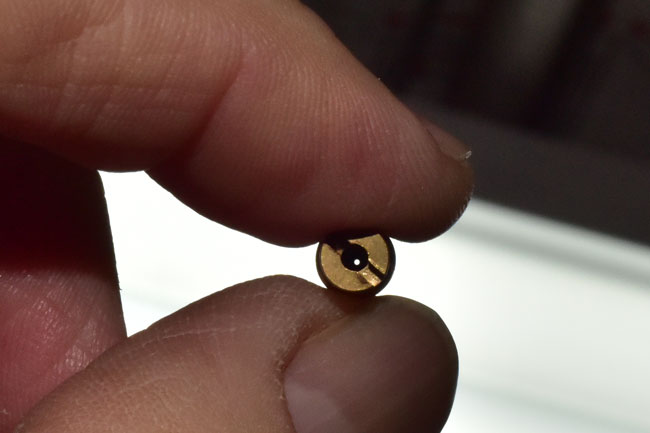
After removing the slow jet, clean it thoroughly. This involves cleaning all the orifice holes on the sides of the jet, and the main hole through the inside diameter of the jet. You need to use a thin wire to do this. Just blowing it out with carb cleaner or WD 40 won’t dislodge the tiny bits of congealed fuel. There are tools to do this (CSC Motorcycles sells them). I used a small diameter brass wire and it got the job done.
Once the slow jet is clean, reinstall the jet in the carb. There’s no adjustment here; just screw it in taking care not to overtighten it.
After you’ve done the above, assembly is the reverse of disassembly. Your bike should start easily, idle, and run well at small throttle openings.