By Joe Gresh
As you may recall from an earlier Buell episode, the Buell’s underslung rear shock absorber lost most of its fluid and the back half of the Buell became more like a pogo stick. I’m not too picky about suspension action. I don’t fine tune a motorcycle suspension. Maybe crank up the preload or turn a compression knob if I’m bored but I can hardly tell the difference. If the bike goes over bumps without see-sawing and doesn’t bottom out too frequently I’m good to go. The Buell was hobby-horsing like an old Chevy station wagon toting a load of sweaty teenagers across some railroad tracks. The bouncy rear end of the Buell was just too much of a distraction even for a rider with my unrefined skills.
The rear shock on Buell tubers is quite a story in itself. I’ve researched on the internet (like I do for all medical questions) and I’m not 100% sure I’ve got the story straight but here goes: the first shock mid-90’s Tubers came with was a White Power made unit that was recalled at some point. Apparently the shock eye could break, the rear suspension would collapse and the engine/muffler/shock would hit the ground. As you can imagine, if this happened while riding along at 80MPH things could get dicey.
The second recall Showa shock is the one my Tuber came with and checking with Harley (they still have records), mine was replaced under the recall. In fact my Tuber had several unrelated recalls done, like 23-odd recalls. Early Buells had a few teething issues. The previous owner kept up on that stuff and my Buell had all the recalls done except a warning sticker. The two shocks look completely different, White Power being open spring and the Showa with a non-decorative, chrome steel cover that also serves to compress the spring in use.
A third recall shock is kind of shrouded in mystery. Again, it’s totally different in appearance and quite a bit shorter. I noticed the shock eye area is much more substantial than my Showa. I think this third shock went on later model Tubers, and the steel mount on the front of the engine is different. But I could be wrong.
Of course none of this matters to the problem at hand: a leaking shock. Even as a recall the Showa is probably 25 years old, and sitting right next to the muffler can’t help its lifespan.
I had a few directions to go with the shock. I could buy a used shock for around $350. I could buy a new, aftermarket shock for around $1000 or I could rebuild the existing shock. If you can find one, a new old stock Showa would set me back $700-$800 and be 25 years old. Sitting in the box the seal might be bad.
My thoughts were a used shock could start leaking as soon as I hit the first bump. A new aftermarket shock is appealing but no way am I buying a $1000 shock absorber for a $3000 motorcycle. And I couldn’t find a NOS Showa. That left rebuilding the existing shock.
Back to the internet and I couldn’t find any information on rebuilding the Showa shock. Like zero. I decided to try and rebuild the shock myself. There are a few problems with that approach. The first is the lack of information. How does the shock come apart? How much oil goes in? Does the remote reservoir need to be recharged? Where do I get seals? I found nothing. I went on Buell pages and all the hive mind could come up with was: send it out to be rebuilt or buy a new one.
The Universe was trying to tell me something but who listens to that old bag?
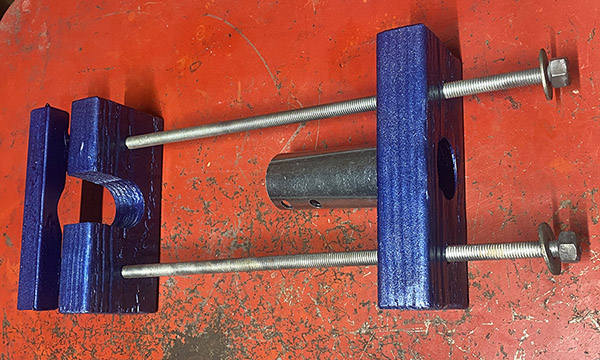
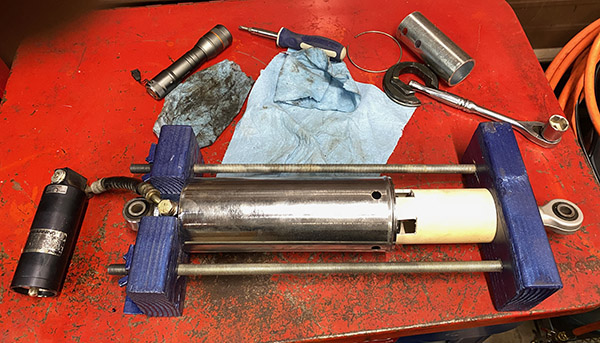
To get the Showa apart you’ll need a spring compressor. With the spring under a shroud the normal compressor that grabs the coils won’t work.
Finding no information on a Buell spring compressor I knocked one up out of 2x4s and all-thread. The compressor only has to squeeze the spring 1/2-inch or so to allow removal of a large internal ring. This ring holds most of the spring followed by a smaller spring on the shock body.
Once the spring is out of the way you’ll need to remove the shock eye. The eye is slathered in thread locker so it’s a battle to remove. After the eye is out of the way there are a couple more threaded bits to remove.
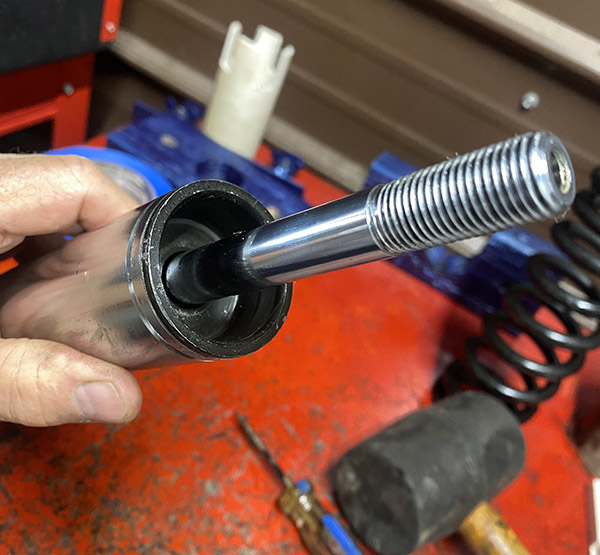
Now that the shock shaft is clear of obstacles the little bumper cup is a light press fit and a few boos with a sharp screwdriver will get it loose.
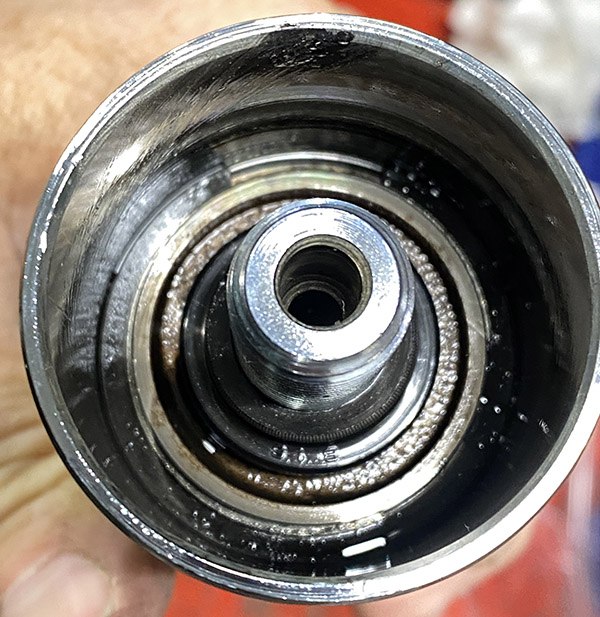
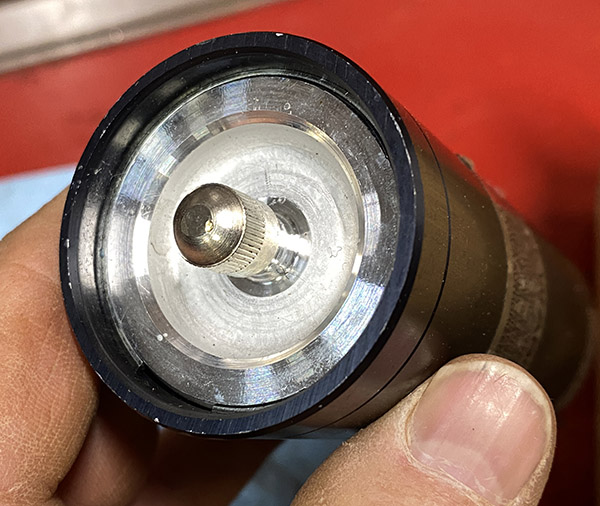
And that’s as far as I got. Holding the seal in the shock body is another internal ring that snaps outward into the body. I couldn’t figure out how to grasp that ring. Maybe you push the seal down further into the shock body to access? Once I got it apart how much oil goes back in? How do I charge the nitrogen canister?
I was pretty over the Buell shock at this point so I sent the remains of it to Applied Technology in Colorado. This was an expensive decision. $500-plus dollars later and several progressively more desperate e-mails and phone calls I had my rebuilt shock in hand. Apparently the shock was fixed the first week I sent it in it became misplaced. The thing sat there a few weeks before I convinced someone to go look for it.
In Applied Technology’s defense the price would have been the same if I sent the entire shock back. I didn’t need to dismantle the thing.
All water under the bridge. The rebuilt shock works like you would expect: no pogo, less bottoming out (I need to crank up the compression damping) and no oil leaking out of the chrome surround.
Still, my curiosity is not sated. Deep down, I think I should have tried harder to rebuild the shock. Maybe find a generic seal, figure the capacity using the volume of the shock and the reservoir, and plain old air has plenty of nitrogen (would it matter that much?).
I’m such a quitter. Next time the Buell shock pukes its guts I think I’m going all-in. The not knowing and the $500 hole in my wallet must be avenged!


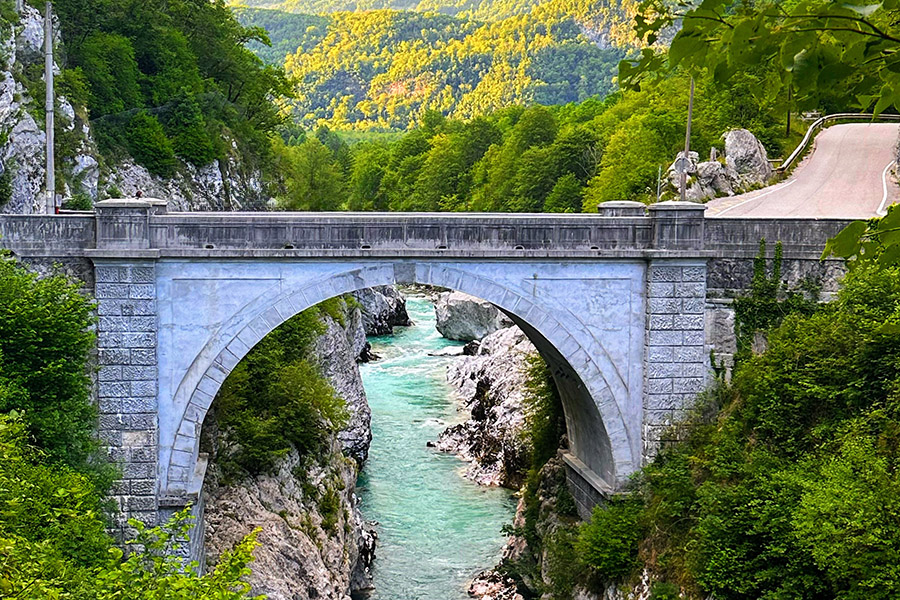
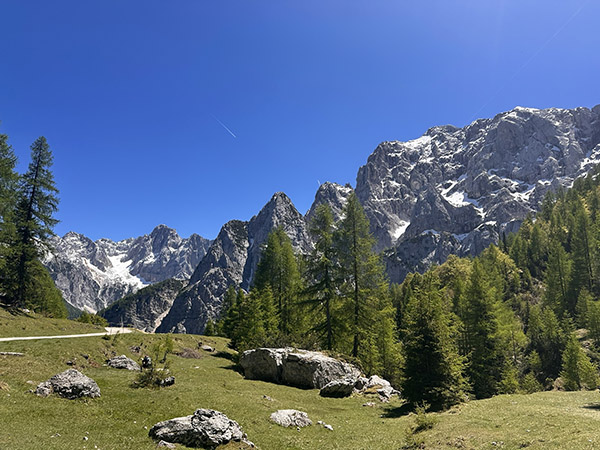 In mid-May 2026, Tom and I set out on a five-week trip through four countries, with a week of sailing folded into the middle of it. I had been to Bled, Slovenia, by motorcycle once before, but the weather had shut me out of the Julian Alps that time, so the high country stayed a rumor I never got to see.