The Model 1917 saga continues. After looking for a variety of ways to replace the front sight with something shorter (the gun shoots low with most every load except the hardball government load, which is probably what these guns were regulated for), I found one in Dawson Sights. But it wouldn’t look authentic, and I wanted this pistol to look like the ones issued to the Army in World War I and II (the color case hardening, highly polished blue, and fancier grips notwithstanding).
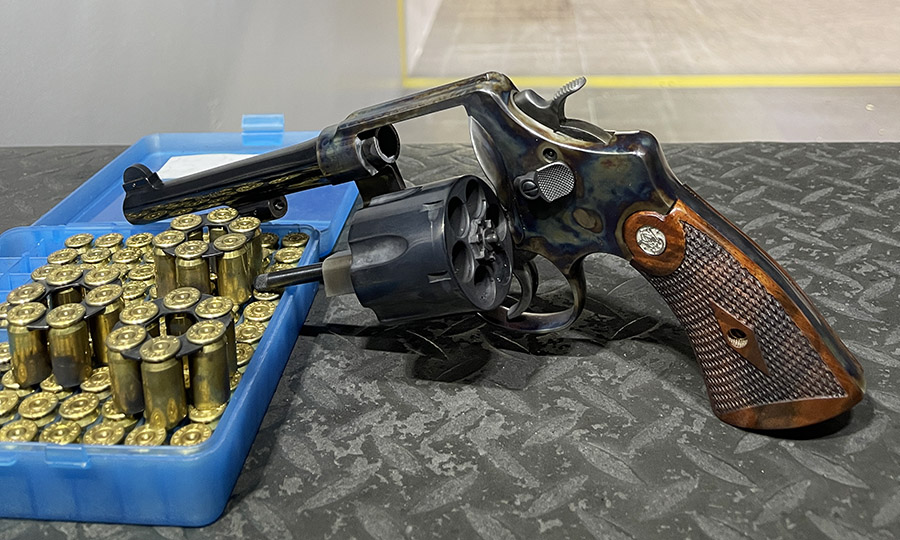
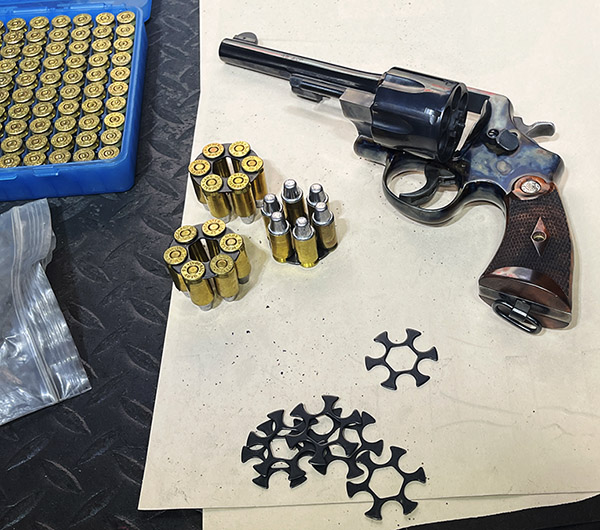
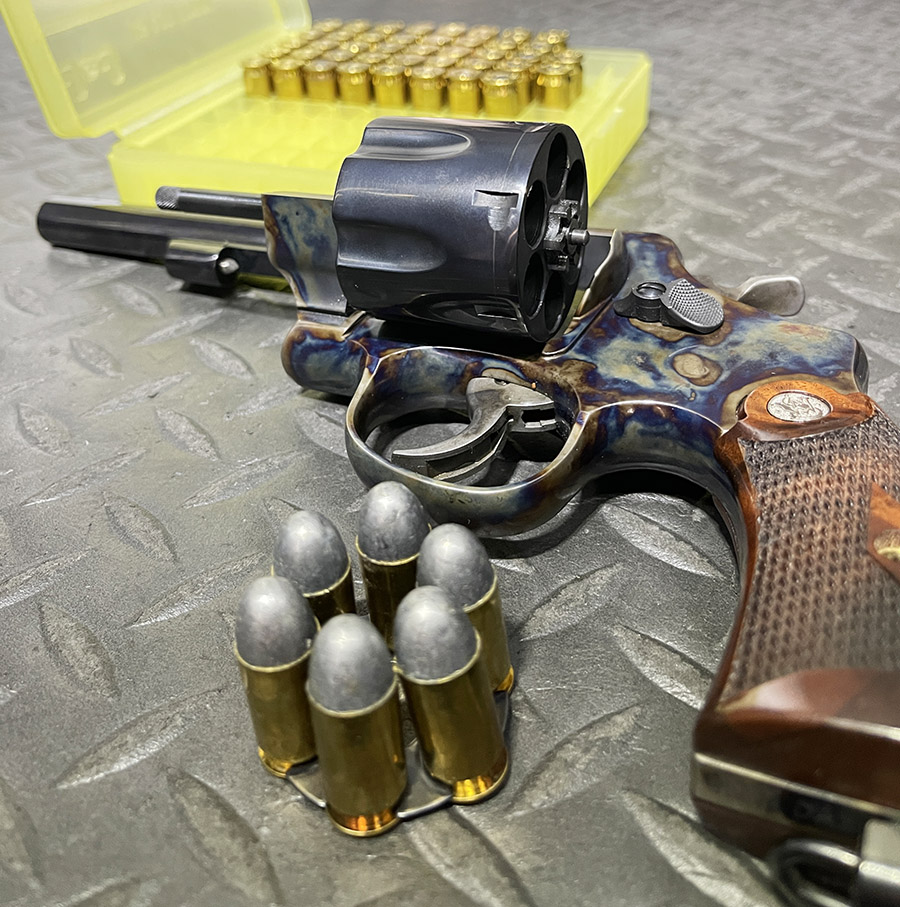
My 1917 Smith and Wesson, with star clips, .45 ACP ammo, and 200-grain semi-wadcutters. Did I mention that I love shooting this revolver? It’s my Indiana Jones Special.
I was shooting my standard accuracy load for the 1911 (4.2 grains of Bullseye, and a 200-grain cast semi-wadcutter Missouri bullet). I used the star clips (I was shooting with .45 ACP brass, not AutoRim ammo).
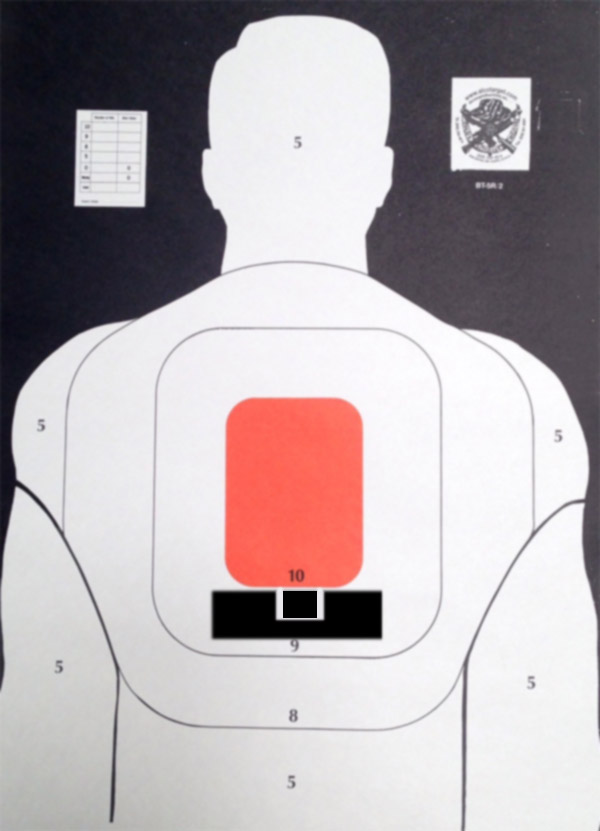
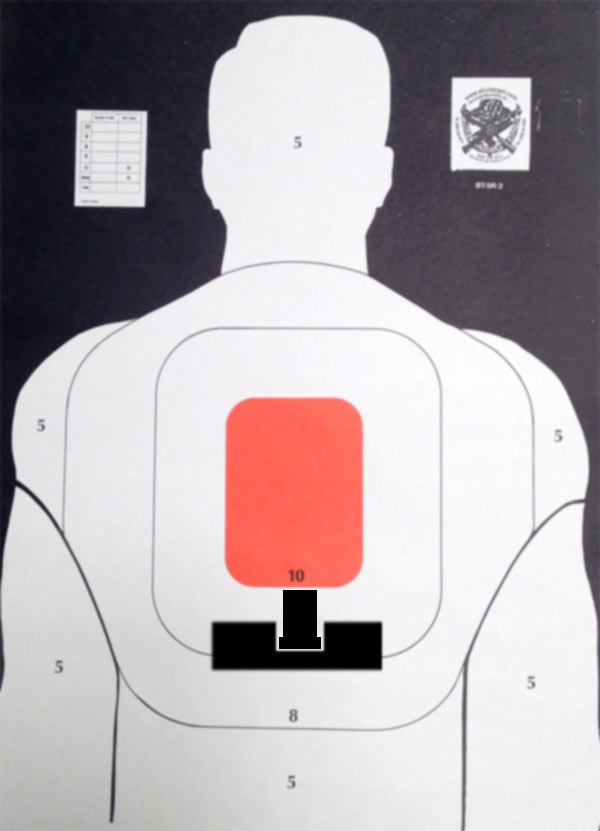
Because the 1917 shot low, I thought about putting a line on the front sight, or painting it. I discarded that idea because paint on a front sight never lasts. Then I went with Elmer Keith’s recommendation: Just hold the front sight higher in the rear sight groove, and keep the target on the top of the front sight. That’s what I did.
A normal sight picture with a 6:00 hold. Note that the front sight is in sharp focus; the target and the rear sight are slightly blurred. Using this sight picture put the bullets from my 1917 several inches low.My adjusted 1917 sight picture. I found that holding the front sight about 2/3 to 3/4 of its height higher within the rear sight (as you see here), and keeping the top of the front sight at 6:00 on the target (so as to not obscure the target) worked well.
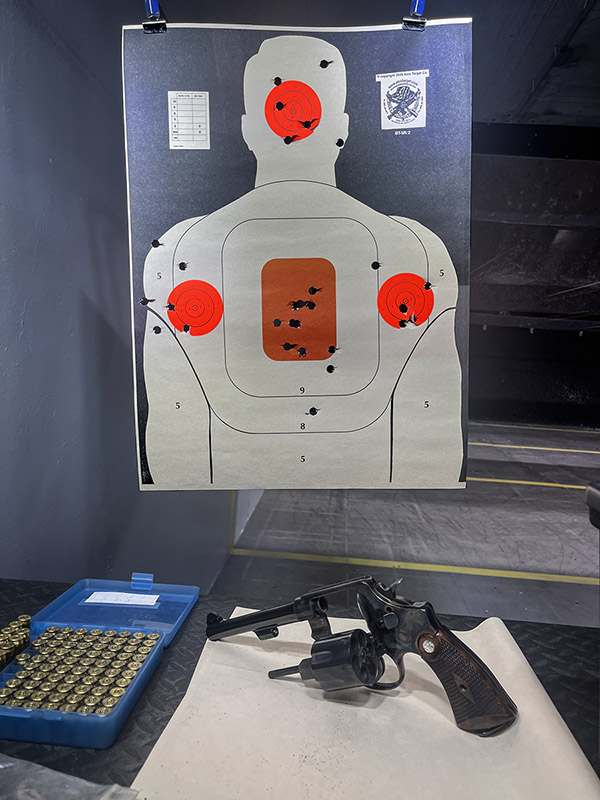
Here’s my first target, shot at 45 feet, to sort of get things dialed in and to determine how much the front sight should exceed the rear sight.
Yep, my shots are all over the paper. I was experimenting with front sight height holdover to find the best sight picture.
The first two shots below the center bullseye (on the target above) made me realize I was subconsciously reverting to my old sight picture. I made a conscious effort to keep the front sight high, and I shot the remainder of my shots on the center bullseye and the red stickies. I took a little while to get used to the new sight picture.
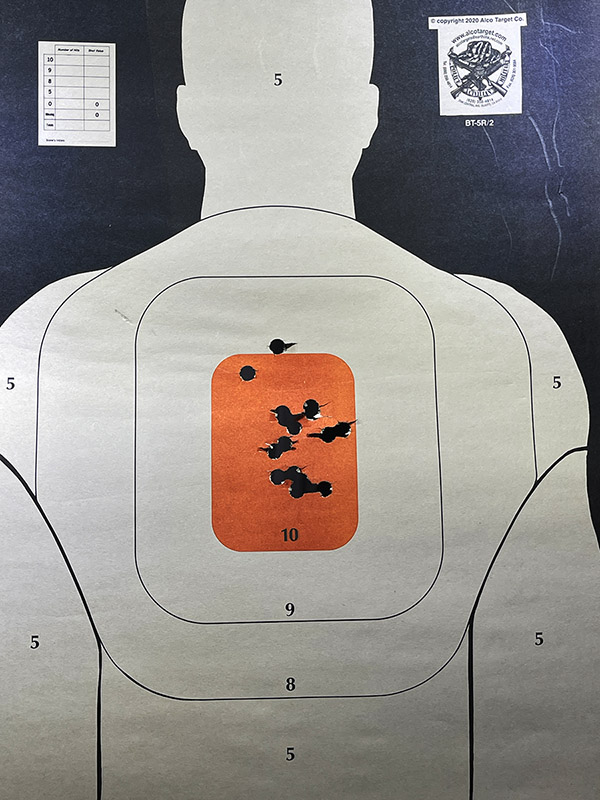
The above target gave me a pretty good idea of what I needed to do with respect to the sight picture. The upper 2/3 to 3/4 of the front sight needs to be above the top of the rear sight, and the top of the front sight needs to be at 6:00. I moved a new target to 30 feet and shot the next group (with 18 shots). I think 10 yards is a good distance for dialing in a combat handgun.
Yep, that works. Notwithstanding the two shots that went high (my fault entirely), with the new sight picture I could put my shots where I wanted them to go.
All the above were shot single action. I may try shooting some double action on my next outing. This is a big gun, though, and I think double action shooting won’t be too easy.
You might wonder: Why does the gun not shoot to point of aim with a standard sight picture? Keep in mind that this was a gun designed to shoot military hardball ammunition as an expedient during World War I. That’s a 230-grain full metal jacket moving at about 830 feet per second. I found (see my earlier blog) that when shooting a comparable reload (a 230-grain cast roundnose bullet with 5.6 grains of Unique), this revolver shoots just about to point of aim at 10 yards using a standard sight picture. That’s what the gun was designed for. With a different load (such as the one described above), the point of impact will shift (as it did for me).
I’m going to leave the revolver alone (no change to a newer, lower front sight) and shoot it frequently. I like it a lot. Best to leave things as they are. I feel like I know the gun pretty well now. I sure to do love shooting it.
The revolver du jour is a Smith and Wesson Model 22, which is one of a limited run Smith sent to Turnbull for their signature color case hardening. It is a repop of the famed World War I Model of 1917 Smith and Wesson, a revolver we’ve written about in these pages before. This revolver is beautiful, with Altamont grips, high polish bluing, and mesmerizing color case hardening.
I have a big bottle of Red Dot powder and I’ve been using it for reloading 9mm ammo. I wanted to try it in .45 ACP. I thought I would try it in my 1911A1 .45 Auto until I realized I’m not supposed to bend at the waist for another couple of weeks (a consequence of my back surgery), and that meant I couldn’t pick up my brass. So I decided to shoot it in one of my .45 ACP revolvers (so I wouldn’t have to chase my brass).
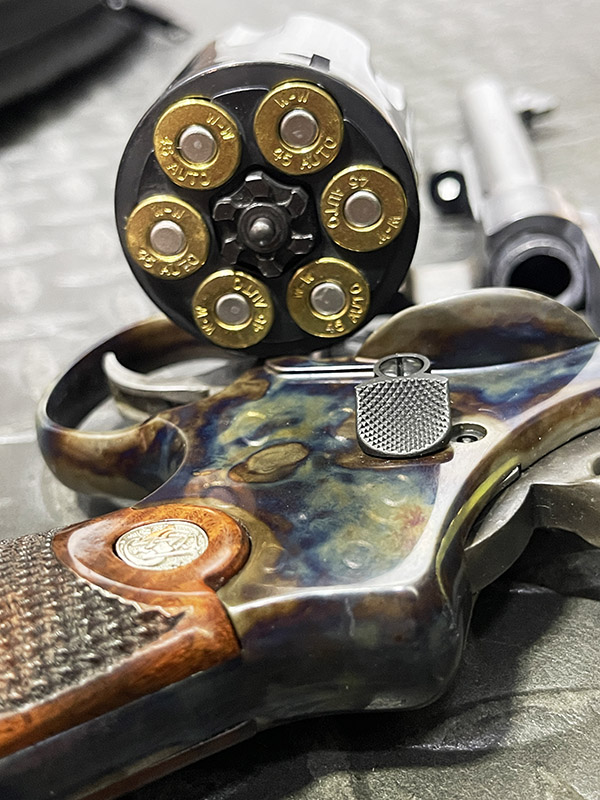
.45 ACP cartridges in the 1917. The color case hardening sure does pop!
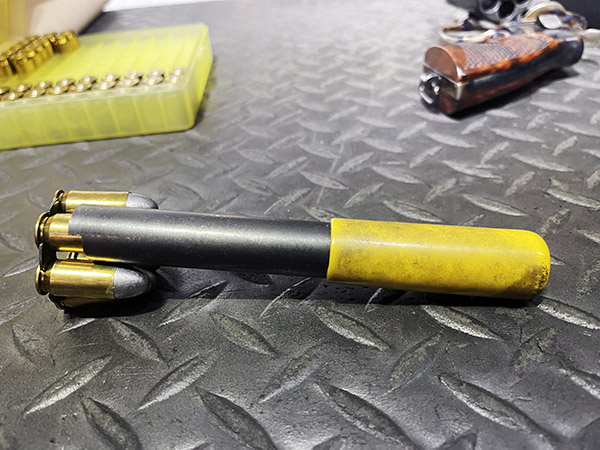
When you shoot .45 ACP ammo in a 1917 revolver, you have to use a clip to provide the right headspace, and to allow the ejector rod to eject the cartridges. Putting each cartridge into the clips is kind of a pain in the you-know-what, but it’s an elegant and simple solution to the problem the Army faced in both World Wars when there weren’t enough 1911A1s to go around. After firing, you also need to extract the empty brass cases from the clip. I used a Brownell’s tool for both inserting the ammo into the clip and for removing the empty cases after shooting.
The Brownell’s tool for inserting and removing .45 ACP cartridges from the star clip.
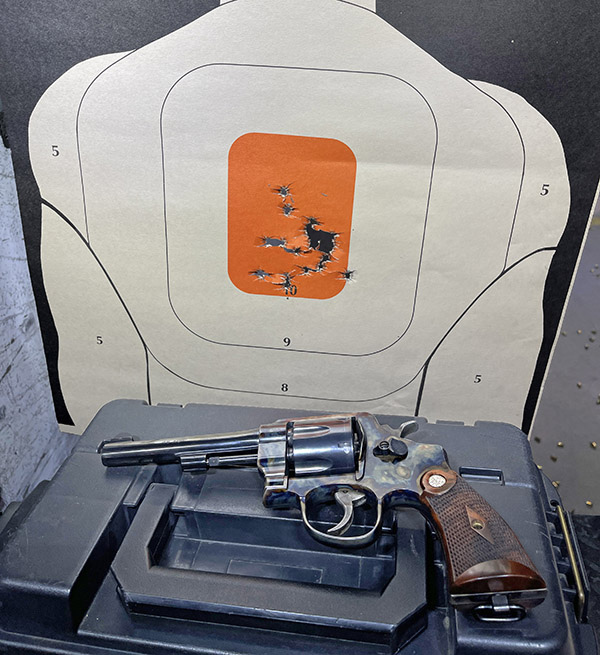
After my first few shots, I realized again that my 1917 shoots low (I knew this previously but had forgotten it). On my first target, I held at 6:00 on the orange bullseye, and at 10 yards my shots were 3 inches low. Not a problem; I simply held at 12:00 on the bullseye, and I shot the multi-round group you see below. I shot that group standing up. I’ve done better in the past, but this wasn’t too bad for an old guy.
Results with the Red Dot load. I held at the top of the orange bullseye. The revolver as configured from the factory shoots 3 inches low.
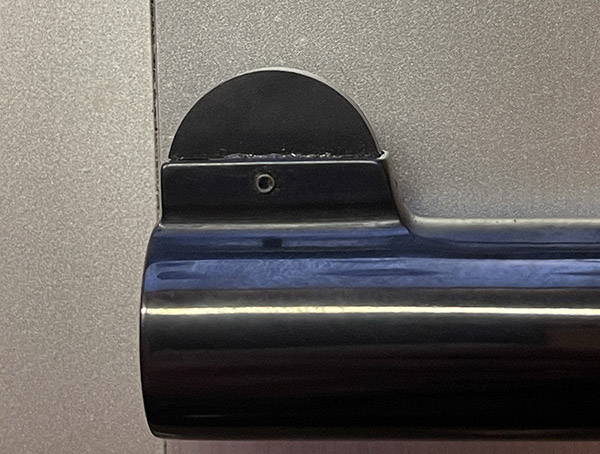
The group was not great, but it was not terrible, either. I went home and started wondering…could I get a replacement front sight that wasn’t quite as tall?
A shark’s fin of a front sight. Smith dropped the ball on this design.
I searched the Internet, and what I found is that on these guns the front sight being too tall (which causes the gun to shoot low) is a known problem. I had called Smith and Wesson’s customer support a few years ago to discuss this, but they told me the gun was too old for them to do anything (this particular revolver was manufactured in June of 2007). In my recent Internet sleuthing, I found that Smith had owned up to the problem and were replacing the front sights at no charge, but that was nearly 20 years ago. When I called a few days ago, the nice lady at Smith and told me they no longer stock the part (I should have been more persistent in the first call to Smith and Wesson). She also told me that because I live in California, even if they had the part, they could only ship it to an FFL. Our California legislature and our Brylcreem governor had struck again.
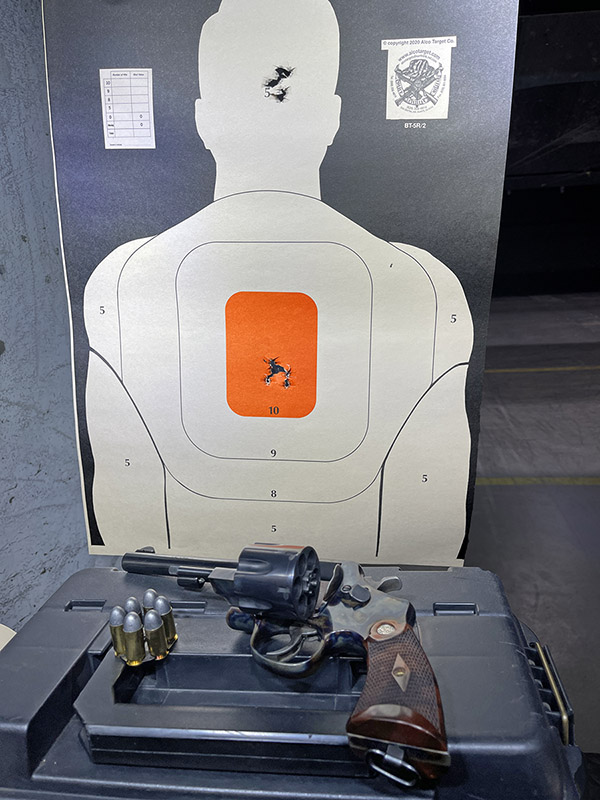
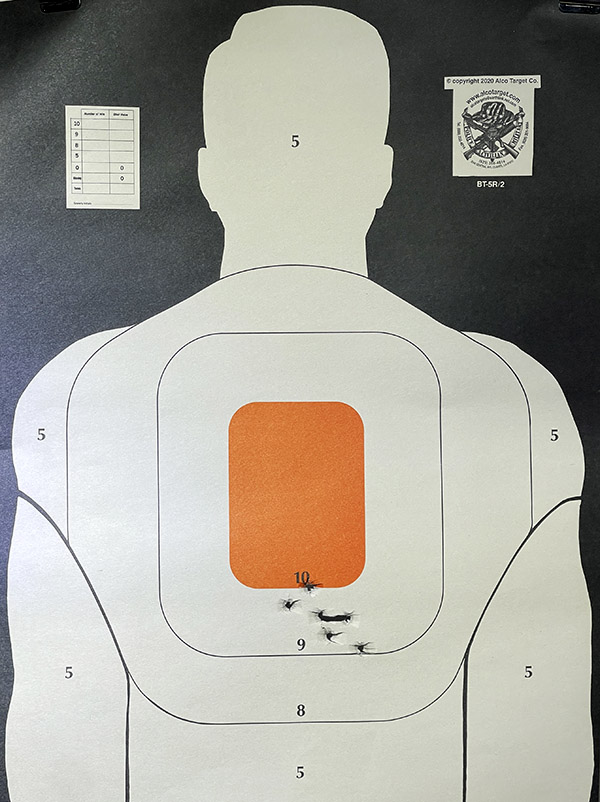
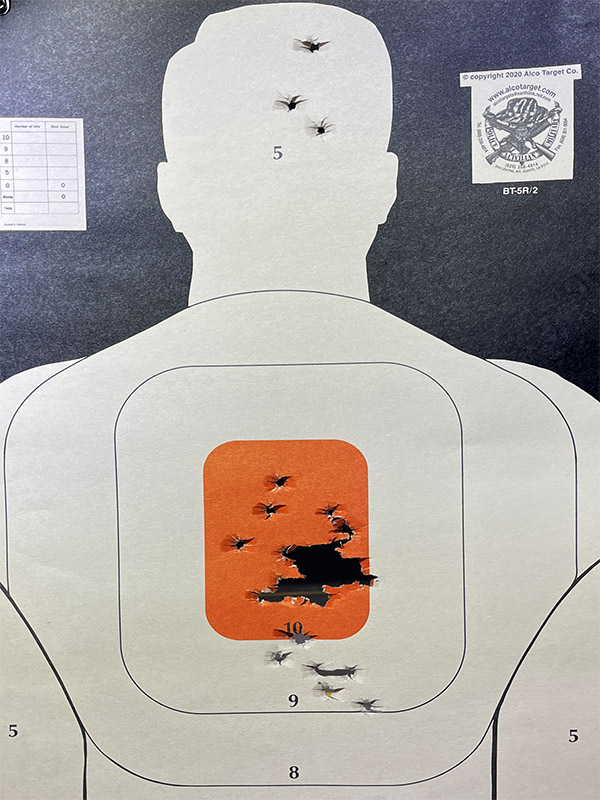
I loaded another batch of ammo identical to the recipe described above, except this time I used 4.2 grains of Bullseye propellant (the first load had 4.5 grains of Red Dot). I had the same issue with the gun shooting too low, but wowee, did the groups ever tighten up. The photo below shows two groups. On the head shots, I held at the top of the target’s head; on the bullseye shots, I held at the top of the bullseye. Both are six-shot groups, and both were with me resting my elbows on the bench. Once again, I realized why I love reloading so much. And Bullseye powder, too. There’s a reason they call it Bullseye.
Results with the Bullseye load.
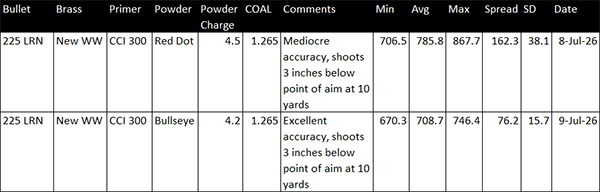
Here’s the chronograph data for the above two loads:
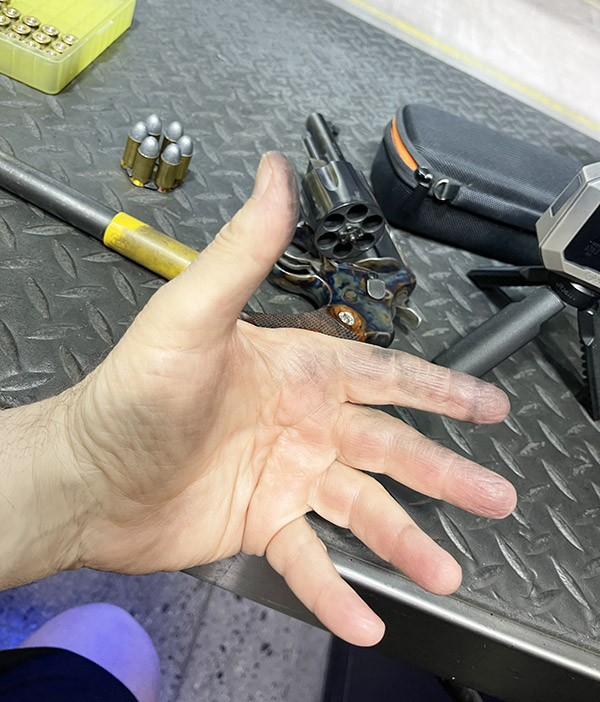
One thing about the Bullseye and Red Dot loads in a revolver: They sure get your hands dirty.
Post Bullseye reloads dirty hands. Red Dot is even worse.
I didn’t do any load development for the two recipes above. I already had the Bullseye ammo loaded and it had proved to be very accurate in the 1911A1. There’s not a ton of published data for Red Dot, so when I found a source with this data, I just picked a load (4.5 grains) and went with it. This was intended to be a quick look and not an exhaustive assessment, and it was. For the two loads I used, and as you can see from the table above, the Bullseye load has a much lower standard deviation than does the Red Dot load. The Red Dot load’s average velocity, though, is closer to factory ball ammo. I probably could have increased the Bullseye load to bring it up to factory levels, but it is so accurate I’m going to leave it alone.
As a follow up check on this front sight business, the next day I grabbed some .45 ammo I had loaded a couple of years ago with AutoRim brass and Jim Gardner’s excellent 230-grain powder coated bullets. I had loaded that ammo with 5.6 grains of Unique, which has been my accuracy load for the .45 ACP in a 1911 for literally decades.
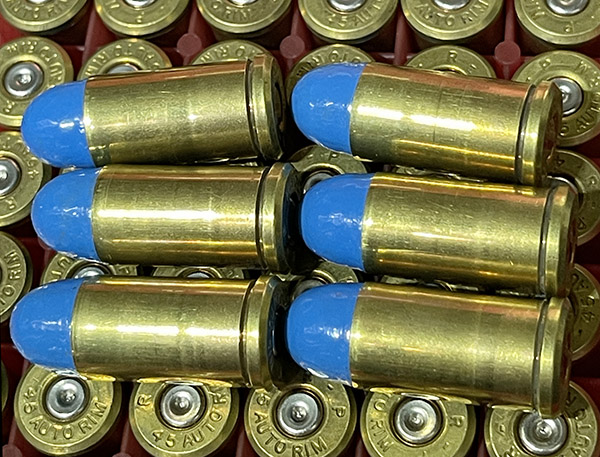
.45 AutoRim ammo with 230-grain Jim Gardner powder coated bullets. The AutoRim ammo is much easier to shoot in a 1917 or .45 ACP revolver, as it does not require the use of clips. Alas, the Gardner bullets are no longer available.
I knew the velocity would be a little higher than what I was seeing with the Bullseye load described above, and I expected the load to print a little higher on the target. I was right on both counts.
Chrono data for the Unique AutoRim load.My first cylinder of AutoRim ammo loaded with 230-grain bullets and 5.6 grains of Unique. I held at 6:00 on the orange bullseye.
I liked what I saw on the target above. The 1917 was still shooting a bit low, but not by as much as it had with the Bullseye load. I proceeded to put the rest of the 5.6-grain Unique load into the orange bullseye, this time with my aimpoint being the center of the bullseye. Just for good measure, and to make sure this zombie wouldn’t be getting up again, I put my last three rounds into its head.
For other than the shots that went low, I held in the center of the orange bullseye. This is close enough for government work. These shots were all fired off hand. The 1917 is a lot of fun to shoot.
Unfortunately, I think Jim Gardner is out of business. I liked his bullets because of the extra thick powder coating and because they shot so well. These were the last of the 230-grain Gardner bullets I had in my stash, so I will start hunting around for a new source.
So there you have it. I may poke around a bit and do something with the front sight, or I may leave it as is and simply remember to hold high on the target. I could go a little hotter with the Unique/230-grain-bullet load (the online Alliant guide shows I could do so), and that would probably bring the point of impact to the point of aim. I like the way the 5.6 grain load handles, though, and as I said above, it hits close enough for government work. I want to shoot the 1917 with it at 25 yards and see where it groups (above or below point of aim, and by how much). I may try a few more loads in the 1917; these will be topics for future blogs.