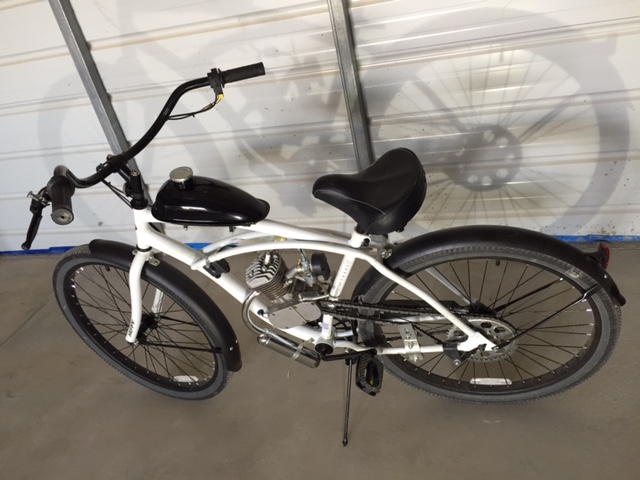
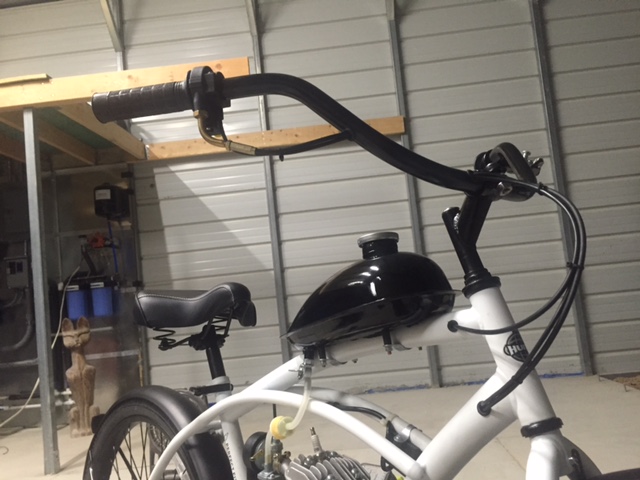
I managed to get all the cables routed and connected. The electrical wiring is concealed inside the large diameter front down tube along with the clutch and throttle. Mini Motor Madness was looking sharp but there were still a few more details to attend.
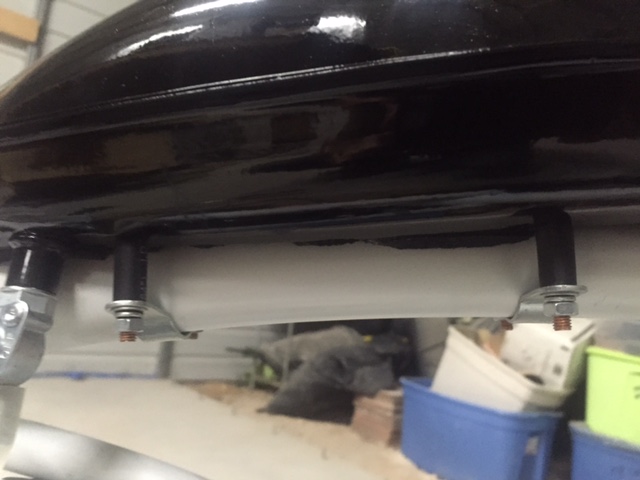
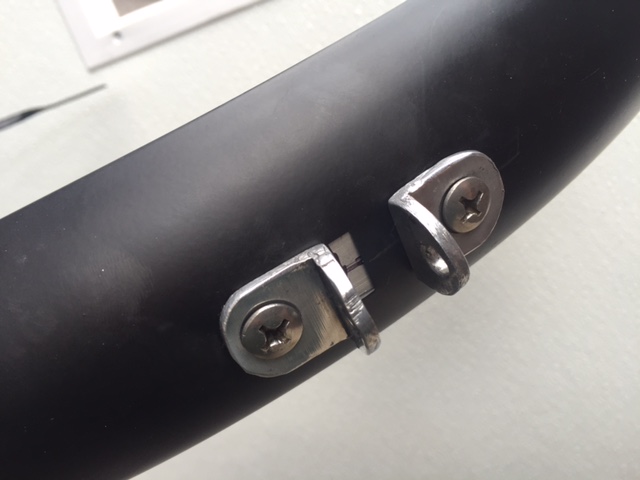
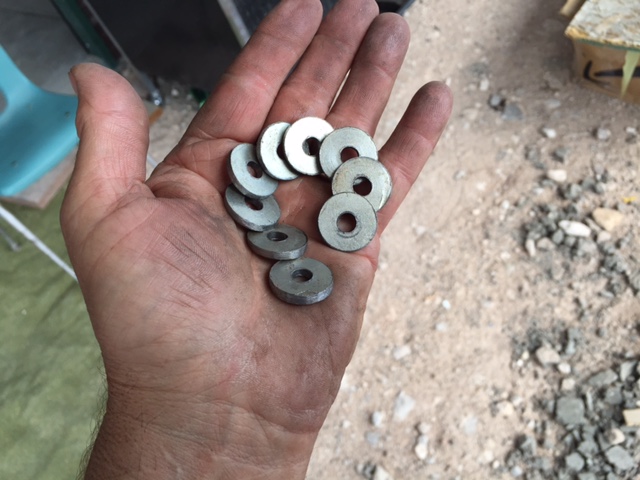
 The cute little gas tank has studs spot-welded onto the underside of the tank. Thin brackets fit onto these studs and clamp the tank to the top frame tube. Except that the brackets are so thin they distort when tightened. The studs needed a few spacers to give the nuts something to tighten against.
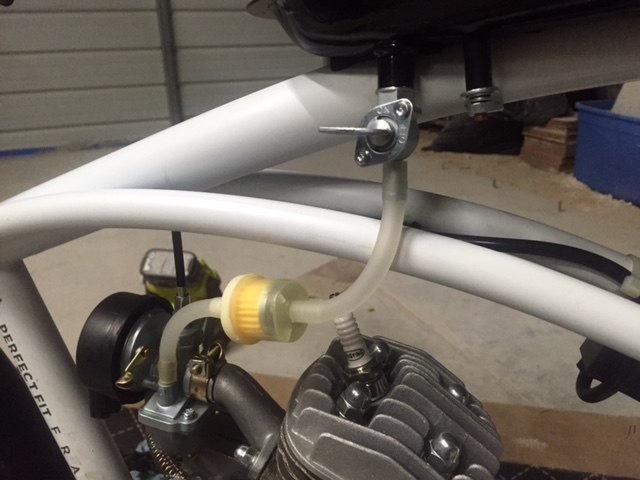
 From there it was a simple matter to connect the supplied fuel line and filter. The fuel line feels like silicone, it’s very soft and flexible, I don’t think it will need clamps. The kit came with a rubber gasket for the fuel petcock but it looked like the gasket would squirt out the side when the petcock was tightened. I used Teflon tape instead. It hasn’t leaked so far. So many little pieces came with this kit. It really is complete.
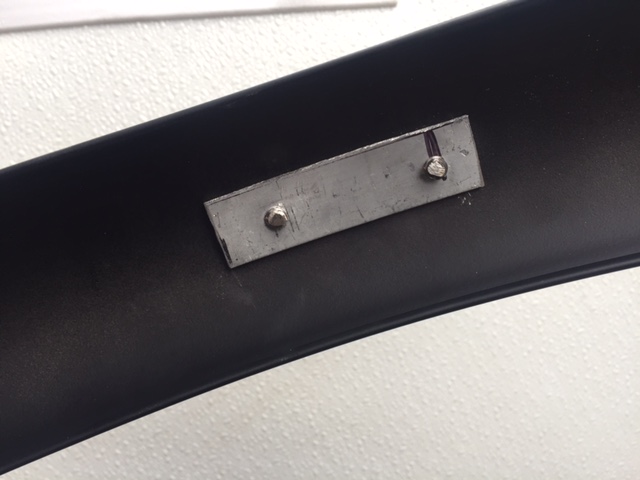
 The Wal-Mart fender supports were made from ultra thin sheet metal. Just by looking at them I created a fracture. I cut some scrap L angle aluminum into braces and made a backing plate to spread the load a bit. Hopefully the fender won’t tangle in the wheel.
 Long time Mini Moto Madness readers will recall the chain alignment issue I was having in an earlier episode. I meant to get back to the problem but the bike was nearly complete. I had to hear it run, man. I turned on the gas, pedaled down Tinfiny’s steep, rutted driveway, popped the clutch and the little motor fired right up. For about a second.
There was a loud grinding noise from aft and the rear wheel locked up. The chain, never really happy with the set up, was tangled in the rear wheel. It was so bad a 3-link section was missing! Luckily, the kit chain was extra long to suit many different bicycles and I was able to splice in a section, making sure to peen the pins after fitting.
 To ride this puppy I’d have to bite the bullet and take that damn rear sprocket off (again!) and fit spacers. Like I said earlier, this kit is complete. It had everything needed to shim the sprocket, although the shims were a little harder to access.
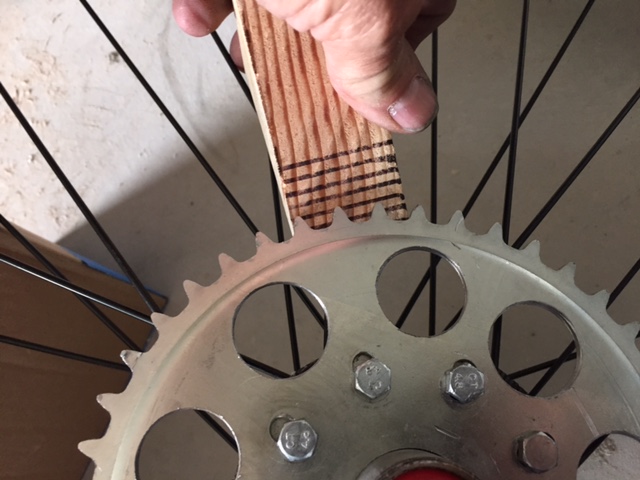
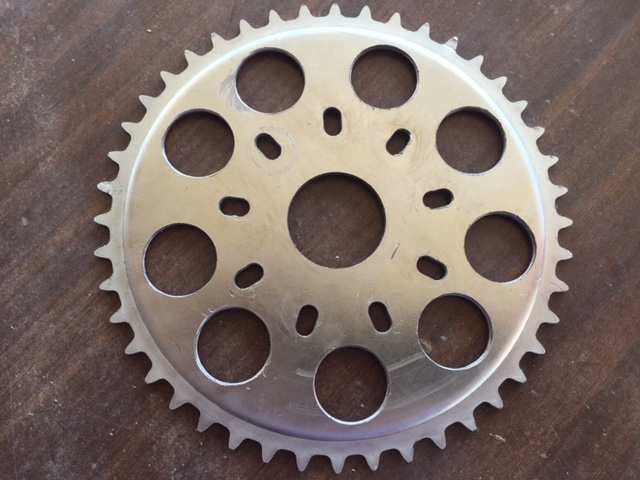 After butchering the sprocket for shim stock I reinstalled the rear sprocket. Now on their 3rd round trip the elastic stop nuts were losing elasticity but I was all in, I had to ride the beast. The sprocket was a tad wobblier than I remember but my patented sprocket-tuning tool allowed me to true up the mess to a reasonable level.
 And it worked! The little beast fired up and settled into a retro idle, the smoke poured from the recommended 16:1 fuel mix ratio. I live in a steep, hilly area and the bike is geared too tall. I don’t know how fast it goes (that will have to wait for the full exhaustnotes.us road test) but it’s faster than any coaster brake bicycle should be going. The gearing would be ok in Florida but at 6000 feet elevation with 1st gear hills all around it’s Light Pedal Assist all the way.
I’ve ordered a 48-tooth sprocket to replace the stock 44 and my front brake should be here any day now. I’m calling this a win! The kit project is complete in my mind. So there! I finished one. The next phase will be modifications to make the rig suitable for my situation.