
By Joe Gresh
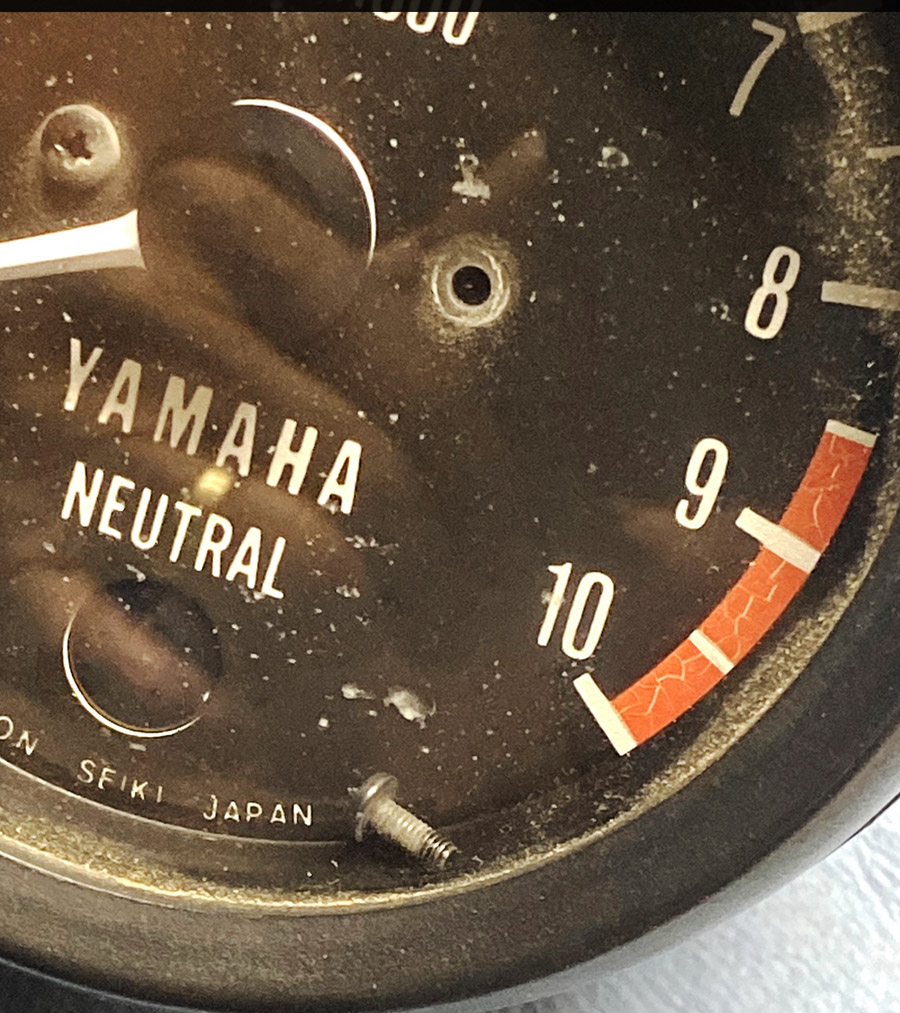
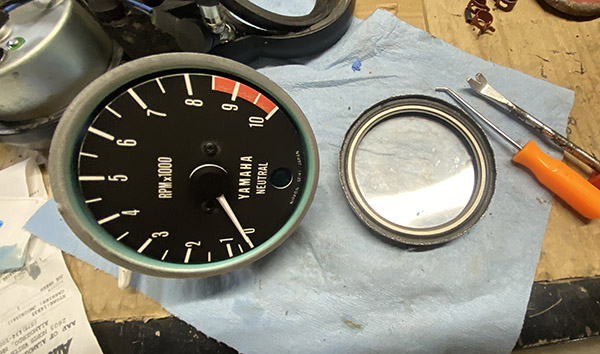
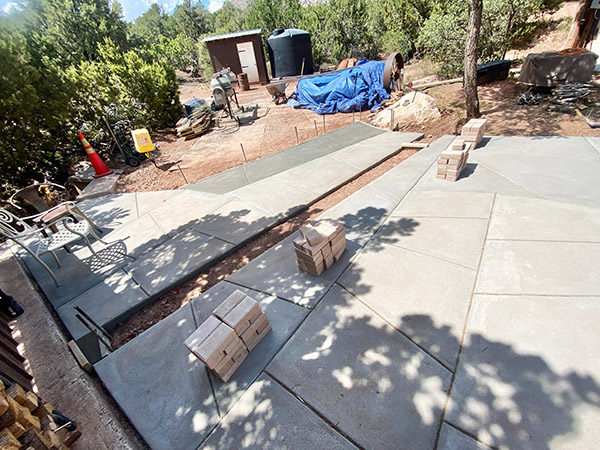
I haven’t been riding the Yamaha RD350 lately and it’s not because I don’t want to. There is a lot of concrete that needs doing at the ranch and I get to do it. Anyway, the RD350 has a loose screw in the tachometer and the screw dances around inside the gauge beating a tattoo onto the tachometer face. It drives me crazy to see that little screw eating away at the tachometer lettering so I parked the bike. A few days of rainy weather put a stop to my concrete-the-world efforts and I decided to take advantage of the down time and fix the tachometer.
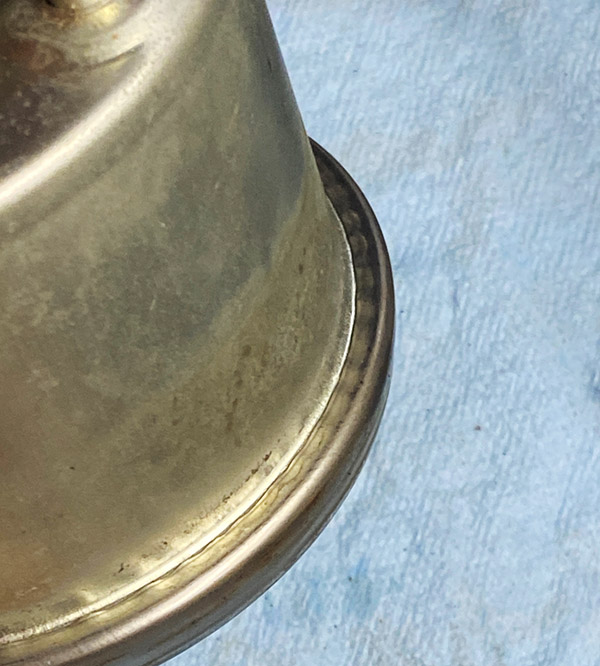
These Yamaha instrument clusters were not really meant to be serviced. The Yamaha factory crimped the bezel onto the gauge body and back in the day it was cheap to buy another gauge. If you have infinite patience like my buddy Deet, it’s possible to unkink the crimp and reassemble the gauge so that it looks to all the world that its never been touched. I am not that patient.
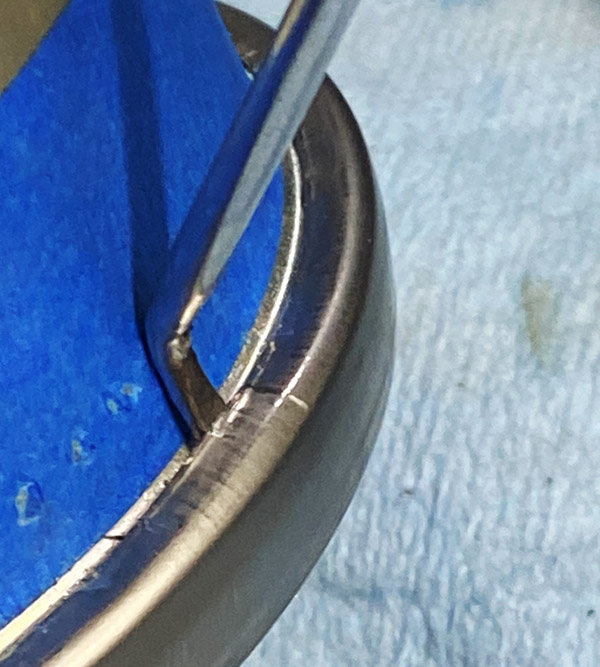
I modified a harbor freight pick (free with purchase!) into a pry bar, which allowed me to get the crimp slightly lifted. Once you have the bezel edge up a bit you can get a more serious pry bar in there.
This bar is also a modified Harbor Freight tool. The rounded face allows you to work the crimp back to a more vertical position.
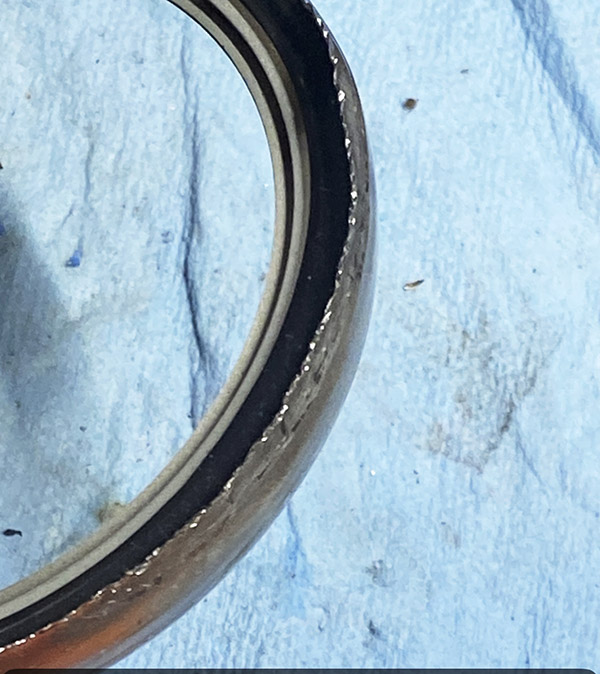
With the bezel mangled and pried back the lens will separate from the gauge body allowing access to that annoying screw.
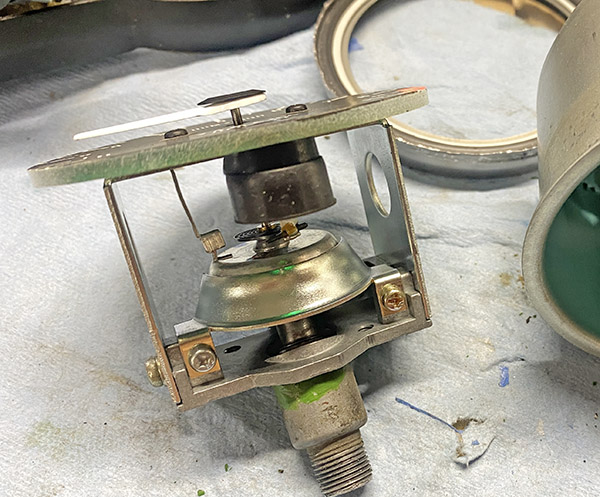
Since I had the gauge this far apart I took the mechanism out of the gauge body and gave it a few drops of oil. This turned out to be a bad idea.
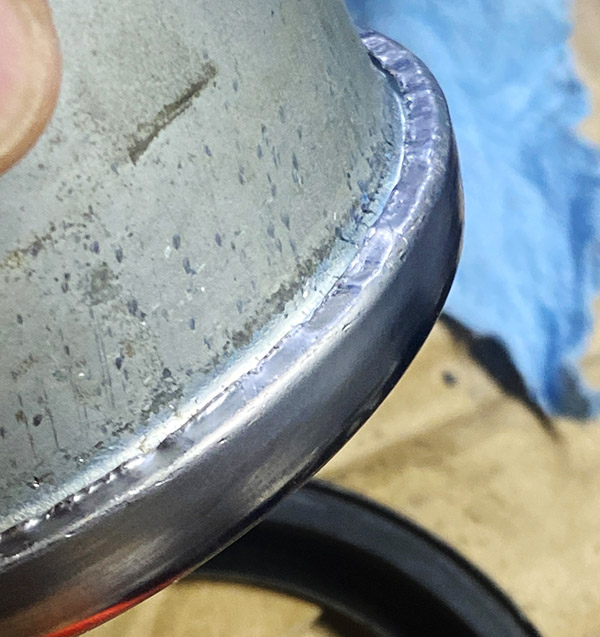
Putting the gauge back together is the reverse of the above description. Make sure the lens is perfectly clean or you’ll be looking at that speck of dust forever. To re-crimp I got the bend started with a screwdriver and the used a small hammer and punch to flatten out the waves. It doesn’t look factory but a rubber bumper covers the mess.
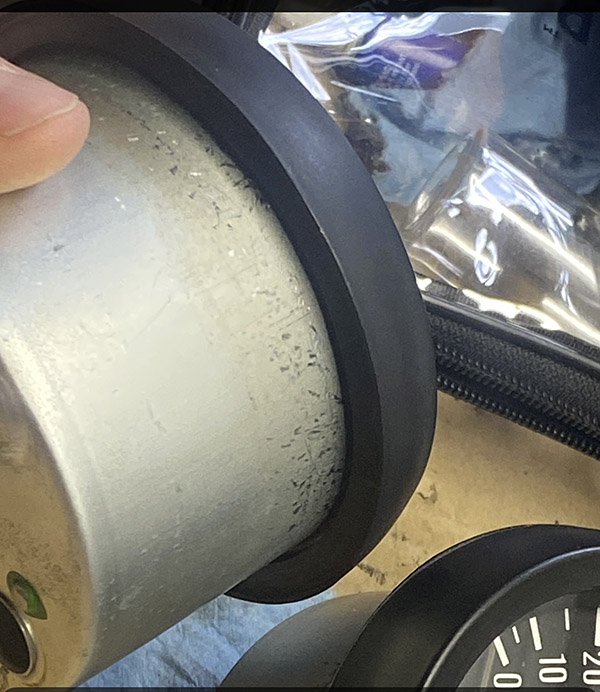
After assembly and testing the neutral indicator light looked odd. It was lit all the time and very dim. I assumed I must have screwed up the wiring and rechecked everything. Turns out the rubber bellows that shields the neutral light socket from the bulbs illuminating the gauge did not slip into position correctly. This caused the boot to fold over blocking the neural light photons and allowing random background photons to leak into the green lens area. I had to un-crimp the bezel again, disassemble the gauge and slip the boot on correctly. Perseverance will beat talent every time.
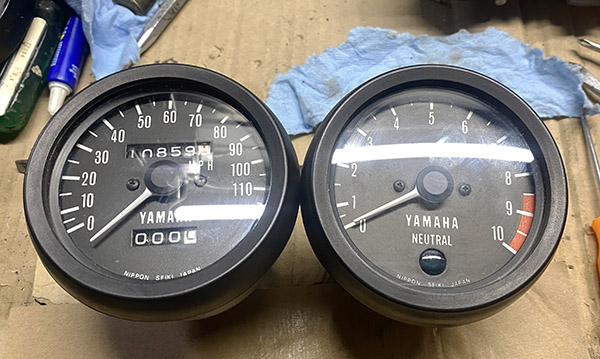
The speedometer screws were also loose, the face was jiggling around and it was only a matter of time before those screws fell out. I took that gauge apart and tightened the screws. Then I did the oil thing and also adjusted the needle 8 miles per hour slower to more closely reflect the speed I was going.
The sun is shining and I can start putting more miles on the Yamaha RD350 without staring at that stupid screw bouncing around inside the gauge. And I will just a soon as I finish up this driveway.
Do you have a copy yet?

Never miss an ExNotes blog:
Don’t forget: Visit our advertisers!

I don’t know what to say .
You move to a rural environment and spend all this hard work to make it look like New York City.
Why would u want a concrete driveway anyway ?
Talk about a loose screw!
Yes. Let’s talk about the loose screw..
Why was oiling whatever a bad idea?
Why not loctite those screws ?
Saw,
Oiling was a bad idea because I took the mechanism out of the housing, which allowed me to reassemble wrong.
I did put a dab of locktite on the screws. I should have mentioned this in the story to get the word count up.
The concrete driveway is so we don’t have to park in the mud/walk out to the cars in the mud. Most normal houses have a concrete driveway. It also stops erosion and we have a lot of erosion on the side of a hill.
Great way to spend a rainy day!Still maintaining 3 bikes,pouring your own driveway,and pleasing your wife,I’m sure that takes all of your time ✅
Always enjoy your how-to’s Joe!
Ah! My very first bike was an ’84 DR350LC. What a wonderful bike. I learned to ride in Germany while I was in the Army. That bike nearly killed me a few times before I realized I didn’t have to speed everywhere I went!
Joesaw-
Then I understand the screw deal .
Good job on that bouncing screw would have driven me crazy.
Good luck with the driveway . As long as you don’t drive over it with anything heavier than a RD350 you should be good. That is I didn’t see a pile of steel mesh waiting to be installed on the next slab .
You don’t see many concrete driveways up here in Ct . With snow and ice and before newer chemicals, rock salt would set them up . Bituminous is the popular thing. All though one does see more and more pavers used.
But then again , plate tampers are our friends.
Cretesaw,
I don’t use road mesh I use 3/8″ rebar. So far it’s been ok. Just cars and light trucks parking on the slab. I imagine a fully loaded cement truck would crack it.
Keep on mind mesh ( kinda rhymes with Gresh) is basically for tensile strength not weight bearing .
I could get into construction joints and curing but since this thread is about Yamaha Gauge face screws ,
I will let that rest .
Good luck . I do admire your work ethic.
Joe . The issue is tensile strength not particularly weight bearing
Mesh keeps the concrete from pulling itself apart sideways .
Hopefully your bars are tied tight and close enough to accomplish that. You are going to get movement no matter what . There is a specification to construction joints I don’t recall off hand.
Eat them up . Sorry
I had the same thing happen on my Sportster. Took them off and took them to a speedo shop in Hermosa Beach. The needle had come off the tach and the speedo face had shed a screw and the speedo face was vibrating around. The speedo shop fixed em and back on they went and have worked fine since except for some reason it sometimes takes 1 to 3 minutes for the odometer to show.