By Joe Gresh
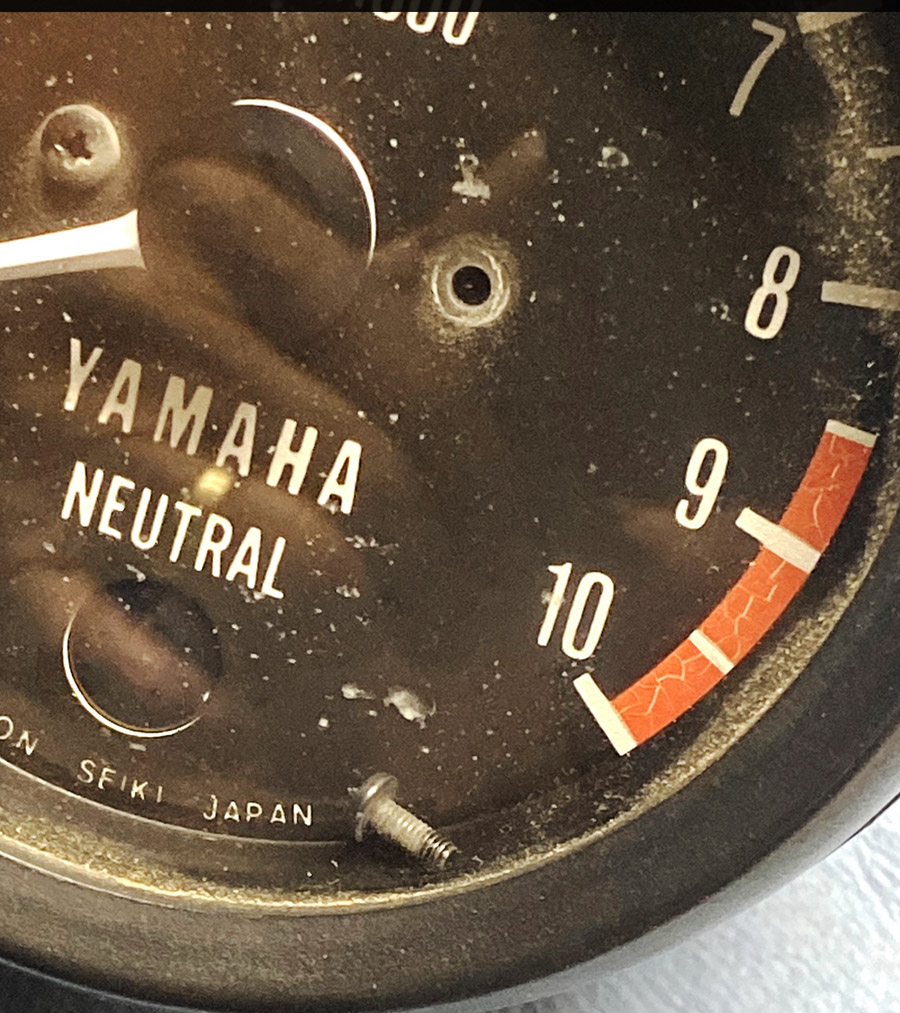
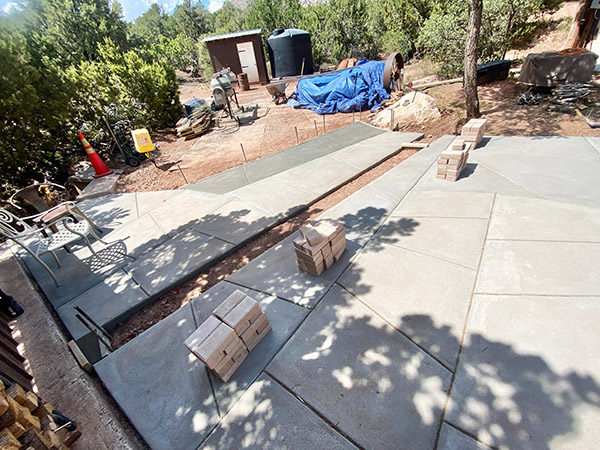
I haven’t been riding the Yamaha RD350 lately and it’s not because I don’t want to. There is a lot of concrete that needs doing at the ranch and I get to do it. Anyway, the RD350 has a loose screw in the tachometer and the screw dances around inside the gauge beating a tattoo onto the tachometer face. It drives me crazy to see that little screw eating away at the tachometer lettering so I parked the bike. A few days of rainy weather put a stop to my concrete-the-world efforts and I decided to take advantage of the down time and fix the tachometer.
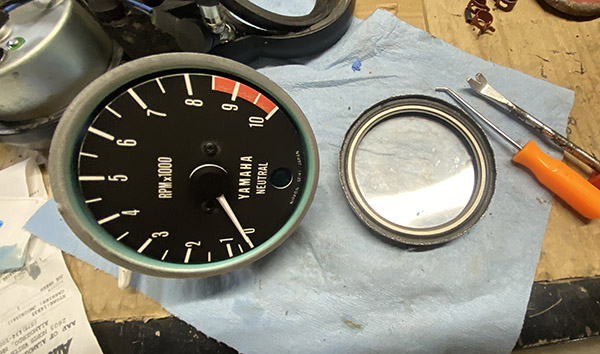
These Yamaha instrument clusters were not really meant to be serviced. The Yamaha factory crimped the bezel onto the gauge body and back in the day it was cheap to buy another gauge. If you have infinite patience like my buddy Deet, it’s possible to unkink the crimp and reassemble the gauge so that it looks to all the world that its never been touched. I am not that patient.
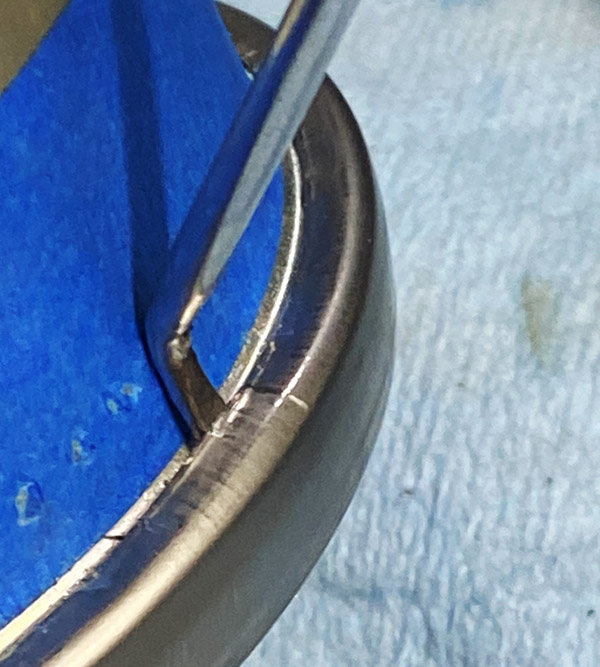
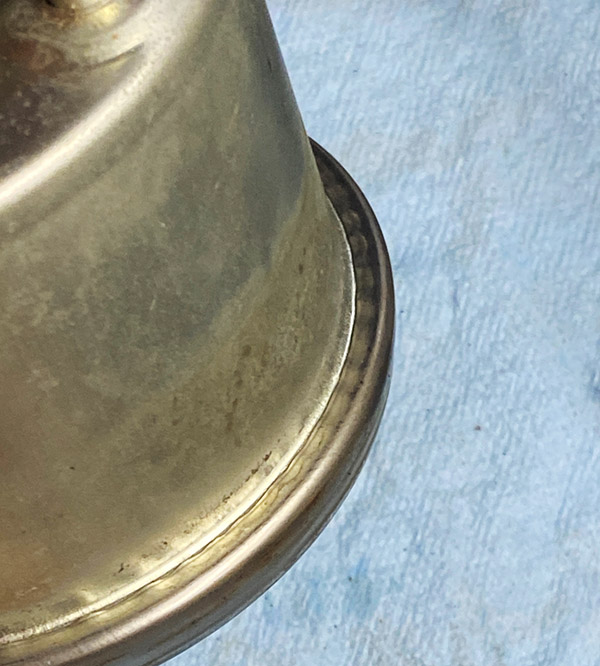
I modified a harbor freight pick (free with purchase!) into a pry bar, which allowed me to get the crimp slightly lifted. Once you have the bezel edge up a bit you can get a more serious pry bar in there.
This bar is also a modified Harbor Freight tool. The rounded face allows you to work the crimp back to a more vertical position.
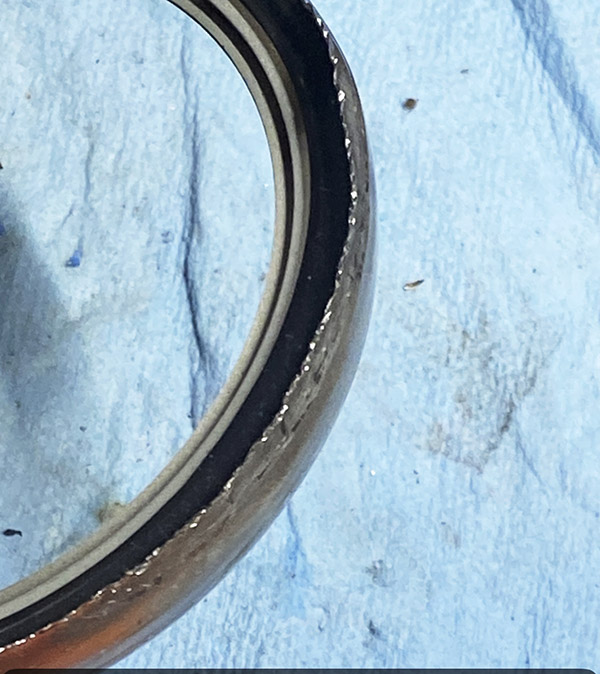
With the bezel mangled and pried back the lens will separate from the gauge body allowing access to that annoying screw.
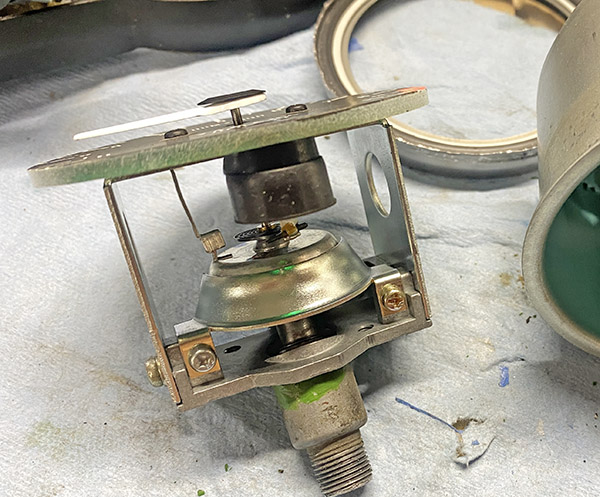
Since I had the gauge this far apart I took the mechanism out of the gauge body and gave it a few drops of oil. This turned out to be a bad idea.
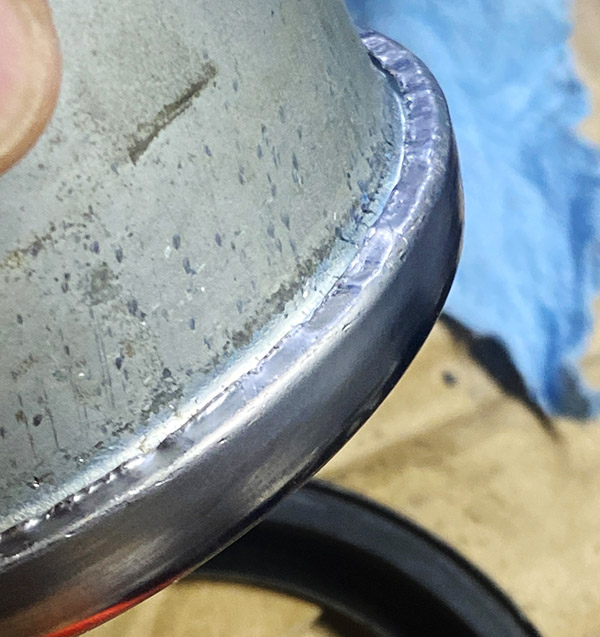
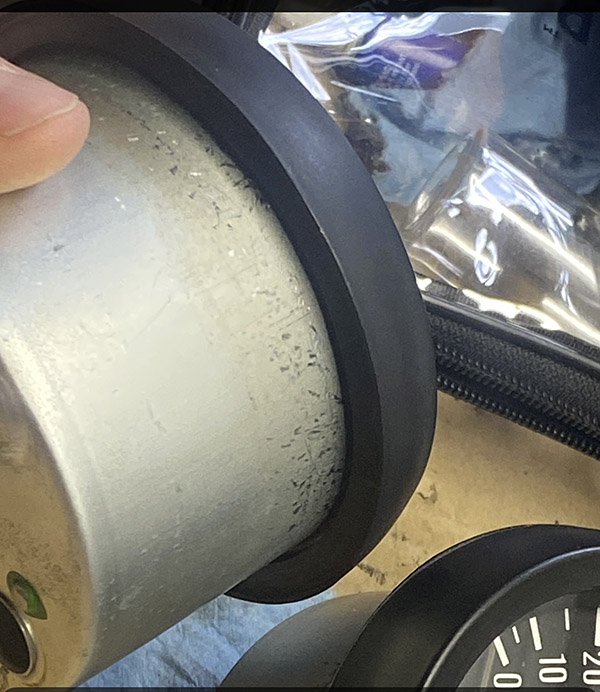
Putting the gauge back together is the reverse of the above description. Make sure the lens is perfectly clean or you’ll be looking at that speck of dust forever. To re-crimp I got the bend started with a screwdriver and the used a small hammer and punch to flatten out the waves. It doesn’t look factory but a rubber bumper covers the mess.
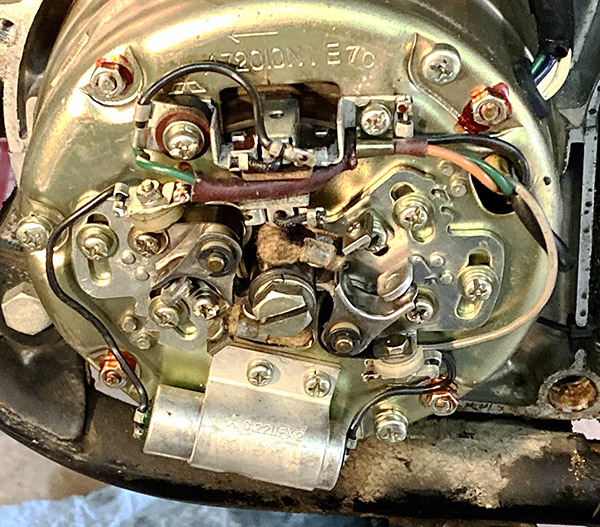
After assembly and testing the neutral indicator light looked odd. It was lit all the time and very dim. I assumed I must have screwed up the wiring and rechecked everything. Turns out the rubber bellows that shields the neutral light socket from the bulbs illuminating the gauge did not slip into position correctly. This caused the boot to fold over blocking the neural light photons and allowing random background photons to leak into the green lens area. I had to un-crimp the bezel again, disassemble the gauge and slip the boot on correctly. Perseverance will beat talent every time.
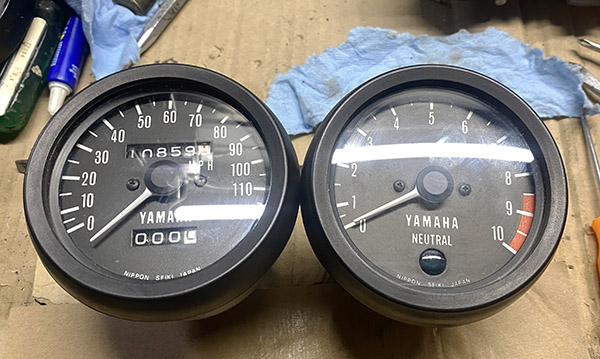
The speedometer screws were also loose, the face was jiggling around and it was only a matter of time before those screws fell out. I took that gauge apart and tightened the screws. Then I did the oil thing and also adjusted the needle 8 miles per hour slower to more closely reflect the speed I was going.
The sun is shining and I can start putting more miles on the Yamaha RD350 without staring at that stupid screw bouncing around inside the gauge. And I will just a soon as I finish up this driveway.
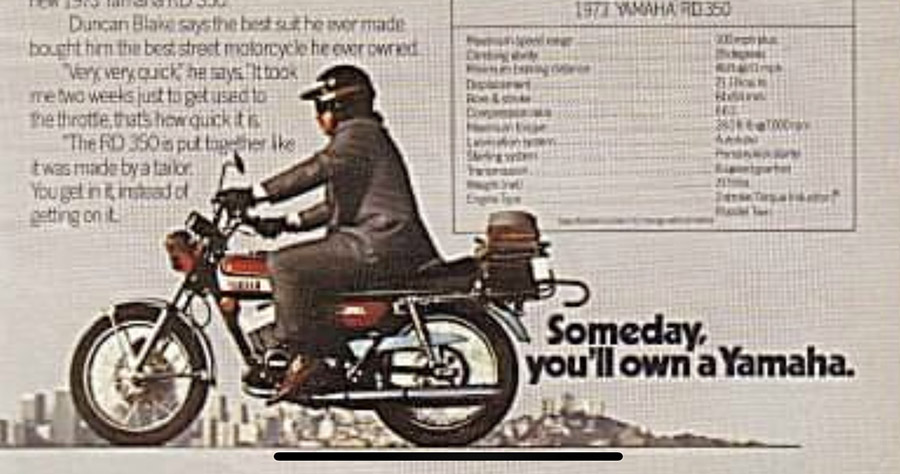
Do you have a copy yet?

Never miss an ExNotes blog:
Don’t forget: Visit our advertisers!

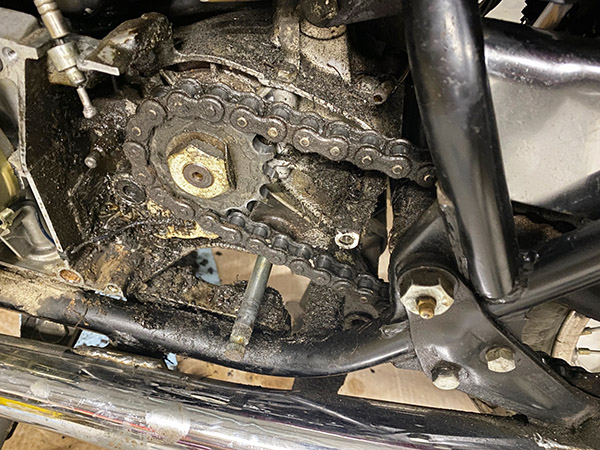

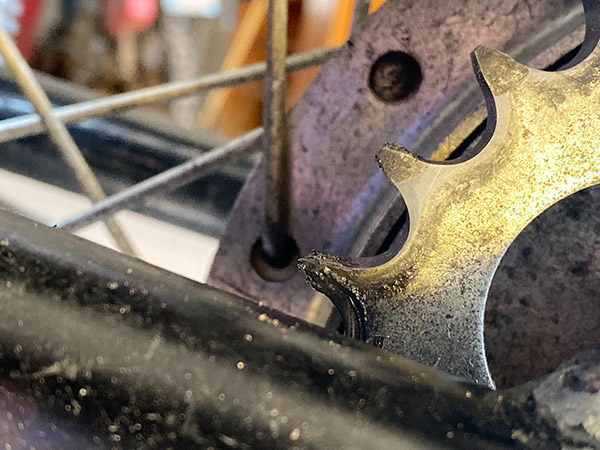
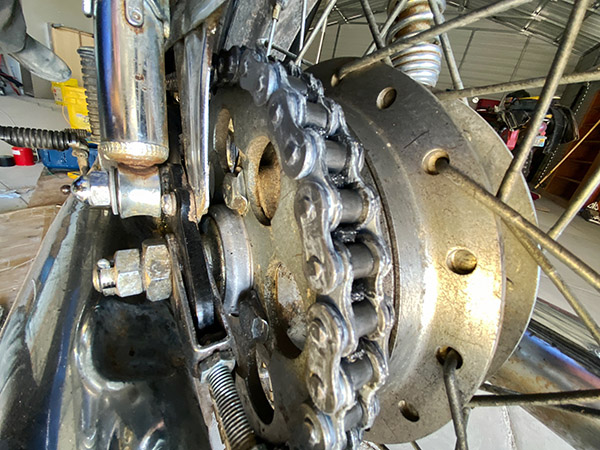
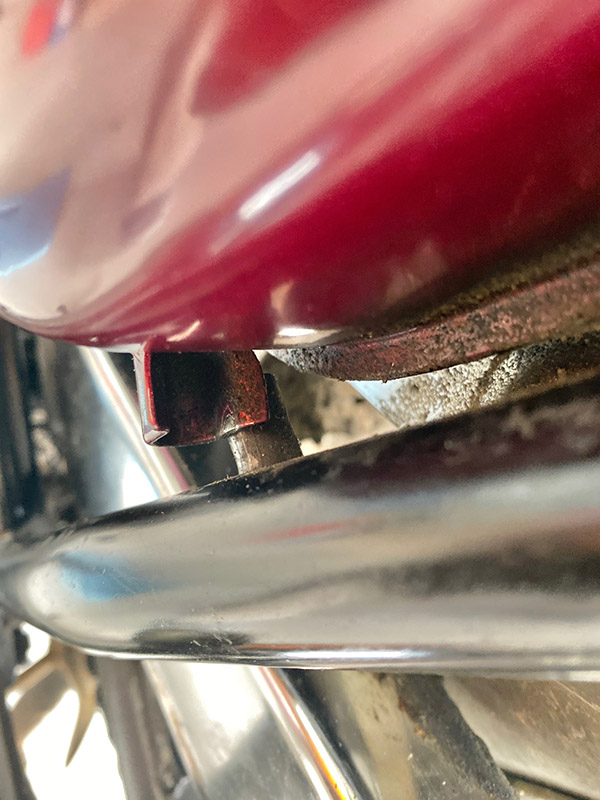
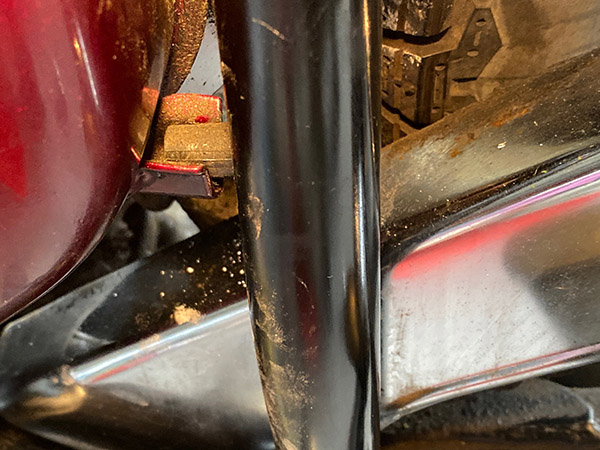
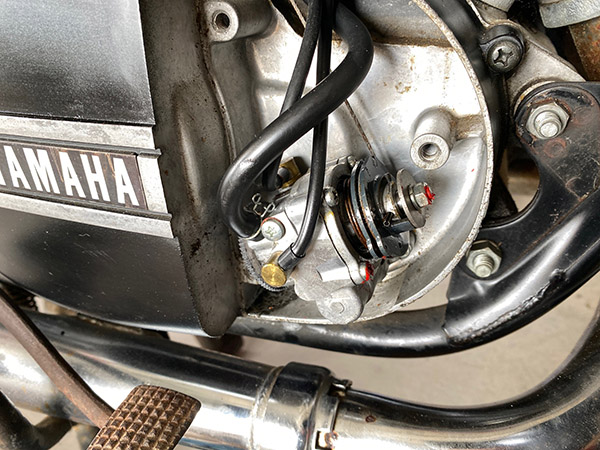
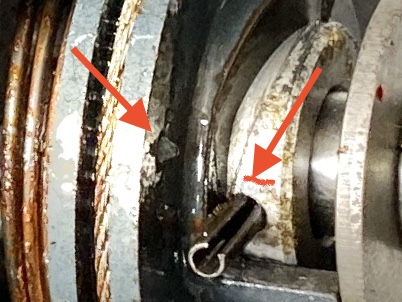
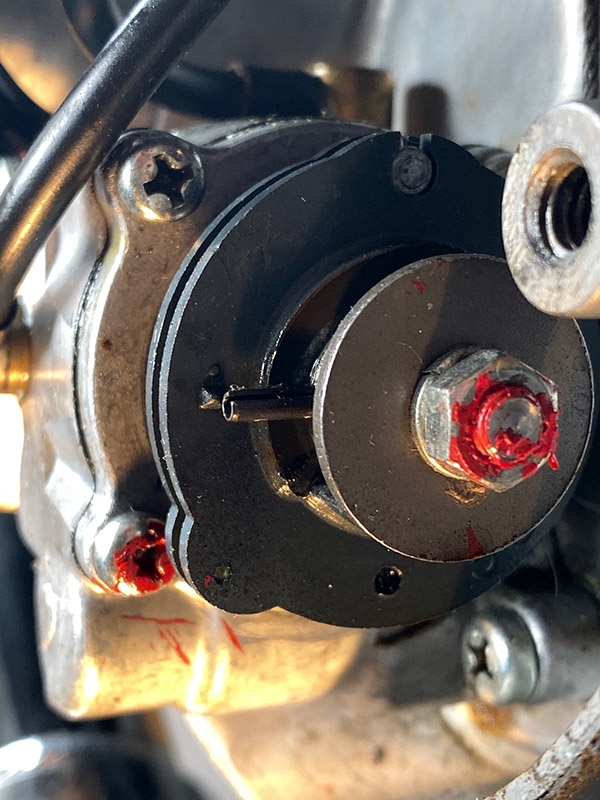
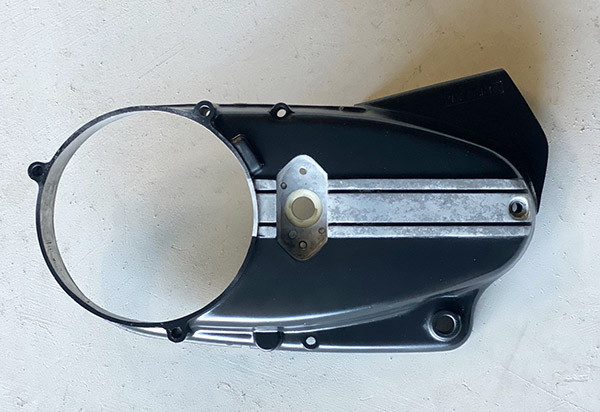 While I had the clutch helix cover apart I decided to install a new chain. I’m not one of those, replace-it-all-or-you’ll-die, type of guys. If the sprockets look unworn I’ll slap a new chain on the old sprockets. I realize this is hearsay in the Big-Sprocket boardrooms but those guys are in the sprocket selling business. The RD sprockets look like new so don’t worry, it will be fine. One glitch was the old tire is a 3.75-18 IRC, the bike calls for a 3.50-18. The narrow swingarm of the RD can barely accommodate the extra ¼ inch. I had to adjust the chain a wee bit tighter than I like to keep the tire from rubbing the front of the gusset. That problem will be solved when I replace the tires.