The clutch cable on the RD350 was at max adjustment on the lever perch and the clutch action was a bit stiff so I removed the left side engine cover to clean things up. The cover locating dowel on the bottom was a little corroded so it took some wiggling and wobbling to get it free. Inside I was rewarded with an ignition/alternator assembly that looked nearly new. The screw heads are un-boogered and the cad plating looks like new.

I paid quite a bit for this motorcycle but it’s been worth it as the bike has seen very few ham-fisted sorties into the mechanical aspects of the thing. The sprocket area was well covered in chain grease so I needed to bag up the alternator and clean the area.


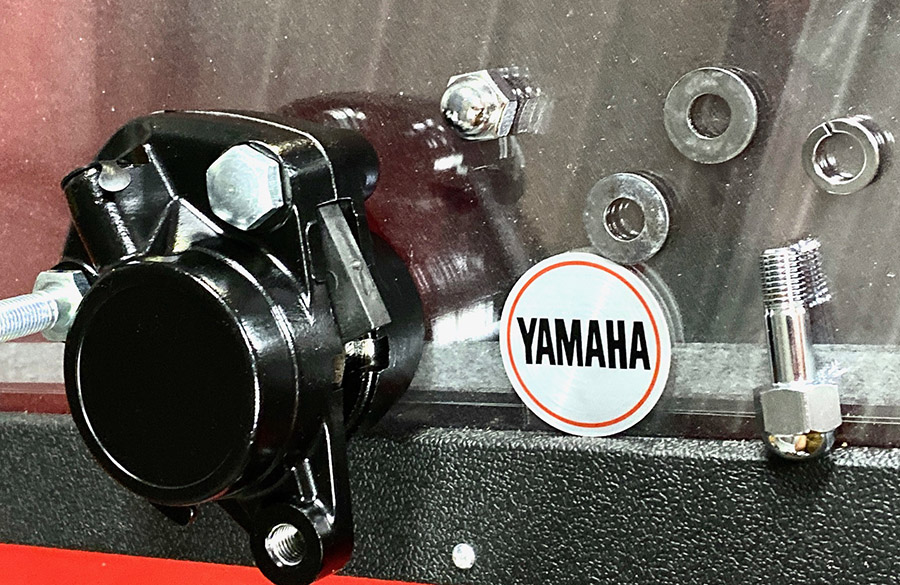
Cleaning the clutch release and countershaft sprocket area revealed that the parts were also nearly new. I dismantled the clutch actuator and cleaned up the cover.

I encourage others to leave original finishes alone but the left side cover was missing a lot of paint and had that white corrosion patina that speaks to poor maintenance. A rattle can of Rustoleum satin black matched the original engine color well so I gave it a little squirt. Note I did not polish the bare aluminum parts or touch up the points cover. That stuff wasn’t too bad.
 While I had the clutch helix cover apart I decided to install a new chain. I’m not one of those, replace-it-all-or-you’ll-die, type of guys. If the sprockets look unworn I’ll slap a new chain on the old sprockets. I realize this is hearsay in the Big-Sprocket boardrooms but those guys are in the sprocket selling business. The RD sprockets look like new so don’t worry, it will be fine. One glitch was the old tire is a 3.75-18 IRC, the bike calls for a 3.50-18. The narrow swingarm of the RD can barely accommodate the extra ¼ inch. I had to adjust the chain a wee bit tighter than I like to keep the tire from rubbing the front of the gusset. That problem will be solved when I replace the tires.

The RD350 uses a 530-size chain; that’s a pretty heavy chain for a 350’s weight and power. Once these items wear out I plan on going with one of the many 520 chain conversion kits for the RD350. With small displacement engines you don’t want to waste power spinning a heavy chain.

After greasing the clutch release helix and clutch cable, along with the perch pivot the clutch is much smoother and easier to pull in. The RD350 is geared kind of high in first gear so you’ve got to give it some revs and slip the clutch to get it off the line without bogging the thing.

With the new chain and the clutch adjusted I figured I better get the bike legal because there’s no way I’m not going to ride it. I burbled down to DNA title services in Alamogordo with all my paperwork and it was a breeze to swap the title. In New Mexico we have privately run tag agencies in addition to state run agencies. The lines are much shorter at the private places and there’s an incentive to sell you a tag or they make no money. I had my choice of yellow, blue or black tags. I chose yellow because it’s old school New Mexico, like black tags are in California. The transfer, taxes and a two-year sticker cost $265 US dollars.

Arriving home from the title place there was gas leaking from the petcock. Close examination revealed that the hoses were leaking at the petcock barbs. I replaced the leaking fuel hose and added two huge fuel filters along with those springy, compression hose clamps. We will see it the leaks have stopped next ride.

I replaced the funky original Japanese swingarm and brake pedal grease fittings with normal ones that fit the grease gun everybody else on the planet uses. All of the areas were free breathing and took grease ok which makes me think they’re not clogged with hardened old muck.
I still have quite a bit of work to do on the RD350 but it’s rideable as is. I don’t trust the old tires, besides being too big the rear tire is very out of round and who knows how old the tubes are? The front end needs new oil and seals and the steering stem needs greasing. The rear shocks are like pogo sticks. I’ll get to it when I get to it, you know?
More Joe Gresh Resurrections are here!
Never miss an ExNotes blog…get a free subscription here!


