By Joe Gresh
I first started welding when I was around 12 years old. My Pop gave me a few tips and handed me an oxy-acetylene torch. He showed me how to set the mixture with a haze of blue slightly beyond the core blue flame. He told me the filler rod is used to cool the puddle, not to melt into the gap. And he told me to keep moving when laying down a bead or you’ll burn through. With these simple lessons I never learned another thing about welding. When I worked at SWATH Ocean building aluminum boats I did a bit of MIG and TIG welding as needed for my electrical work. I could make a passible bead but I never knew why or how it worked.

At SWATH the real welders would set up the machines so that even an idiot like me could weld without an understanding of welding. We used giant, high-frequency start, Syncrowave machines that crackled all the telephone lines in a 500-foot radius. Orange colored MIG (metal inert gas) spool guns tied to large power supplies were strategically placed throughout the vessel making it super easy to attach brackets or braces as needed. During working hours the air inside the boats sparkled with aluminum dust and smelled astringent from the inert argon gas. We used to joke that cigarette smokers were the healthiest workers at SWATH because they breathed through a filter.
Over the years I’ve lost the muscle memory for welding and my beads are a jumbled mess. My hands are shaky, my near vision is compromised and I can no longer make presentable welds using any process. I’ve decided to educate myself on welding in general and welding processes that didn’t exist 40 years ago. Thanks to the global economy, welding machines (like most electronic products) have dropped dramatically in price. The advent of the small inverter welder for home use has been a giant leap forward.
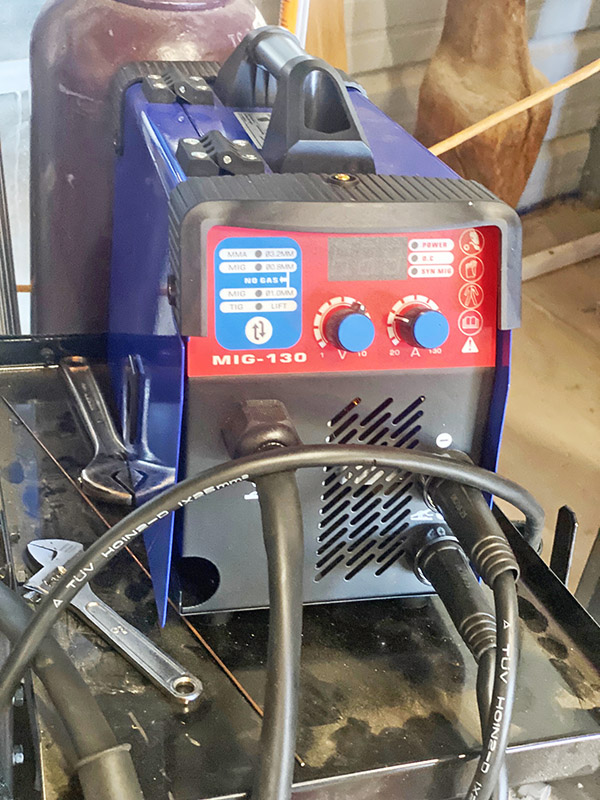
I purchased this Vevor 130 multi-process machine from Amazon for only $120, shipping included. The Vevor runs off a standard 115-volt wall receptacle. In the past (where I spend most of my time) a machine with this capability would be ten times the price. The “multi” in multi-process refers to the Vevor’s ability to weld with flux core spooled wire, stick weld or TIG weld. The unit came with all the cables and guns needed for each type of welding process. It did not come with a cart, argon bottle or flow meter. The Vevor is meant for welding steel but there are some stick (also called MMA for Manual Metal Arc) rods available that will weld stainless. You might be able to weld stainless with the Vevor TIG (tungsten inert gas) torch but I haven’t tried it yet.
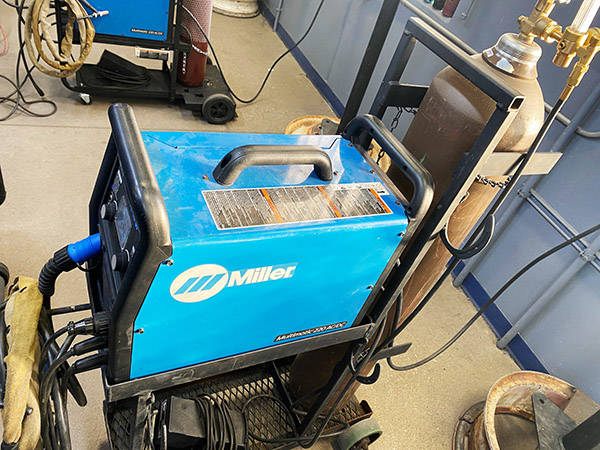
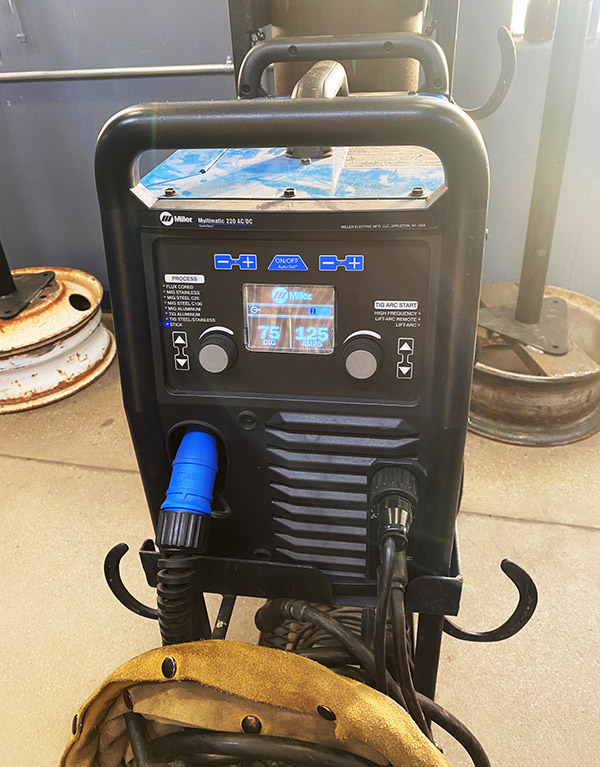
In stick mode the Vevor is a pretty standard welder like the ones that have been around forever. The old buzz boxes put out alternating current unless you bought an expensive AC/DC box. I had a Miller 225 AC/DC unit that suffered from a lightweight transformer and it was a bitch to strike an arc with the thing. As soon as the stick drew current the voltage would drop and weld the stick to your work. My Pop’s old Lincoln AC welder weighed a ton and I could strike an arc easily with that machine. Hysteresis matters when it comes to the old-style arc welders.
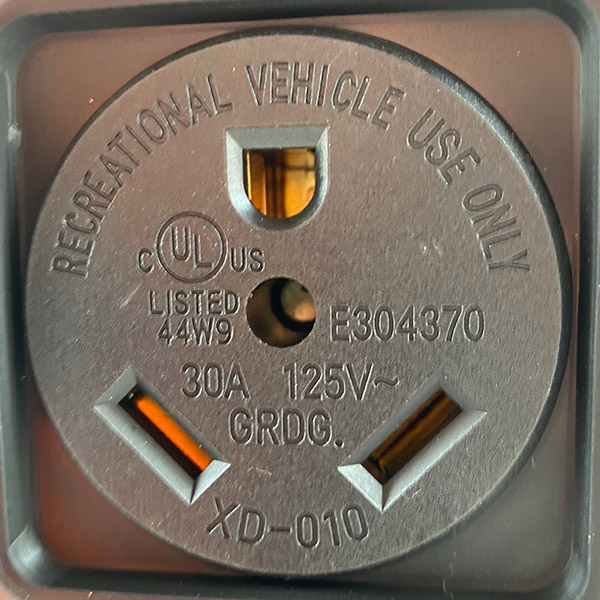
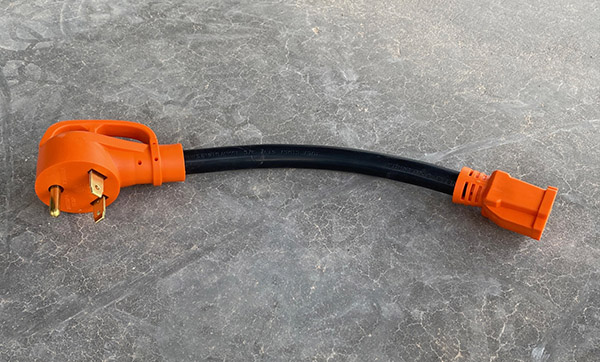
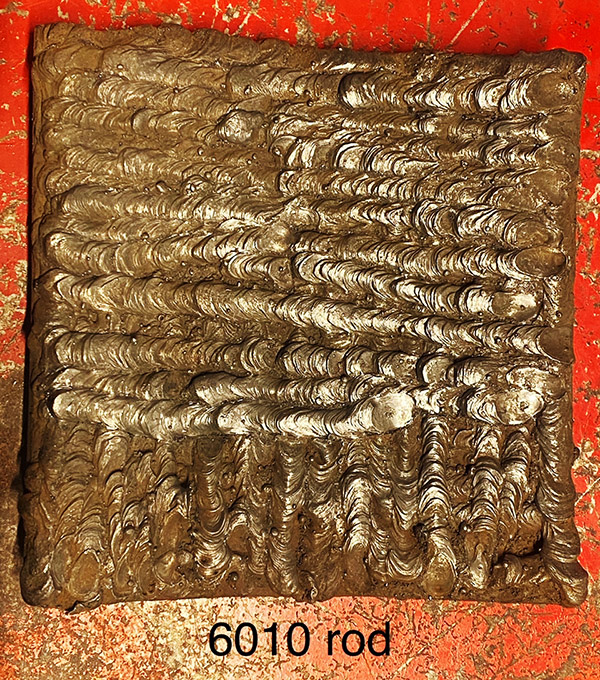
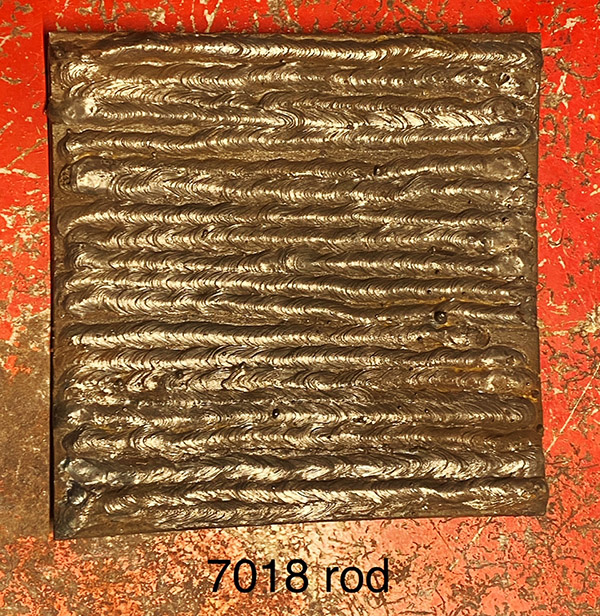
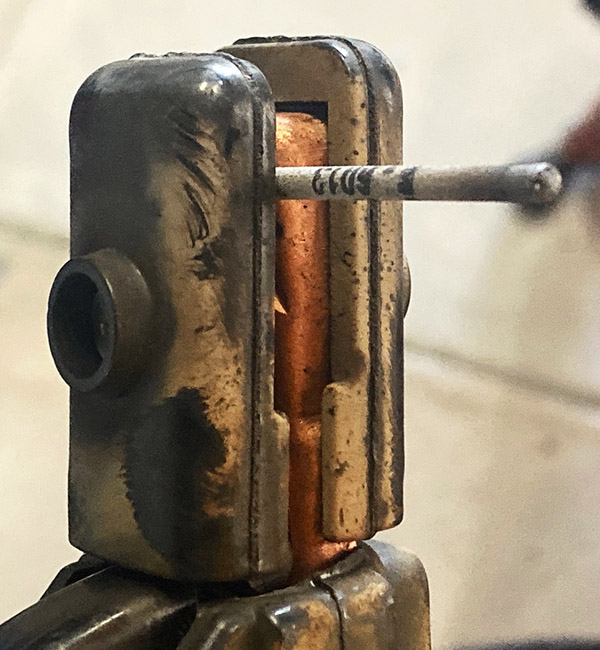
The Vevor puts out DC current all the time and being so light it’s hard to get the thing going in MMA/stick but if you scratch around long enough you can get an arc struck. Once burning, the Vevor seems to work like any other arc welder. Rated at a doubtful 130 amps, my Vevor tripped the 15-amp breaker in the shed at around 90 (indicated) amps. You’ll need at least a 20-amp rated receptacle to access all 130 amps, maybe even a 30-amp socket. Like all welding, stick welding is an acquired skill. The rod is continually getting shorter so you have to move your torch hand closer and closer to the work to maintain the correct distance. When your glove starts smoking it’s time to stop and get another rod. You’ll need to practice quite a bit before you make decent looking beads with stick. There is also a bit of splatter with stick.
Flux welding is a lot like stick, except instead of flux-covered rods you use a spool of steel wire with the flux inside. Flux core seems the easiest process to me. Setting up the machine is important but once you’ve got the wire speed and amperage right it’s pull the trigger and go. And go you can because you don’t need to stop and clamp a new rod in the holder to replace the ones you’ve consumed. The welder keeps feeding wire to the gun at a pre-set pace and your hand maintains the same distance the whole way through. Eventually the spool will run out but that’s after many feet of weld beads. Flux core also starts easy, for me anyway.
Flux core also splatters a bit like stick, maybe less. It’s no big deal (you can knock off the slag and balls of spooge afterwards). I am a total rookie at flux welding so I’ll need a lot more trial and error to get things right. Most YouTubers will tell you to buy a better roll of flux wire as the roll supplied with these cheap welders is not so great. After I run out I’ll buy a name brand roll of flux core to see if it makes a difference.
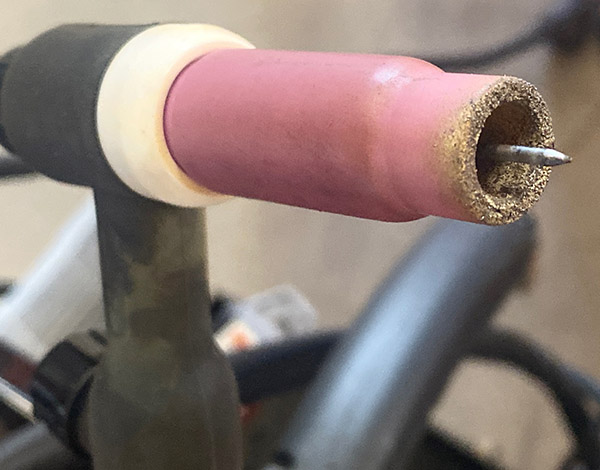
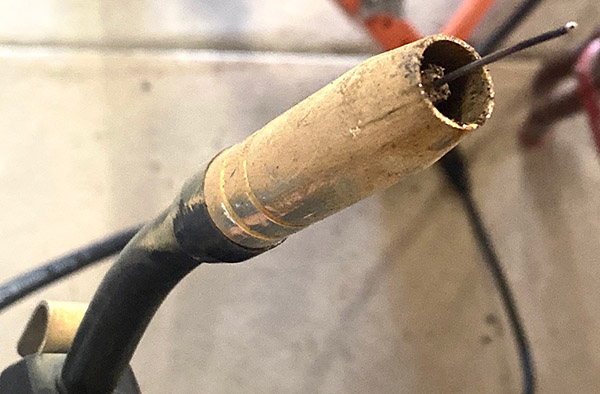
TIG (tungsten inert gas) welding is the coolest process of all. TIG usually uses an argon gas bottle to supply a flow of shielding gas to your weld. The actual process of welding is similar to oxy-acetylene welding except the torch is electric. With argon you don’t need flux but your material needs to be fairly clean. Unlike stick welding, you can’t just plow through rust and contaminated metal. TIG uses a tungsten rod as an electrode, but the rod is super tough and does not get consumed very fast.
My biggest problem with the Vevor in TIG mode (besides the fact that I am a terrible welder) is I forget to turn on the argon gas at the torch handle resulting in a burned mess and contaminated tungsten. More expensive machines do this automatically. The Vevor uses TIG lift, a method to strike an arc that seems to work fairly well most of the time. The expensive machines I mentioned above have a high-frequency start that keeps you from sticking the tungsten into the work and contaminating the rod. The TIG lift system works pretty well, I have no problem getting a TIG arc started with the Vevor.
With TIG you’ll usually need to add in filler rod just like torch welding. This is another hang up for me as my control of the filler rod is shaky. I often stick the rod onto the tungsten then I have to stop and clean the tungsten before going on. Dirty tungsten produces a crazy arc that wanders around or shoots out the side. The melted weld puddle is all over the place. It’s like playing whack-a-mole when this happens.
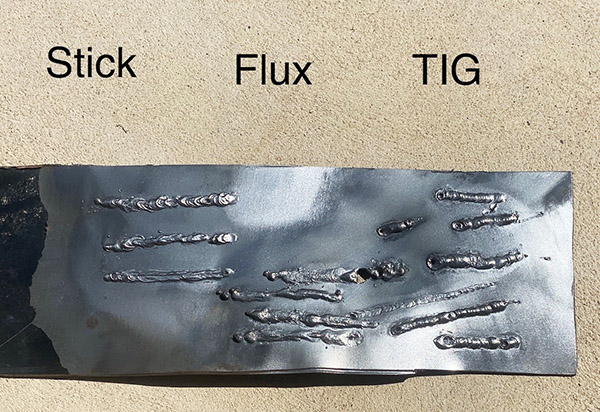
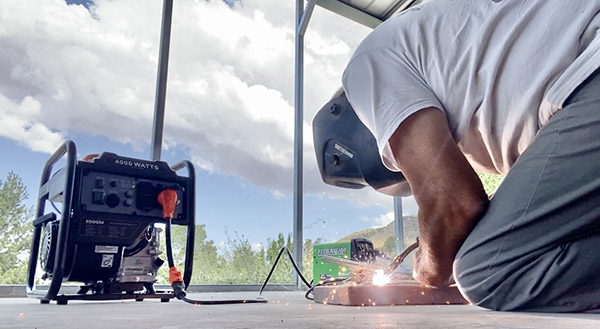
As I’ve said before, I’m a terrible welder so don’t hold these sample beads against the Vevor 130. A welder who knows what he’s doing will have no problem making decent beads with this machine. I am practicing on thin sheet metal mostly because I have a lot of it I cut out of an old file cabinet, and welding thin metal develops a better feel for heat control. I’m constantly burning through thin stuff. In these sheet metal samples the TIG produced the best-looking welds, although all of them are horrible.
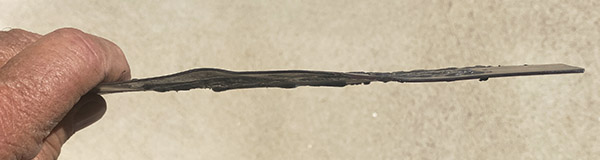
As you can see from the backside, penetration on the thin steel was not an issue. Everything I did was too hot and was on the verge of burning through.
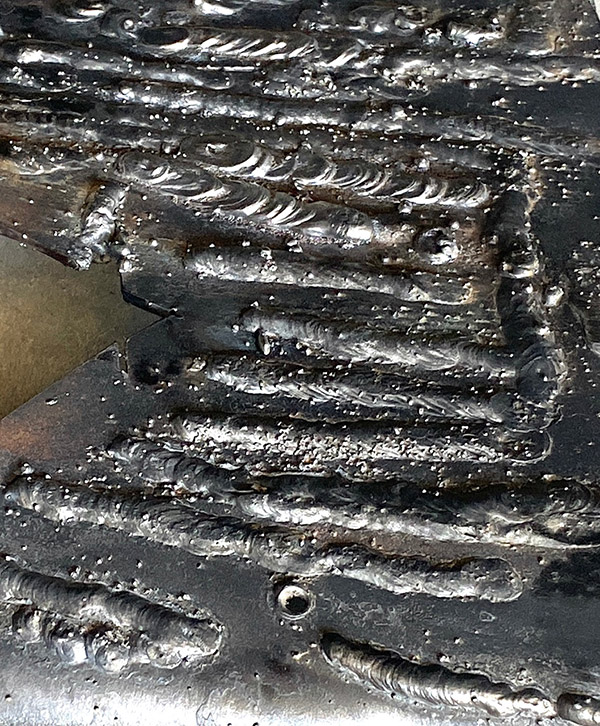
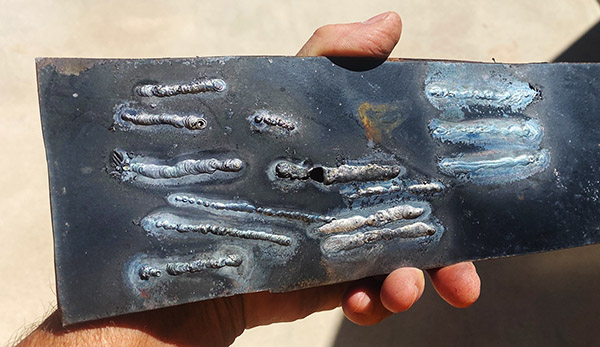
The above samples are on 1/8-inch thick steel. It’s an assortment of stick, TIG and flux core. If you look closely, you’ll see fleeting moments when everything was going well, followed by disaster. I give the $120 Vevor 130 high marks for economy and it really does weld all three processes. I haven’t yet welded long enough to overheat the machine, a common problem with cheap welders. If you want to weld 8-hours a day, you’ll need to spend a few thousand dollars.
I’ve been watching tons of how-to-weld videos and I plan on taking a welding class at NMSU next semester (Go Aggies!), my goal being to sort this mess out and produce some decent welding before I die. Note: All the samples in this story are just running beads. It’s harder to actually stick two pieces of metal together. Hang around ExhaustNotes.us long enough and you’ll see if I ever do become Vulcan.
Please visit our advertisers!