
In our prior two blogs on reloading .45 ACP ammunition, we discussed the equipment and components needed, and the first steps (cleaning the brass, case resizing, and depriming). If you’d like to catch up on those two steps, you can do so on our Tales of the Gun page. In this blog, we’re going to continue the reloading process.
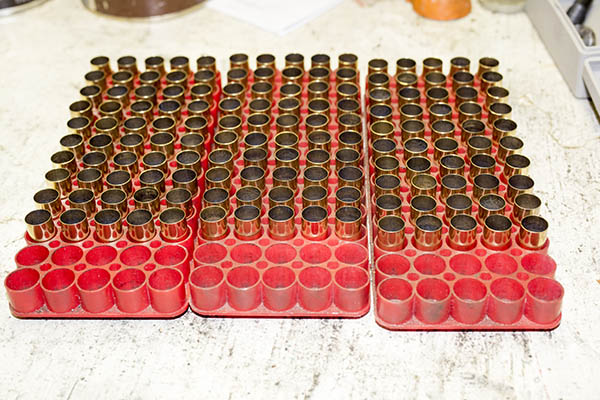
So here we are, with 150 cleaned, resized, and deprimed .45 ACP cases neatly arranged in three reloading trays…
We’re now going to use the second die in our three-die .45 ACP set. It’s the die in the middle of the photo below…
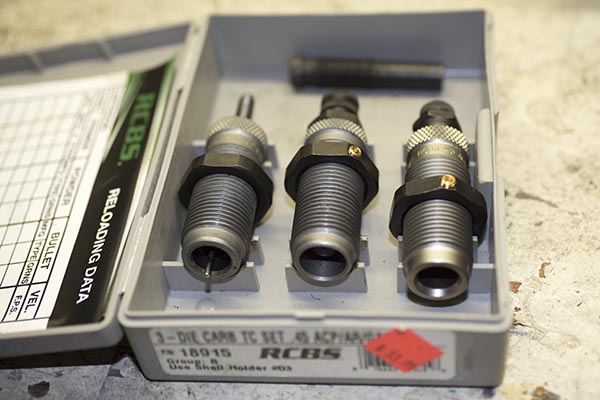
The die is the expander die. It has an insert that opens the case mouth to the required diameter. It also flares (or bellmouths) the forward rim of the case to accept the .45 bullet.
The drill here is to thread the die into the press.
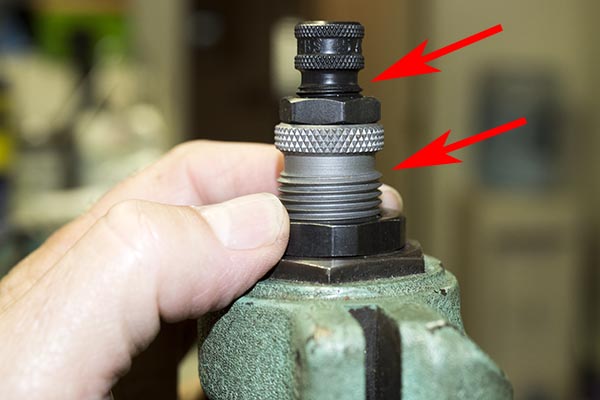
You’ll need to grab a bullet to assess this adjustment for the amount of case mouth flare. Once the die is adjusted so that the bullet just enters the flared case mouth, lock the die and the expander plug into position with the locknuts shown in the photo above.
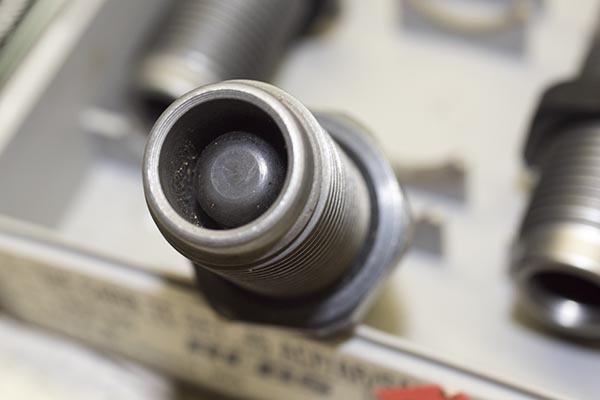
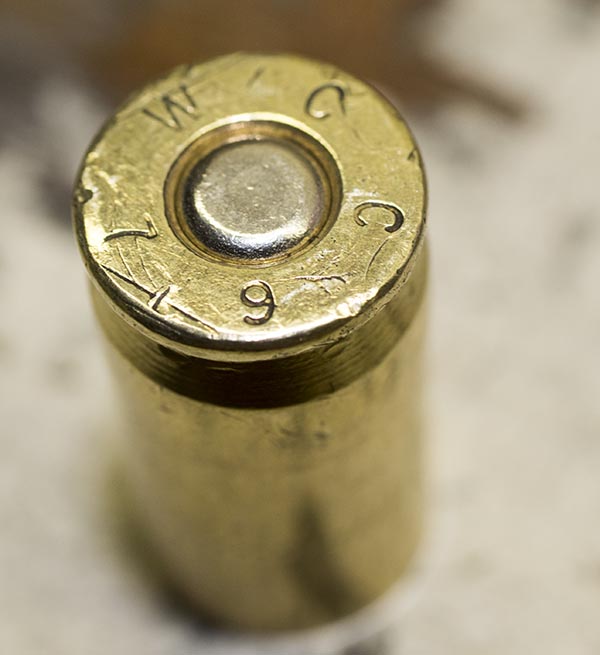
This next photo shows a .45 ACP case that has been expanded and flared.
As you can see in the photo below, the slight case mouth flare now allows the bullet to start into the case.
Once the flare is acceptable, we lock both die locknuts and run all of our cases through the press. This concept of doing one step on all of the cases at the same time is an important part of the reloading process. We want to do each step on all of the cases in one run to assure consistency from case to case. It’s this consistency that leads to enhanced accuracy.
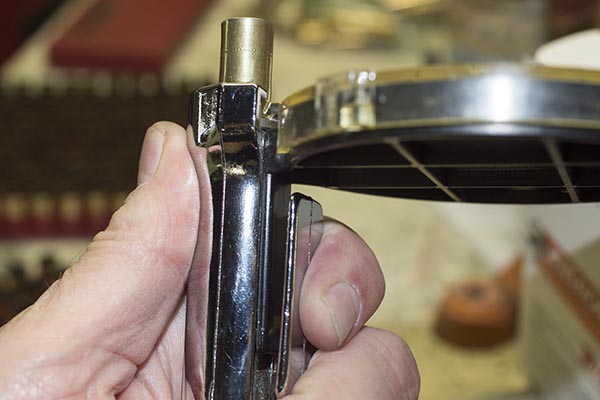
Once all of our cases have been through the above operation, we can now move on to priming, and at this point, it’s time to introduce another optional equipment item. Most reloading presses come with a priming arm, which is a feature that allows inserting a new primer on the press downstroke. I don’t use this feature any more, as it never performed consistently enough for me. Instead, I purchased a separate priming tool made by Lee. It’s what you see in the photo below.
And we’ll need primers. There are two or three primer sources. I use whatever I have available, and for now, that’s Winchester. CCI and Remington also offer primers, and maybe a few other companies. I buy whatever the store has available. I’ve not found that primer brand makes any difference in accuracy.
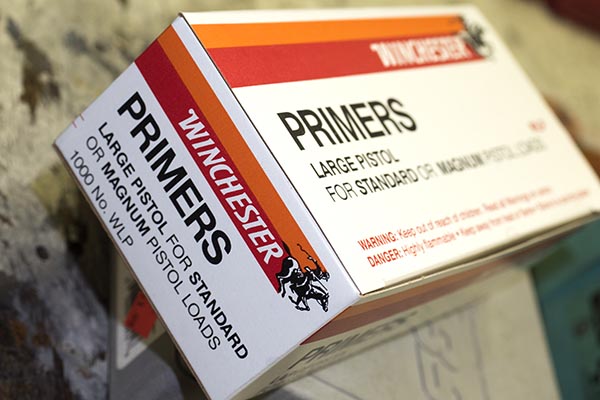
The box you see above holds 1,000 primers. There are 10 trays of 100 primers each…
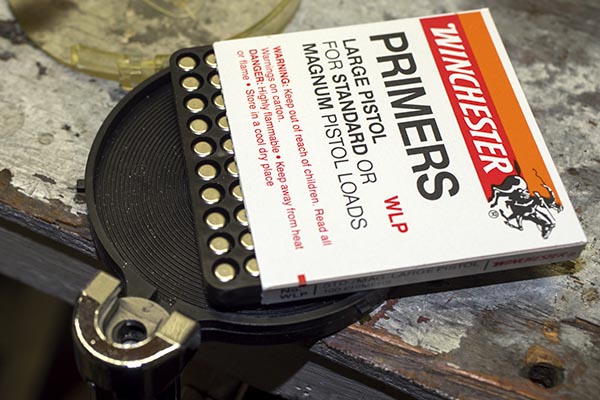
The next step is to add primers to the primer tool. We have to remove the priming tool cover (you do so by rotating it a few degrees), and then adding the primers to the priming tool…
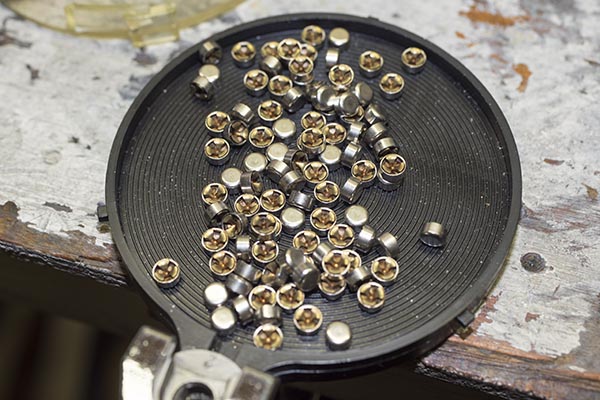
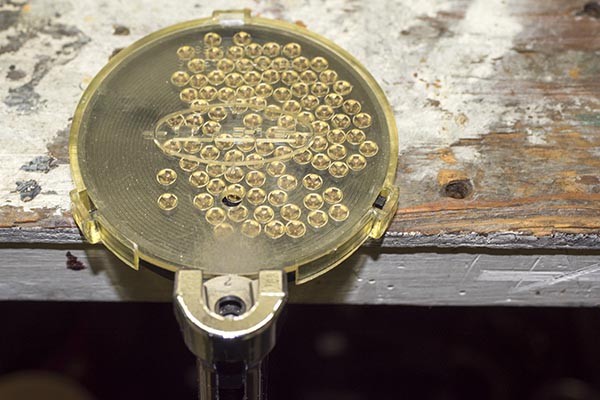
When you drop the primers into the reloading tool, take care not to spill any outside the tray. They’ll be facing up, down, and some will be on their sides, as you see in the photo above. See those little concentric striations in the priming tray? They serve a purpose. The trick here is to jiggle the priming tool slightly from left to right, and it will make all of the primers orient in the face up position, like you see below. Don’t shake the priming tool too hard, or primers will go flying out. Jiggle it just enough to get them all facing up.
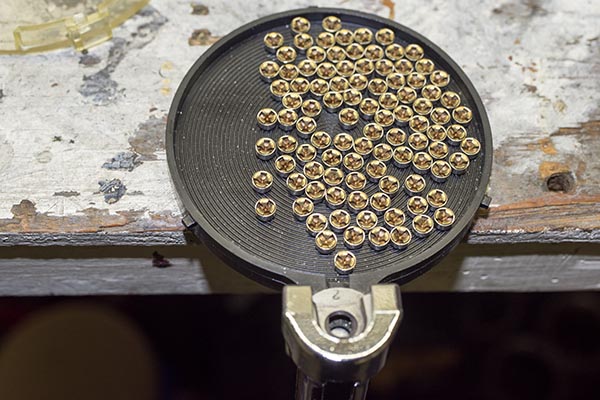
Once all of the primers are face up, reinstall the priming tool tray cover.
At this point, jiggle the priming tool again to feed a primer into position.
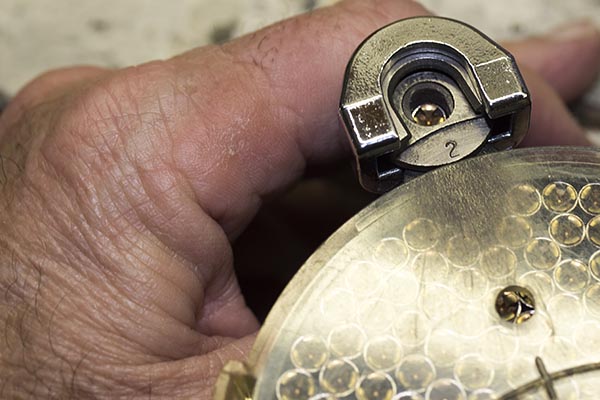
We can now insert a .45 ACP case into the shell holder, squeeze the priming tool handle, and a primer will be seated into the case.

And there you have it. We’re going to repeat this operation to prime all 150 cases. That, my friends, is enough for today.
We’ll complete the reloading process in our next and final .45 ACP reloading blog.
Me? I’m headed out to the range this morning, where I’ll be firing reloaded .45 ACP ammo prepared just like I described here. I’ll grab a photo or two show you, too.
Stay tuned!
Want to read more about reloading and our other cool gun stories? It’s all right here on our Tales of the Gun page!