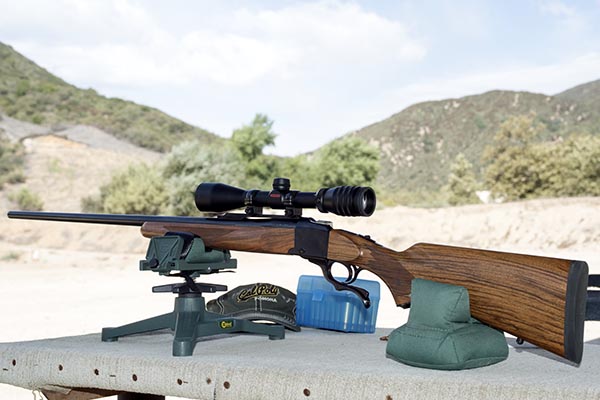
I have good news and I have bad news, like my old platoon sergeant used to say. The good news is that the .257 Weatherby chambering issue that I wrote about in the last blog is in the rear view mirror. I learned the secret handshake from RCBS tech support, as I wrote in a previous blog. More good news is that I loaded several more combinations of propellant and charge weights (all with the Sierra 100-grain jacketed soft point bullet) and I saw a few loads that show promise. Nothing really great yet, but better than I’d seen before I solved the chambering issue problem. I’ll show you the results in a second or two.
Reloading .257 Weatherby Magnum Ammo
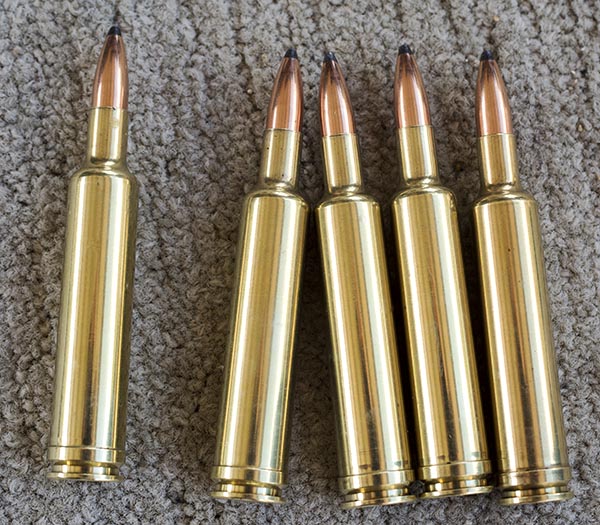
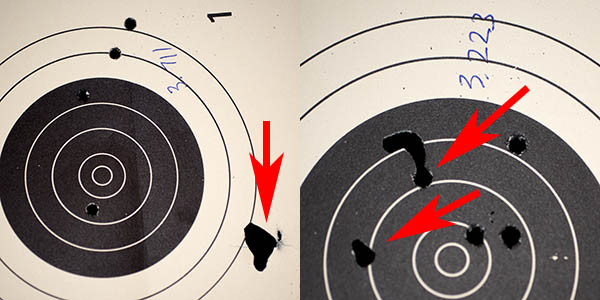
The bad news? Well, it goes like this. Some of the bullets broke up in flight, and I’ve got the evidence on target that proves it. You may recall that I wrote about that in the first blog on the .257 Weatherby Ruger No. 1, and at that time, I attributed it to the varmint 87-grain bullets I used for those loads. My thought then is that they were thin-skinned varmint bullets designed to explode on impact, and pushing them at .257 Weatherby velocities (with the consequent aero heating and centrifugal forces) induced the failures. It’s what made me step up to the 100-grain Sierra bullets, as I thought the heavier bullets might drop the muzzle velocity enough that this would not occur again.
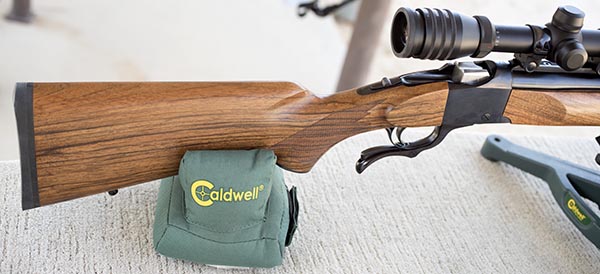
.257 Weatherby Accuracy Testing
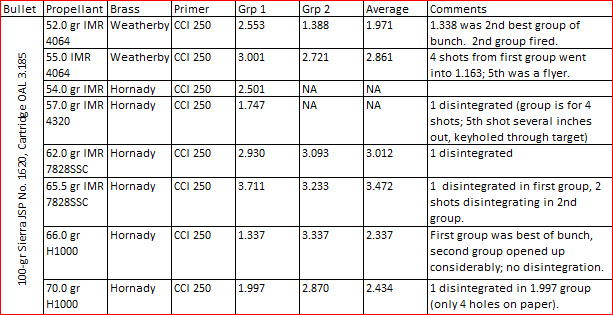
My results on the range with my new loads were a bit disappointing. The rounds chambered okay, but the groups were nothing special and in most cases, downright discouraging. And like I said, I could see that some of the bullets were tumbling and disintegrating in flight. Here are my results from the latest accuracy tests:
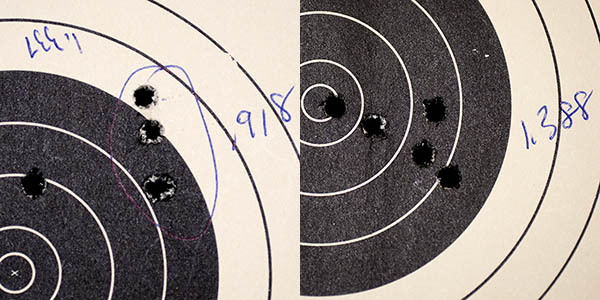
This is what it looked like on target for the best groups that experienced no inflight disintegration:
And here’s what bullet breakup/disintegration looks like on target:
Sierra’s Inputs on Bullet Disintegration
I had such good luck calling RCBS tech support on the chambering issue that I thought I would call Sierra and talk to their engineer, and that’s what I did. I found their number easily on the Sierra website, and a minute later I was chatting with Phil, the Sierra tech guru. Phil listened patiently as I explained what I was seeing on my targets and then he gave me his take on the situation. He agreed that what I was seeing was clear evidence that the bullets were failing in flight. My first concern was that the extra long Ruger barrel might be causing the breakups (it’s 28 inches, as opposed to other .257 Weatherby Magnum rifles that have 24 or 26 inch barrels). Phil said the Ruger’s extra 2 inches would make the muzzle velocity higher, but it wasn’t enough to cause this problem.
Phil pointed me in two or three directions. His first thought was that the barrel might have an imperfection induced either by a machining anomaly or being too dirty. He advised me to thoroughly scrub out the barrel and then inspect it carefully. I felt a bit uneasy (maybe guilty is a better word). I clean my guns after every range session, but I’m not a fanatic about it. Another thing that made this hit home for me is that in both recent range visits, I shot some of my best groups early in the sessions (while the barrel was cleaner). That made me wonder: Maybe there’s enough crud left in there from the prior session that after the first or second group it attracts more copper and combustion fouling and that’s what is killing accuracy. I poked around a bit on the Internet and other folks have commented that these rifles require cleaning every 15 or 20 rounds. Hmmm. I typically test 50 in a single range session. I have the barrel soaking with Butch’s bore shine as I write this blog, and there is a lot of copper fouling coming out. I hope that’s enough to solve the problem. If it’s an errant machining artifact, that means the rifle has to go back to Ruger, and I really don’t want to go that way.
Phil also advised me to take a look at my resizing die. He directed me to carefully check the expander button. It’s the part that opens the case mouth just enough to assure an interference fit with the bullet. If the expander has a scratch or burr on it, Phil said, that will transfer to the case mouth inner diameter, and that could damage the base of the bullet. That, too, could account for the bullets breaking up in flight. Along these same lines, Phil recommended lightly deburring the case mouth’s inner edge. I had done that on these loads, so I’m thinking that may not be the issue. But I’ll do it again on the next reload.
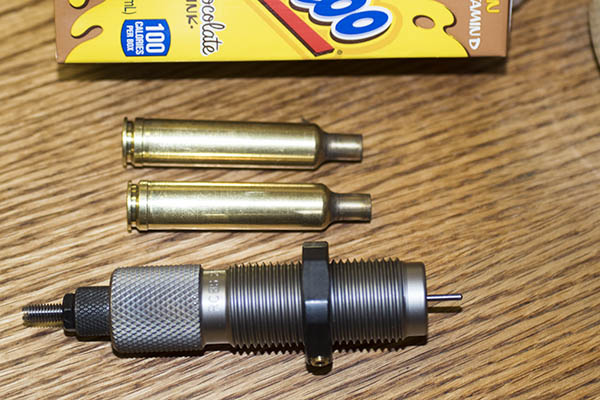
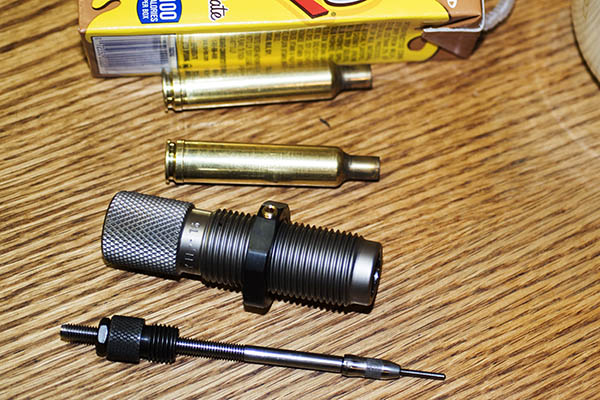


So I’ve got the bore soaking with bore solvent and I’ve been working on it for about a day now. There was a lot of copper in there, and it’s still coming out a few atoms at a time (I figure the bore will be copper free by Christmas at the rate I’ve been able to remove it). I’ve polished the expander button as you can see above. And, I’ve resized 20 cases that I’ll reload this afternoon at the lower end of the spectrum to see if I can get tighter groups out of my .257 (those cases are in the tumbler/polisher now). If all goes well, I’ll be back on the range in another day or two, and I’ll let you know what happens right here on the ExhaustNotes blog. I’ve been drinking my Yoo-Hoo, so things should go better.
For our earlier .257 Weatherby blogs, click here.
Don’t forget: Sign up for automatic email notifications here.
