I’ve finally finished the new floor in The Shed® at Tinfiny Ranch©. I didn’t really want to mix and pour the floor myself but events out of my control lead to that fateful decision. To understand how the floor ended up like it ended up you have to have an understanding of those aforementioned events.
The first thing everyone asks me is why didn’t I pour the floor first. It’s a valid question. The reason the shed went up on graded dirt had to do with time and money. Money was a problem because we had just bought Tinfiny ranch and our house budget allowed for a building or a slab, but not both.
Time was a problem because we were moving from a 3000 square foot rental house into a 600 square foot garage converted into a one bed, one bath home. All that junk from the big house had to go somewhere and renting a storage shed was out of the question. We were done renting crap.
We ended up buying a 30 X 50 Eagle Building for $13,000. Eagle buildings are the best square foot per dollar on the market and that price includes assembly on your land. The buildings are designed with a continuous steel sill that can be set up on bare ground as long as the ground is fairly even. No foundation needed.
The bad part about Eagle buildings is that they are not super heavy duty. They are a little stronger than a typical metal lawn building but not nearly as strong as a Mueller type building. Mueller buildings are very sturdy but cost twice as much as an Eagle and are delivered to your land on a series of pallets. You have to assemble the building yourself. Muellers also require a pre-poured slab with a foundation and all the attendant costs associated. I priced a 30 X 50 Mueller at $23,000. The foundation and slab was $26,000 from a local contractor. That $49,000 left you with a nice slab and numerous stacks of steel: you still had to build the building. I got a price of $6000 to assemble the Mueller from another local contractor.
Besides the fact that we couldn’t afford the Mueller and all that the Mueller involved, it would have been many months before we had storage for our junk. Three weeks after we bought the Eagle Building it was erected on Tinfiny Ranch and full of the junk we had dragged across country along with furnishings from the big rental.
I tried to get a local guy interested in pouring the shed floor but the job must have seemed too involved what with the building already in place and full of junk. I gave up for a year; just let the situation stay as is for a while. Then mice started burrowing under the edge of the building and wreaking havoc.
One of my Internet buddies is fond of saying, “Do it right or don’t do it at all.” He’s right, of course, but “Don’t do it at all” was not an option. That left “Do it wrong.” Sometimes in life stupid moves are the only moves you have left.
I started shunting junk towards the middle of the shed and pouring small sections whenever I felt in the mood. The solar power junction area was the first section I completed which allowed me to finish the off grid power system and shut that damn generator off.
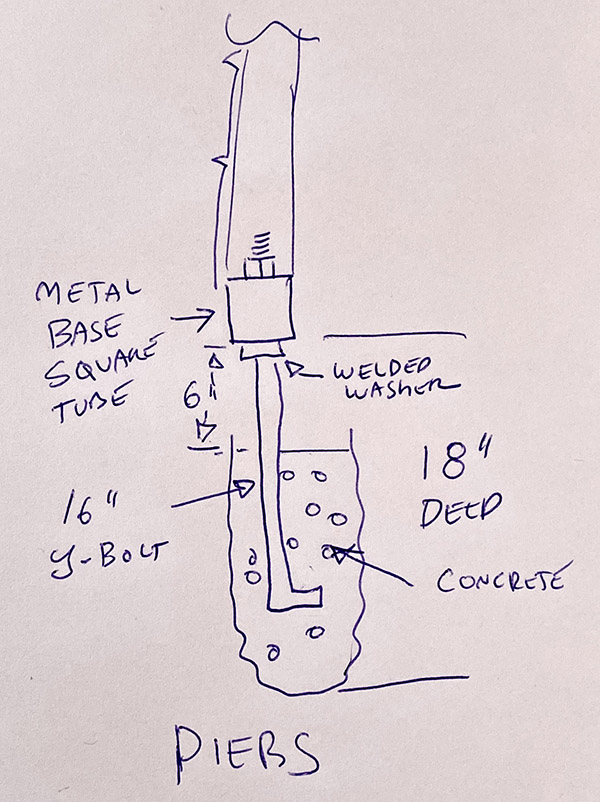
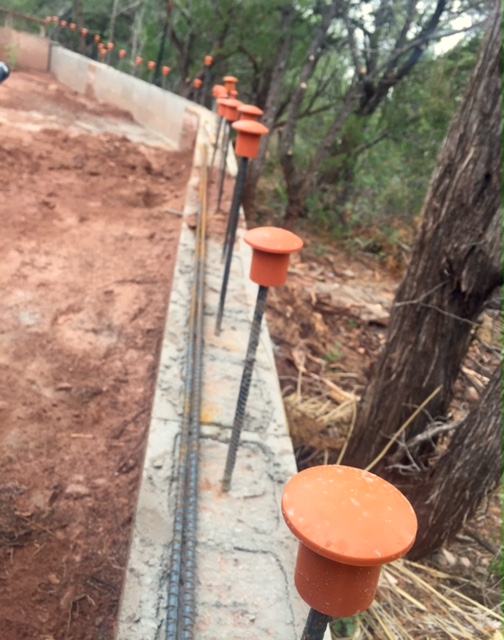
The shed needed a foundation so I poured 16-inch J-bolts every 4 feet or so and once they were set I could excavate under the edge and pour a section of footer. I may not have needed the support from the J-bolts but the Eagle was flimsy and if the thing sagged or buckled even a little it would be a bear to fix. I erred in favor of not buckling the shed.
Progress was slow because there was so much stuff stored in the shed I could barely make room for a pour. When she wasn’t working CT and I would go through the hundreds of plastic tubs and each time we got rid of a few. Pieces of furniture neither of us liked were donated to the thrift store. Slowly I made headway and had enough room to build a loft where a couple hundred tubs of really good junk could be moved. The floor space kept increasing and I kept pouring.
The job was not a continuous thing. I might work on it one week and leave it for a month, or 4 months. Mice were a blessing and a curse. Once they chewed up an item or tub full of clothing it was an easy decision to take it to the dump. The dust was incredible; each breeze sent a cloud of fine sand whirling around the interior of the building.
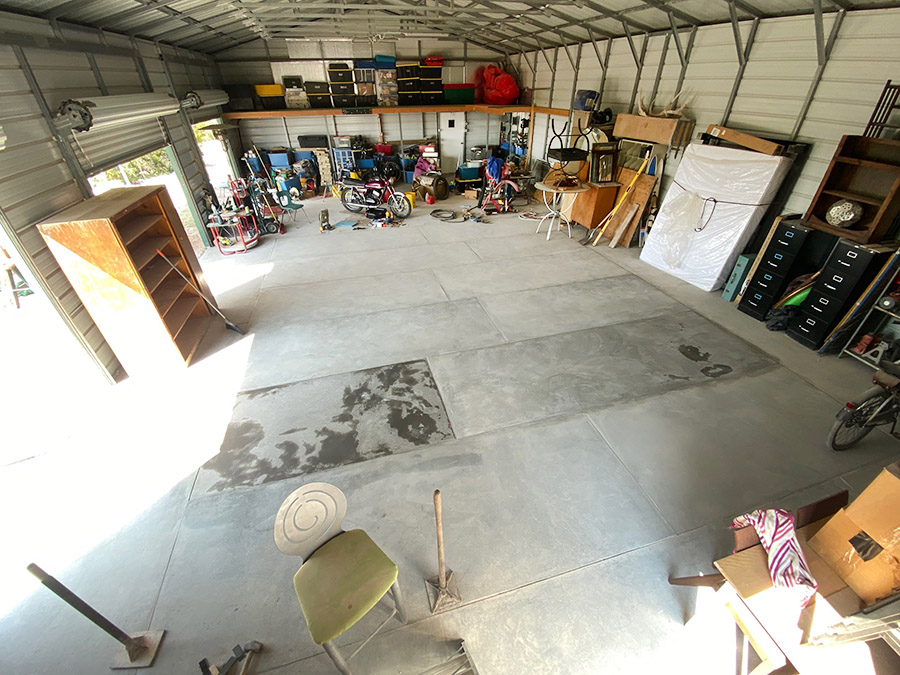
I’ve been sporadically working on the shed floor for 3 years. It was overwhelming at times but as I got closer to the finish line I kicked it into high gear: This last month I could smell the barn if you don’t mind that sort of lame wordplay. It’s funny, I have no common recollection of the work I did. I mean, if I think about it I can remember pouring each slab but I feel no personal connection, the slab is just a slab, like it has always been there or I hired a guy to do the job. It’s enough for me that the floor is done and done wrong. Let’s take a look at the numbers:
-
- Number of individual slabs poured: 35
- Average number of 60# bags per pour: 42
- Thickness of floor: 4-inches
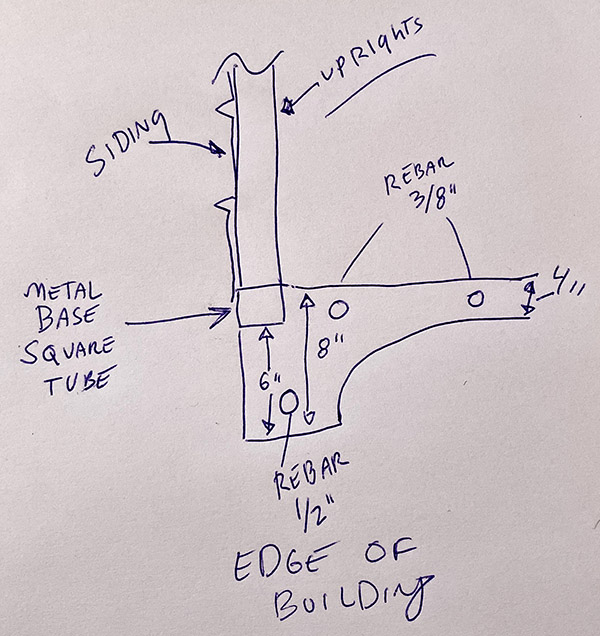
- Thickness of footing: 8-inches
- Thickness of sheer wall footing 10-inches
- Number of 60# bags of concrete used: 1500
- Total weight of concrete: 90,000 pounds
- Amount of concrete in square yards: 22.5
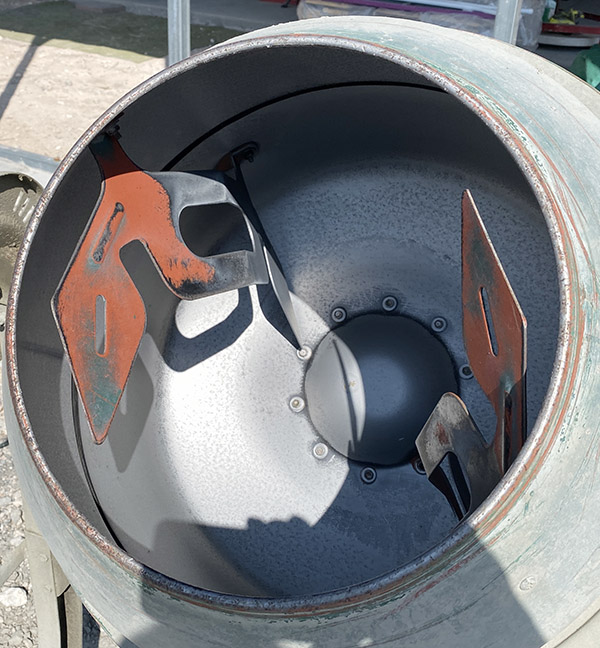
- Number of loads mixed @ 120# each: 750
- Number of 16-inch J-bolt piers: 45
- Estimated man-days to pour slabs: 80
- Cost of concrete: $4410
- Number of feet of ½” rebar: 250
- Number of feet of 3/8” rebar: 1600
Never miss an ExNotes blog!
More Joe Gresh is here!
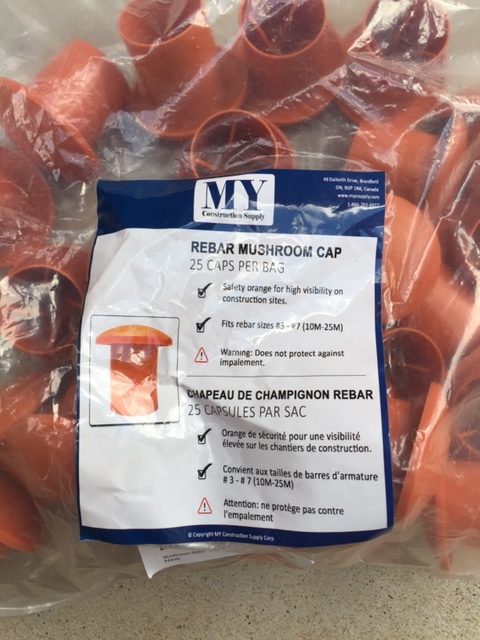 We never used re-bar caps back when I was doing construction. I don’t think they had been invented yet. It was a different time: You had to be tough, man and I was. If you tripped and fell onto an exposed re-bar the thing would go clean through you and out the other side. The jobsites I worked on were grisly with dead men impaled on rusting steel. I’ll never forget that smell. In the hot Florida sun the bodies bloated fast, seemingly still alive as they twitched and waved a stiff, blackened hand each time a bubble of gas escaped.