By Joe Gresh
The Yamaha RT1-B 360cc that I call Godzilla has been my long haul dirt bike choice for years. The old Yamaha has criss-crossed the country on dirt and on pavement and I had it set up to carry a lot of gasoline and a lot of gear. Up front, I removed the non-functional speedometer/tachometer cluster and replaced it with a luggage rack. The rack worked great, it redistributed the weight of my travel gear and made the bike handle less worse than if everything was strapped to the back rack.
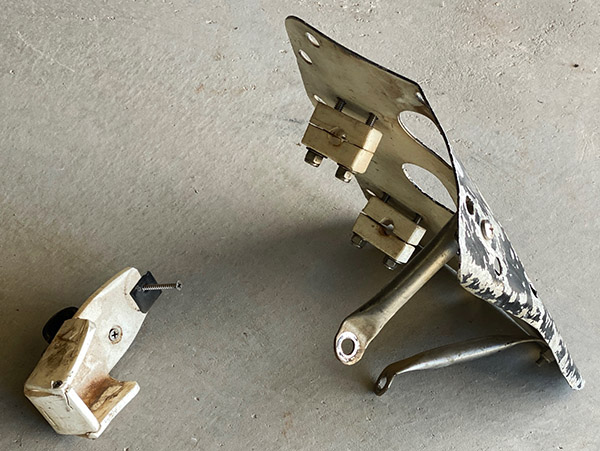
I crashed in Beaver, Utah a few years ago and mangled the front rack so I removed it for future repairs. While I was at it I got rid of the cheesy GPS mount that fit a GPS I no longer owned. Truthfully, I don’t need that stuff because haven’t been doing any long distance dirt rides lately. It seems like all my rowdy friends have settled down. Anyway, with that junk out of the way the view from the saddle was kind of sparse. I decided to freshen up Godzilla’s front end.
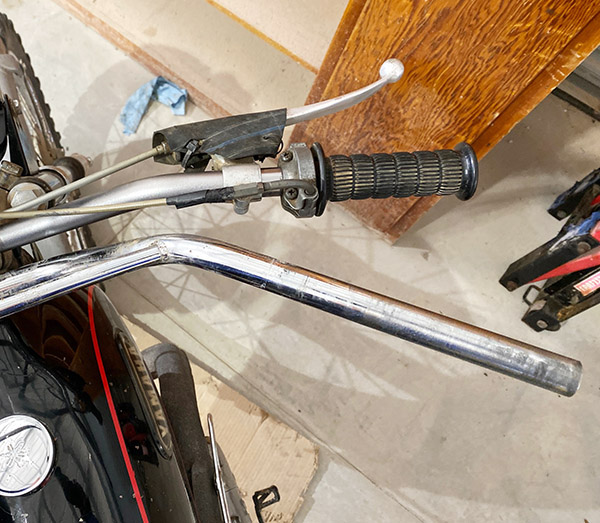
I rode Godzilla for many years with the stock handlebars (bottom bars) and they were fine. The last couple rides my wrists started hurting a bit and I think the sweep back angle was causing too much stress on my decrepit body. The bars on the Husky are almost flat across and very comfortable so I bought a new, lower, flatter bar (top bar). The new bar has no cross brace and is made of powder-coated aluminum; I’m hoping they flex a bit more to smooth out the really rough trails where I tend to crash.
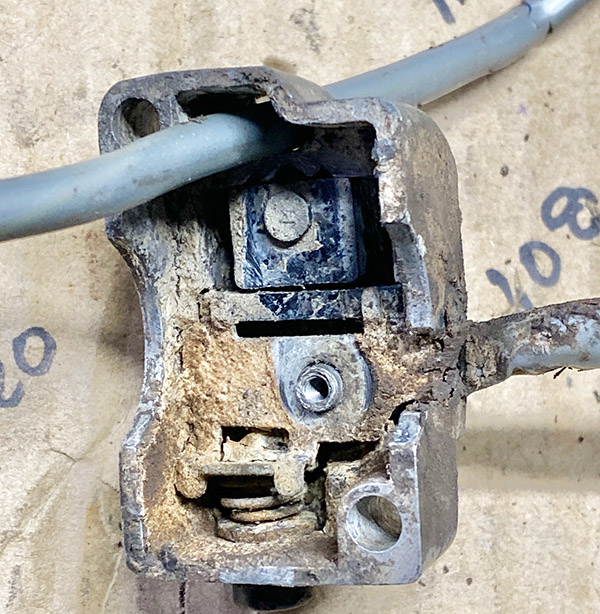
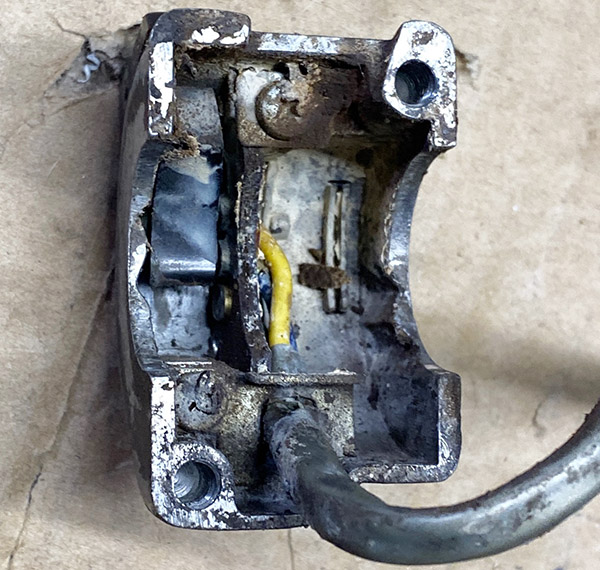
After replacing the handlebars my horn quit working. I figured that the process of removing and replacing the switch must have disturbed the rust inside so I dismantled and cleaned out the three switches in the control module. The horn button was really rusty and the other switches looked none too good, either.
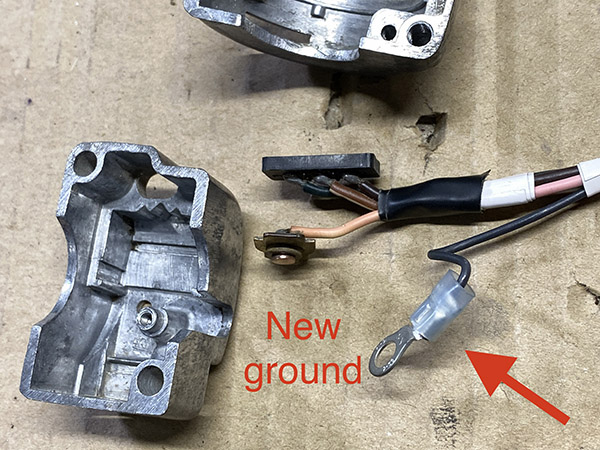
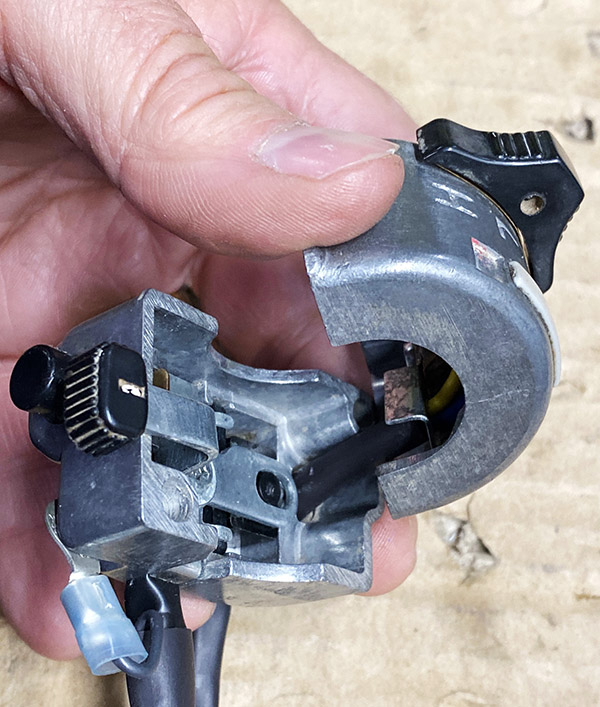
After all that work on the switches the horn still didn’t beep. The Yamaha wiring supplies the horn with power and the horn button grounds the circuit through the handlebars, triple clamps, and steering head bearings then on to the frame, which is grounded. This convoluted electrical path makes the horn go beep. I took the headlight apart and grounded the horn wire inside the headlight housing. It worked. Then I grounded the horn to the new handlebars: nothing. Turns out, powder coat is an effective electrical isolator. Instead of scraping the powder coat off to make a connection I ran an extra ground wire to the switch pod. Now I had a horn.
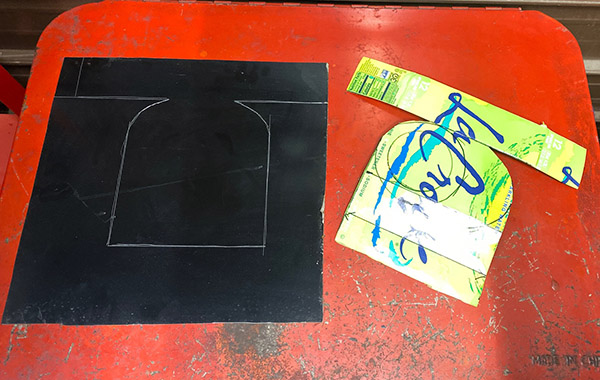
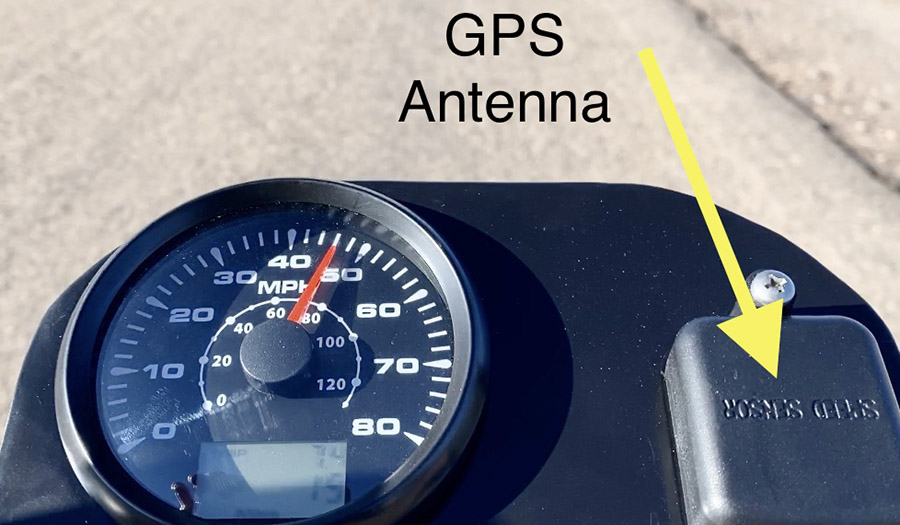
For a speedometer I decided to try one of those cableless, GPS, analog types from Amazon. The voltage input on the speedo is 9 to 32 volts and the thing powered up fine on Godzilla’s 6-volt battery. Since this fancy electronic wizardry was all new to me I also bought a 6-volt to 12-volt converter to make sure the speedo had plenty of voltage. All this junk needed to go somewhere so I made a LeCrox template and chopped the side out of a storage cabinet for sheet metal.
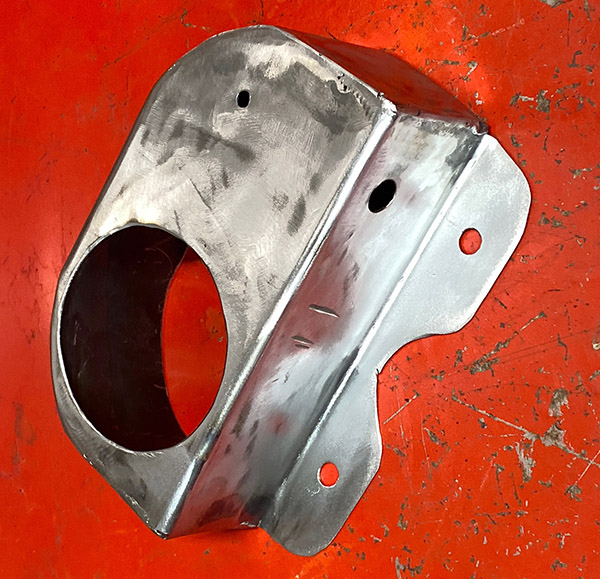
After bending and welding the gauge console I gave it a lick of spot putty and some black paint to hide the sins of my welding. Next all the pieces went into the housing and I pre-wired the speedometer so that it would plug into an unused, key-switched, 6-volt power wire inside the headlight.
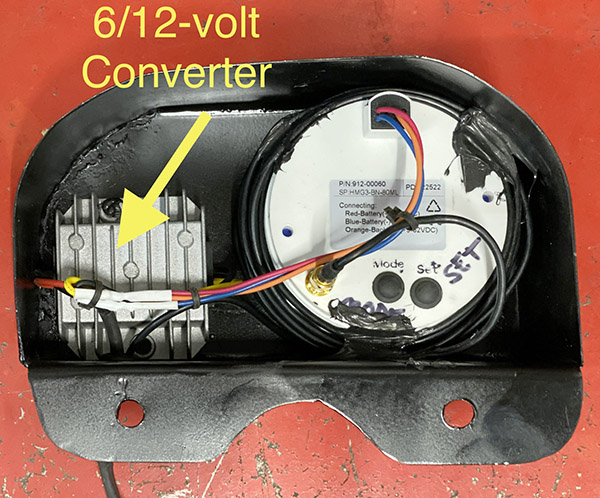
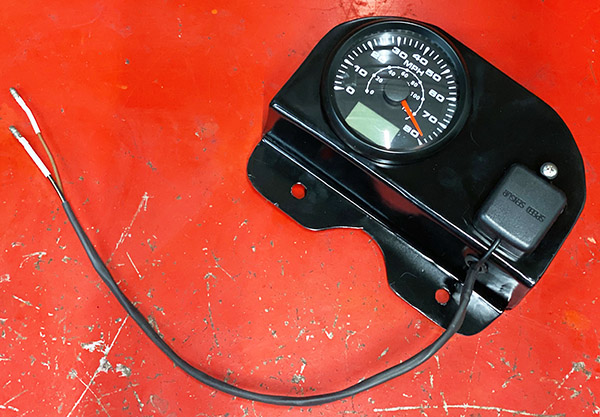
I used the existing Yamaha speedo/tach mounting base by adding a couple rubber lord mounts and assembled the whole mess onto the motorcycle. It powered up fine and was ready for a test ride.
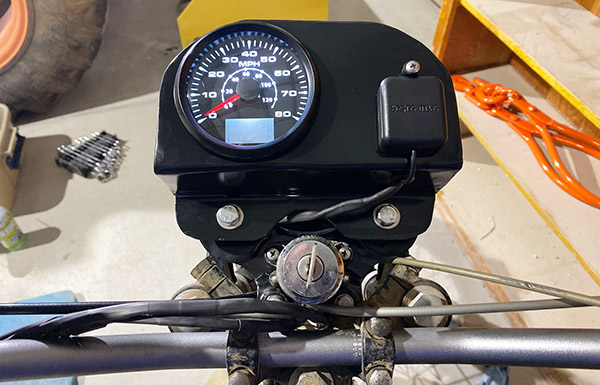
The test ride was a failure. Not because of the speedo (it worked great), but the cantilevered gauge console flexed the rubber mounts so much the gauge was dancing up and down like a set of those humorous, wind up chattering teeth. It was back to the shop for a quick brace on the front of the console.
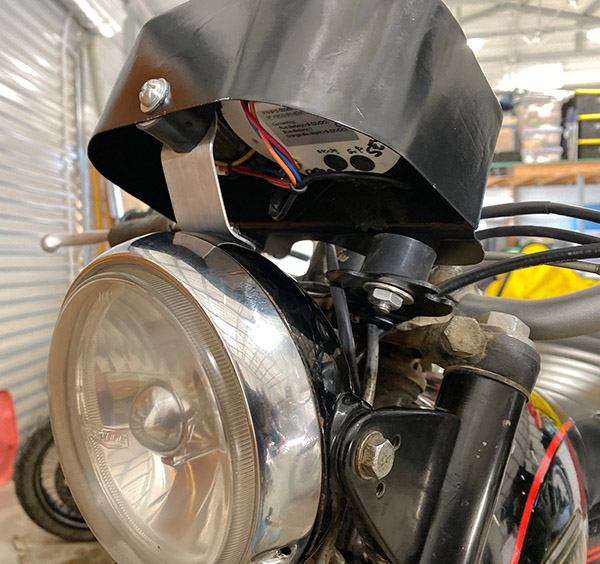
I used the high beam indicator hole on the headlight shell and ran a short brace to another lord mount that steadied the gauge nicely. Now I can bang around in the dirt without the speedometer trying to slap me upside the head. Hopefully it won’t push the headlight aim down.
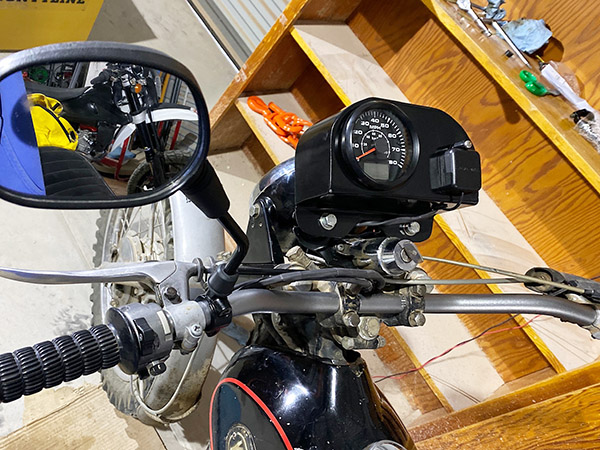
To finish off the front-end facelift I bought a new mirror to replace the crappy bar-end mirror. The old bar-end mirror was a bicycle part and never worked very well. It was there for legal, not visual reasons. The new mirror gives me a fairly clear view of what is going on behind me.
The GPS speedometer is smooth. You have to wait a few seconds while it acquires a satellite fix but from then on it seems just like a regular speedometer except it is accurate and the needle is steady. With no reception it won’t work indoors but I don’t ride far indoors. I zipped the RT1-B up to 75 miles per hour and all was well.
There are several functions you can access like different color backlights, Trip 1, Trip 2, odometer and compass. Trip 1 is sort of useless because it resets each time you turn the key off. Trip 2 supposedly saves the data and you have to hold a button for 3 seconds to clear it. The compass is a 360-degree type so you get a numerical reading instead of north, south, east and west. I’ll have to mess with the thing a little more to see how all this flimflammery works.
One thing I don’t like is that the mode and set buttons are on the back of the speedo. This is not a problem for a motorcycle because you can reach behind and push them. If the speedo was mounted in a car or boat dash this would be a deal killer. If I had it to do over I would try to find a unit with the buttons on the face. Also, it would be nice if the antenna could be incorporated into the gauge, eliminating the external antenna but that probably wouldn’t work in a car.
For a prototype my dash console works good enough. If the speedo holds up I may re-work the design a bit. If I flipped the mounting flange 180 degrees the mounting bolts would be hidden inside the console and it would move the speedo back a bit which I think would look better. As it is the gauge console has a clunky, AMF-era, Harley-Davidson look to the thing. I may remake the console using aluminum as the sheet metal one, while thin, is not very light. Godzilla is a high society motorcycle now with its modern, space age speedometer; I guess there’s nothing more for me to do but to join my peers down at the local Starbucks.
Help us continue to bring exciting content to you: Please click on the popup ads!
Never miss an ExNotes blog:


