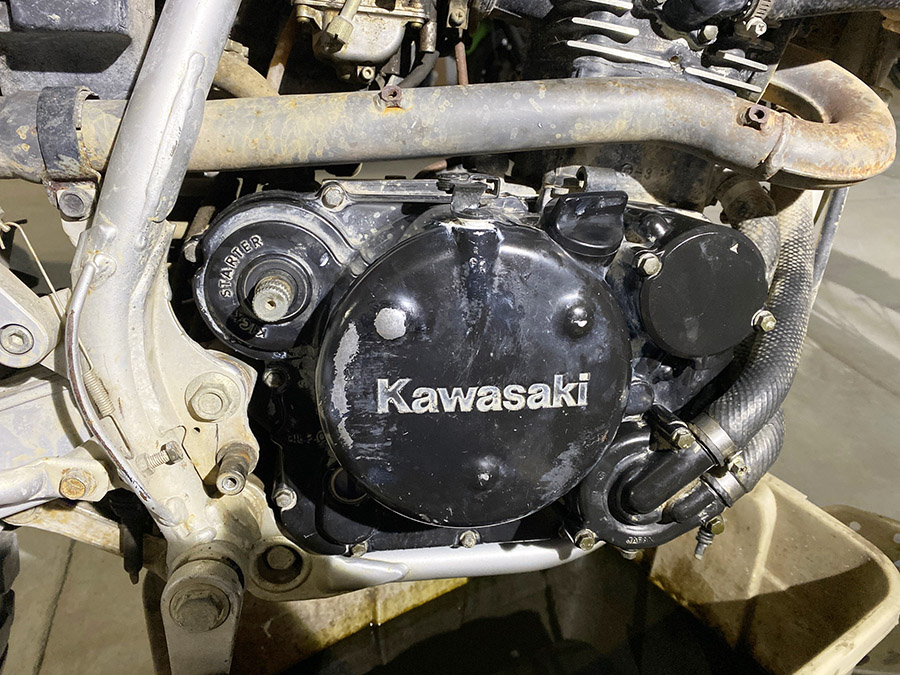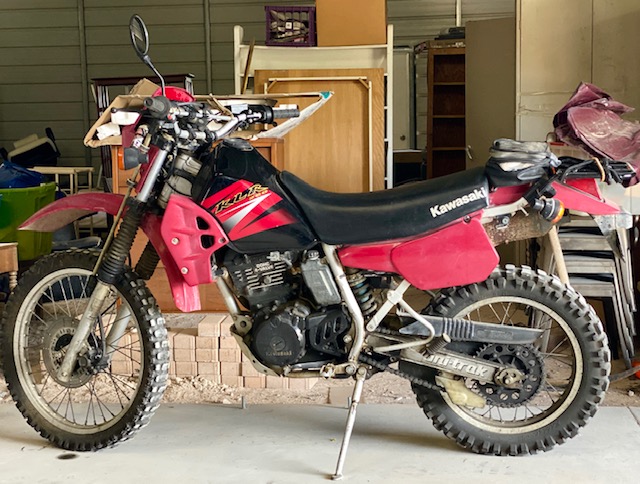
I’ve owned a KLR250 for a long time. I bought the thing on highway 40 between Ocala and Ormond Beach from a gator-meat seller named Street. When I bought it the KLR was nearly new and being a 2005 model it is the last in a long line of KLR250 Replicants that started in 1995. In 20 years of building the 250cc enduro-style bike all Kawasaki did was change the paint schemes and the seat colors.
My KLR, named “The Widowmaker” due to its extremely low power output, has done some long distance, cross country traveling but the last 7-8 years it has been stowed at The Love Shack for use in March during Daytona’s bike week. Long periods of inactivity broken up by a week of full throttle action has left The Widowmaker in a sad state so I brought her out to New Mexico for some tender loving care.
In no particular order The Widowmaker needs front brake work, blinker stalk replacement, a new front tire, valves adjusted, carb cleaned, air filter replaced, coolant and coolant hoses replaced (15 years!), back tire replaced, fork seals and a few other things I’m forgetting. It’s not that bad a list for the many years of neglect The Widowmaker has suffered under my care.
Last March The Widowmaker’s front disc brake was giving me trouble. It would not release and the disc got pretty hot from dragging. I could smell brake lining burning as I rode the bike. The Widow maker, never very fast to start with, was pushing the front forks down and struggling to make 40 miles per hour. Cracking open the bleeder on the caliper freed up the front wheel and I managed a few days of riding using only the rear drum brake.
Eventually I had to fix the brake as it was taxing my brain planning stops 300 feet in advance. I took the caliper off and the piston was firmly stuck inside with a crystalline white-ish gunk but I managed to extract the offending part without too much collateral damage. 2005 might as well be 500 years ago when you’re trying to find motorcycle parts. I went to a few brick and mortar motorcycle shops in Daytona but nobody had anything for a 15 year-old KLR. I didn’t have enough time to order online so I cleaned out the bore and stuck the caliper back together.
Bleeding the system was a challenge as the master cylinder seemed to move 2 pico-liters of fluid each stroke. The lever didn’t feel right but I pressed on. The Widowmaker’s brake was better but the caliper was still not releasing well and I determined the master cylinder was the culprit. All around me Florida was closing up due to Covid-19. I had no more time to work on the bike so I loaded The Widow maker into the truck and hauled it out west to New Mexico.
Looking online for a master cylinder rebuild kit I found new, complete, generic master cylinders with lever and all for $20! People complain about the global economy but $20 is $20. My Facebook post about the cheap master cylinder brought mixed reactions. Some said they are garbage and leak others said they use them all the time and that they work great. I went with the generic because I’m old now. If the brakes fail I haven’t lost much time.
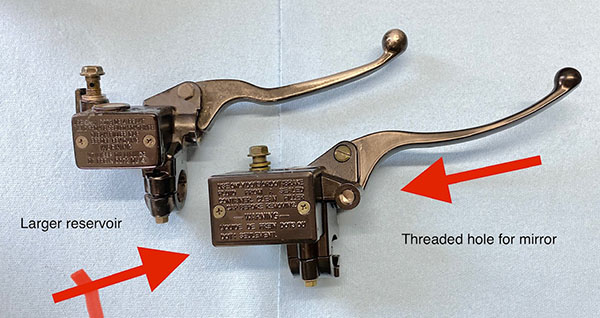
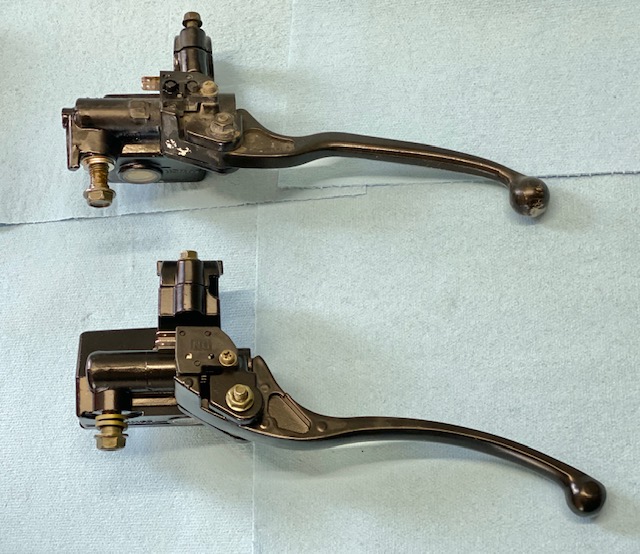
When I say complete I mean even down to the brake light switch. I opened up the unbranded box and the new unbranded lever looked great cosmetically. I could see no flaws in the construction and a side-by-side comparison with the original Nissan master showed there was nothing visual to make the OEM seem better than the generic. A few minor differences: the generic has a larger reservoir and includes a threaded hole for a mirror. The mirror mount was an unexpected bonus because I had broken the left side mirror mount in a violent side-trip through some sagebrush out in Utah. I was trying to follow Hunter at the time. The extra mounting hole allowed me to transfer the old, right side, stand alone mirror mount to the left side where I had wanted a mirror ever since the sagebrush incident .
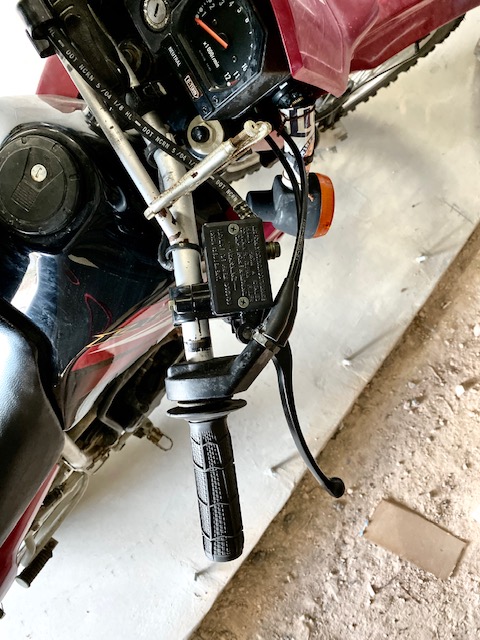
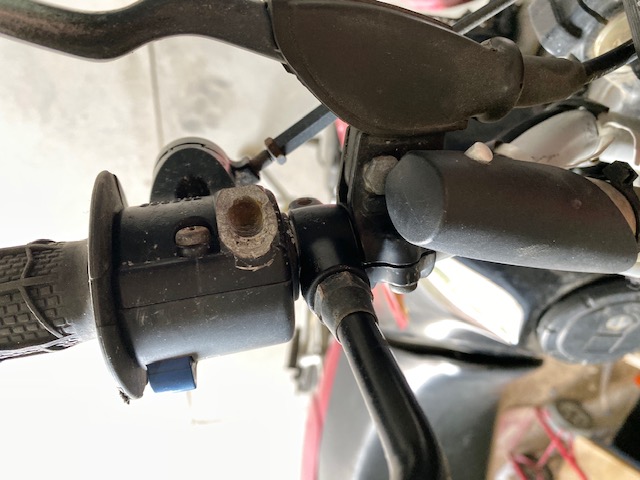
If you Safety Nazis are wondering where the handlebar kill switch is I can tell you that it broke off years ago in a less memorable crash. The key switch is only a foot away. The new master cylinder installed and bled out easily. The front brake has a firm lever, firmer than it ever was. The caliper releases nicely and all seems rosy. Time will tell if the replacement master cylinder lasts as long as the Nissan.
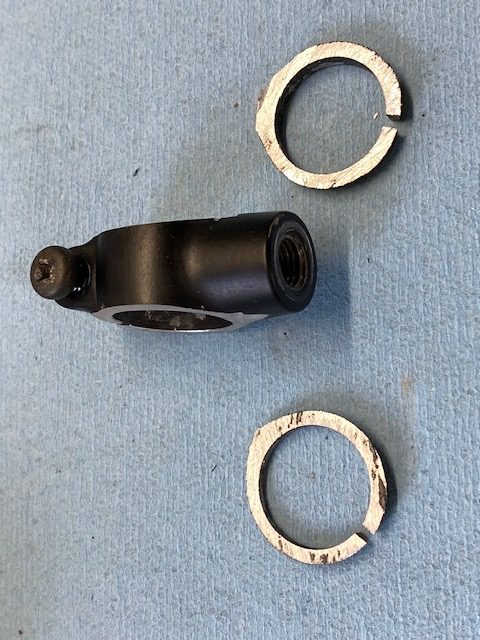
The left side of the handlebar has the (also broken) light/blinker/horn and all that works well. I had to thin down the mirror mount to fit between the clutch lever (not broken!) and the switch cluster.
I don’t want to give you the wrong impression. Realize it has taken many years to break all these parts. I’m not tossing the bike down the road everyday, you know? The Widowmaker’s features, like a boxer fighting past his prime, are becoming smoother and less distinct from the blows. If I don’t turn back the tide of destruction now The Widowmaker will look as bad as a 2021 Goldwing.
Want more of Gresh’s resurrection projects? Just click here!