By Joe Berk
Like most of you, I spend a lot of time thinking about what I’d park in my garage if I had the money and the space for a motorcycle collection. At various times in my life I’ve owned several motorcycles at the same time and I’ve sort of realized the dream I describe here (at least in terms of how many motorcycles I owned), but this blog describes something different. The bikes I owned in the past came about as the result of having the time and the money when something cool caught my fancy. This time, I’d start from scratch and define what would go into my ideal collection. Gresh and I have theorized and fantasized and written about this in the past (see our Dream Bikes page). Here, I’m starting from scratch and I’m limiting myself to six motorcycles (just because I think that should be the right number of bikes). You might be surprised at some of my choices.
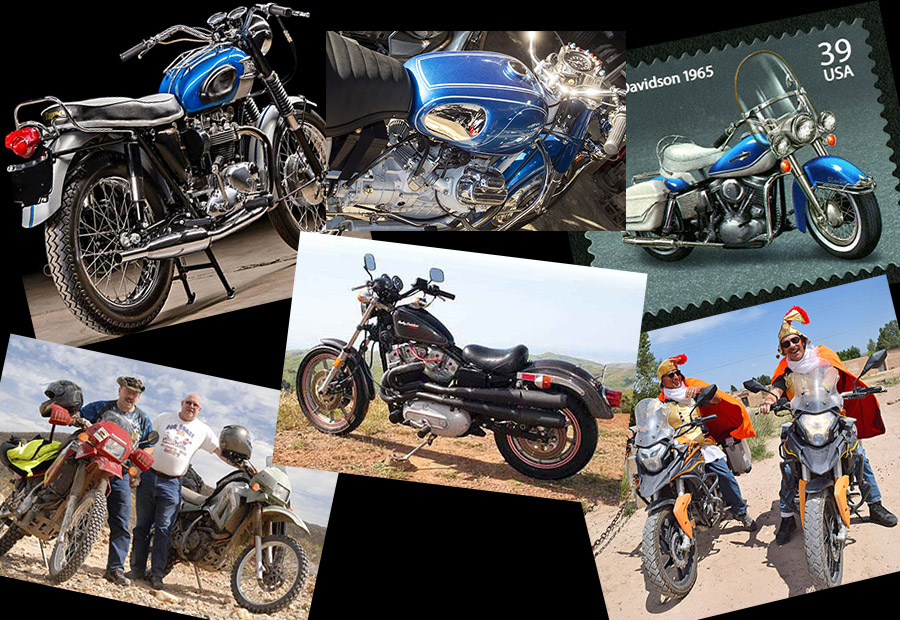
1965 Triumph Bonneville
When I was a kid in high school, one of the seniors (a fellow named Walt Skok) bought a new Triumph Bonneville. I thought it was the most beautiful thing I’d ever seen, and I wanted one. Later in life, I bought, rode, and sold several Triumph Bonnevilles, but I never scratched that itch for a ’65 model. Someday…
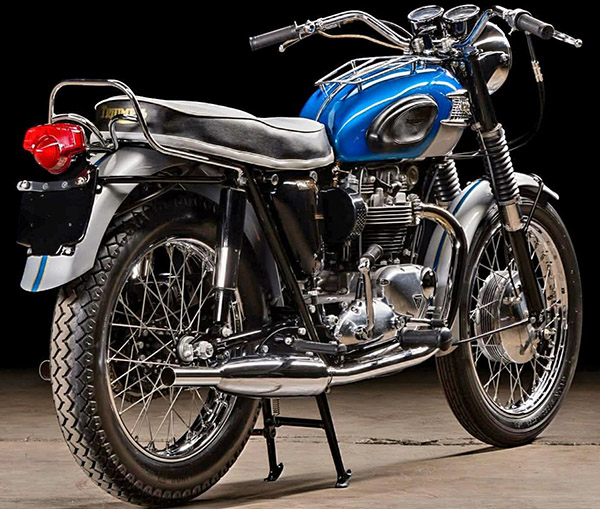
To me, everything about the 1965 Triumph Bonneville was perfect: The colors, the exhaust system, the exhaust notes, the tank parcel grid, the design symmetry, the little decal recognizing Triumph’s world speed record, and more. I always wanted one and I still do.
1965 Harley-Davidson Electra-Glide
I’ve owned a couple of Harley full dressers, but the one I always wanted was the 1965 Electra-Glide. That year was the first year Harley offered electric starting and it was the last year of the panhead engine (which I think is the best-looking big twin engine Harley ever made).
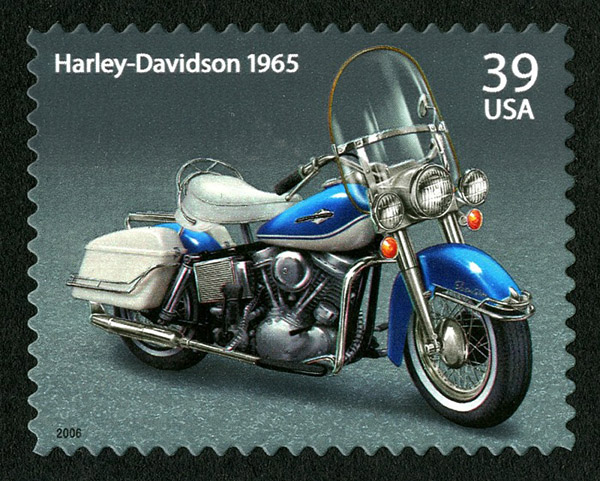
The ’65 Electra-Glide is another bike that, in my opinion, was styled perfectly. I like the tank contours, the 1965 paint design, the panhead engine’s look, the fishtail mufflers, the saddlebag contours, the potato-potato-potato exhaust note, and more. Apparently, my thoughts about this motorcycle’s intrinsic beauty are also shared by the U.S. Post Office (see the above postage stamp). The ’65 Electra-Glide is the bike I used to think about as a teenager when I rode around on my Schwinn bicycle, imagining that my Schwin was a Harley.
Cycle Garden 1974 Moto Guzzi El Dorado
Ah, a Cycle Garden Guzzi. This is one I tumbled to only recently. I’ve been writing a series of articles for Motorcycle Classics magazine, and one of the shops that’s been helping me is Moe Moore’s Cycle Garden in Indio, California. I always thought the mid-1970s Moto Guzzi were stunning in their stock and restored configurations. Then, during one Cycle Garden visit, I saw a custom bike that Moe and his crew had assembled for a client.
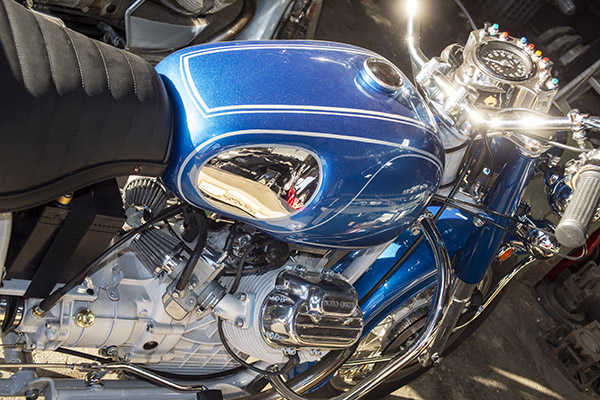
The bike was a 1974 police motorcycle, but it painted in a breathtaking battleship gray and metallic blue paint theme. I could see myself riding it, rumbling through the open roads and magnificent landscapes of Baja. It is a motorcycle that is firmly on my list.
1983 Harley XR-1000
I wrote a Dream Bike piece about this during the first year of the ExhaustNotes.us blog’s existence, and the thing that struck me about it was that Joe Gresh told me I’d beat him to it…he was thinking about doing a Dream Bike piece on the same motorcycle.
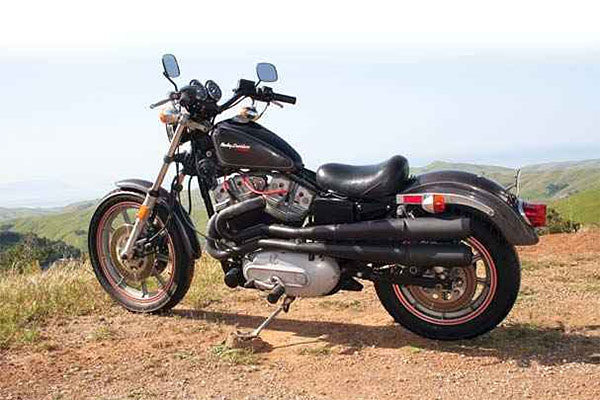
I’ve never owned or ridden an XR-1000. Come to think of it, I never heard one run. I could have bought an XR-1000 new for around $8K when they were new, but I didn’t have a spare $8K laying around in those days. It’s another one of those motorcycles bikes for which I think the visual and visceral appeal is perfect. Maybe someday I’ll get to scratch that itch.
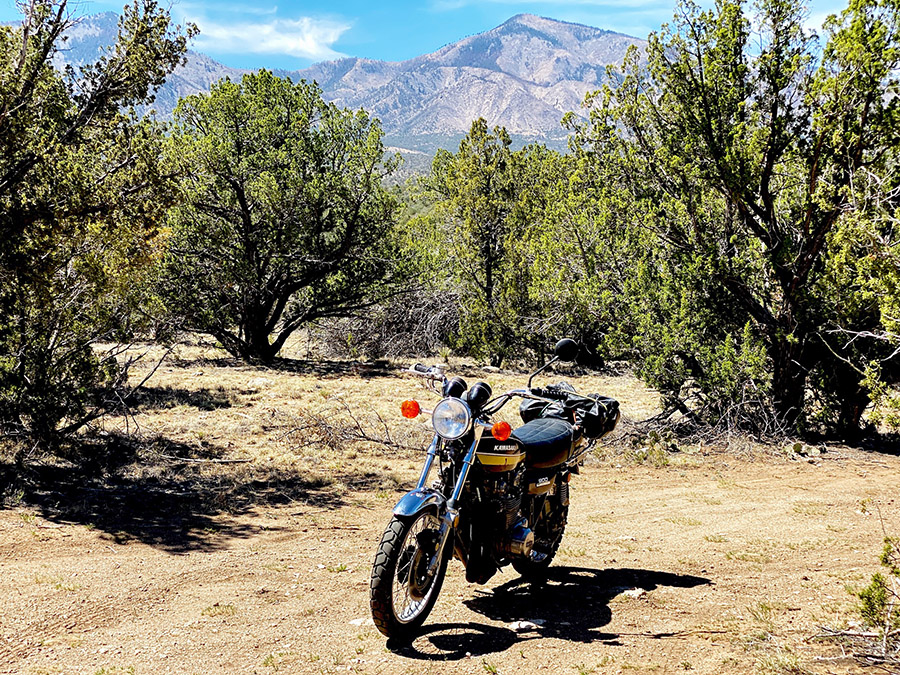
2006 Kawasaki KLR 650
To me, this is an interesting choice with which some might take issue. I don’t care. I loved my KLR 650. Lifelong good buddy Baja John had one, too. That’s Baja John and yours truly somewhere in Baja in the photo below.
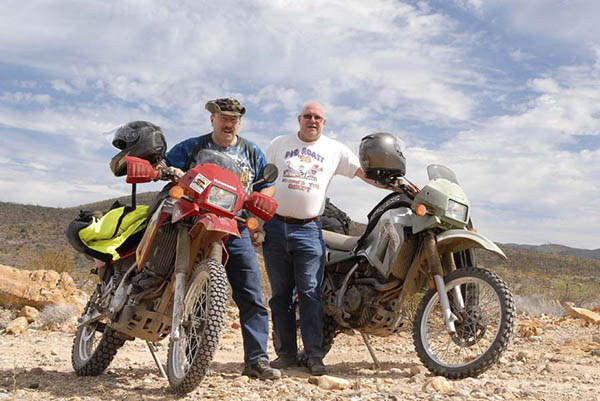
The KLR 650 is one of my all time favorite motorcycles. Mine was a first-gen KLR, and I think those are more desirable than the second gen bikes. My KLR was perfect for exploring Baja, and I did a lot of that on it. It had just the right amount of power, it was simple (except for the shim-and-bucket valve adjustments), it was a very comfortable motorcycle (the ergos were perfect), and it was inexpensive. I bought it new in 2006. It was one of the best motor vehicles (of any kind) I ever owned. If you’re wondering why I sold it, so am I.
2015 CSC RX3
The CSC RX3 motorcycle is another bike that I thought was just perfect for me. I covered a lot of miles in Baja and elsewhere in the world on it.
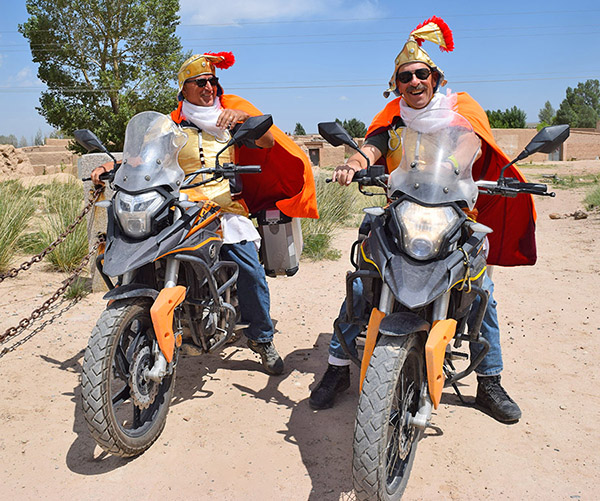
I think a 250 is the perfect size for a motorcycle (you can read why here). I traveled through a lot of the world on one: Through the American West, Mexico, the Andes Mountains in Colombia, and China (with Joe Gresh; Joe and I are in the photo above auditioning for a Chinese gladiator movie). All those trips and all those miles were awesome, and the RX3 didn’t miss a beat on any of them. I almost cried when I learned Zongshen discontinued the RX3, and if they were to bring it back (which they should), I would no doubt be riding the world and blogging the RX3’s virtues again.
There you have it. It was fun thinking about this, writing this blog, imagining the above six motorcycles parked in my garage, and riding them in different parts of the world. A quick mental tally tells me I could make the above wish list a reality for something around $120K in today’s dollars. Hmmmm…I don’t have a spare $120K laying around, but maybe if a few of you hit that donate below…
What about you? What would be the ideal collection you’d like to see in your garage? Let us know in the comments below.
You know you want it. Go ahead.

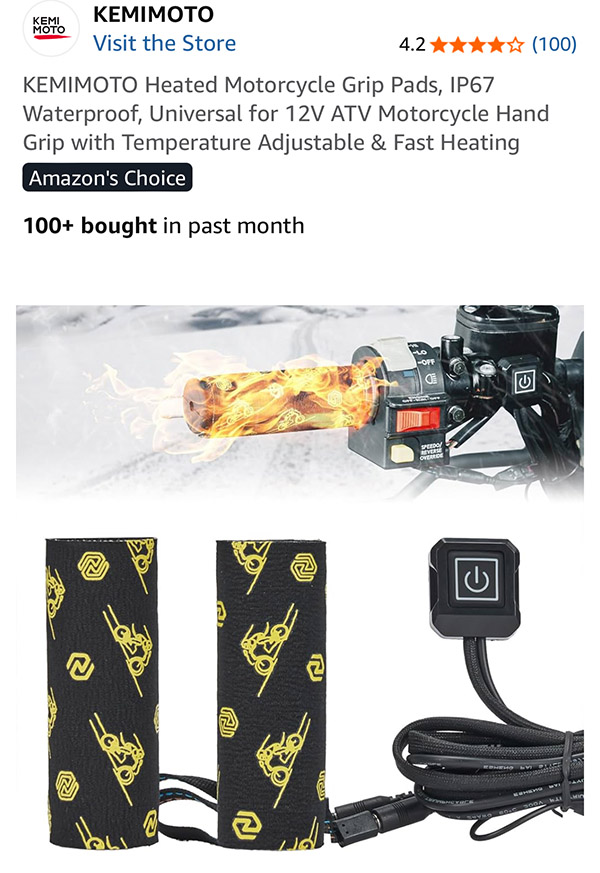
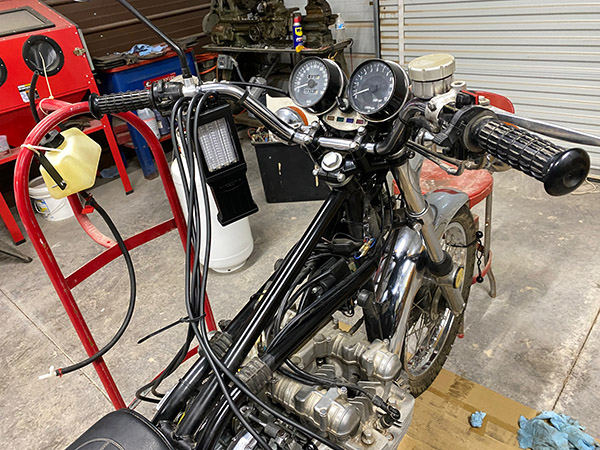
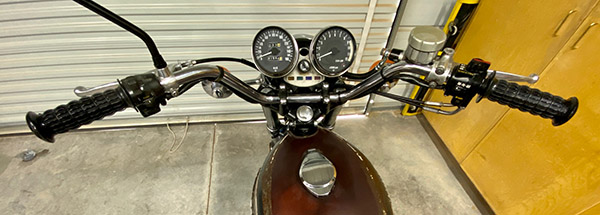
 I’ve set up the Kawasaki ZRX as my cold weather bike with a 12-volt receptacle for an Aerostitch heated vest and these grips will complete my preparations for the cold. If it ever gets here.