A Man’s Got To Know His Limitations

By Joe Gresh

The famous line was from a Clint Eastwood movie, I think, but regardless it rings true for me as I ease into my salad years. Or is that my pabulum years? Recently I did a few simple mathematical equations and then ran the results through my life expectancy chart. The results were not encouraging. I would need to live another 124 years, 7 months to complete all the projects I’ve started. That’s if I didn’t gain any additional projects in the ensuing 124 years. Unfortunately, the projects still drift in by ones and twos. It’s time I got to know my limitations.

I was building the driveway retaining wall at The Ranch when the epiphany came. I looked around at the tools spread around the front yard, the stack of lumber and the pallets of concrete and decided that there was just no way to do it all and that I needed to shed a few projects. At least get them off my books. The low hanging fruit was first to go.

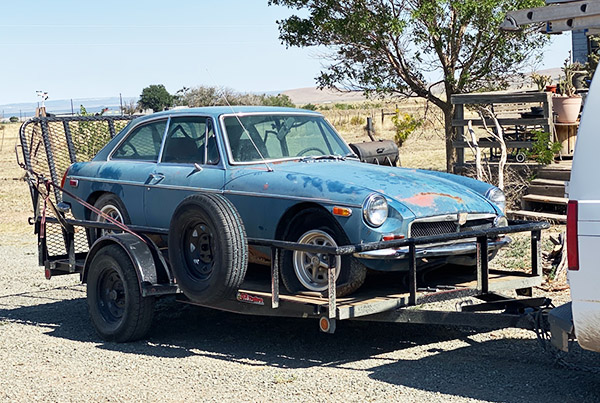
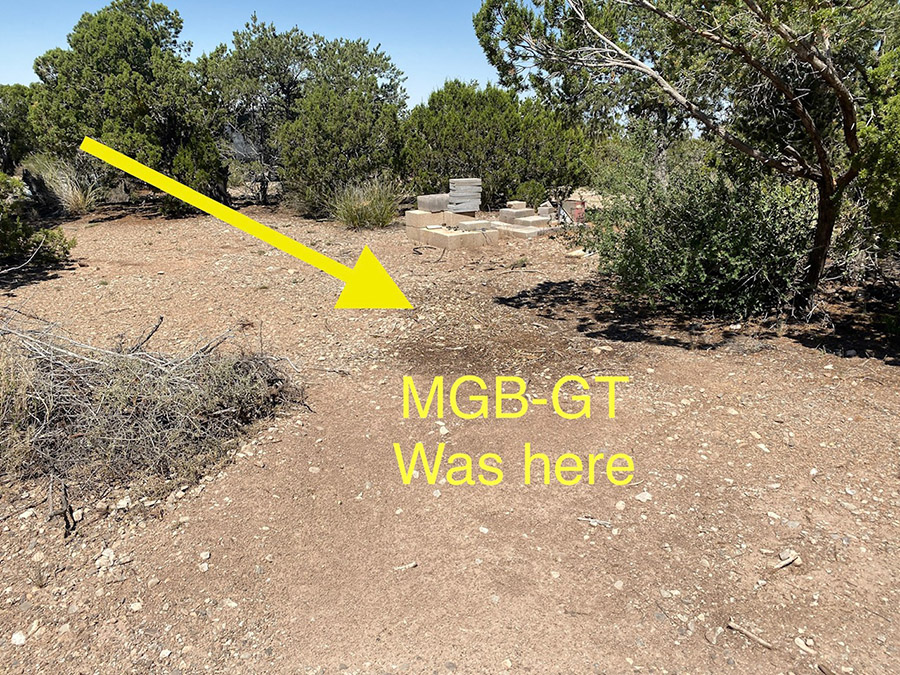
The 1974 MGB-GT was a candidate because I haven’t spent much money on it yet and it’s a huge, time consuming proposition. It needs many, many manhours and truthfully I never really wanted a MGB-GT anyway. It was just on the land when we bought the place and I thought it was a cool looking car. I bandied about about selling it but the prospect of wading through all the Internet scammers and tire kickers didn’t appeal to me. My buddy Mike from the Carrizozo Mud Chuckers expressed an interest in the car so I made him a deal he couldn’t refuse: I gave it to him.

Before you get all wound up and start telling me how you would have given me $500 for the car I have this to say: “No, you wouldn’t.” Just like you wouldn’t buy a Janus if it had an American made V-twin engine or an electric car if it went 100 miles further on a charge. Mike has a trailer that fit the MBG perfectly and we loaded it up using two come-alongs in series. With 3 flat tires it took about a half-hour to move the car 20 feet. Inches add up to miles and the blue, MGB is now residing 69 miles away at Mud Chuckers central. Seeing the car roll off the property gave me a real lift. It’s like I bought an extra year of my life.

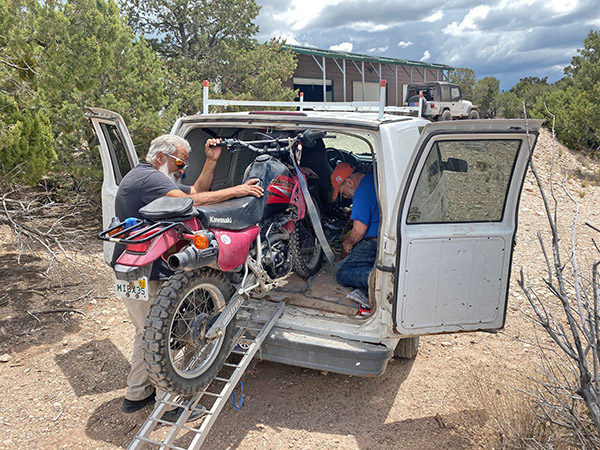
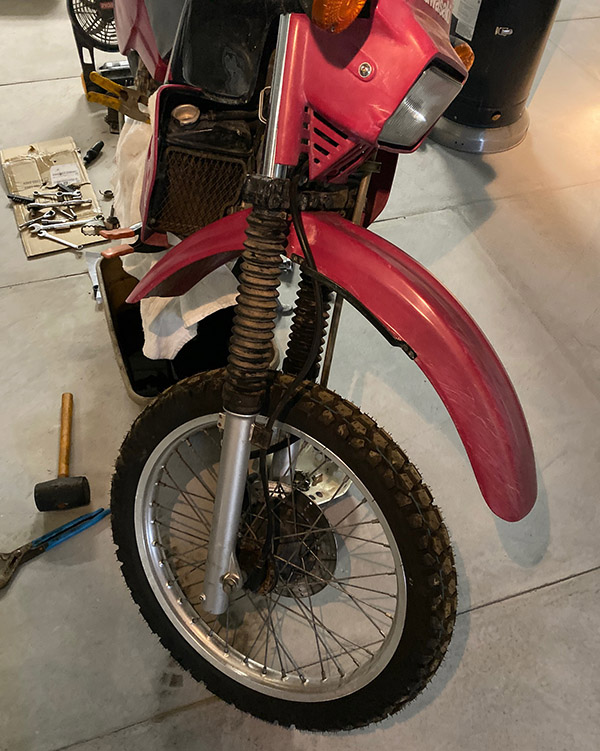
The next thing to go was the KLR250. When I had the Love Shack in Florida the KLR was the bike I left in the shed. Whenever we were in residence the KLR faithfully dragged me around central Florida. It wasn’t fast but I could hold 70mph on the highway if there wasn’t a headwind. The KLR sat as we moved junk across the country and then sat in the shed here at The Ranch for a few years. You know how that goes. The carb gummed up and it wouldn’t start.

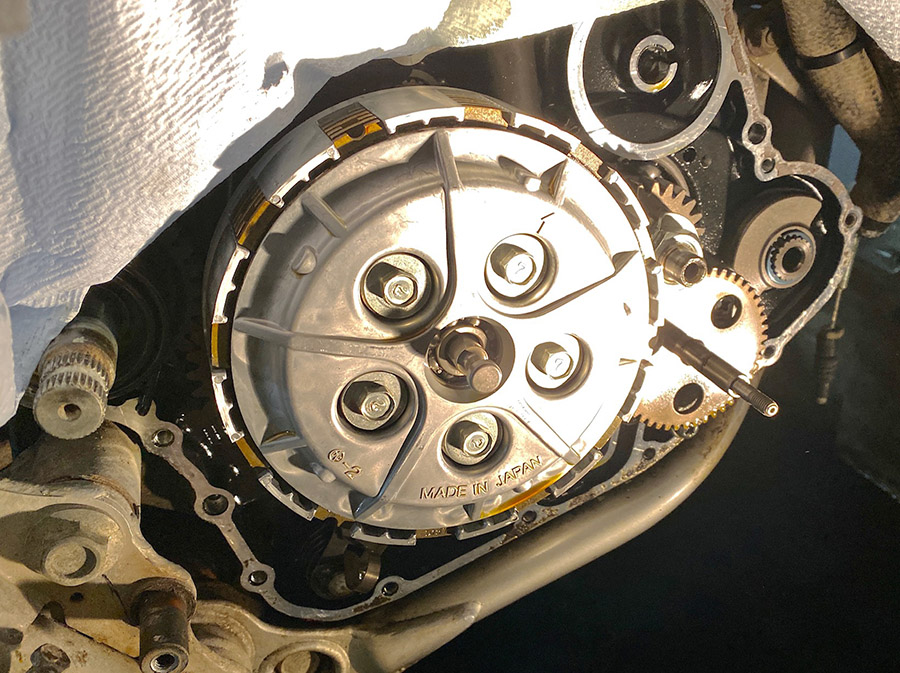
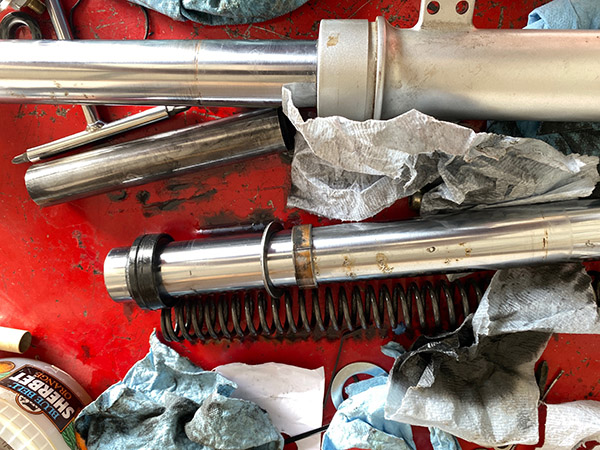
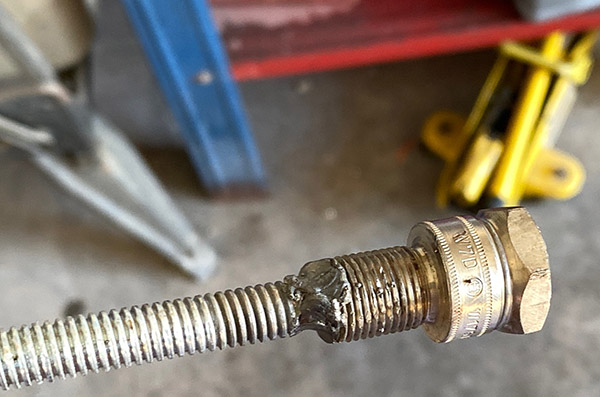
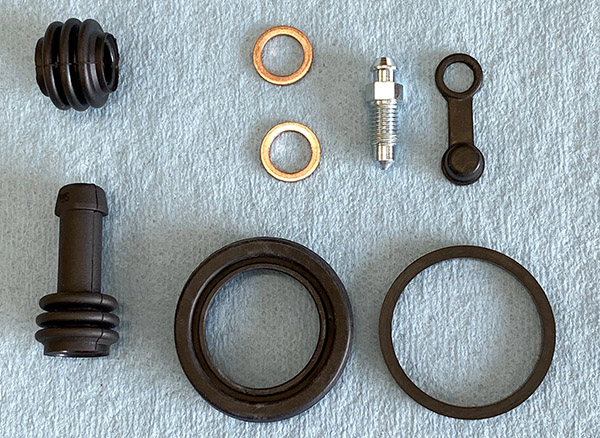
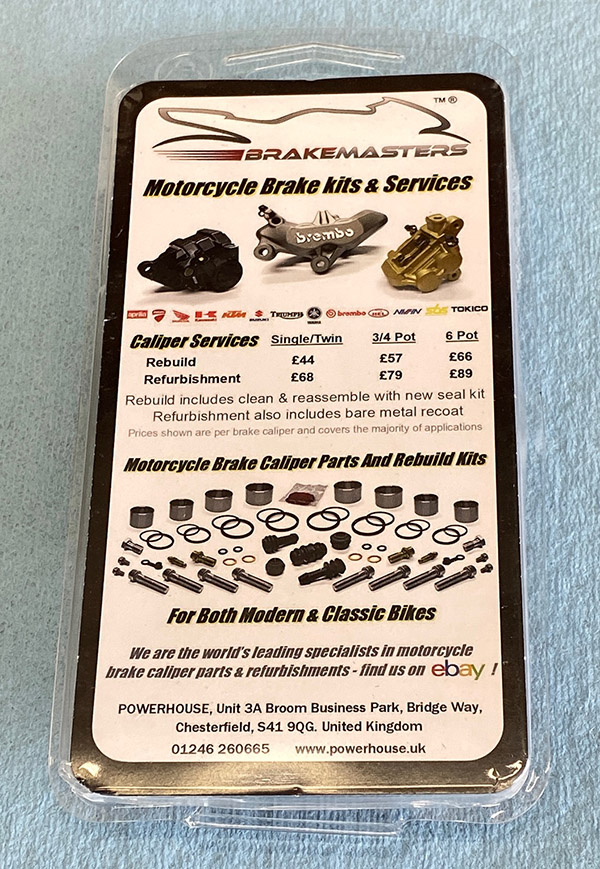
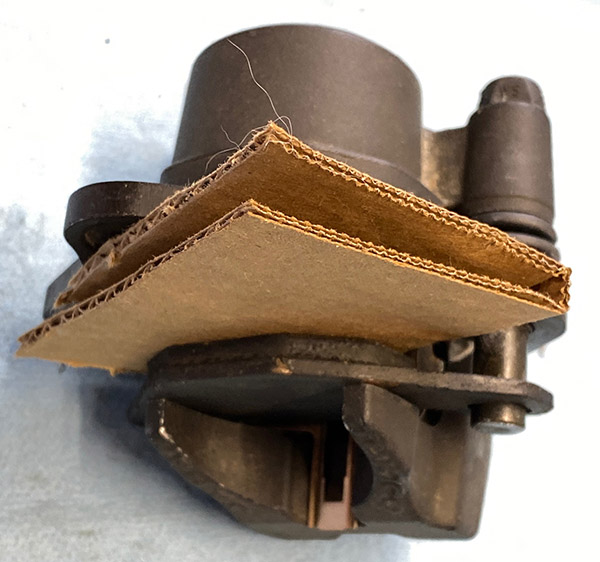
I decided to sell the bike but first I had to fix the front brake, fork seals and replace the front tire. After accomplishing those chores I wandered off to construction projects and the KLR languished. The final straw was when I skipped over the KLR250 to get the ZRX1100 running. I realized that the liquid-cooled 6-speed enduro bike had fallen completely off the to-do list.

Mike came to the rescue again and picked up the KLR250 for a cool 1000 dollars and dragged it back to his place. He has since replaced the stock constant velocity carb with a Mikuni clone off of Amazon and the bike starts and moves under its own power again. The new carb is jetted too rich so there’s a bit more fettling to be done but I won’t be doing it.

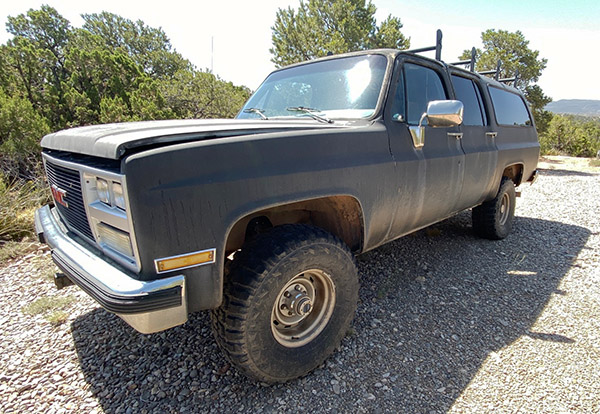
Having those two projects out of the way emboldened me to get rid of more junk. The Bomber is on the chopping block. I originally bought the Bomber for its running gear. I planned to put the Bomber’s small block Chevy and ½ ton running gear into Brumby (the Jeep). But the Bomber was so handy for hauling concrete the Jeep swap never took place. CT signed me up for a Lowes card and with the card Lowes will deliver anything to The Ranch for $20. This means no more concrete hauling and no need for the Bomber along with the Bomber’s tags and insurance.

I’ve got a few things to fix on the Bomber but I think I can get $1500 or so for the beast and that will be another project off my books and another year of my life back.

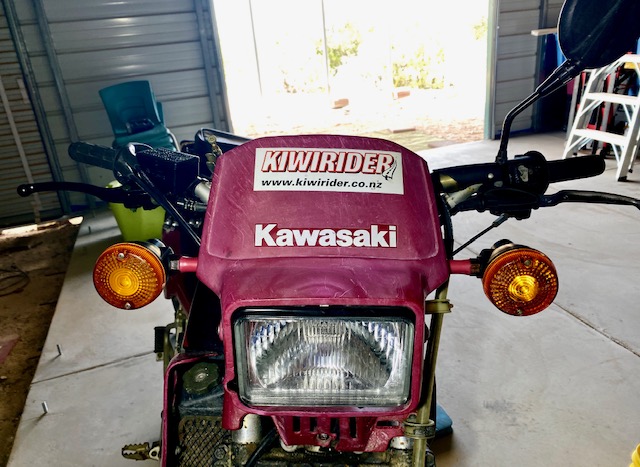
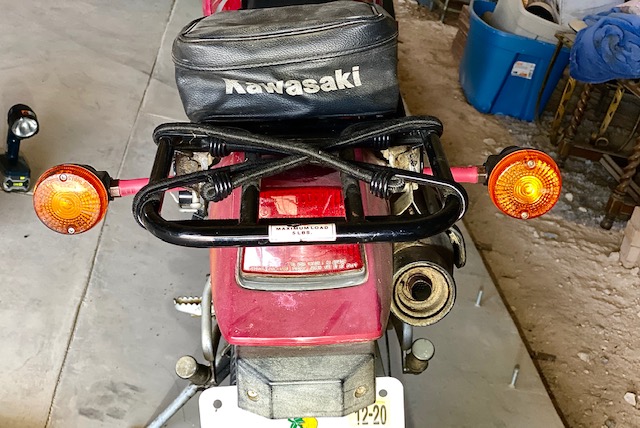
The trend line is clear to see: Stuff not getting used is going away. The 1975 Kawasaki 900 isn’t even safe now that the ZRX1100 is running. It has become too valuable and selling it would enable me to finish a few other projects, like my Honda 50 with a 140cc Lifan motor. Zed mostly sits because the purple Yamaha RD350 has taken over top spot in the vintage street bike category. I can only ride so many motorcycles at once.

You may say I’m getting lazy or maybe just old but I say I’m being realistic. There are still a few old motorcycles I’d like to own and clearing the decks is a time-honored tradition for normal people. Anyone need a Huffy beach cruiser with a 60cc two-stroke motor attached? It’s too fast downhill and too slow uphill. The thing is going to kill me if I don’t get rid of it.


More on the Gresh Resurrections!


Never miss an ExNotes blog:

KLR250 Reflash: Part 4

I know what you’re thinking. You’re thinking I’ve been working on the KLR250 for forever. It seems that way to me also. Since the last KLR blog 325 years ago we have sold The Love Shack in Astor, Florida and the Widowmaker 250 no longer has a purpose in my life. I’m not one to store a good motorcycle and the KLR250 will make some newbie rider (or older experienced motorcyclist) a fine machine to learn the dark art of dirt riding.

It’s time for the KLR to go. I can’t keep all these bikes registered and insured, much less in operating condition. But before I let a new owner crash about on the KLR there are a few more things I need to fix.

Equipped with a worn out 21” front tire, a very popular size, I blew a few bucks on a new Dunlop semi-dirt tire and a new tube. These skinny 21” wheels are super easy to change tires on, it took like 20 minutes.

The Widowmaker’s fork seals were dribbling a decent flow of oil; in fact one tube only had a few ounces left inside. One fork leg came apart easily: Impact wrench on the bottom bolt and zing-zing it was apart. The other leg was more trouble. The recessed allen bolt just spun when I hit it with the impact.

I needed something to stop the inner damper rod from spinning the fork spring, which wasn’t offering enough resistance. Looking through my nut and bolt bins was futile. I found a spark plug was the closest to fitting the damper. I cut down the plug and removed the ceramic, then welded a length of all thread to the plug. With my new eye I could just make out the puddle. It was great, before I saw nothing but glare.

The damper rod retaining tool worked excellent and I was able to dismantle the other fork leg. After cleaning assembly was straightforward. A length of PVC pipe was used to press the new seals into the sliders. I didn’t have enough fork oil in one viscosity so I mixed 10 weight and 15 weight together. I figure I’m running 12.5 weight in the forks now.

I reassembled the front forks and all seemed done at the front. Next I installed a new battery just for the KLR250, no more sharing with the Husky and Z1. The battery has been sitting around a year or so but still had juice. I popped it into the KLR250, lowered the bike off the motorcycle jack and the thing started in about 7 kicks. These KLRs are tough cookies.

Thinking I was pretty much done, I took the bike on a road test. The carb might be a little clogged up as it’s either idling at 3000 RPM or dying. Once up to speed the bike ran as good as it ever has. Parking the bike on the brand new shed floor it was easy to notice coolant dripping from that small hole in the water pump housing. Rats, this is what I mean when I say I can’t keep them all running.

I ordered a new water pump seal and when it arrived I drained the Widowmaker’s coolant and removed the water pump cover and impeller. The seal is a spring-loaded ceramic type of deal and the spring part pulled off with little effort. That left the steel part still stuck in the engine.

If you’re lucky, sometimes you can thread a deck screw into the thin metal seal and pull the thing out with no problem. I wasn’t lucky and the seal kept looking worse the more I tried to remove it.

Finally I gave up and removed the right side engine cover to gain access to the seal from the other side. Removing the cover meant I had to remove the rear brake lever, foot peg and clutch cable. With the engine cover off it was a piece of cake to poke the seal out from the inside with a ¼” punch.

As you can see, I pretty much mangled the seal trying to save taking the engine cover off. For good measure I also destroyed the pump shaft oil seal in the process. I guess it needed changing also. Now I’ve got to look up a pump oil seal and a cover gasket for the Widowmaker. I think I’m going to clean the carburetor and see if I can’t make it run better low speed. Since I have to take the tank of to clean the carb I may as well adjust the valves. It’s super easy on the KLR250. And then it will be ready to sell.


More on the KLR and other Resurrections!


Never miss an ExNotes update…get your free subscription here.

Squeeze Me: KLR250 Refresh, Reflash and Rehash Part 3

The KLR250 refurbishment has been going slowly but in addition to that I’m not getting much done otherwise. It’s the heat. Temperatures at Tinfiny Ranch have been hovering around 100 degrees or more and under these conditions it’s all I can do to press paper firebricks.

I did manage to order a brake caliper kit from England. The Widow Maker’s front brake gave me lots of problems at Daytona this year. The caliper was mightily stuck and the master cylinder was odd feeling. I managed to get the brake working well enough for Bike Week and replaced the master cylinder in a previous R, R & R episode but I didn’t trust my half-assed Florida Man repairs on the caliper.

The Brakemasters rebuild kit was very complete and was inexpensive to boot. The Widowmaker’s original rubber parts lasted through 20 years of neglect so the new stuff has a steep hill to climb. The only part I didn’t care for was the new bleeder nipple. The replacement nipple did not want to thread in easily. I could have forced it and remolded the aluminum caliper threads but instead used the old nipple, which threaded in by hand.

As expected, the caliper job went well. Old motorcycles with single-piston calipers are a breeze to repair. The hardest part was fitting the dust seal into the caliper body and then fitting the piston. I didn’t remember how I did the trick last March and was getting frustrated. Thank goodness for YouTube; I pulled up a quick search on caliper dust boot installation and there was a guy showing me how to do the deal.

I think in March I used a beer can to make an expander sleeve for the piston and then slid the piston into the (already installed in the caliper) boot. It just wasn’t working this time. Maybe fresh rubber is stronger than 20-year-old rubber. YouTube man fitted the boot to the piston first (the opposite of what I was doing) and let a short length of rubber hang off the back. That hanging bit was then pushed and prodded into its groove on the caliper. Once the dust boot is in the groove the piston can be slid into the caliper all the way until the piston groove catches the other end of the boot. With all the talk of grooves this sounds confusing but that’s why YouTube videos are so nice. YouTube Man’s method worked great and the caliper is now ready for reinstallation.

If it cools off a little I’ll tackle the fork seals and re-grease the steering head bearings next. And keep making firebricks, of course.


More on the KLR250 and other moto-resurrection stuff is on the ExNotes Resurrections page!

Repairing Blinkers: KLR250 Refresh, Reflash and Rehash Part 2

Blinkers on a dirt bike are kind of silly but lately I’ve been running The Widowmaker, my 2005 KLR 250, on the street more than is right or just. The KLR250 spends most of its time in Florida and the automobile drivers in that state are legendarily bad. With Nearly-Deads behind the wheel and blind rage as their co-pilot any blinking light that may draw attention is a good thing.

The Widowmaker’s blinkers have had a rough go of it. They worked fine when I bought the bike but several thousand miles of the Trans America Trail managed to put a pronounced sag in the rubber stalks holding the lamp fixtures. The rubber soon cracked and the blinkers hung down swinging on their electrical wires.

At first I managed to keep the original stalks in the game using the KLR rider’s best friend, duct tape. Soon the tape was not enough and I progressed to beer can wraps, bailing wire and spit. The rubber stalks crystallized and began to crumble into small, hard black cubes. It was a metamorphosis: soft, pliable rubber became fragile like chalk. The lamps, now free from their moorings swung in a crazy amber half circle pointing towards the ground. As they filled up with water the light fixtures quit blinking and they became memories of directional indicators slapping the side of the motorcycle.

I couldn’t find replacement stalks online. The complete blinker is sold as a unit and when your motorcycle needs as much attention as mine you can’t blow a bunch of money on parts that will break off soon anyway. I dismantled the old blinkers and decided to try to fix them for two reasons: Because I’m cheap like that and KLR riders will always take the hardest path.

Two of the direction lamps weren’t rusty and came apart fairly easy. The rusty ones were more of a challenge. I had to soak them in penetrating oil and break the glass bulbs in order to remove the bulb base from the socket using pliers. After getting them apart I soaked the rusty bits in Evaporust for a few days and then painted the reflector and socket a fetching metallic silver.

Making new stalks was a conundrum: I needed something stiff enough to hold the lamp in position but flexible enough to bend during a crash, preventing destruction of the blinker lens and housing. I toyed with the idea of two thin strips of sheet metal to provide a malleable stem that could be bent back into position. I debated welding a thin tube between the threaded ends but didn’t have any tubing that would serve the purpose.

I settled on ½” Pex plastic plumbing tubing mainly because it comes in a red color than neatly matches The Widowmaker’s faded bodywork. The Pex copper crimp rings would make for a neat finished end to the Frankenstalks. The only problem was the threaded ends salvaged from the old rubber parts were a little too big for the Pex pipe.

I really could have used the South Bend lathe to turn down the ends but that project is not completed yet so I had to chuck the parts into a hand drill and grind them to size. Even cut down they were still too large for the Pex but I didn’t want to grind any more and lose the knurling. It’s amazing how a new tool opens up avenues of creativity. It frees your mind, man. My new tubing expander (bought for an air conditioning job) made short work of the Pex inside diameter and the threaded inserts fit perfectly.

Next I used the tubing expander to resize the copper Pex crimp rings to fit the expanded pipe. Things were going well. After crimping the copper rings with a hydraulic cable crimper the stalks looked like 100 bucks.

The grinding process put a divot in the threaded end so I had to run a 10mm die over the things to straighten out the divots. With 4 new blinker stalks it was only a matter of time before everything was reassembled and back on the motorcycle. I’ll need to put a battery in to see if the blinkers actually work (I’m using the same battery in the Z1, the Husky, and the KLR) but I remain confident they will work at least as good as they used to. Which is not at all.

A few questions remain. Will the crimped ends stay put on a rough trail? I assume they will rip out during a crash and that’s good. My new stalks cost about 67 cents apiece so I can replace them as often as I like. Will the plastic tube droop leaving me with a sad-eyed KLR250? Will the bike require a plumbing inspection now? I don’t know the answers but I’ll report back if these Frankenstalks actually work.


More “Bring ‘Em Back Alive” Gresh Resurrection stories are here!