

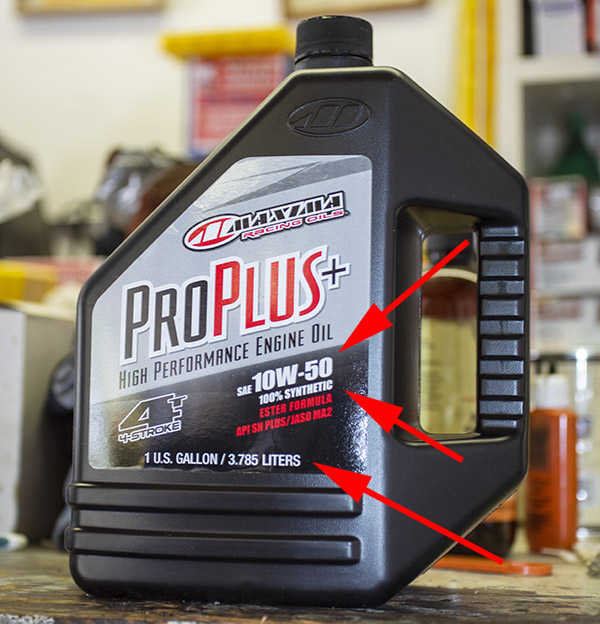
This blog is a maintenance tutorial on changing the Royal Enfield 650 Interceptor’s oil. The Interceptor requires a motorcycle-specific 10W-50 synthetic oil. Motorcycle-specific means that no friction reduction additives are in the oil. If you use an automotive oil with friction reducers, the Enfield’s wet clutch will slip.
I bought Maxima oil online for this oil change (you can get it from CSC Motorcycles or from Amazon.com). It’s the synthetic oil CSC uses in their motorcycles and it served me well in my RX3 and TT 250 (both of which are wet clutch motorcycles).
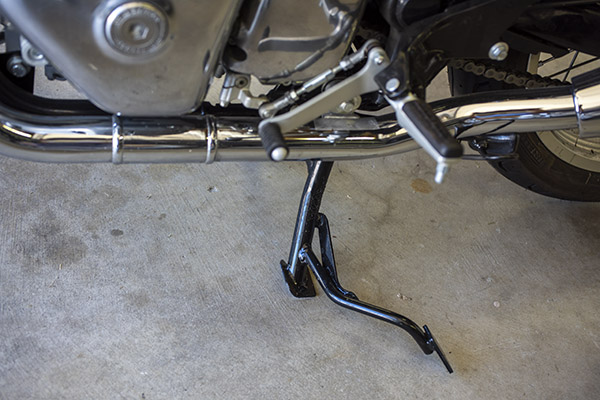
I changed the Enfield’s oil in my garage. I usually leave the Enfield on its sidestand, but I put it on the centerstand for the oil change.
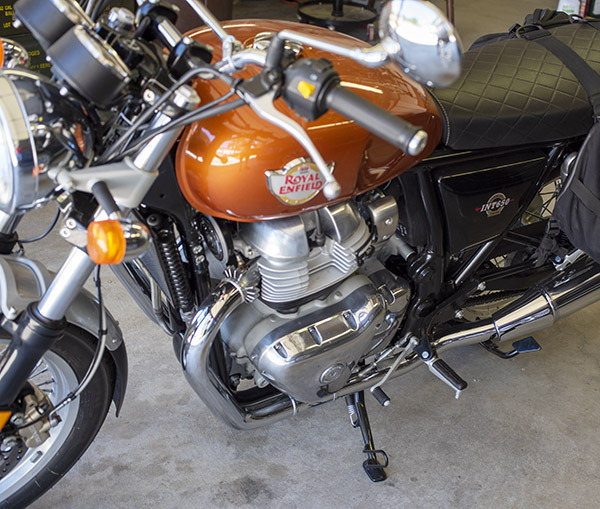
The bike should be straight and level for the oil change. This will let the oil drain more completely and make the oil site glass reading more accurate.
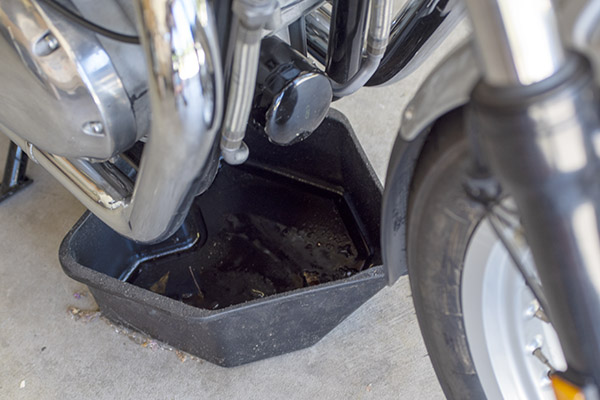
I have an oil drain pan I’ve used for years, and it was put into service again for this Enfield oil change. You can see the oil filter in the photo below; it mounts on the front center of the engine.
Removing the oil filter for the first oil change was a challenge. It was put on way too tight at the factory. I have an accumulation of oddball tools in my rollaround tool cabinet, and I found this oil filter wrench. I have no idea when I bought it or where. It’s been with me for decades.
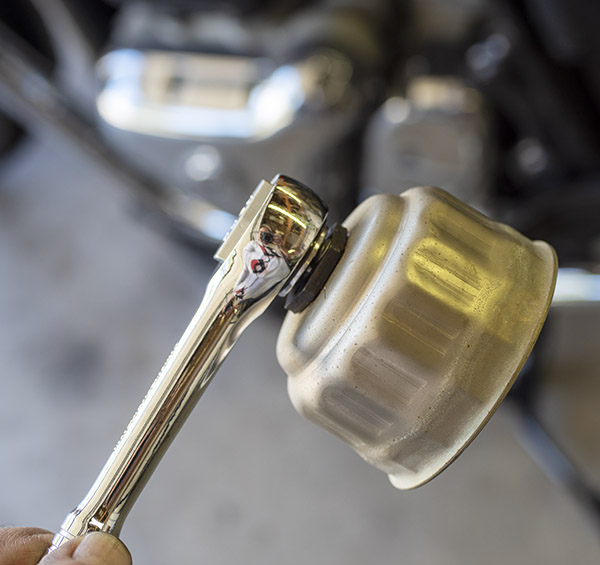
Even with the oil filter wrench, getting the oil filter to unscrew was not easy.
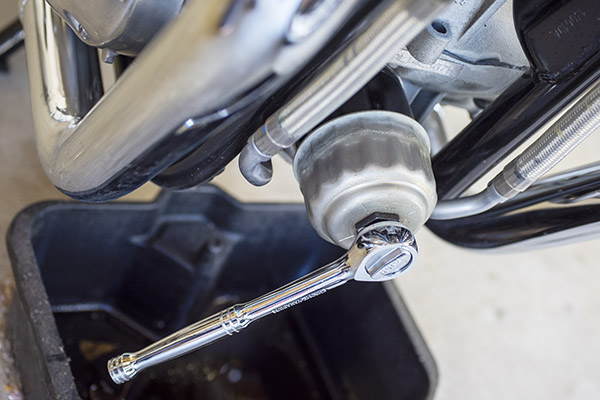
The oil filter finally came off, and I allowed the oil to drain into the pan.
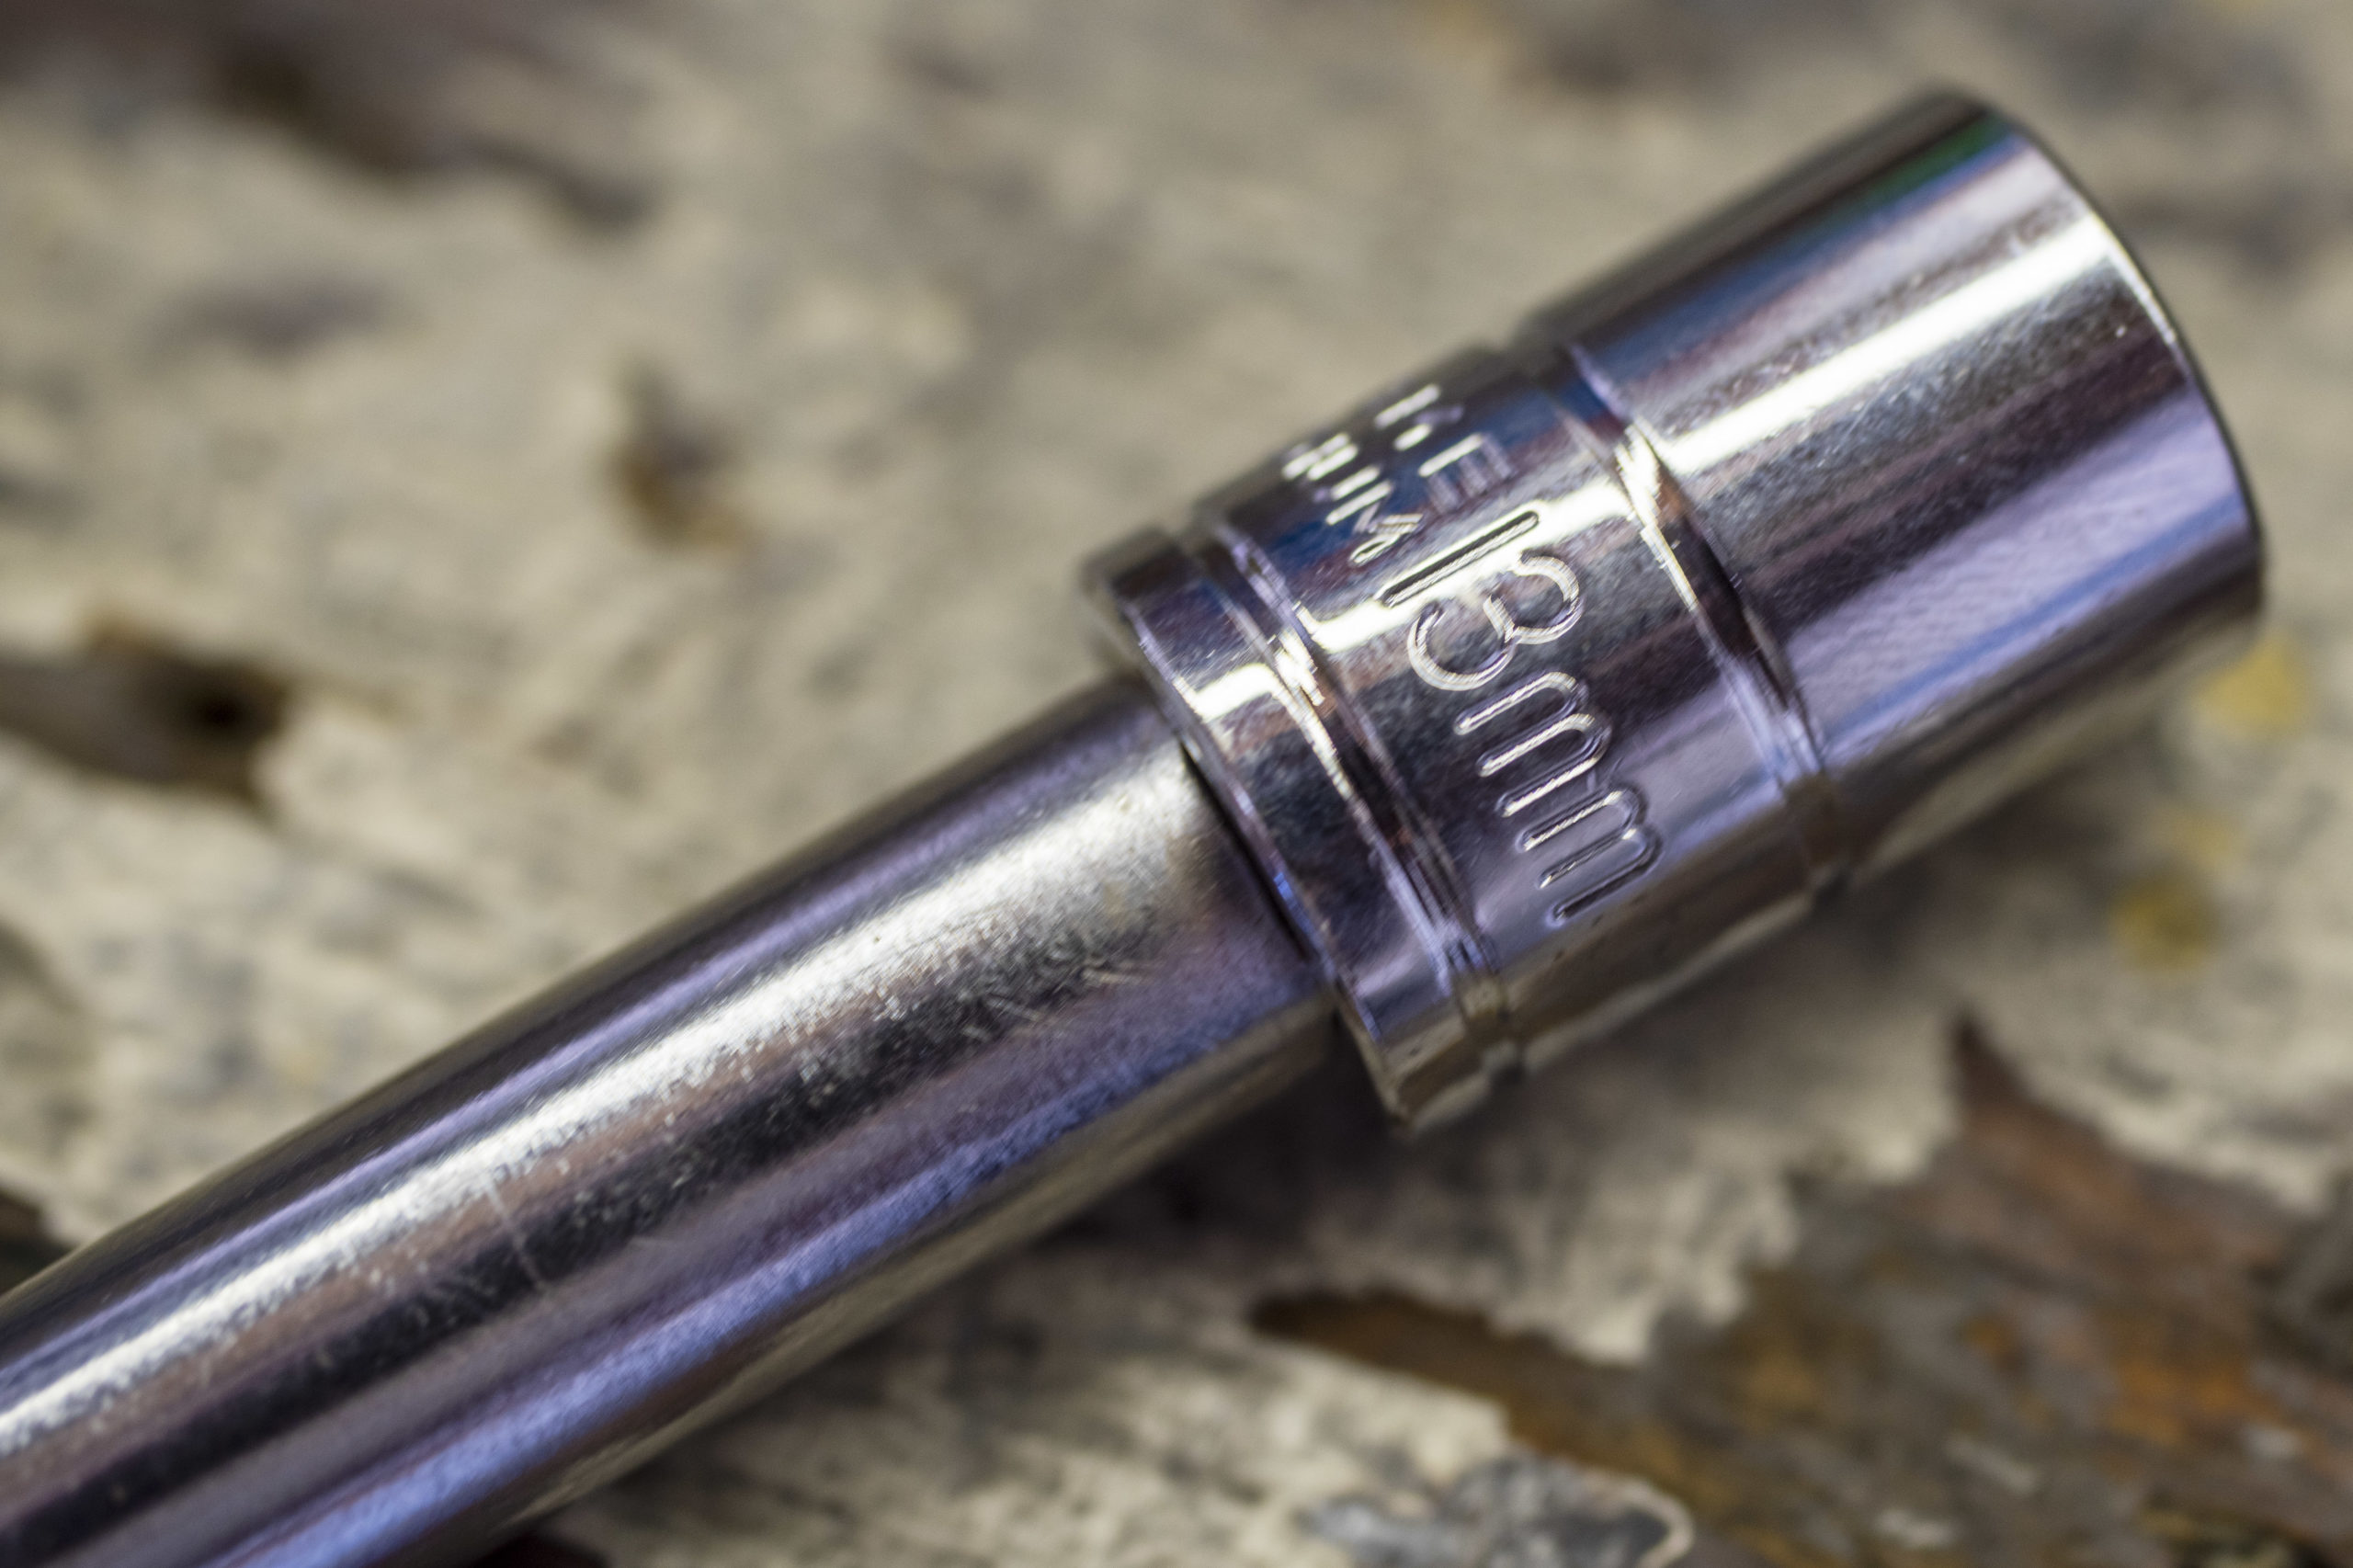
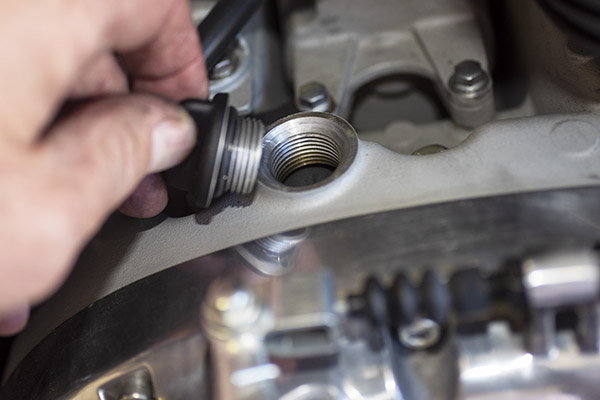
The oil drain plug is just to the right and below the oil filter mount (as you face the engine from the front).
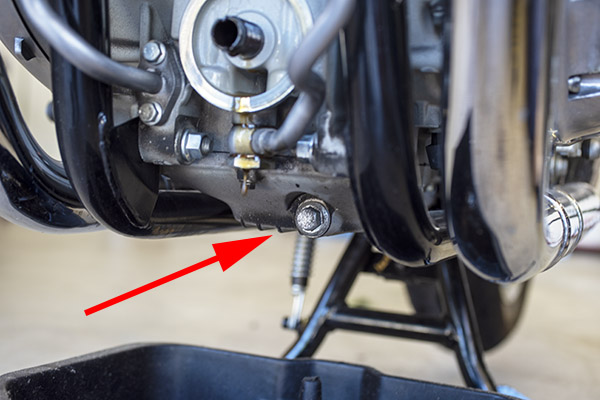
I guessed it was a 13mm, and I guessed right. It, too, had been installed way too tight.
When the plug comes out, you’ll notice it has a crush washer (which doesn’t really look like a crush washer) and a magnetic pickup that sits in the oil bath. The intent of that oil pickup is to grab any bits of loose steel that float around in the oil during the break in process (and after that, too).
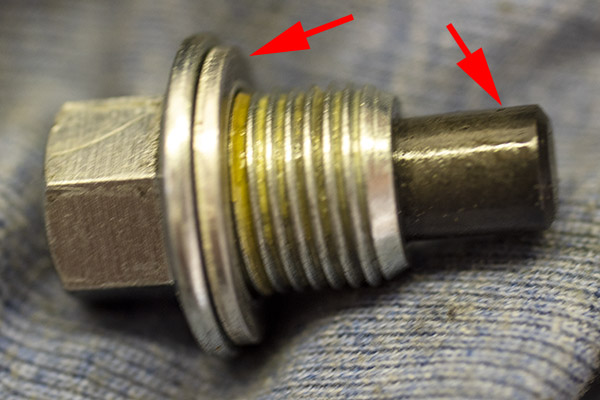
As mentioned above, the oil drain plug is way too tight from the factory. Be careful not to screw it up taking it off. And remember when you reinstall the oil drain plug, it’s a steel part threading into an aluminum engine case. Don’t overtighten the drain plug when reinstalling it.
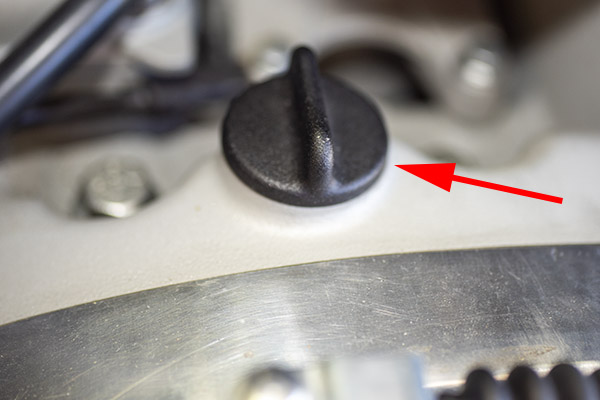
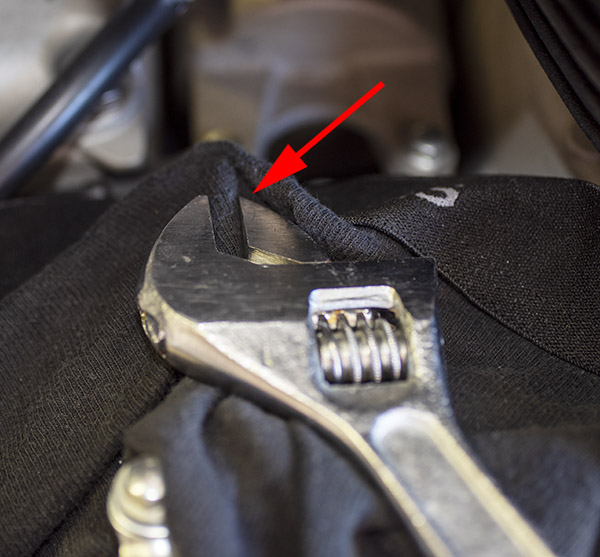
Next up is removing the oil fill cap. Mine was installed way too tight and if you’re taking it off for the first time you probably won’t be able to remove it by hand. I grabbed a rag to protect the plug and persuaded it a bit with an adjustable wrench to get it started. Once it was loose, it unscrewed easily.
After the fill plug was out, I let the oil continue to drain. Note that there is no dipstick on these bikes.
I let the oil drain about 20 minutes so it would drain completely.
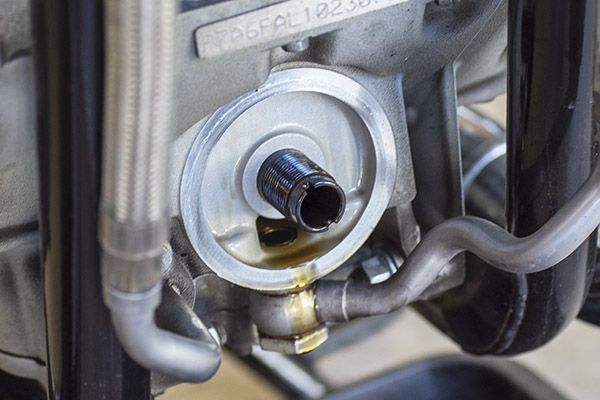
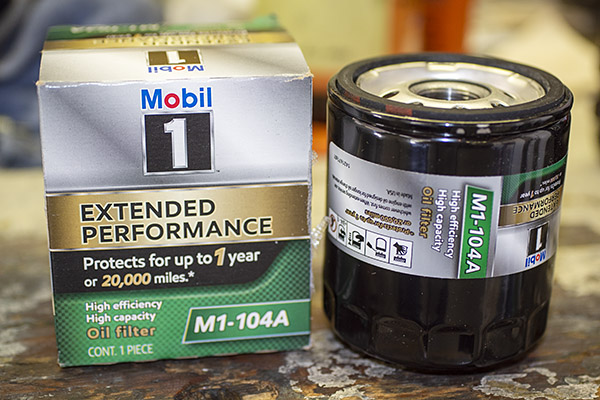
After the oil drained, I installed the new oil filter. You can order the Royal Enfield oil filter if you want to wait months for the official Royal Enfield filter or you can hit Amazon.com and get a Mobil 1 M1-104A oil filter. You can guess the path I took.
When installing the new oil filter, hand tightening (as tight as you can go by hand) is good enough. Tighten it more and you’re just making life miserable for yourself at the next oil change.
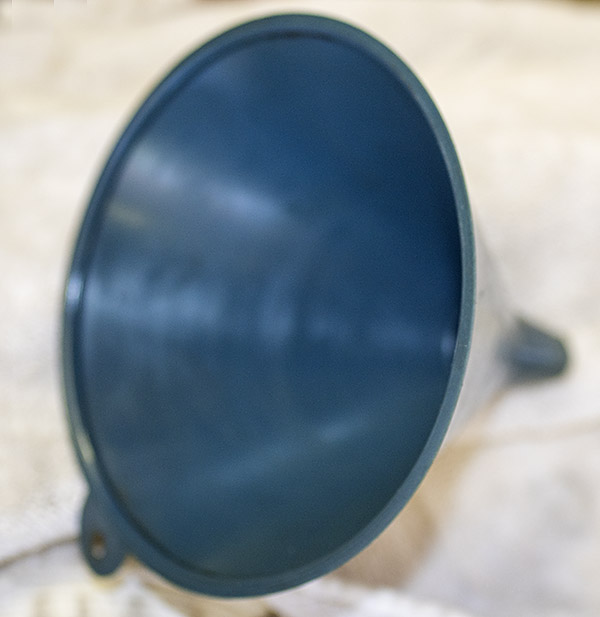
So, here we are. Oil drained. Oil plug reinstalled. New oil filter installed. It’s time to add the new oil. You’ll need a funnel at this step. My advice is to use a plastic funnel that will deform when you flex it.
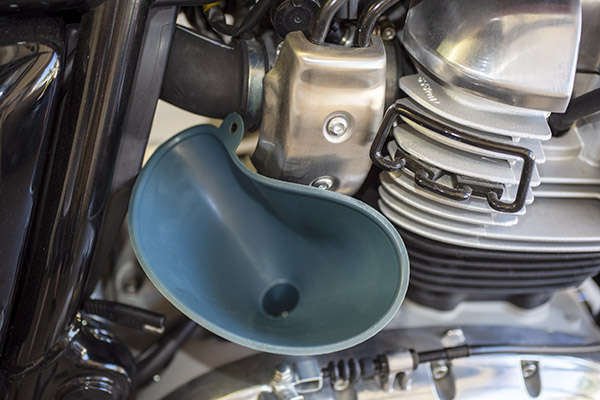
Wedge the funnel outlet into the oil fill port as shown below, and it will stay in place when you add oil to the engine.
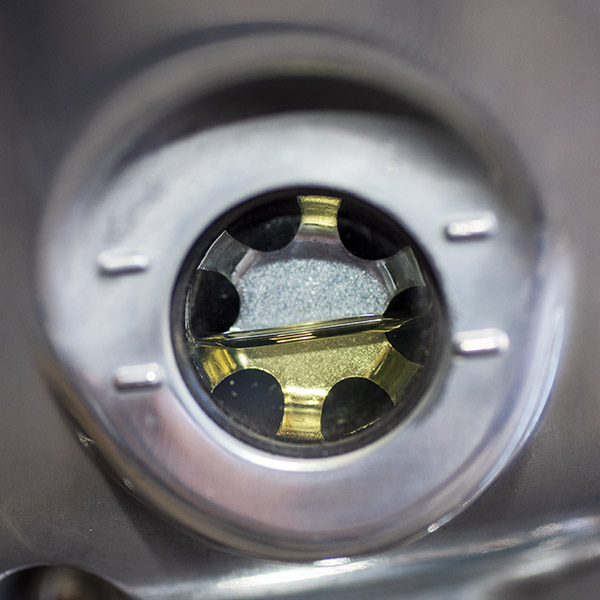
There’s an oil sight glass on the engine’s right side. The idea is to add enough oil (about 3.2 liters) so that the oil is approximately halfway between the lower and the upper fill marks.
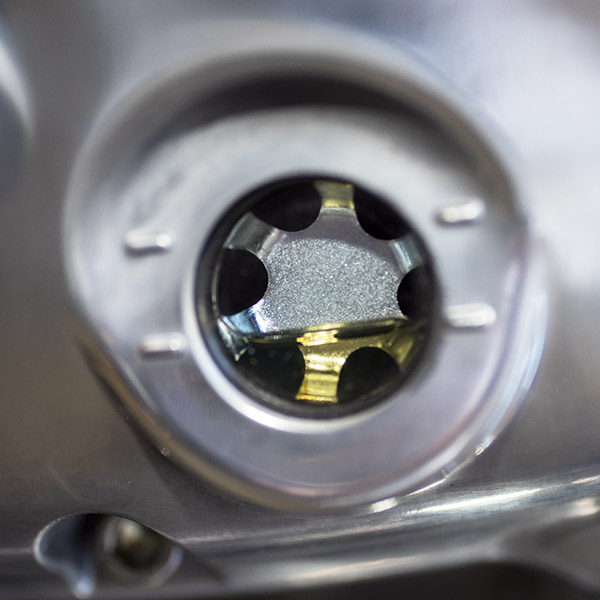
After you see the oil level between the sight glass upper and lower level marks, reinstall the fill port cap and then start the engine and allow it to run for a minute. The level will go down. Add a bit more oil to get the level where it is supposed to be.
After adding a bit more oil, install the fill port cap, hand tighten it, and you are good to go. Take the bike for a short ride and check for leaks. And that’s it.
In case you were wondering, I called the nearest Royal Enfield dealer and asked how much they would charge for parts and labor to do what I described in this maintenance tutorial. There’s no rocket science here, folks, and changing the oil is one of the simpler things you can do to maintain your motorcycle. The dealer’s price for an oil change was a cool $170. My cost to do what you see in this blog was about $50.
Our next tutorial will be on valve adjustment. Stay tuned.