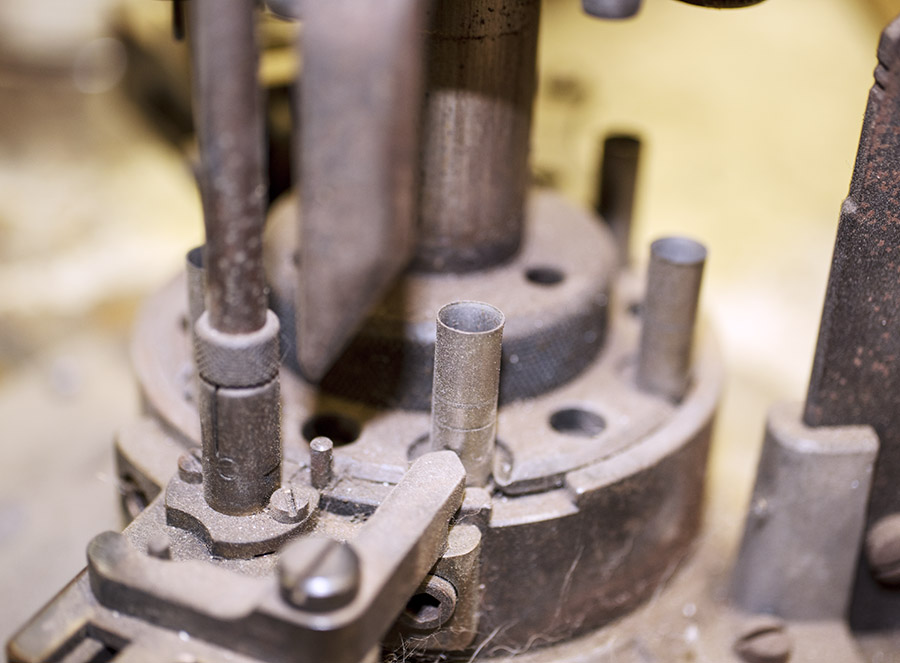
As a first step in bringing the Star progressive reloader back to life, I washed it down with WD 40 and squirted some Kroil
penetrating oil on it, but before I did that, I shot a few photos with my Nikon
and its macro Sigma
lens. These are better photos than the ones in the previous blog shot with my cell phone. With apologies in advance for this bit of redundancy, I’ll start with the “before” photos.
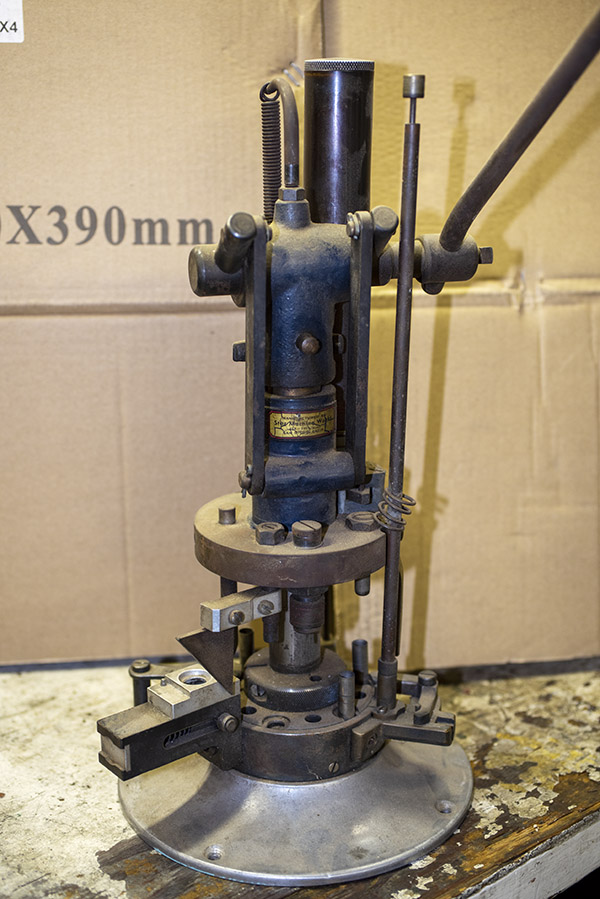
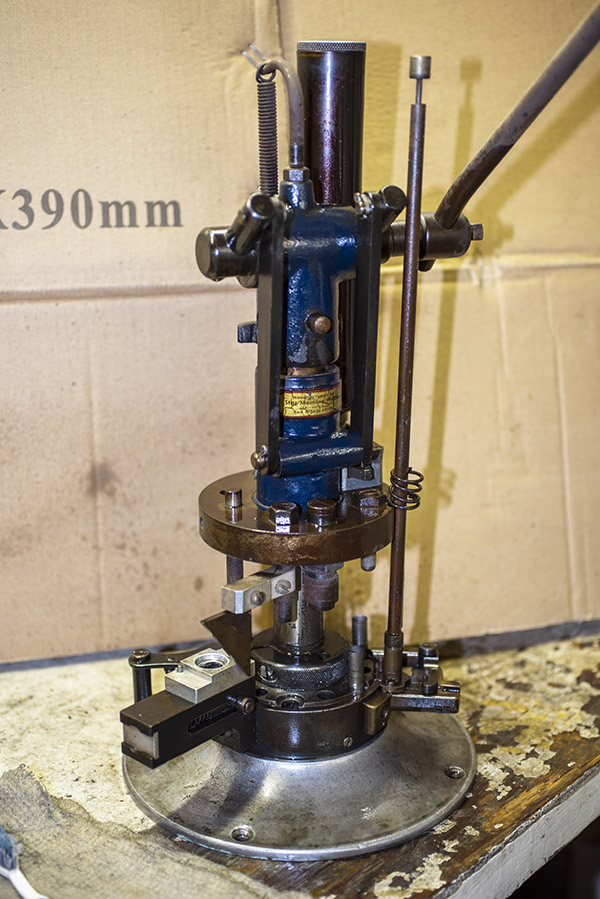
The Star Reloading Machine
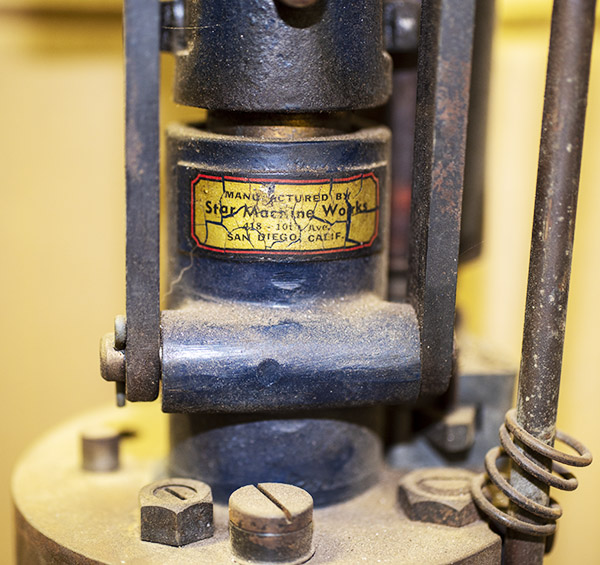
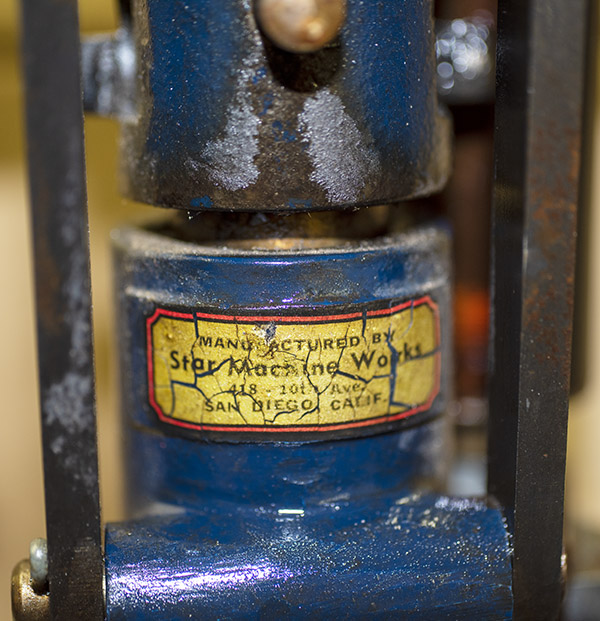
Here’s the Star label. They were originally manufactured in San Diego. I didn’t know that.
Star Reloader Parts and Subassemblies
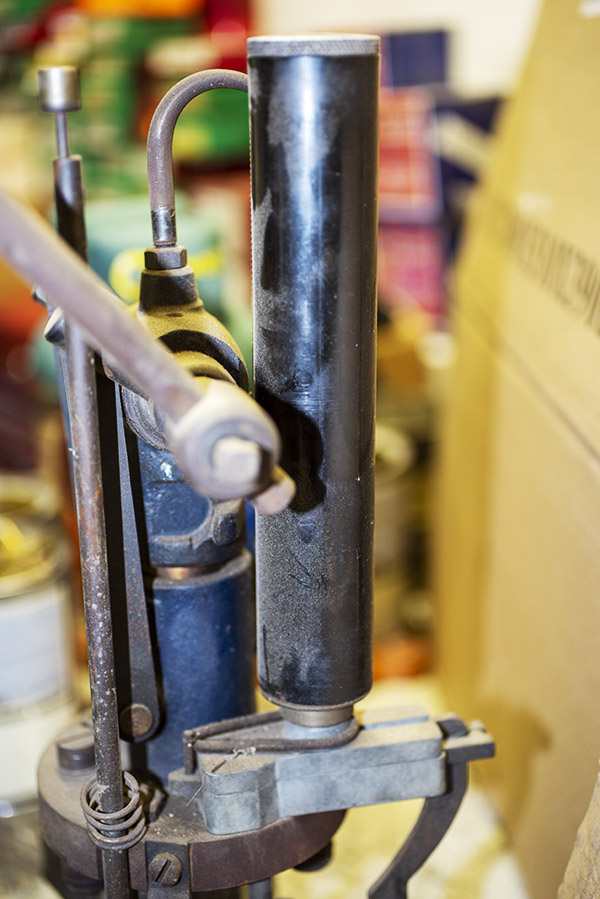
This is a side view of the Star showing the powder container and the powder dispensing mechanism. There’s a lot of dust and dirt on the Star. No rat poop like Gresh’s MGB GT, thankfully.
This is the base plate. It still has several cartridge cases in the baseplate shell holder.
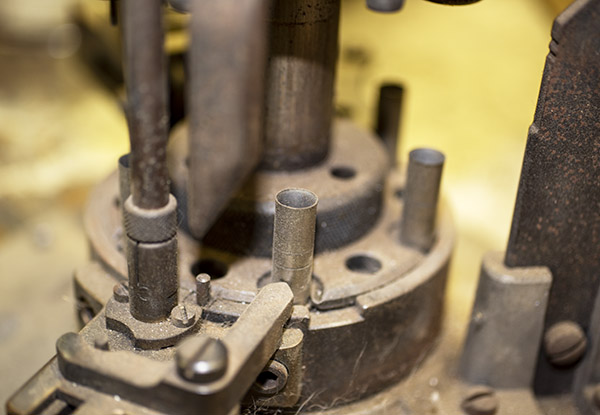
Here’s another “before” photo of the base plate. The doodad on the left is the case feed mechanism. The mechanism on the right is the primer feed.
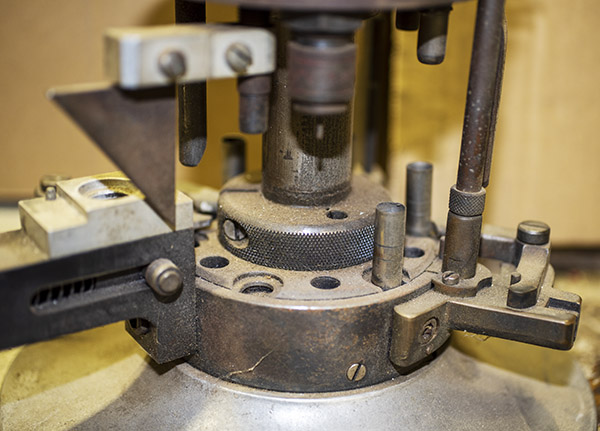
This is the decapping and resizing die. It’s a bit rusty. I’m thinking it’s probably a carbide die, which means the cases don’t have to be lubed for the resizing operation.
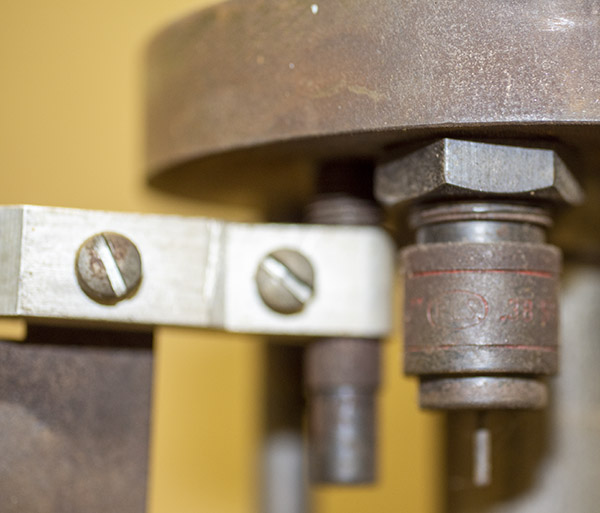
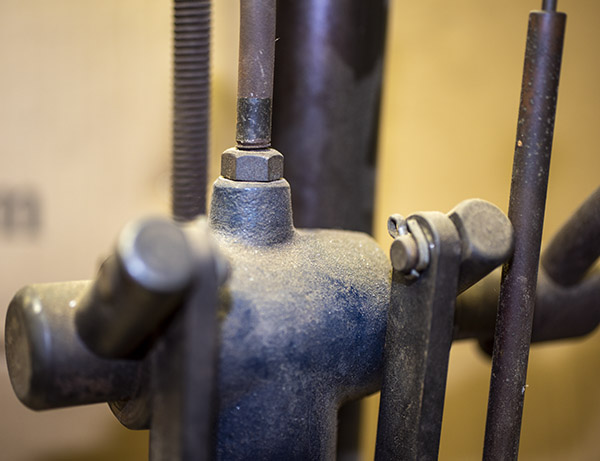
The photo above is a macro “before” shot of the powder dispensing mechanism.
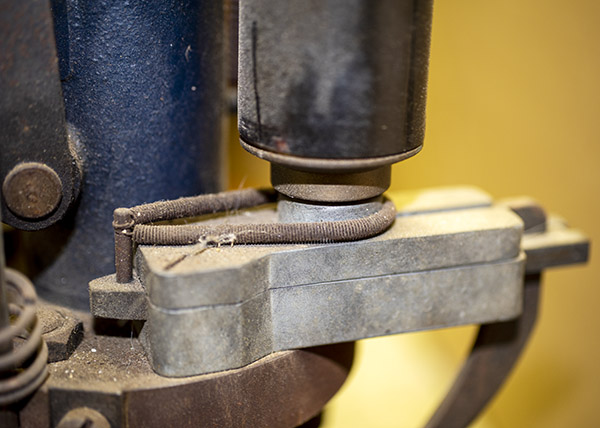
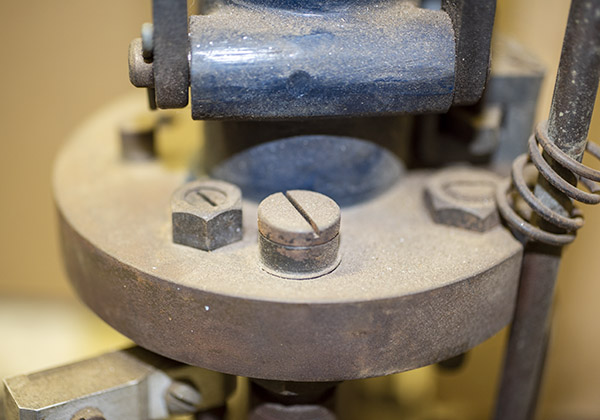
The photo below is a “before” shot of the head of the reloader. It’s the piece that reciprocates up and down with each manual lever stroke.
A shot from the top of the reloader, showing the top of one of the reloading dies.
Cleaning the Star Reloader
Moving on to the cleaning operation, these are the things I’m using initially: WD 40, Kroil
(a penetrating oil), a toothbrush, and an oily rag. This is the initial cleaning just to see what’s going on. A deeper scrub of each subassembly will follow in subsequent blogs.
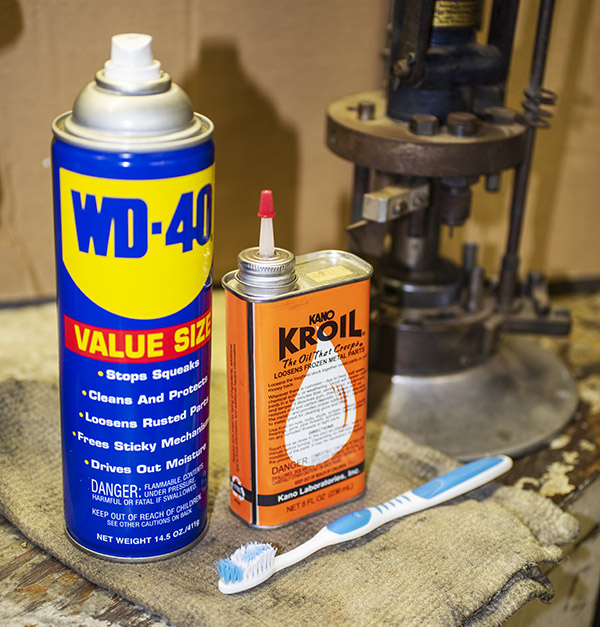
I gave the entire press a spritz with WD 40.
Here’s a better photo of the original Star decal. I’m not going to do a full-blown concours style restoration of the Star and I don’t want to bring the reloader back to as new condition. I like the patina and my intent is to get it working again, displaying the aging that has naturally occurred on an old piece of equipment like this. It’s a resurrection, not a restoration.
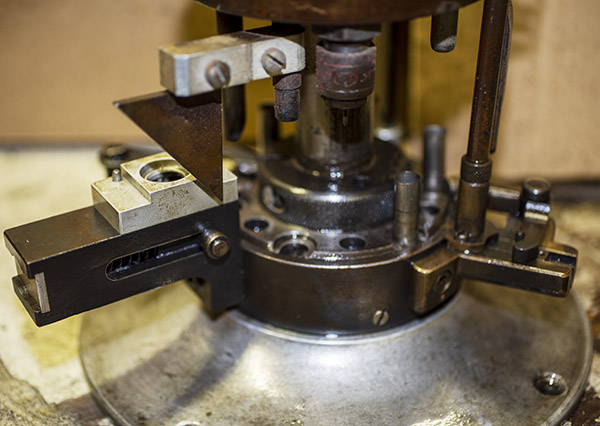
The bottom of the press is starting to look better already.
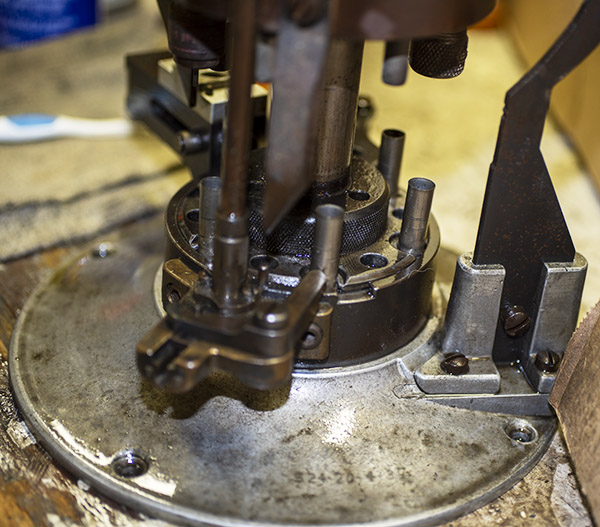
The powder container unscrews from the powder dispensing mechanism.
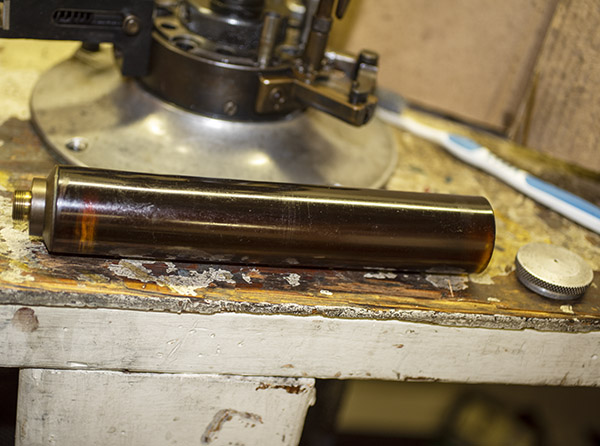
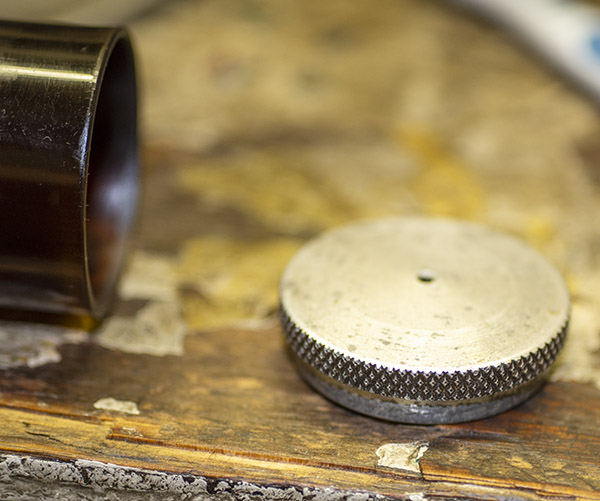
Here’s a photo of the powder container’s aluminum lid.
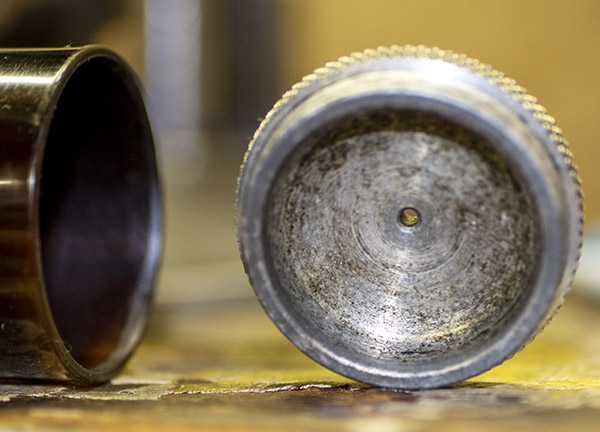
Here’s one of the lid’s underside. Note the breather hole. There won’t be any vapor lock on this puppy.
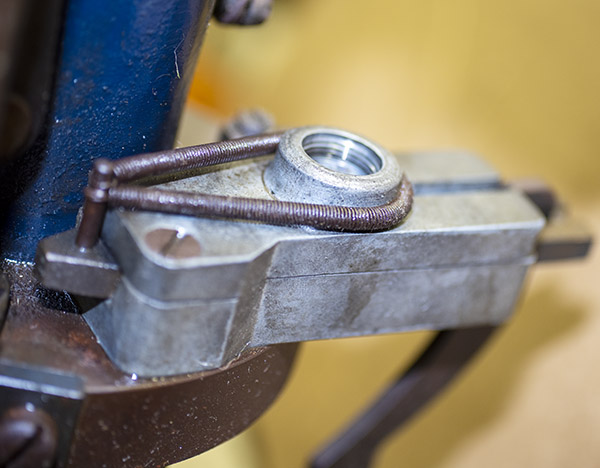
This is the powder dispensing mechanism after the powder container has been removed.
I have a new good buddy named Bruce Williams who restores and sells parts for these vintage Star reloading machines, and I asked him if he could tell me the date this Star reloader was manufactured based on the serial number I found etched into the machine’s base (see the photo below).
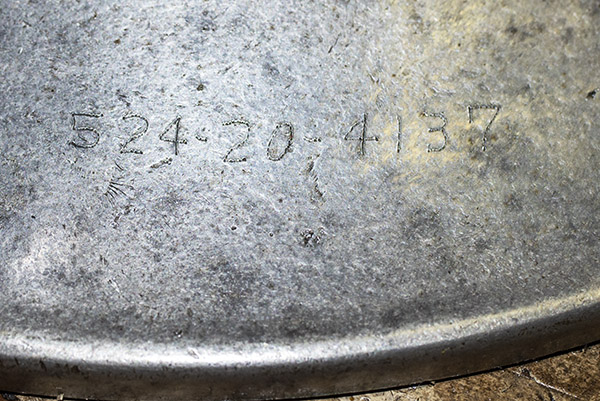
Bruce explained that Star never put a serial number on their reloaders, but many police departments, schools, commercial reloaders, clubs, and other organizations who owned Star reloaders applied a property tag number. I wonder who this machine belonged to. It has a history and I’d sure love to know it.
The .38 Special
As I was cleaning the Star, I found I could rotate the shell plate into position so that I could remove one of the several cartridge cases it held. The shell plate rotation is sticky, but I’ll clear that up when I do a detailed cleaning of the shell plate area (a topic for another blog, to be sure). The case was a .38 Special, which told me that’s what this machine had been set up to reload. That’s good. I shoot .38 Special ammo in a couple of guns.
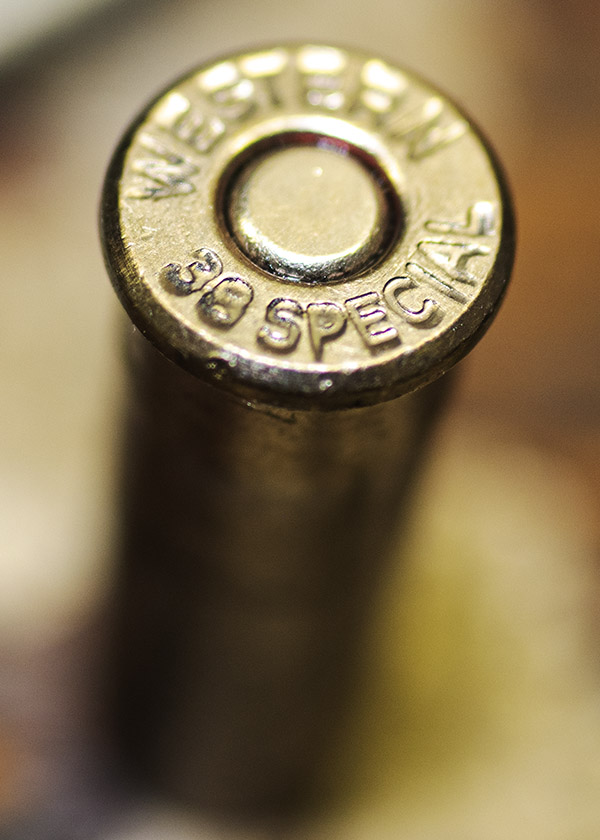
Before 9mm handguns became the rage in the 1980s, the .38 Special revolver was used by most police agencies and pistol competitors. As you can imagine, a lot of departments, schools, and clubs went through a bunch of .38 Special ammo back in the day. In those days, the .38 Special was probably second only to the .22 Long Rifle cartridge in terms of quantity sold, and the .38 Special used to be the most commonly reloaded cartridge in the world. It’s been eclipsed by the 9mm, but it’s still a great cartridge and there are still a lot of folks shooting .38 Special. I’m one of them.
The Model 60 Smith and Wesson
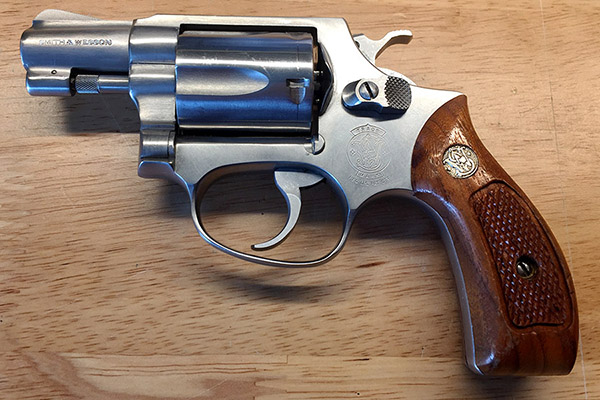
As I explained in our first blog on the Star, a friend of mine gave it to me when I started the Peoples Republik of Kalifornia transfer process for a snubnosed .38 Special revolver I recently scored (I got a killer deal). It’s a stainless steel Model 60 Smith and Wesson Chief’s Special, and it’s a honey. We’ll have a blog on the Model 60 sometime in the near future, and if all goes well, I’ll use reloaded .38 Special ammunition crafted on the resurrected Star.
The Powder Dispenser
The Star’s powder dispenser looked pretty funky, and I could see it still held a few grains of powder when I peeked into the cavity that throws the charge. I applied a few drops of Kroil to the screw heads so it could soak in overnight. The powder dispenser will be one of the first subassemblies I disassemble and clean. Kroil
is a penetrating oil; it will creep into the threads so that the screws can be removed without burring the slots. The powder dispenser will be the topic for our next Star blog.
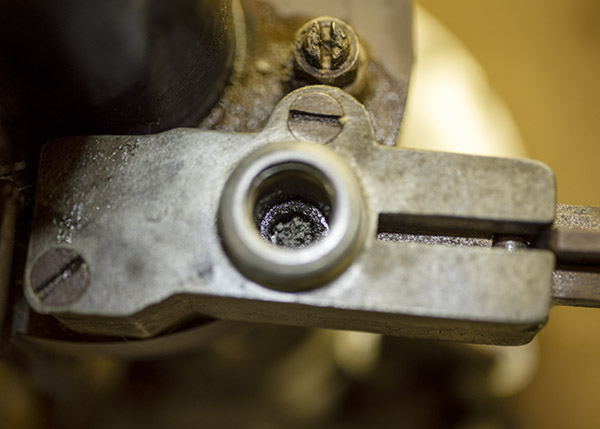
I didn’t recognize what this was (in the photo below) when I first saw it, and it was thoroughly coated in crud. Then I realized…it’s the bullet seating and crimping die. I’ll explain more about this in a subsequent blog, too.
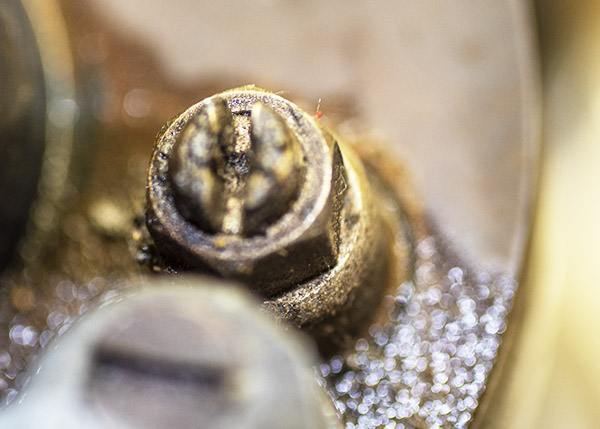
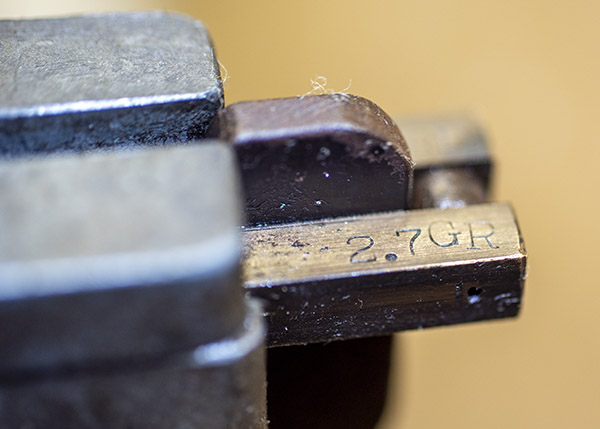
Here’s a close look at the brass slider in the powder dispenser. It’s marked “2.7 GR.” I’m hoping that’s for 2.7 brains of Bullseye propellant, which is the go to accuracy load (along with a 148 grain wadcutter bullet) in the .38 Special cartridge. I’ll learn more when I disassemble the powder dispenser. I’m itching to get into it.
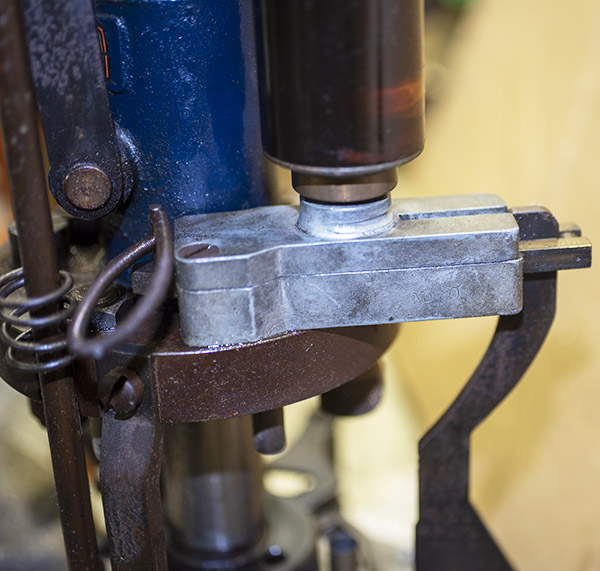
Here’s one last look at the powder dispenser, with the powder chamber mounted above it. In the next blog, I’ll explain how this subassembly works to dispense powder.
That’s it for now, my friends. More to follow, so stay tuned.
You can follow the entire Star progressive reloader story on our Resurrections page.
Never miss an ExNotes blog…subscribe for free here:

