
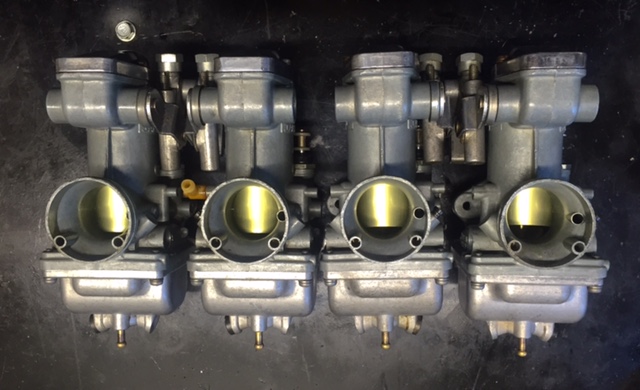
 I’ve been spending some time with Zed’s carburetors, working on details that required home-brewed engineering. The Mikuni carbs on Zed don’t have a traditional choke (a flap that blocks air going into the carb causing a rich mixture) but we still call it a choke. Instead, Zed’s carbs employ an enrichener circuit, which is more like a tiny, completely separate carburetor grafted onto the main body of the carb. Sort of like the brain inside Krang’s stomach on the Teenage Mutant Ninja Turtles cartoon. The enrichener has its own air intake on the upwind side of the throttle slide. This fuel circuit is fixed; no adjustment needed and is controlled by a plunger on the downwind side of the throttle slide. Lifting the plunger allows air to flow through the tiny carburetor at a pre-set fuel/air mixture and if everything else is right, helps a cold Kawasaki engine start better.
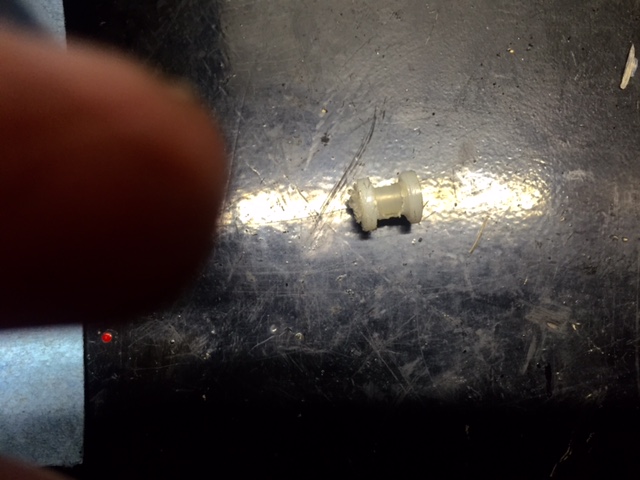
One of Zed’s four carbs was missing the little plastic bobbin that slides over the enrichener plunger shaft and is held onto the shaft by a tiny Jesus Clip. Two small fingers connected to the choke rail act on this bobbin and without it the plunger won’t lift. I Googled for a bit but could not find the bobbin part so I attempted to make one. I drilled a plunger-rod sized hole through a small piece of nylon and chucked the nylon into a Ryobi drill. Using a flat file I machined the nylon as the drill motor spun: a New Mexican hand-lathe. It worked great until the center of the bobbin got too thin and the whole mess spun out of control leaving me with a distorted pile of junk.
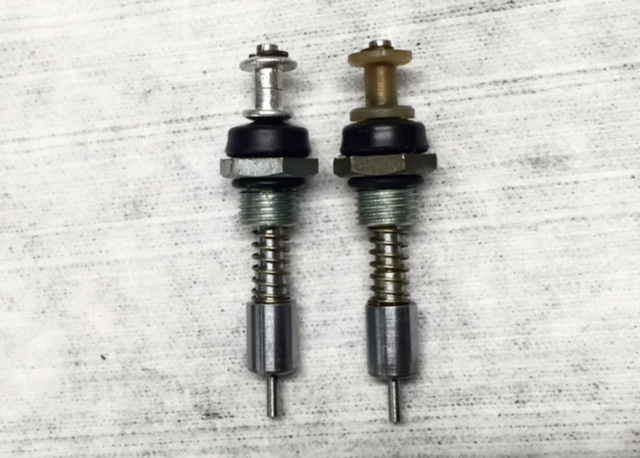
 Back to square one. I noticed how the bobbin was nearly the same size as the pop rivets I’d been using to assemble parts of Tinfiny’s generator room. I have about 500 of these rivets in stock so I could afford to lose a few. Knocking the pin out of the pop rivet revealed a bore just a wee bit small for the plunger shaft but it was not a problem to run a drill bit through making the bore an exact fit for the plunger. A pop rivet only has one flanged side so I repeated the process on a second rivet, cut the two rivets to equal the length of a factory bobbin and assembled the mess. I cannot wait for a hard-core Z1 enthusiast to happen upon the aluminum bobbin. It’ll probably cause a heart attack as most Z1 fans are around 75 years old.
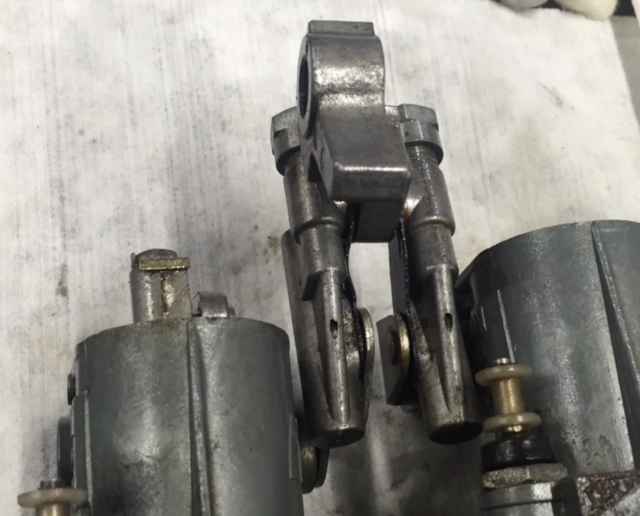
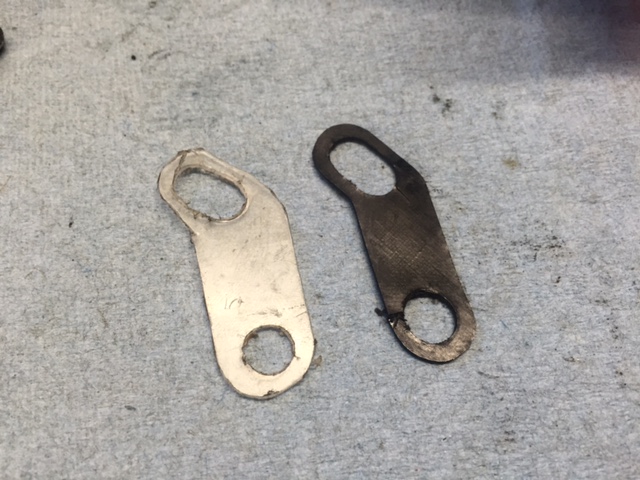
 Between the throttle linkage pivots on each set of two carbs there are little dust covers made from a treated black paper. Or maybe the dust covers are rubber, I can’t tell. Three of the four covers were broken on Zed. The covers go over the springs and ball joints on the linkage. They don’t seal all that well but might keep a larger bug from crawling in there.
 This is a part I didn’t bother looking for because I can make new ones in less time than it takes to look them up and order them. I used the thin plastic lid from a box of self-tapping sheet metal screws. Without a lid you know the screws are going to end up scattered across the shed floor. The dust covers didn’t come out as nice as I would have liked. Luckily, once installed you can’t see the things.
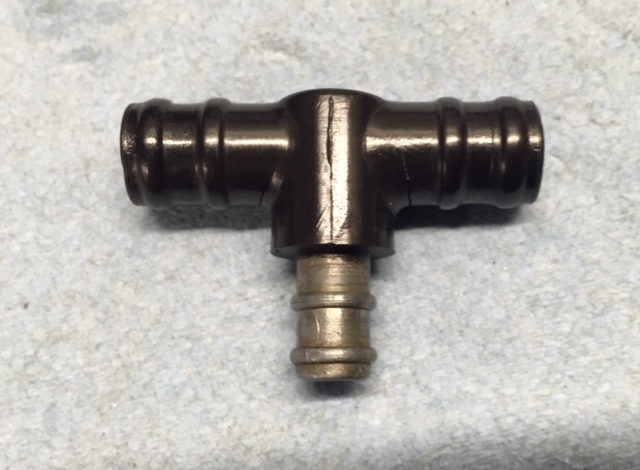
 On the Z1 900cc, each set of two carbs share a fuel inlet pipe. The pipe goes between the carbs and is a metal Tee fitting with thick rubber o-rings cast onto the straight section of the Tee. This rubber hardens and shrinks resulting in a loose, leaky fit. You can buy new ones for 34 dollars but if you’ve read Zed’s Not Dead this far you know what is going to happen next.
 I cut the rubber away from the fuel pipe and polished the exposed metal to ensure a smooth sealing surface. Then I drilled a small hole near the end of the pipe in order to install a pin (made from the drill bit). The pin is the same length as the width of the fuel inlet bore so once it is installed in the carb body the pin can’t fall out.
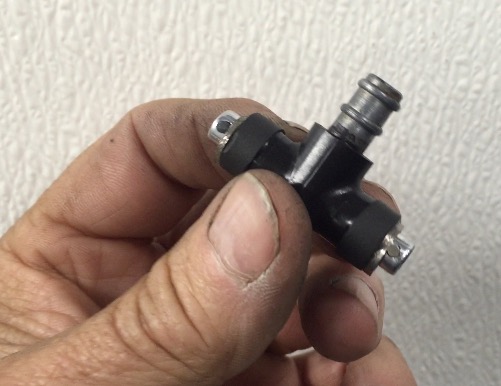
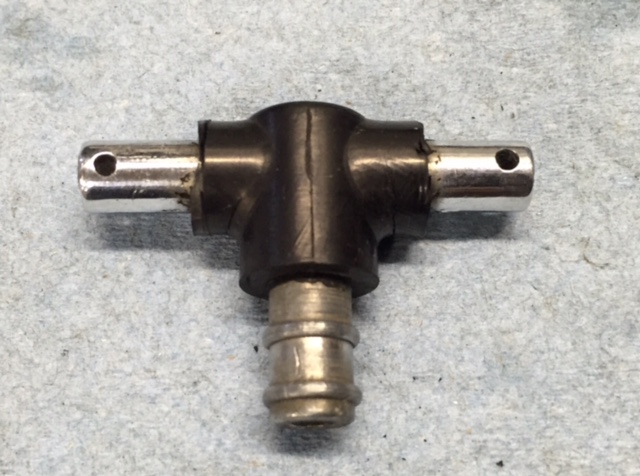 Now I used a ¼-inch length of rubber fuel hose (be sure to use the non-reinforced hose as cloth reinforcing strands will wick fuel, causing a leak) and slid this hose onto the fuel Tee. Next came washers and finally the pin. The assembly fits snugly into the carburetors. It helps to put the fuel feed hose on before you slide the carbs together. Hopefully it won’t leak.
 I’ve got the carbs assembled onto the rack and everything seems to work smoothly. I’ll be testing the float levels on the bench and will sync the throttle slides as close as I can get them. The idea being all four slides move the same distance in unison. Even if they’re not perfect the bike should run reasonably well. Later, manifold vacuum gauges can be used to adjust the carbs for any slight differences between cylinders.
Want to follow the entire Z1 resurrection? Just click here!
Joe you got to much time in your ✋
Yes, you are my hero. I enjoy reading about your ingenious solutions to avoid just buying stuff. I duct taped up the broken rubber stalks on my Tiger’s blinkers today. Sad contrast. I treated myself to a Yoo-Hoo though.
I used rolled up beer cans to fix the KLR250 blinker stalks.
With all the fixing your doing at Tinfin Joe you owe youself a lathe and milling machine . The drill idea works, but can be hard on fingers.
I have a nice 6″ South Bend lathe but it went under water and the motor is shot.
Great solutions to the problems of keeping an older bike alive and rideable. So many bikes are tossed because the fixes are more expensive than the bike’s worth. I’ve sold some great bikes cheaply so the next guy could afford to repair it and make it a personal ride. Contemplating doing this with my BMW R1150rs. I just don’t ride it anymore.
Until I owned a 1200 Bandit, the fastest I’d ridden a bike was a Z1 900. The Bandit would cruise at the max speed of the Z1, but this was comparing a bike ridden in 1978 to one I rode in 2010, 32 years. Loved the Bandit for many things, but my need for (illegally high) speed is gone.
“The Gresh” should be the new comic book/movie super hero. Old tradesmen will weep over his power to quickly innovate in real time.