
The Rustoration of Zed, my 1975 Kawasaki Z1 900, has once again hove into view. After several months of pouring concrete in Bay 2 of the big metal shed then building a retaining wall to level the back yard and pouring a side patio to slow erosion, the time has come to push Zed a little further down the road.
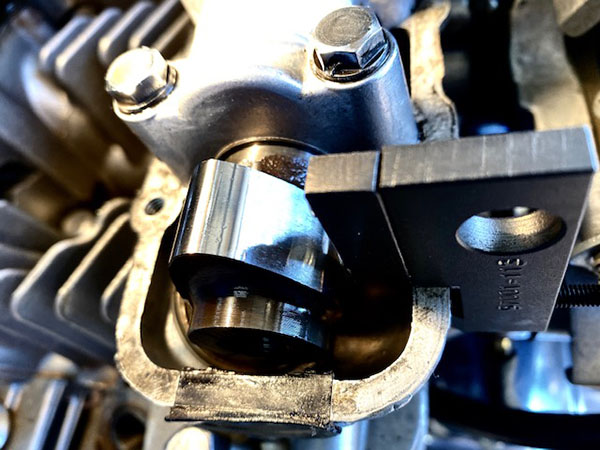
I left Zed somewhat assembled as far as the running gear was concerned. Today we will tackle adjusting the eight valves. You really can’t get an easier engine to work on than the Z1. After measuring the valve gaps and determining which valves need attention (four in my case), the first things you’ll need are a few old 29mm shims to stand in for the shims you are about to remove. These placeholders keep the cam from contacting the valves in an unfriendly way when the engine is rotated to access other valves. I don’t have any extra 29mm shims so I cut some out of a 1/16 bit of aluminum flat stock. These temporary shims can be a much looser fit (thus easier to remove), as you will not be running the engine with them installed.
I bought the correct Kawasaki brand valve shim remover tool online for around $40. There are other style shim tools but this one works well enough and leaves both hands free for the fiddly task of extracting the shim from its holder. I had to grind a little clearance into the tool where it straddles the cast-in tool boss on the Kawasaki’s cylinder head. The tool boss castings were slightly different thicknesses so after grinding it to fit the largest one I had to shim it with a plastic tie-wrap on the smaller castings.
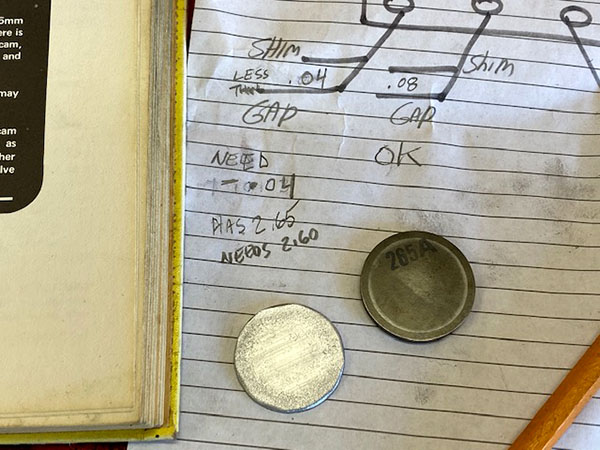
Now that you have measured all the valve clearances and removed the shims on the out-of-spec valves it’s time to play shuffle-shim. The shims are marked in millimeters and if the last guy who set the valves was not an asshole the markings will be readable on the side facing away from the cam. It’s a good idea to measure the shims with a micrometer but I don’t have a metric micrometer and it’s too much math to convert from inches. With my clearances I was able to relocate two shims leaving only two valves to go.
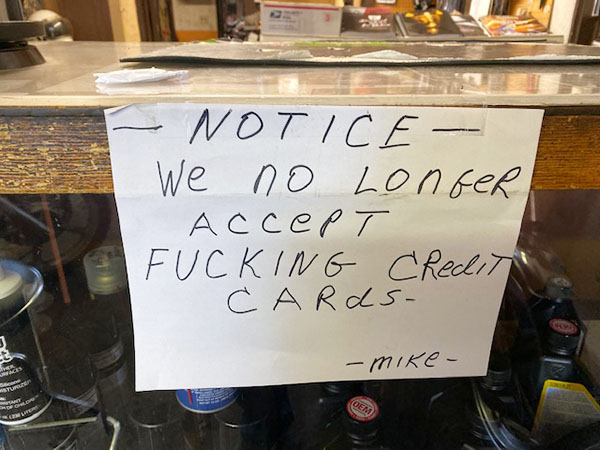
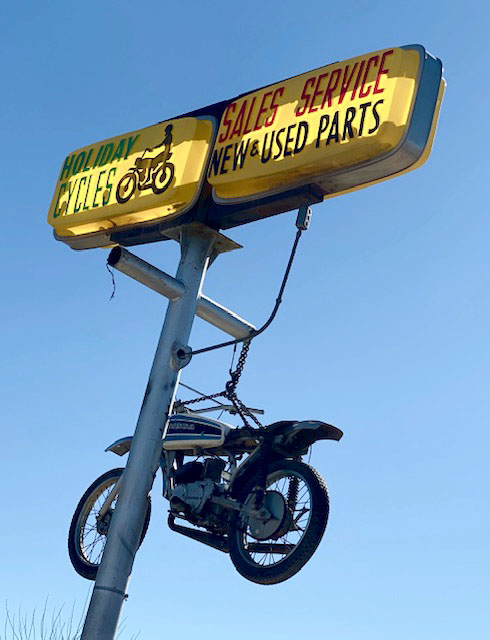
Holiday Cycles is our local Old School cycle shop. There are no dealerships; Holiday is an independent, pan-brand shop. The place looks like its been in business since 1939. I love it. You can see by the credit card sign that these guys don’t put up with bullshit. Holiday Cycles had one of the shims I needed and swapped me for mine. I’m not sure how they are going to make any money like that but I’m cheap so it really tugged at my heartstrings.
Next I went to Dave at the local Kawasaki dealership. Dave had shims but the Z1 is so old the shims were in his storage shed. I had to wait a day to pick up the next shim. I installed the new shims but the 3.00 mm one was too tight. That valve had a 2.95 shim and the gap was at .013 so I couldn’t understand why the 3.00 didn’t bring it down to .008. This is where measuring the shims comes into play. Dave told me that shims can vary a couple thousandths. Add in a bit of wear and it’s a crapshoot as to which replacement shim to get.

Trial and error has been my normal MO since forever so I ordered another 2.95 from Dave except he doesn’t want to go back to the storage unit right now so I am waiting on a call back. Once I get the valves set I’ll run the engine again to flush the carbs with fresh gasoline. Then I can get to work on the gauges and headlight area and try out the new electrical system. I really want to ride this bike before I die.
Read Parts 1 through 15 of the Zed’s Not Dead series!
I want to see a vid of you riding it before I die 😎
Pro Tip – use a 25 cent coin as the shim substitute.
Todd,
I haven’t got that kind of money!
Love old bike shops! One of my favorites was Manor cycle in Clearwater Florida. They had a sign-up up underneath a picture of a clown, a very bad clown. The quote was” this ain’t no clown show.”
Which was the philosophy of the guy that ran the place he did not suffer fools gladly.
Very good article. Yes, we want to see you ride this Zed before we’re dead.