
By Joe Gresh
I’ve been so busy with home-nesting projects my motorcycles have succumbed to time’s crumbling embrace. I parked the ZRX1100 Kawasaki after the carburetors clogged up and it began running on three cylinders. Since it has been sitting a few years naturally the brake pistons seized. Followed by fluid leaking out of the calipers. Followed by me robbing the battery to start the generator that powers the nest. In any event, it needed tires, a chain and sprockets and the throttle cable repaired. So the big green Eddie Lawson lookalike has suffered the indignity of being dragged across the countryside on a two-hundred-dollar Harbor Freight trailer.
Even worse, the mini bike my pops built for me when I was a wee lad is on the injured reserve list. Forty-eight years idle, Mini has untold issues although the Briggs and Stratton engine still turns over. I’ve lost a few critical, hand-made parts and since the Old Man has shuffled off I’ll have to re-make the stuff myself. It’s not easy handling such a precious thing. The mini is lousy with my father’s engineering and artistic skills. The welds and frame geometry are a direct, tangible link to happy times working together in the garage.
The 1965 Honda 50cc went under water in one of Florida’s many hurricanes so I took it apart and threw everything into boxes and plastic tubs. It’s been apart so long the tubs have crystalized into the finest, most fragile parts bins in existence. The slightest touch turns them to dust. Dry, chalky plastic oxide mingles with 4mm JIC screws and yellowed wings. The sheet-metal swing arm rusted completely in half so I’ll have to rig something in aluminum to secure the rear wheel to the frame and lower shock eyes. I do have a good engine for the Honda: a fire breathing 140cc Lifan clone that clears the front fender by a quarter-inch.
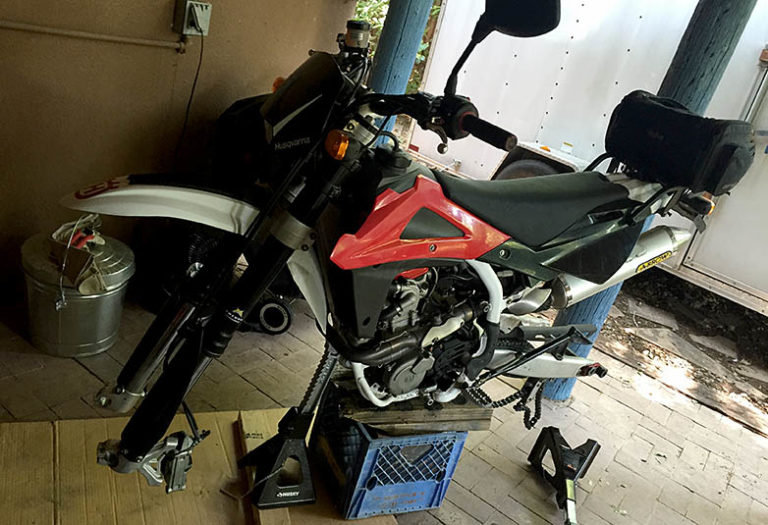
The newest dead-bike I own is a Husqvarna. On the last, long-ish motorcycle ride I took to Big Bend Park way down in south Texas the Husqvarna SMR510 lost its clutch release. Bit by bit, little by little the clutch action faded away until finally pulling the clutch lever had no effect on events. The headlight also broke off but on a dirt bike that’s hardly worth mentioning. We were doing some trail riding down there and the Husky did ok shifting motocross style. Starting out was the main problem as you had to push the thing, jump on, and pop it into first. The bike would either stall or roar off on a wheelie. On the ride home I would circle the backfield waiting for traffic lights to change. Sorry, everyone in El Paso.
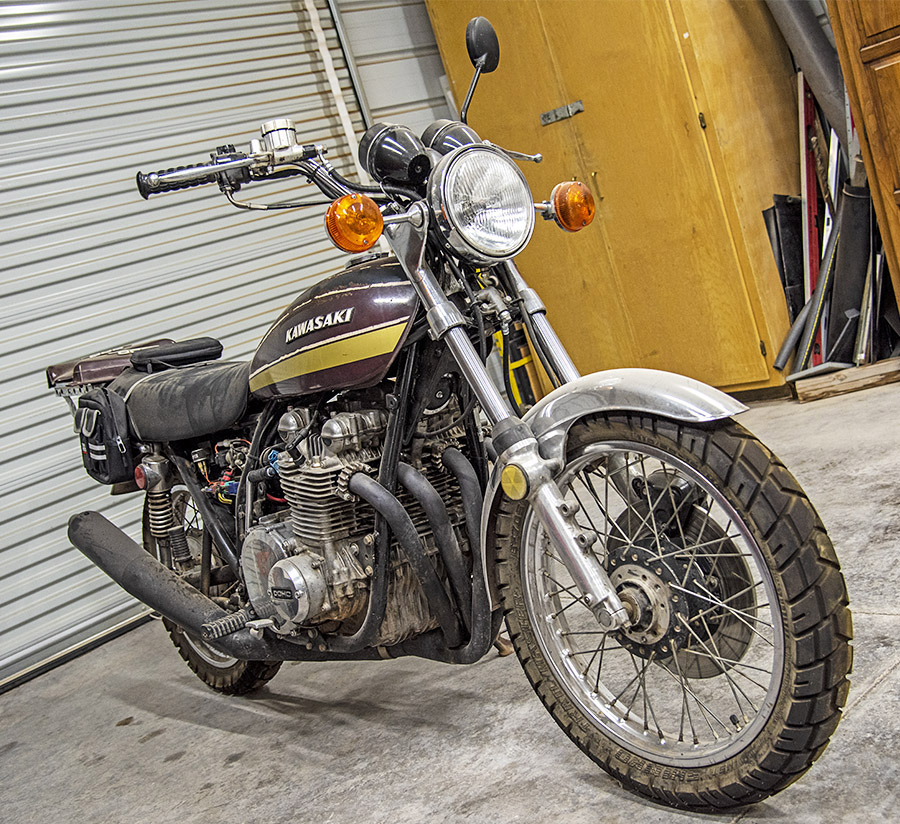
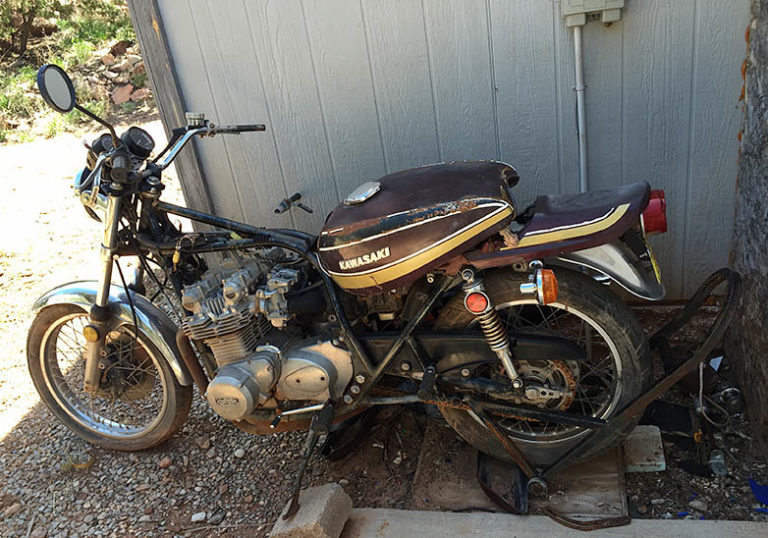
At least the Z1 Kawasaki never ran for me. I bought it from the owner of the property we now live on. I had to get it out of there because things were disappearing and I felt someone was going to pilfer the Z before I could. The Z needs all sorts of stuff but I get the feeling this bike will be a keeper. The lines are so clean and simple compared to modern bikes. It sits damn near perfect, doesn’t feel heavy and I know from following David Howell through the Everglades, Z’s do well in the dirt.
Which leaves us with the only motorcycle I own that works: a 360cc, 1971 Yamaha RT1B. Fondly known as Godzilla to dirt riders far and wide, the old Yamaha just keeps popping along. Analog everything, smoky, noisy, sweating petroleum from every pore, this is the bike that will not die. Even with me maintaining it.
Everything around us is constantly falling apart. Even the Great Pyramid in Egypt will be a sand dune one day. I just hope that when it finally falls to the ground replacement parts will still be available on Ebay.
Help us keep the lights on…please click on the popup ads!
Never miss an ExNotes blog:

 Zed’s forward progress has come to a temporary halt. Not due to any complications on the Kawasaki’s part, although the project has exceeded my initial estimate by double and I’m not done yet. No, Pitiful Man has to strike a balance between work and play. He must strive to appease the gods and their fickle ways while angering none. It’s a fine line we walk and sometimes we have to dance atop a vibrating string.
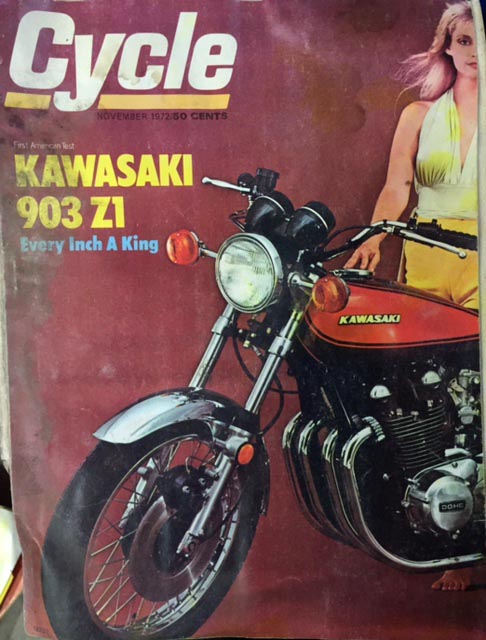
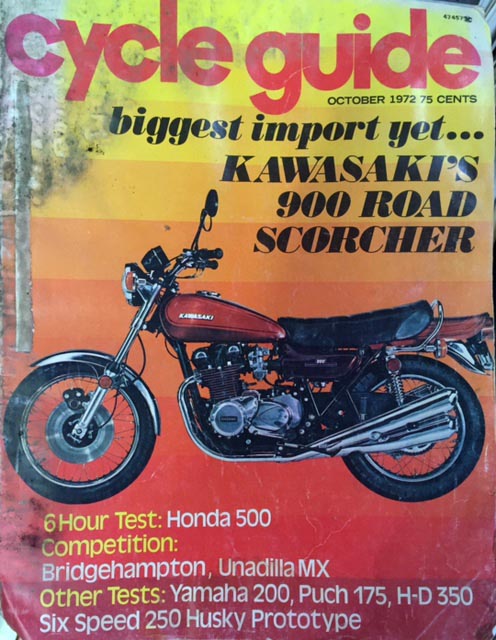 Those faithful Zed’s Not Dead readers that have not deserted me will recall Part One where I describe Zed’s crooked path back and home. After we bought Tinfiny Ranch I discovered a trove of paperwork from Zed’s previous owner. Several motorcycle magazines from the era featuring Zed were in a box along with a possible explanation for the Zed’s wiring issues described elsewhere in this series.
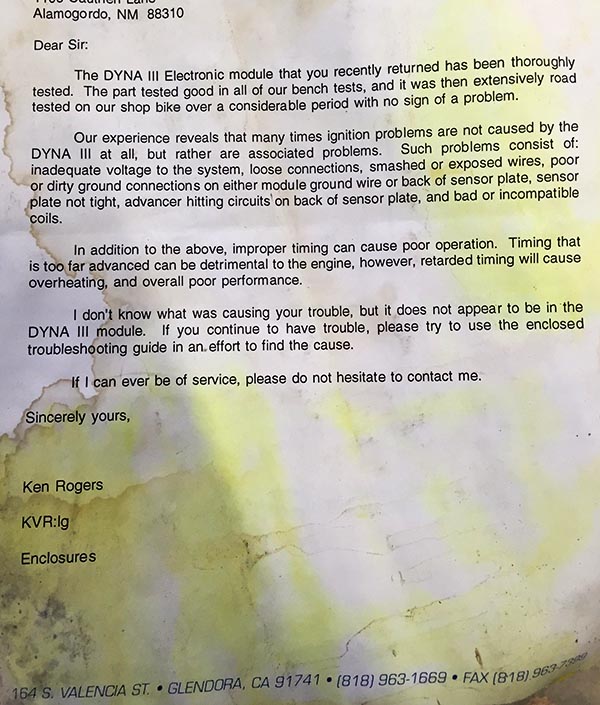 This letter dated August 3rd 1994 from Ken Rogers representing Dyna III ignitions (I’m guessing not the singer) explains to the previous owner how they have thoroughly tested the electronic ignition he sent back and have proclaimed it fit as a fiddle. Zed’s burned-up wiring harness may have been due to a faulty Dyna ignition installation. This would also account for the wiring to the coils being cut as those short bits were spliced into the Dyna module. I never found any of the Dyna stuff in my initial clean up but I haven’t gone through all the old guy’s junk.
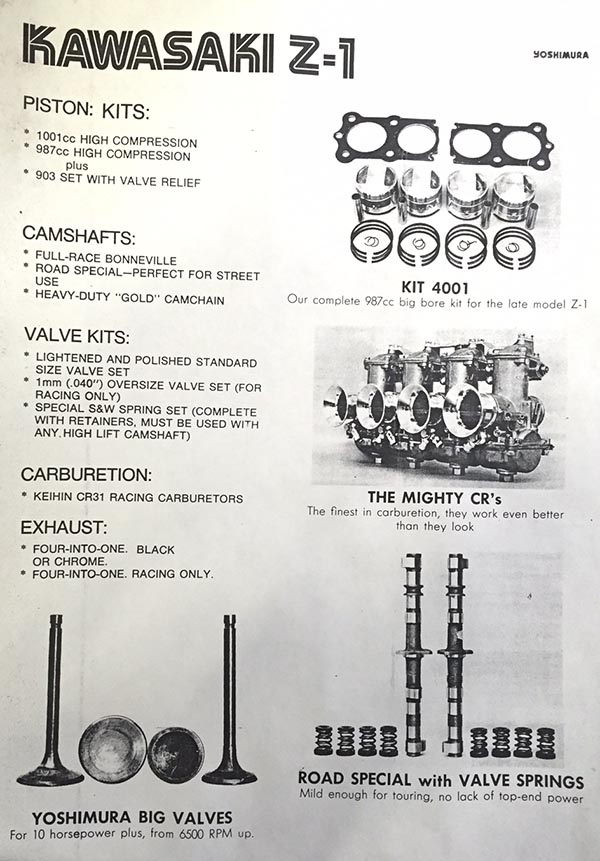
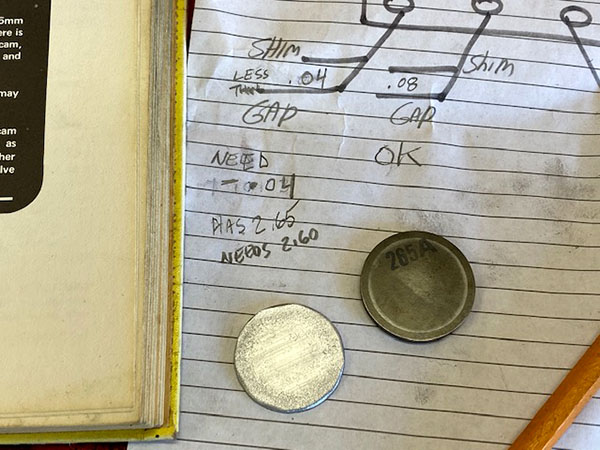
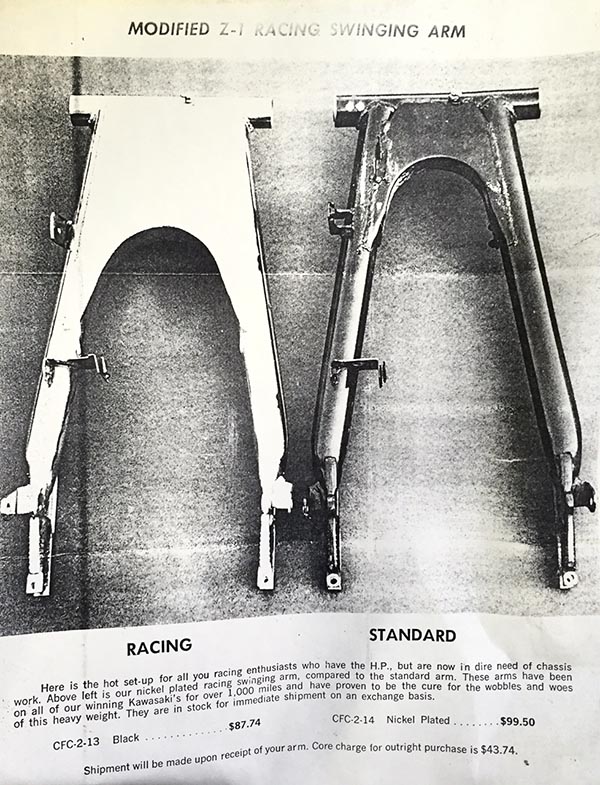 Along with the Dyna stuff there was a lot of Yoshimura brochures and price lists. After seeing the damage to the wiring harness on Zed I’m torn between hoping my bike has some nice performance parts installed and fearing that my bike has some nice performance parts installed. I should be able to measure the cams to see if they have additional lift but I’m not sure how to check displacement without winning an AMA national road race. I suspect the Yoshi stuff was bench dreaming because the bike runs too well to be hot rodded.
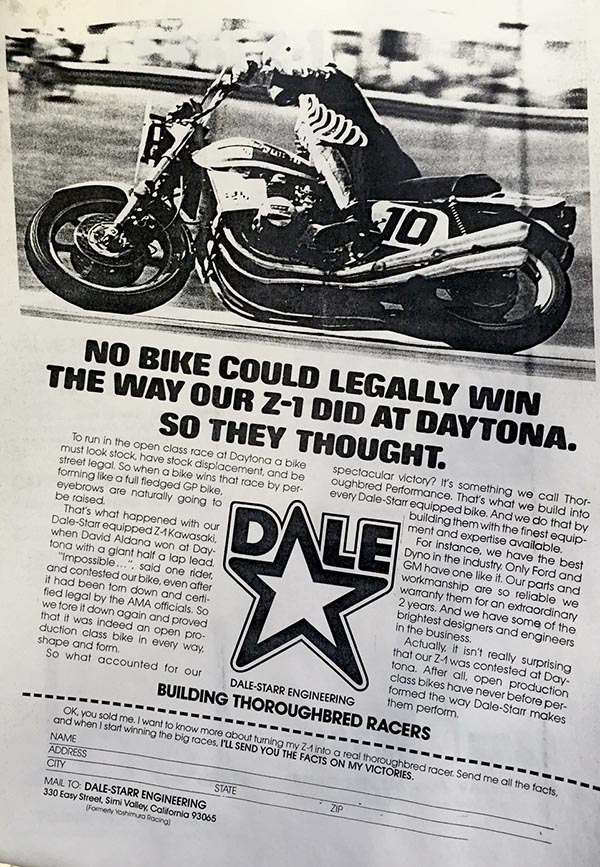 Finally here’s a nice photo from Dale-Starr of David Aldana winning the Daytona superbike race with a half-lap lead over the guy in second place. Apparently this caused protests that required Aldana’s bike to be disassembled twice! The bike was found legal and Aldana’s win stood. I met Aldana at Barberville one year. I was so excited to meet him I started doing the “We’re not worthy!” Wayne’s World bowing thing and Aldena told me to knock it off.
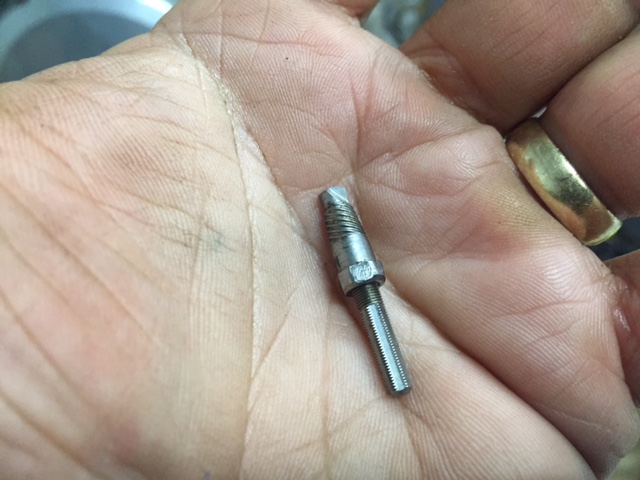 I drilled the screw in stages until I could try my handy-dandy left-hand drill/remover tool.
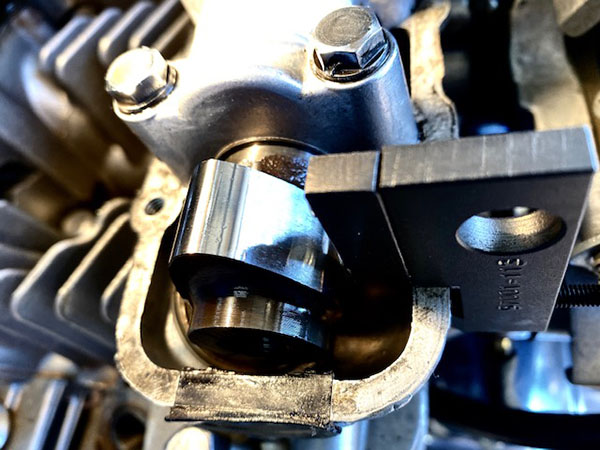
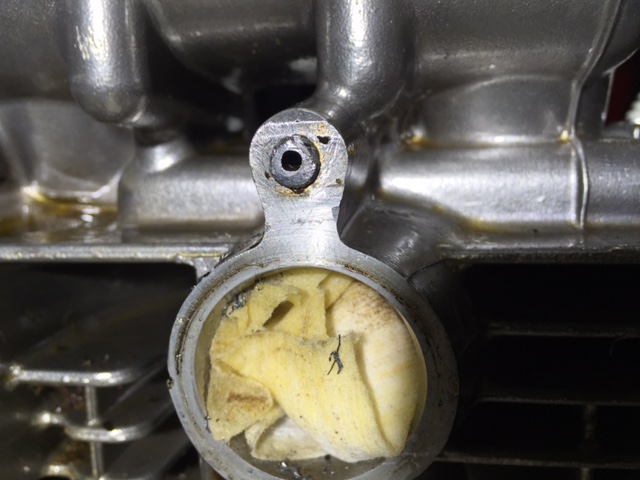
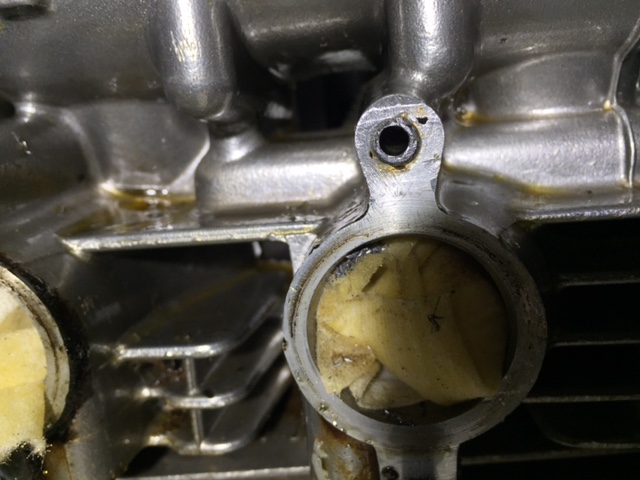 The broken screw is small, like a 4mm, maybe a 6mm and there’s not a lot of room for error. The little extractor tool had a good bite into the screw but the thing would not budge. One thing you don’t want to do is break off an easy out because they are super hard material. There’s no drilling the things and you are well and truly screwed if you manage to get the hole full of busted tool steel. I eased off. Sometimes you make more progress doing nothing rather than doing the wrong thing.
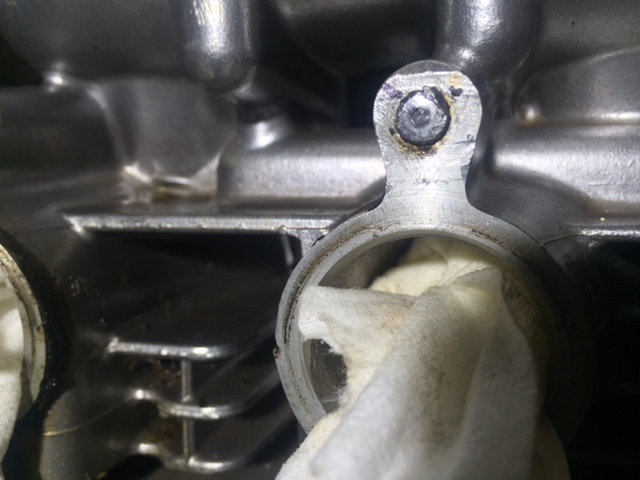 Admitting defeat today I decided to step away from the cylinder head and give the hole a few more days soaking with penetrating oil now that I can get to the backside of the situation. In addition to soaking I’ll heat-cycle the aluminum with a 1500-watt heat gun in the hopes of disrupting the steel screw/aluminum head interface. I guess the worse case would be to drill the thing all the way out and use a thread repair insert but I really don’t want to do that. That would be true hackery.
 A complete
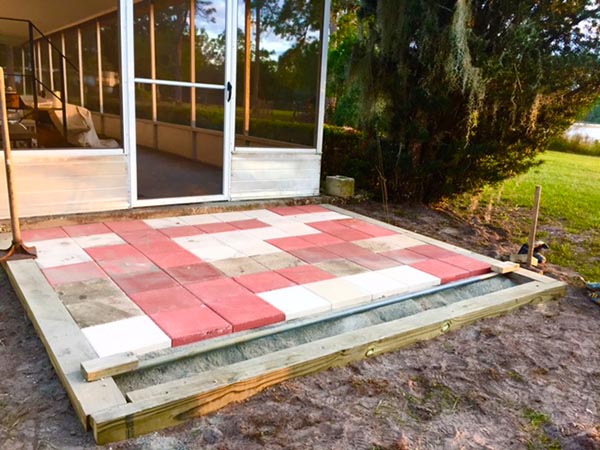
 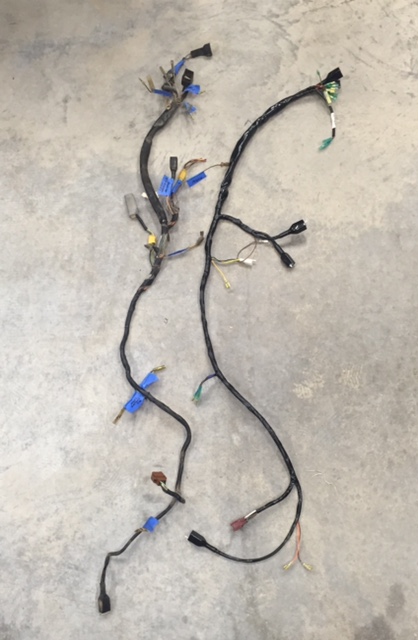 Included in the order was an O-ring for the re-sized drain plug and the washer that goes between the oil filter and the oil filter spring. With these parts I managed to get the bottom of the engine buttoned up. Progress has been fitful but Zed is getting closer. I’m really jonesing for concrete so I may have to pull off Zed and pour a yard to keep my soul on ice.