
With only two full-time writers here at ExhaustNotes.us, it’s a real challenge to churn out the quantity of content a website demands. Luckily we have Joe Berk on staff. One Berk equals like seven normal writers. Coming up with topics is easy but some of the ideas don’t rise to the level of an actual ExhaustNotes.us story. I’ve swept the floor at the luxurious ExhaustNotes.us office plaza and tossed all the bits into this blog post.
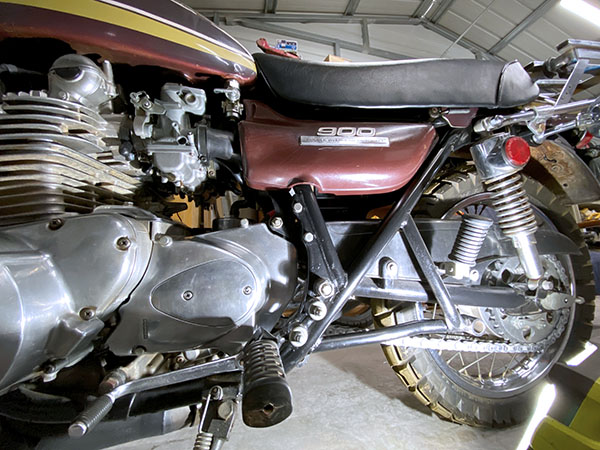
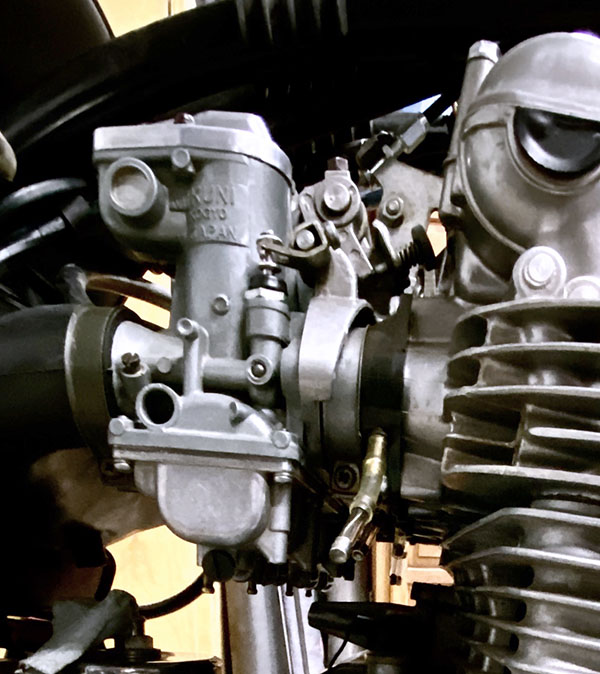
Reaching in through the bottom of the chicken we find that the 1975 Kawasaki Zed has been having a few problems as of late. The far right-side carburetor was spewing gasoline sporadically so I purchased 4, generic carb repair kits online. I really only needed the float needle and seat but at $14 a kit it was cheaper to buy the whole shebang rather than just the seats.
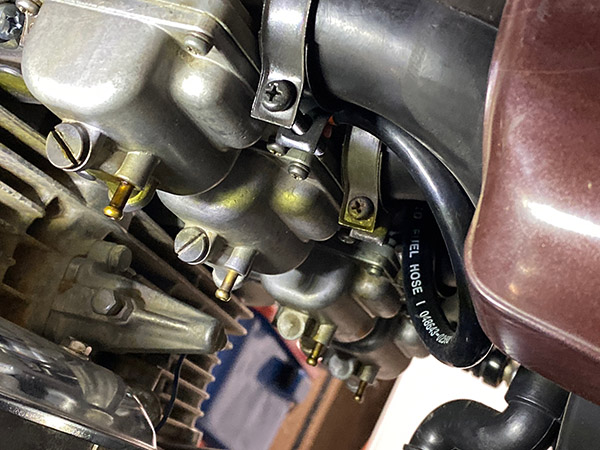
The carburetors sit relatively high off the crankcase on a Kawasaki Z1 so most carb circuits can be accessed from the bottom or top without removing the whole bank of 4 carbs. You can get to the idle jet, the main jet, the needle and seat and even the slide needle and emulsion tube if you’re willing to struggle a bit. When I say access theses parts I don’t mean to imply that it’s easy to do. I have the cuts on my hands to show for it.
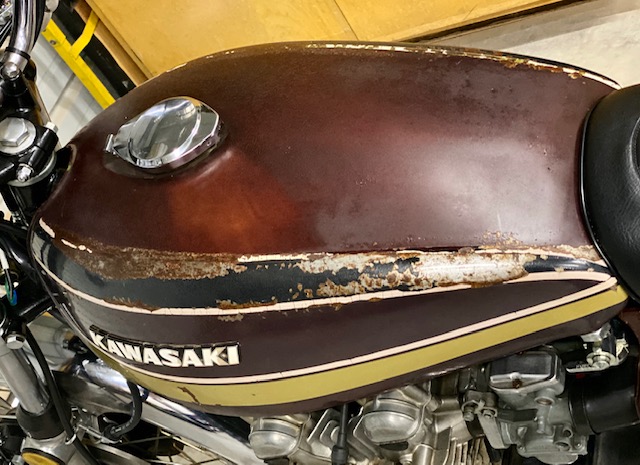
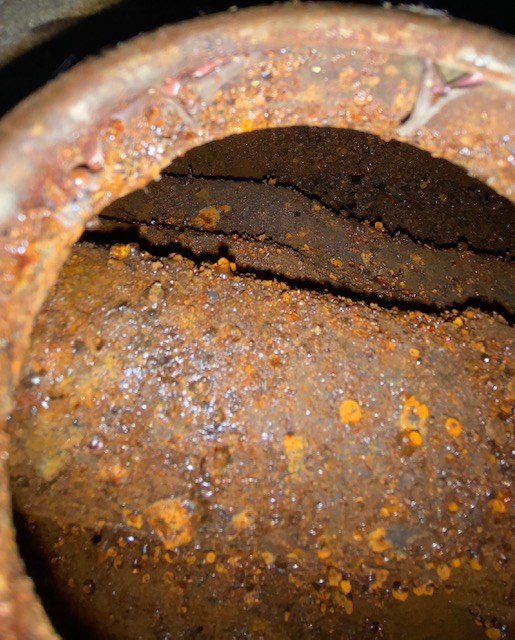
After 3000 miles of running I was surprised by the lack of debris in the Kawasaki’s float bowls. If you followed Zed’s resurrection you’ll know how rusty Zed’s tank was. I expected the main-jet sump to be full of fine red dust. Installing the new needles and seats was a fiddly job but I managed to get them in and replaced the pilot jets just because I had them. I left the original main jets in place.
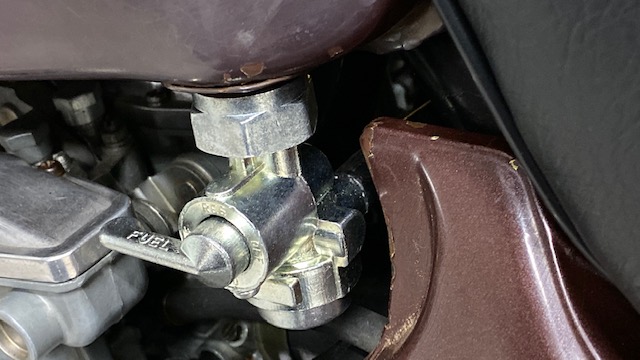
Before turning on the fuel I checked the fuel filter on the petcock and found it clean. I bought new inline filters but seeing how clean everything was I left the old inline filters alone. Don’t fix it if it isn’t broken is a good motto to live by with aging motorcycles.
As soon as I turned the petcock on fuel started pouring out of Carb Number 3 (from the ignition side). Of course this is the hardest one to work on. I pulled the float bowl back off and removed the float and the needle. Everything looked ok. Figuring a piece of dirt must be in there I blew carb cleaner into the seat and reassembled the carb. Back together with the petcock on, the fuel leaked as bad as it ever did.
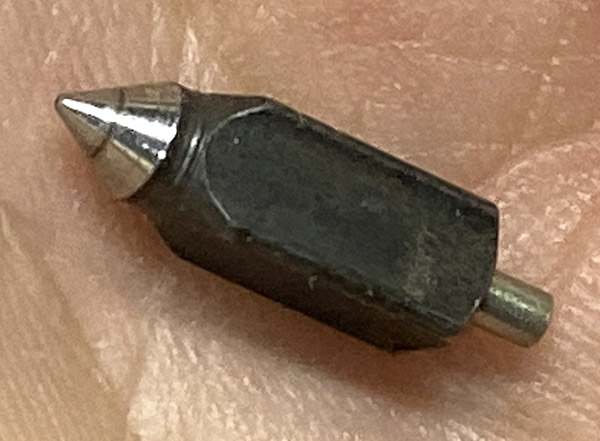
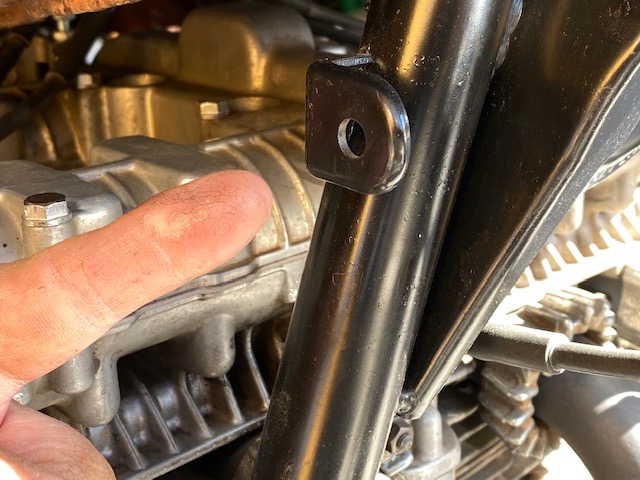
I took the float bowl back off and removed the float. Holding the needle in place with my finger I turned on the petcock and gas poured down my hand, onto my wrist and up the sleeve of my shirt. This led me to believe there was a problem with Number 3’s new needle/seat.
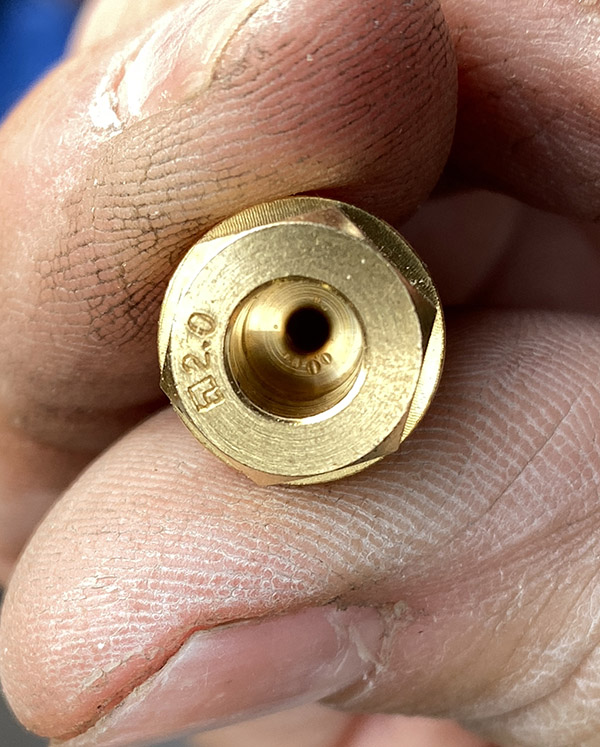
Upon further examination I found some unexplainable marking on the inside of the seat where the needle valve would normally seal. I’m not sure what is going on. Are the stampings some kind of size identifier? Did the punch that marks the seat miss and stamp the inside of the seat?
It became obvious to me that this particular needle/seat combination was never going to seal so I picked the best looking needle/seat from the old parts and installed them into Carb Number 3. No more leaking.
For the real mechanics: I know I should reset the floats but the bowl drain screws are very tight; removing them may break something I don’t want broken. My rationale is that the replacement needles/seats are the same overall length so the float levels wouldn’t have changed much, if at all. One day I’ll get the drain screws out and set the float levels using the clear tube system.
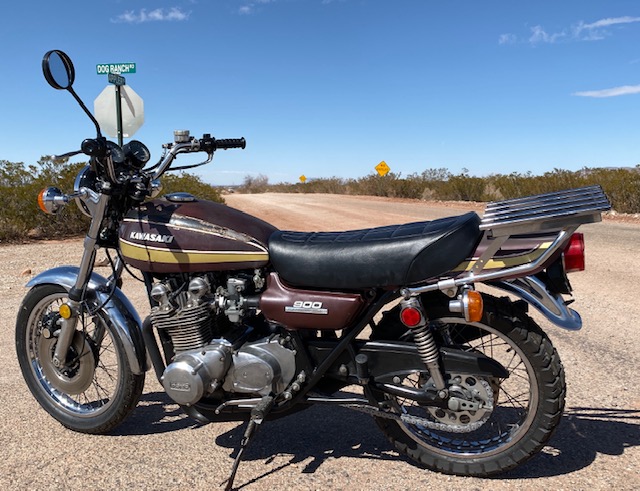
The upshot is that Zed is running much better. I took a quick, 140-mile, 60-degree-January-day jaunt and stopped several times leaving the fuel petcock on: no leaks. Spinning 5000-5500 RPM in top gear the Zed returned 41 miles per gallon not including the amount of fuel that I spilled while working on the carbs. In addition, I had to turn the airscrews in almost one whole turn after installing the new needles/seats and pilot jets.

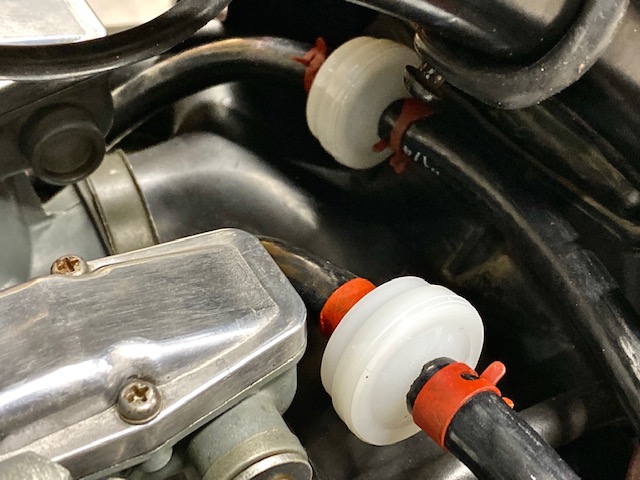
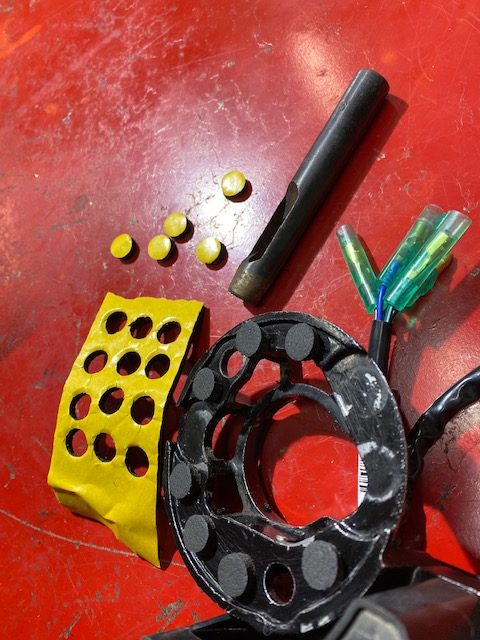
Moving on from the carburetor woes, there are a few disappointing rubber-issues with some parts on Zed. The rubber fork wipers have split in just a little over a year. I really expected them to last a bit longer than that. The rubber vacuum plugs that cover the ports used for balancing the carbs have also rotted and split. These were new about the same time as the fork wipers. Not only are the vacuum plugs rotted, but one of the brass nozzles cast into the new rubber intake manifolds came adrift when I tried to push the vacuum plug into position. Luckily it didn’t go all the way into the intake port and I managed to pull it out and get the plug onto the thing.
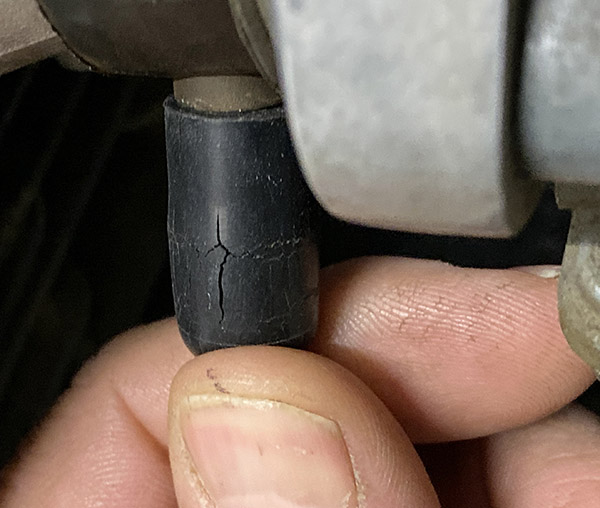
When I was resurrecting Zed I sourced parts from all over. I’m going to try and dig around to see if I have any receipts that will tell me where I got the various rubber bits. If they are EBay sellers I won’t bother but I’m sure the more reputable companies will work on making it right. One factor that may have caused the rubber failure is the fact that Tinfiny’s shed gets very hot in the summertime. With the doors closed it’s not unusual to hit 130 degrees inside. 130 degrees isn’t that hot for an air-cooled motorcycle engine but New Mexico’s dry air combined with long term exposure might affect the rubber. None of my other bikes stored in the same conditions have had rubber failures.
Well, what do you know, I had more ground to cover but this carb story ended up running on for so long it’ll make a standalone ExhaustNotes.us blog! I’ll post up Giblets 2 soon.
Read all about Zed’s resurrection here!
Whoa! You’ve won a free subscription to ExhaustNotes!


 Zed’s forward progress has come to a temporary halt. Not due to any complications on the Kawasaki’s part, although the project has exceeded my initial estimate by double and I’m not done yet. No, Pitiful Man has to strike a balance between work and play. He must strive to appease the gods and their fickle ways while angering none. It’s a fine line we walk and sometimes we have to dance atop a vibrating string.
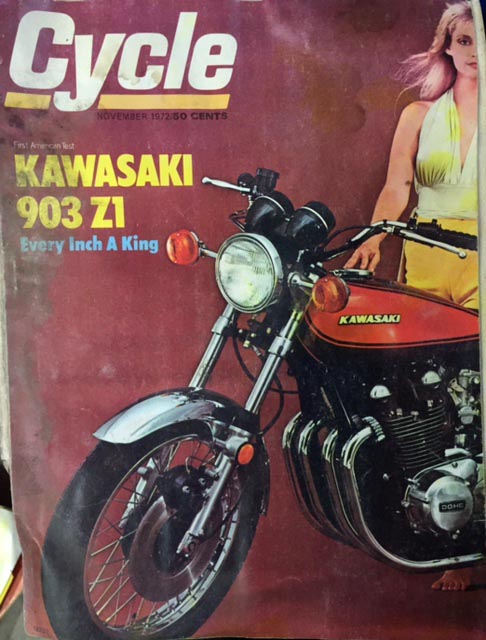
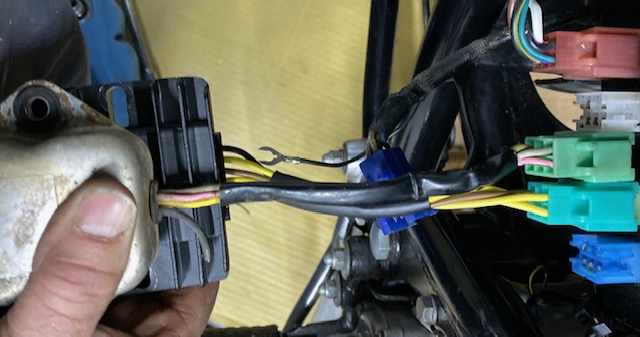
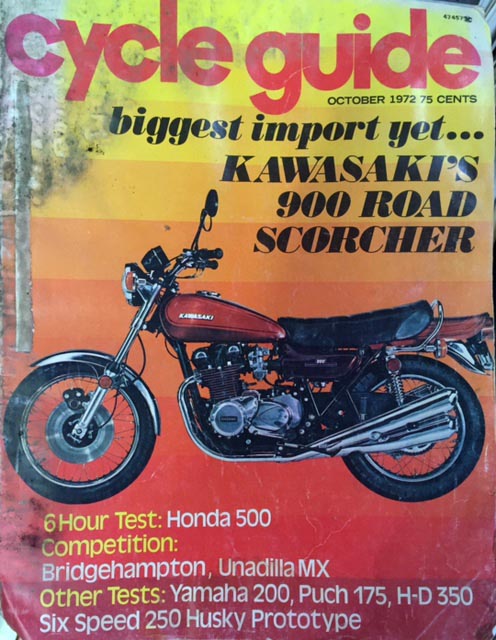 Those faithful Zed’s Not Dead readers that have not deserted me will recall Part One where I describe Zed’s crooked path back and home. After we bought Tinfiny Ranch I discovered a trove of paperwork from Zed’s previous owner. Several motorcycle magazines from the era featuring Zed were in a box along with a possible explanation for the Zed’s wiring issues described elsewhere in this series.
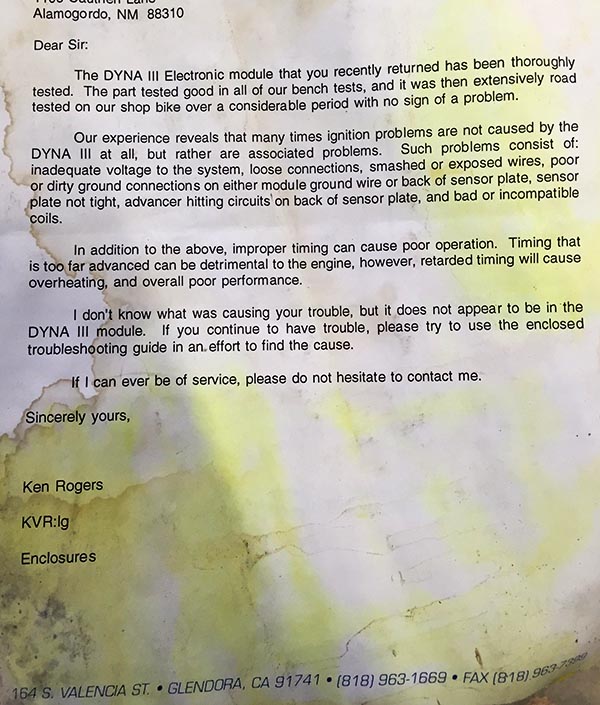 This letter dated August 3rd 1994 from Ken Rogers representing Dyna III ignitions (I’m guessing not the singer) explains to the previous owner how they have thoroughly tested the electronic ignition he sent back and have proclaimed it fit as a fiddle. Zed’s burned-up wiring harness may have been due to a faulty Dyna ignition installation. This would also account for the wiring to the coils being cut as those short bits were spliced into the Dyna module. I never found any of the Dyna stuff in my initial clean up but I haven’t gone through all the old guy’s junk.
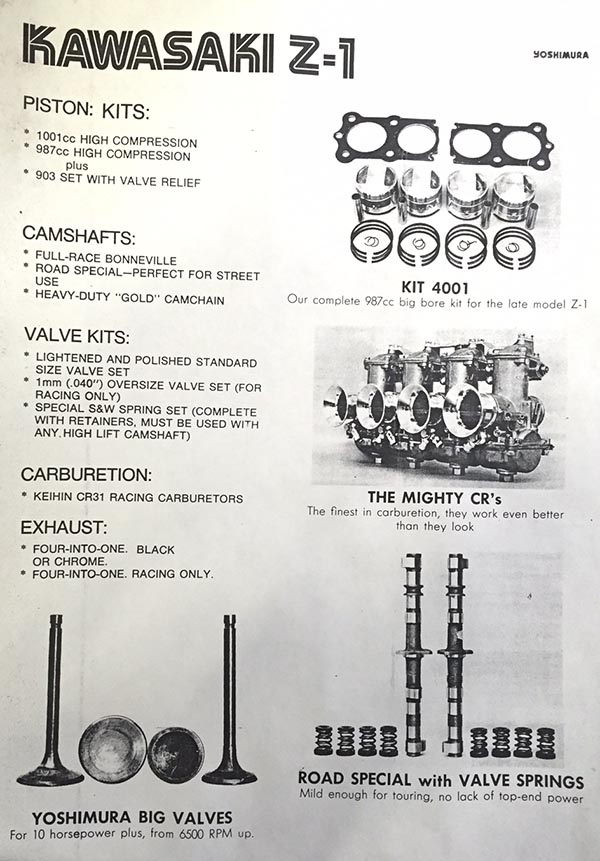
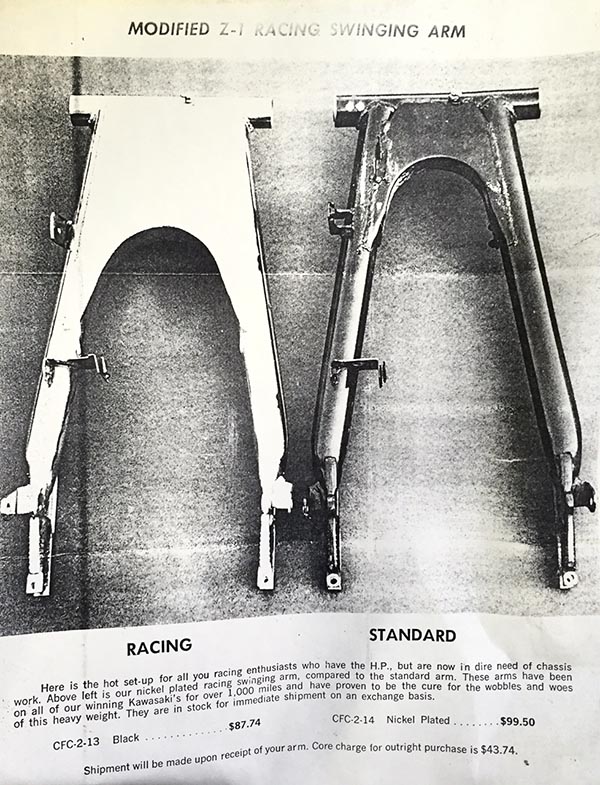 Along with the Dyna stuff there was a lot of Yoshimura brochures and price lists. After seeing the damage to the wiring harness on Zed I’m torn between hoping my bike has some nice performance parts installed and fearing that my bike has some nice performance parts installed. I should be able to measure the cams to see if they have additional lift but I’m not sure how to check displacement without winning an AMA national road race. I suspect the Yoshi stuff was bench dreaming because the bike runs too well to be hot rodded.
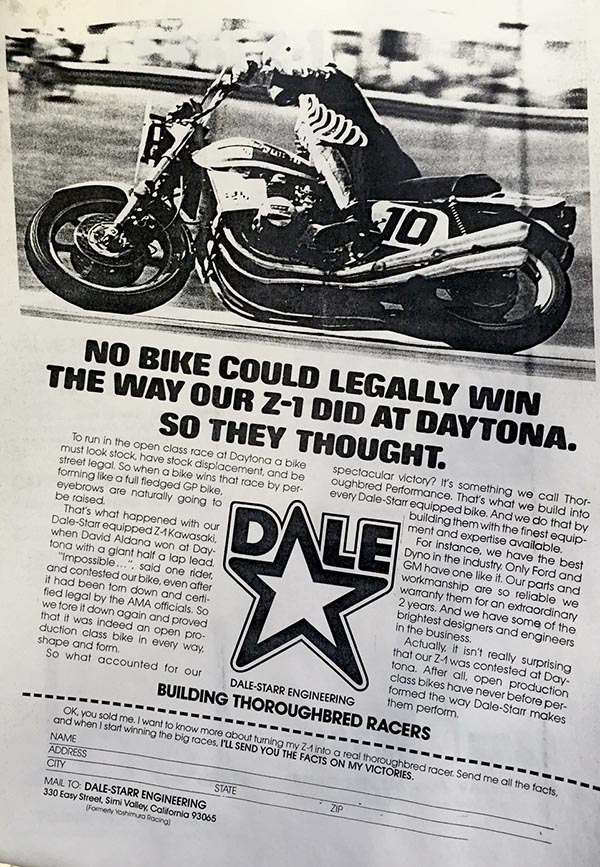 Finally here’s a nice photo from Dale-Starr of David Aldana winning the Daytona superbike race with a half-lap lead over the guy in second place. Apparently this caused protests that required Aldana’s bike to be disassembled twice! The bike was found legal and Aldana’s win stood. I met Aldana at Barberville one year. I was so excited to meet him I started doing the “We’re not worthy!” Wayne’s World bowing thing and Aldena told me to knock it off.
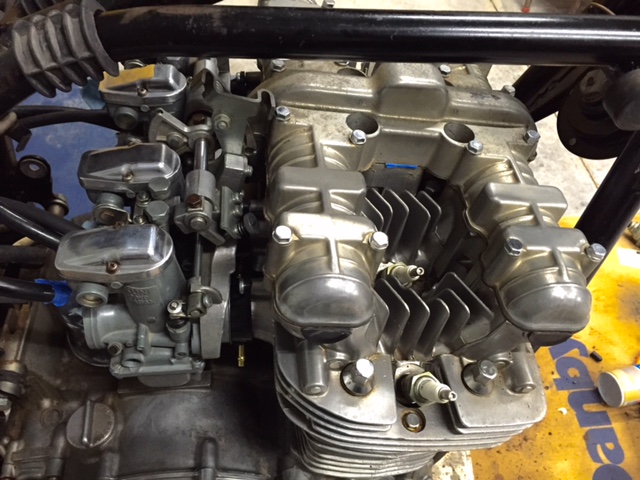 Progress has slowed on Zed. I really wanted to start the beast up. The problem is I haven’t figured out the ignition advancer issue yet. My E-buddy Skip sent me two of the things but neither one will work on the 1975 Z1 crankshaft end. I feel bad that Skip is trying to do me a favor and that the poor guy has to keep digging around in his parts stash. It goes to show you: no good deed goes unpunished. I am going to suck it up and buy a new, $159 advancer from
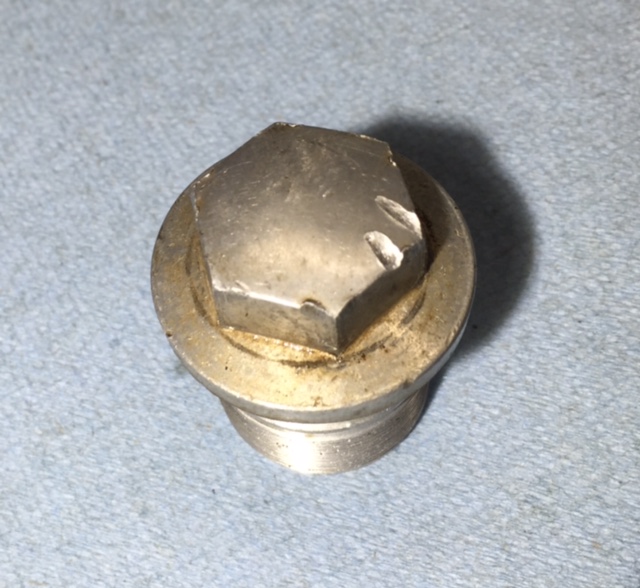
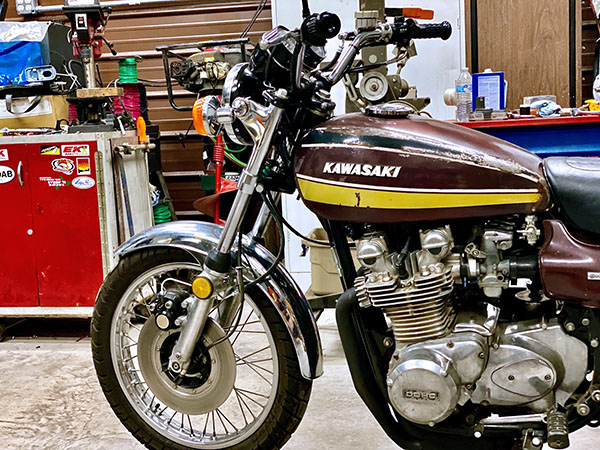
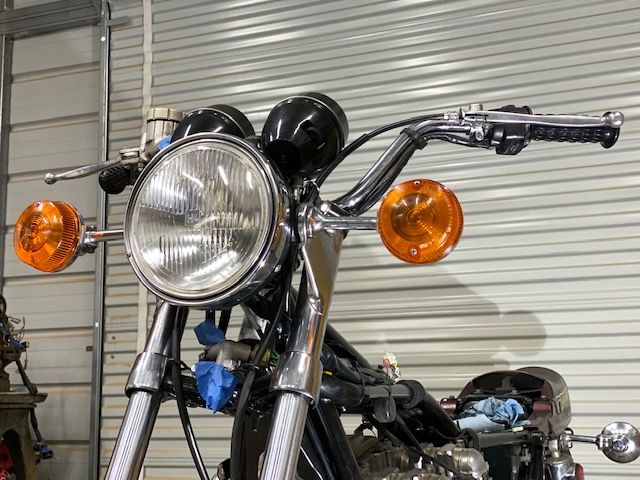
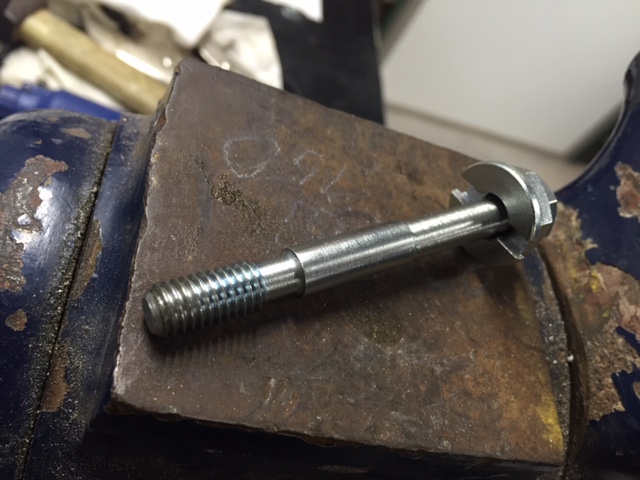
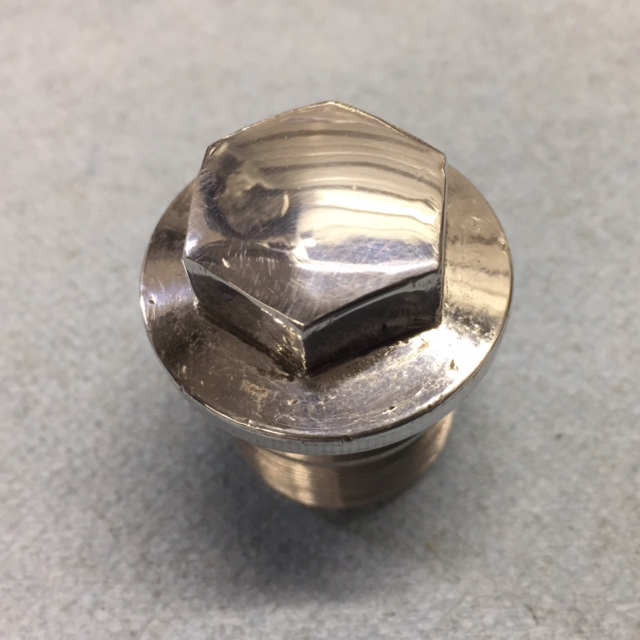 Meanwhile, I’m not ignoring the rest of the bike. Let’s face it, even if the engine is shot I have to get this bike running. The front forks were leaking and contained about 3 ounces of oil between both fork legs. This is down a bit from the 5.7 ounces per leg suggested in my shop manual. I know I said this was not going to be a show bike restoration but I couldn’t bear a future staring at this gouged fork cap bolt so I sanded the thing smooth and gave it a lick of polish. Of course this means that I have to do the other side also.
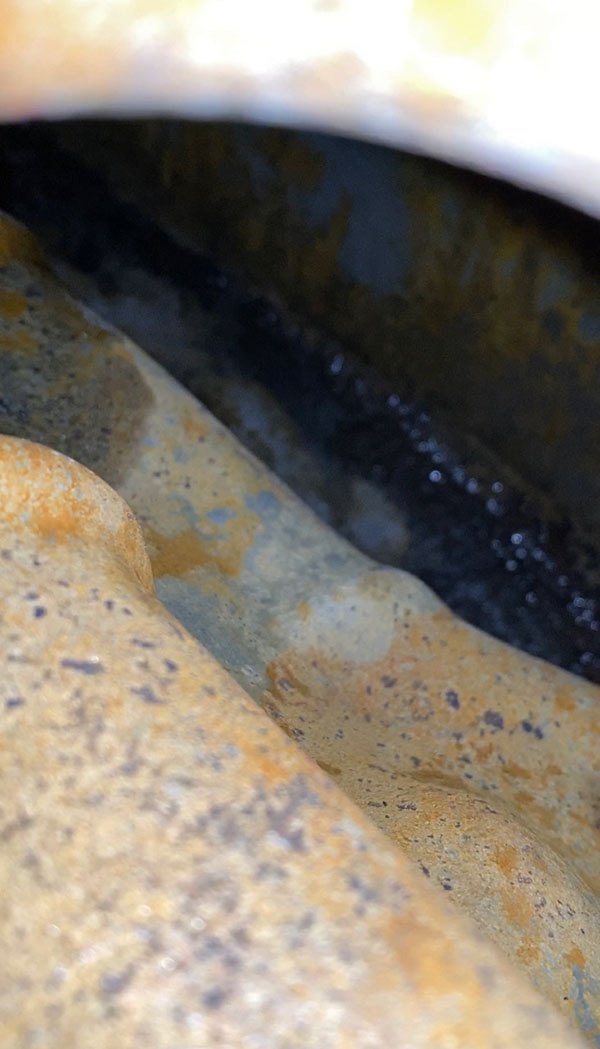
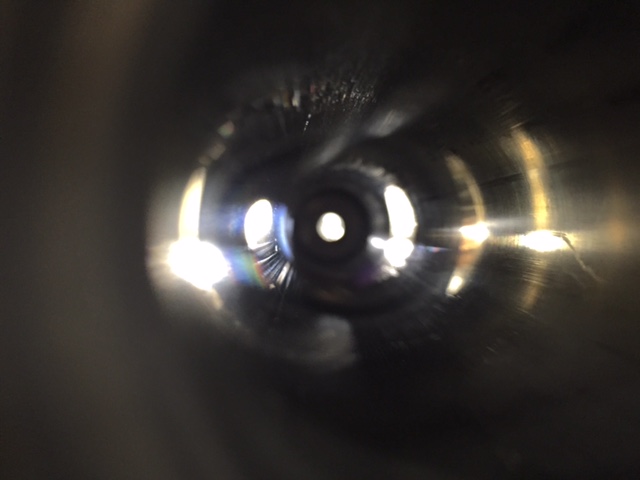 The internals of the forks were covered in sticky black goo, which required a ton of solvent and liberal doses of carb cleaner to cut loose. Then came rags stuffed down the tubes and pushed back and forth using a drill bit extension. The sliders came polished from the factory and since they were preserved under a coat of oil it took no time at all to spiff them up without crossing over to the dreaded Show Bike threshold.
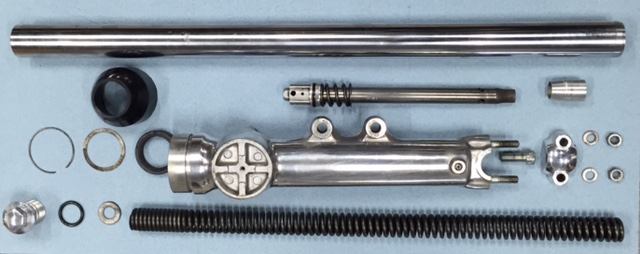 All the fork parts look usable if not perfect. The upper section of the fork tubes that were covered by the headlight brackets is pretty rusty. I’ve polished it off a bit and will lube the rusty areas to prevent further rust. None of the rust will show on the assembled forks but I’ll have to deduct points when the bike is in the Pebble Beach show.
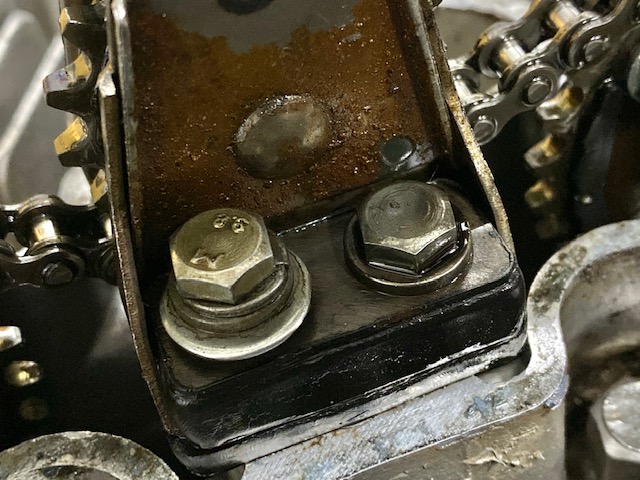
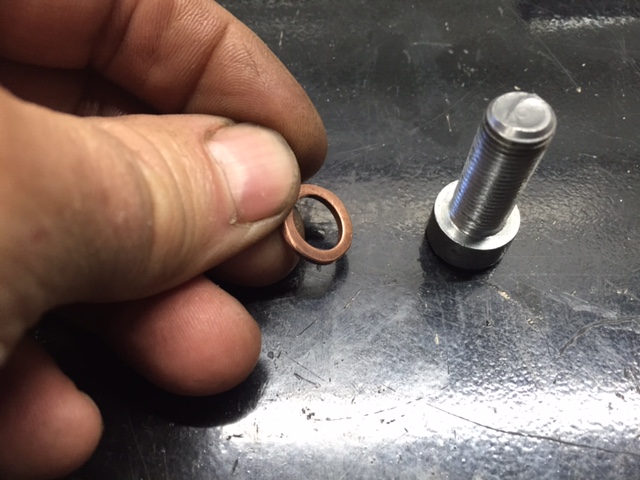 The fork sliders are held to the damping rod via this Allen-head bolt. There was a fiber washer to seal in the fork oil but I don’t have any fiber washers. I ended up grinding a copper washer to fit and I only have one of those. Looks like a trip to Harbor Freight is in order to buy their 5090 Copper Washer Warehouse kit.
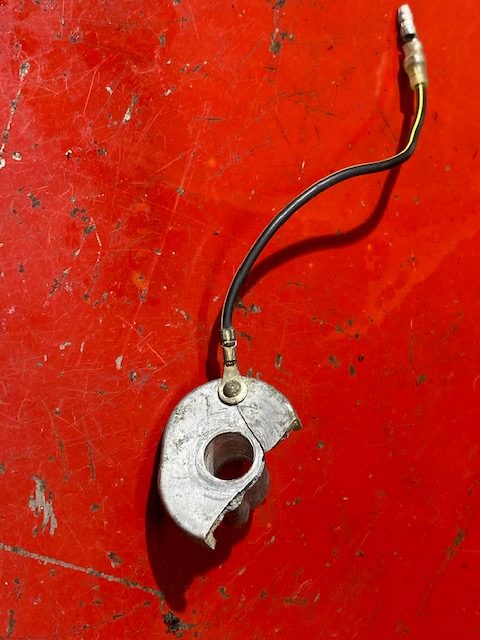
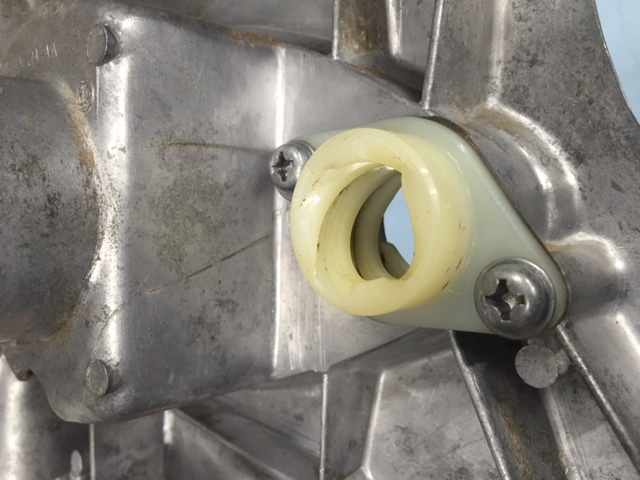 The clutch actuator was in good shape but dirty and dry. Most of the ones I bought for my old Yamaha had the helix cracked. I suffered along with the cracked helix until Hunter found a new, re-pop part and sent it to me, asking if he could have some of the ones I’d stolen from him in exchange. I have no idea what the old man is on about. This Kawasaki part is much sturdier than the Yamaha part and crack free so that’s one point to Kawasaki in the red-hot clutch actuator wars.
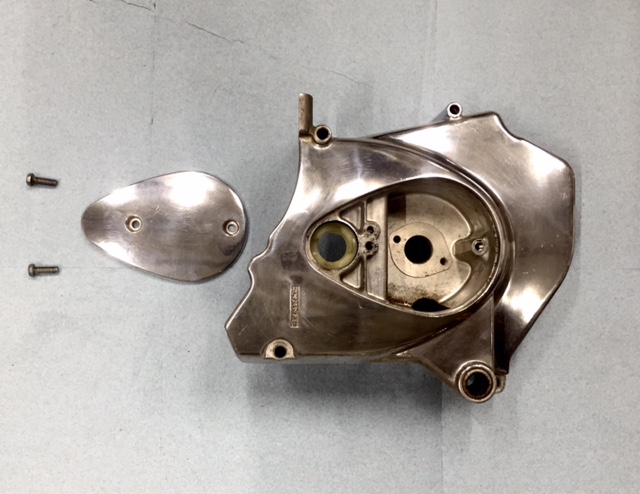 I’m placing another big order with
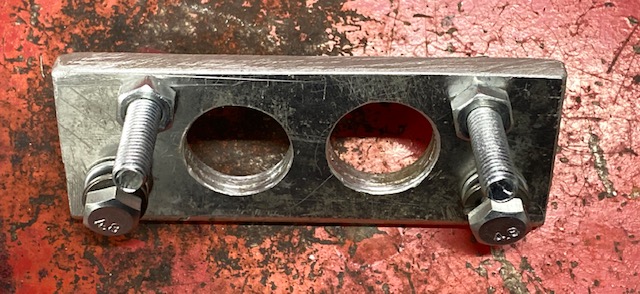
 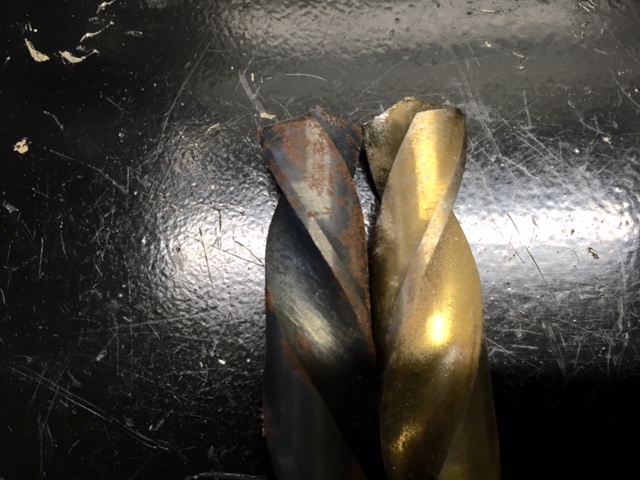 The reason lefty bits are the nads for removing stuck or broken bolts is because of their natural tendency to unscrew whatever they are drilling into. By increasing the bit size in stages hopefully you can get the offending screw so thin that the remaining threads weaken, collapse slightly and wind out of the hole looking like a coil spring. And that’s mostly what happened except the thread came out in pieces.
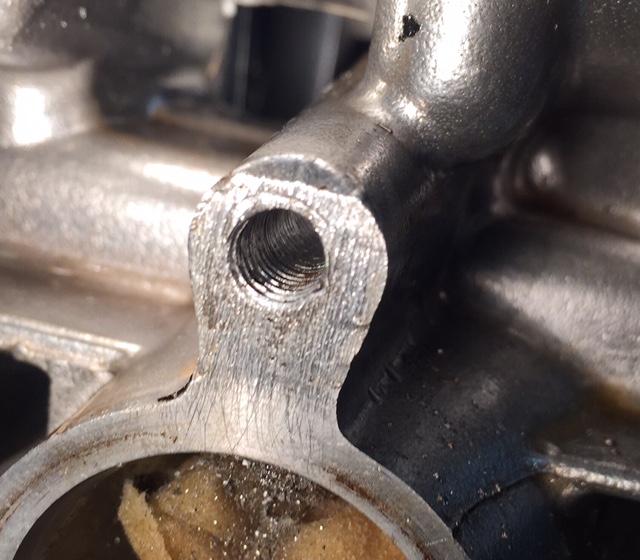 After clearing out the swarf I ran a bottoming tap into the hole and tidied up the threads as much as possible. I will use a slightly longer screw to compensate for the compromised hole but I’m pretty sure it will be fine and I have avoided using a Helicoil thread repair, which is the hack mechanic’s favorite crutch.
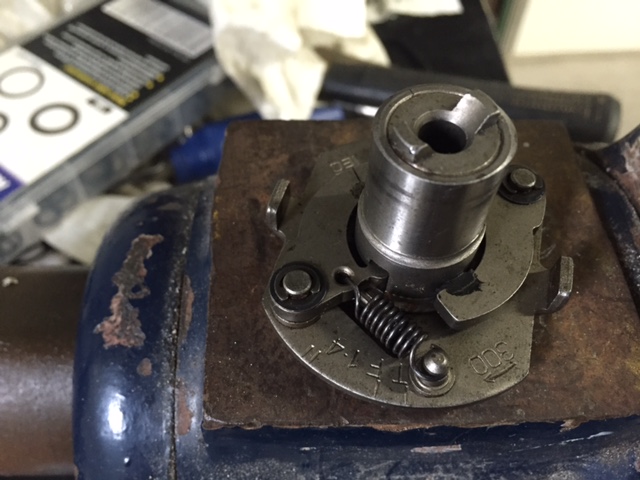
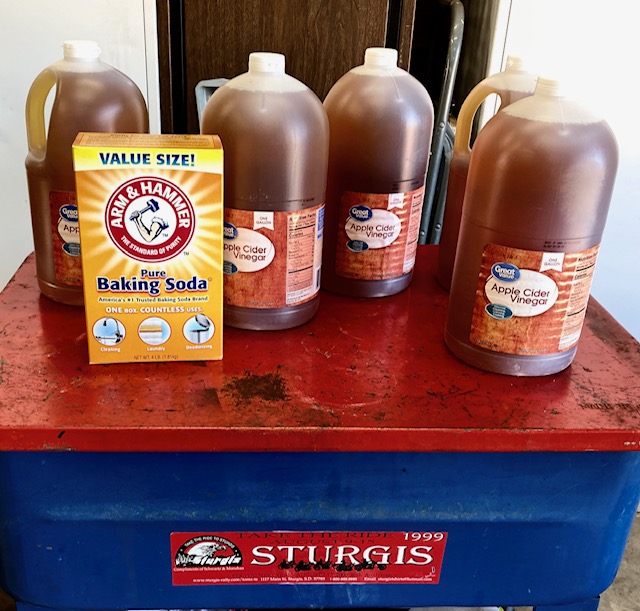
 I haven’t forgotten about the carburetors either. I’ve been soaking them in Evapor-rust and the stuff is doing a fine job. It’s very mild so you can leave zinc carb bodies immersed for days without fear of eating away the good parts. All four of the carbs are clean and I’m waiting on a few parts before I can reassemble the rack.
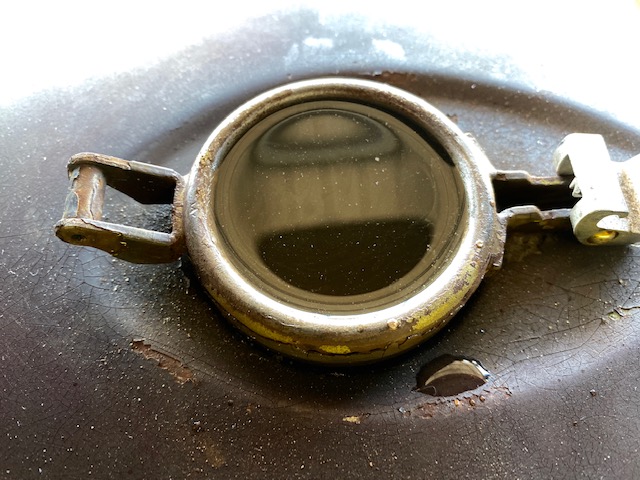
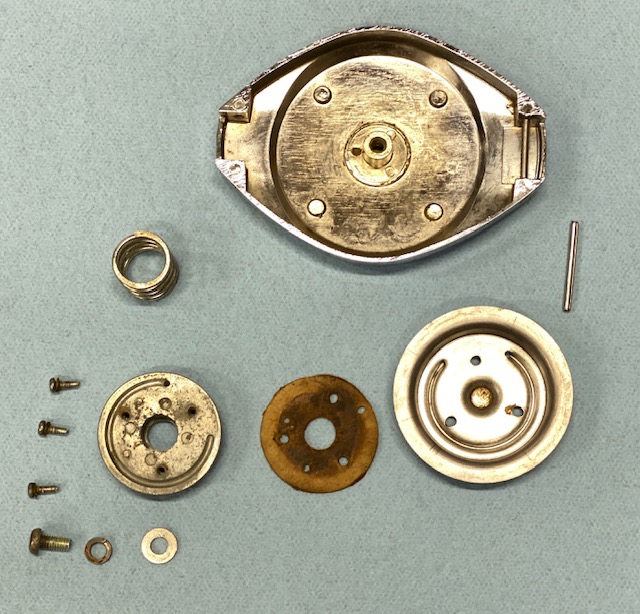
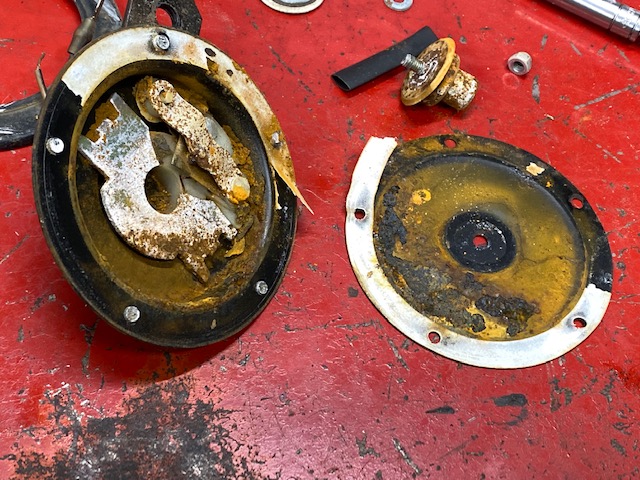
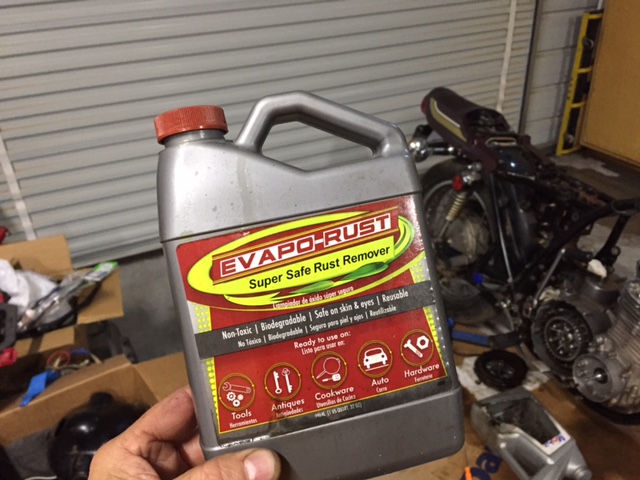 Zed’s little clutch-cover, oil level window was black with sitting-bike mung. It was so black the oil level could not be determined. I removed the cover and cleaned out behind the metal back-plate. Since I had the cover off I figured it would be a good idea to check the clutch plates for wear. The fibers are within tolerance and the steels are only slightly rusty so I’ll clean all those parts up and Zed should have a functioning clutch.
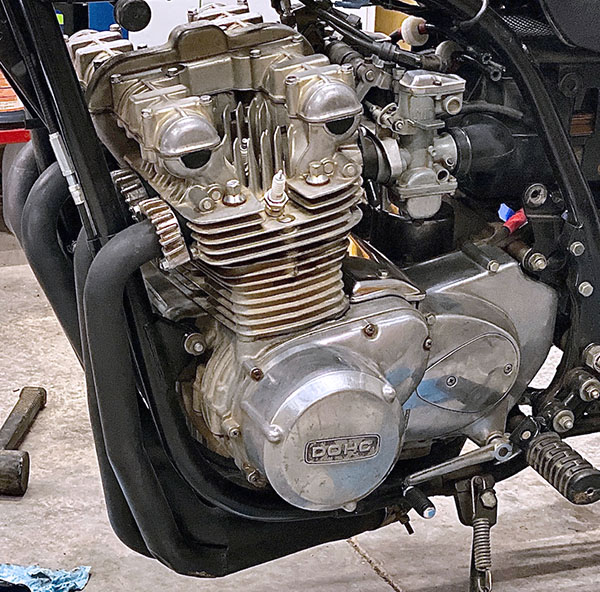
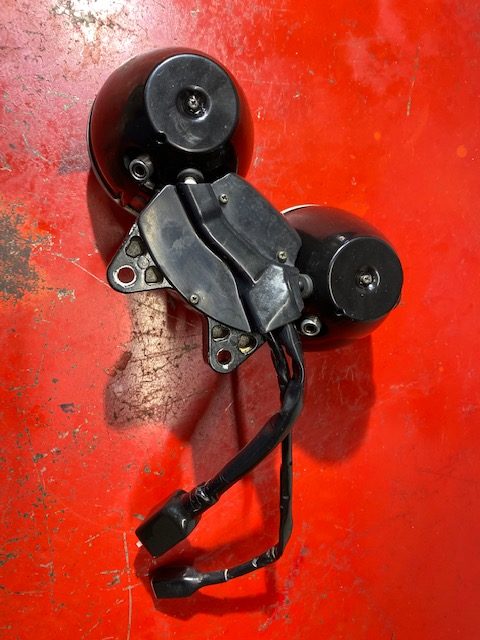
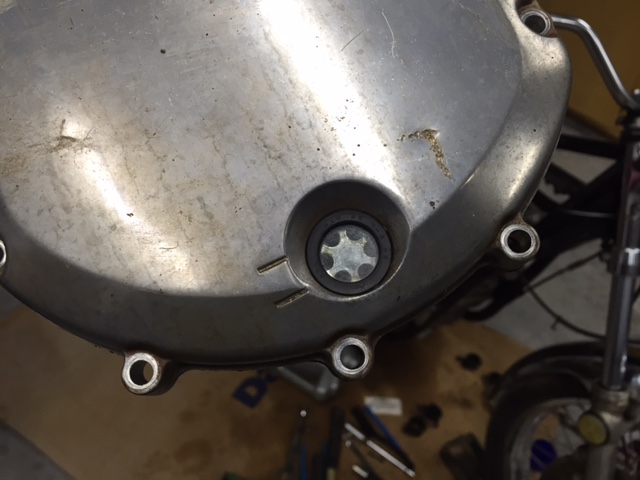 When Kawasaki designed the Z1 they went all out. This was Big K’s flagship motorcycle and the robust clutch is a fine example of strength. The large, straight-cut clutch gear would not look out of place in a one-ton manual truck transmission. The fingers that locate the fiber plates are surrounded by a steel band to prevent them from spreading under load. This clutch is awe-inspiring and looks like it could handle double the Z1’s 82 (claimed) horsepower. The bike has 41,000 miles showing on the clock and the metal parts show minimal wear. I am impressed.
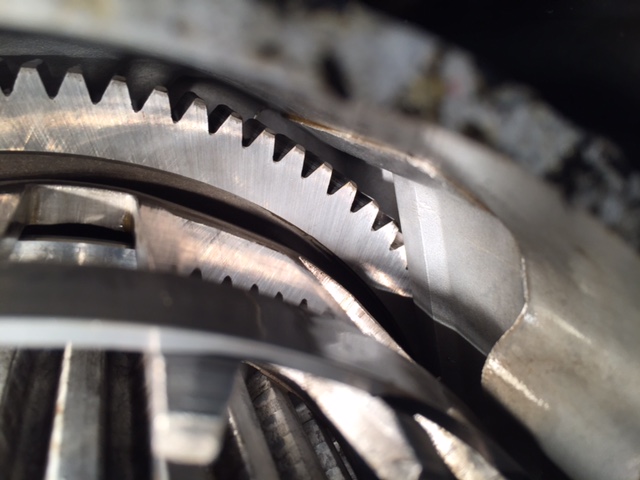 Don’t take my word for it, here is the author of the Z1 repair manual waxing eloquent over the Z’s clutch.
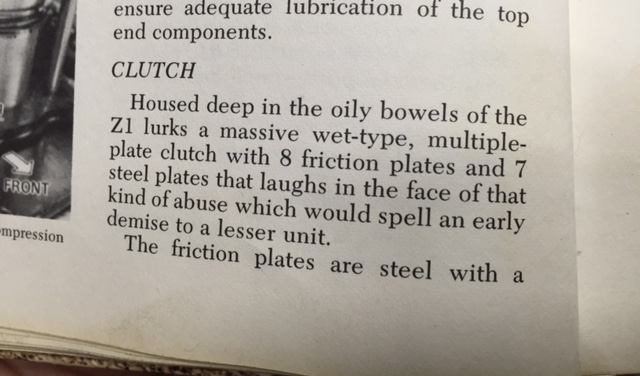 I’m making another list of parts and will be blowing more money on Zed. I really hope this engine runs without a lot of knocking and the transmission shifts like butter.