

It’s time to clean out Zed’s rusty gas tank. Before I bought it Zed sat outdoors for a long, long time and heavy rust inside the tank had gotten out of control. Clean gasoline is critical when there are 4 carburetors to clog up. You know how I feel about tank liners and new Z1 tanks aren’t very expensive so I won’t be doing any heroics to save this one. If it doesn’t come clean I’ll go to plan B. I’m just looking for any excuse to buy one of Z1E’s beautiful painted body sets.
A few years back I read a story on using apple cider vinegar to dissolve rust. I used the stuff to clean Godzilla’s rusty tank and it worked great. Of course, Godzilla’s tank wasn’t nearly this bad. The cider vinegar is a very mild acid and works slowly so you don’t have to worry about eating a hole in your gas tank.
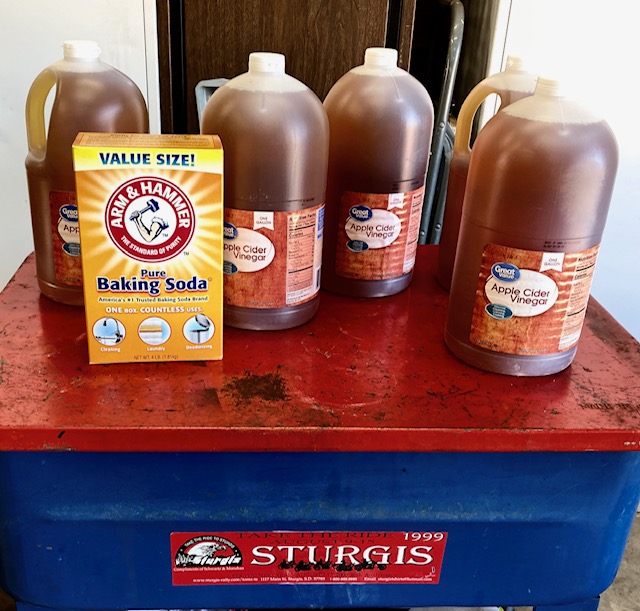
Available at Wal-Mart, cider and baking soda are the two ingredients used. I also pressure washed the inside of the tank to knock loose any flakey rust. After pressure washing I dried the tank with a heat gun and dumped in 4.25 gallons of apple cider vinegar.
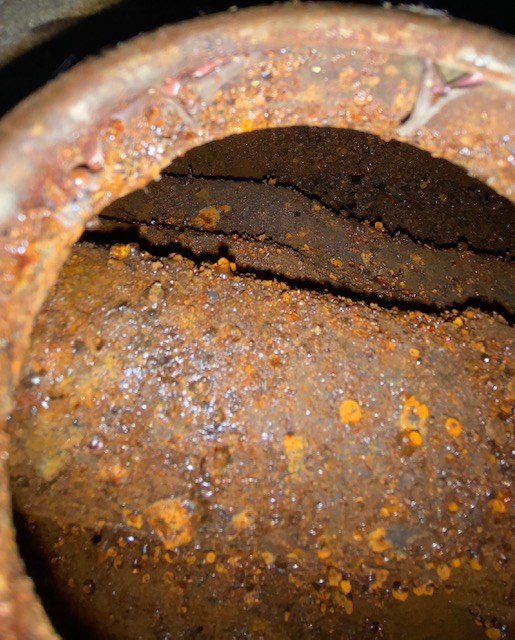
With the tank jugged all you can do is wait. Zed’s tank was really bad so I left the cider in for 10 days. I dumped the rusty cider into a bucket and flushed the tank with water. The results were encouraging but the tank was still not shiny clean.
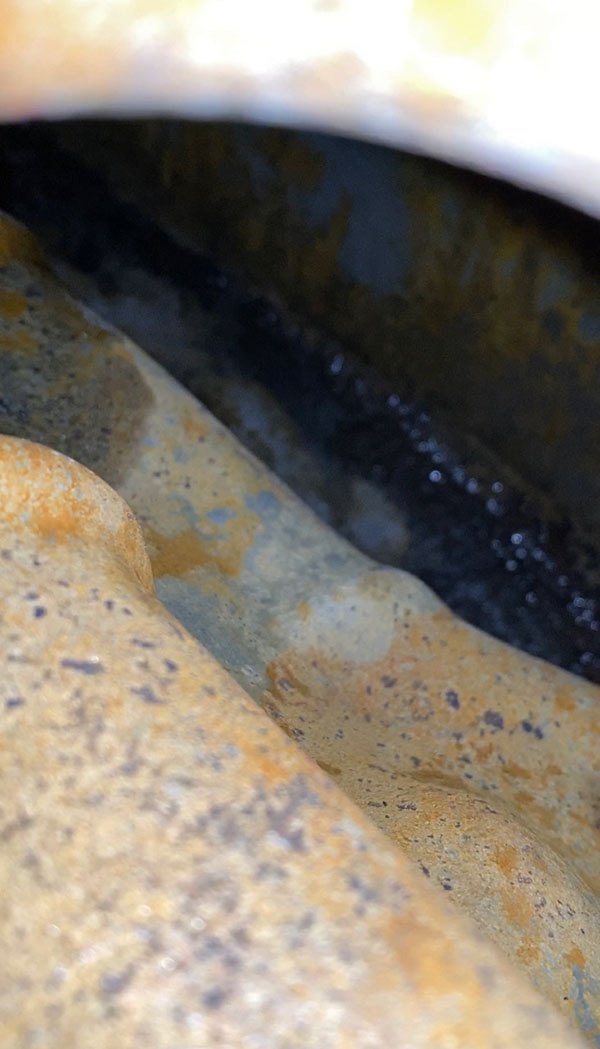
Normally this would be the time to pour in the box of baking soda and fill the tank with water to neutralize the acidic vinegar but Zed’s tank needs another dose of cider. Using the heat gun I dried the tank again then refilled it with a gallon of fresh vinegar and the rest with the murky cider I had dumped out of the tank. Vinegar is not cheap, you know.
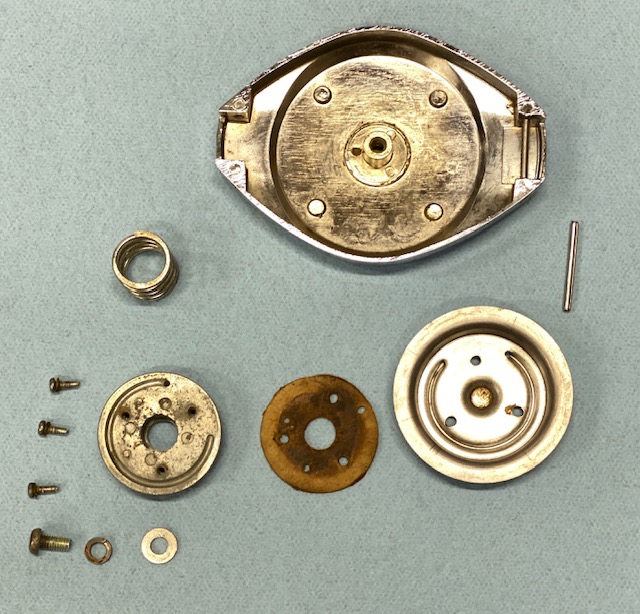

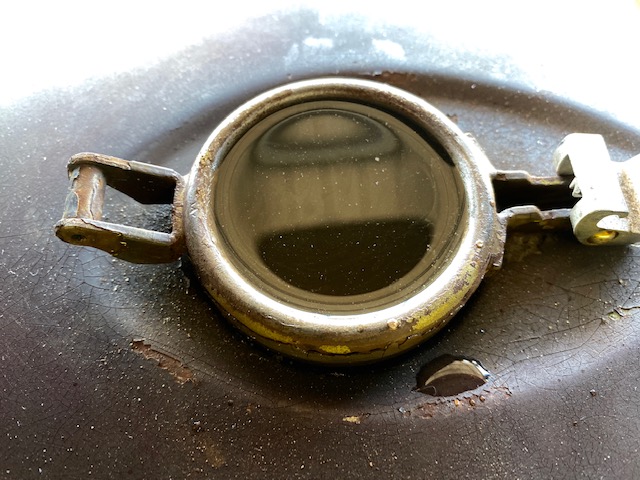
While the tank was soaking I dismantled and de-rusted the gas cap. I wasn’t sure which way the new rubber gasket went on the flange. One side is 1/32” wider than the other and manufacturers do stuff like that for a reason. The old gasket was no help. It had crumbled. Figuring I had a 50-50 chance of getting it right I installed the gasket wide-side towards the gas tank.
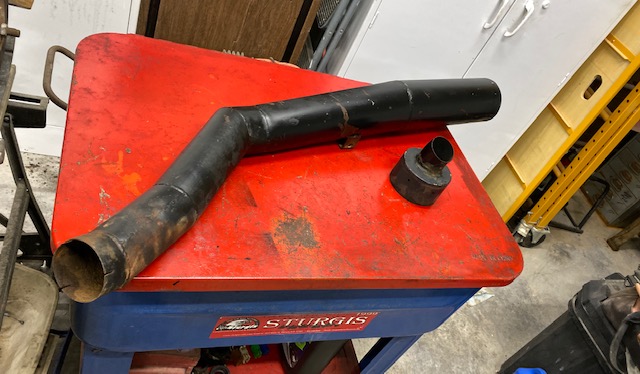
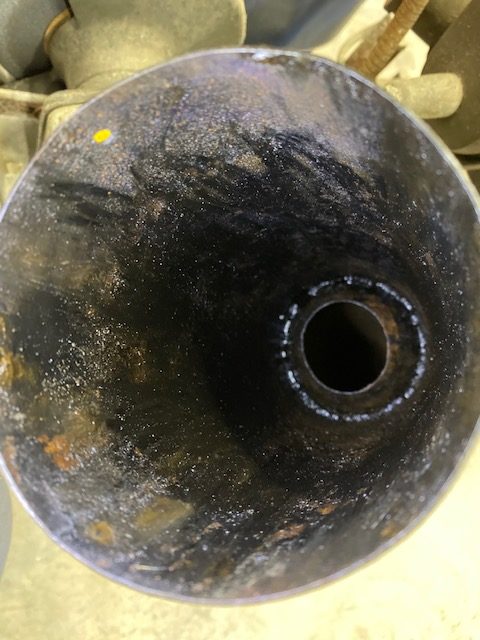
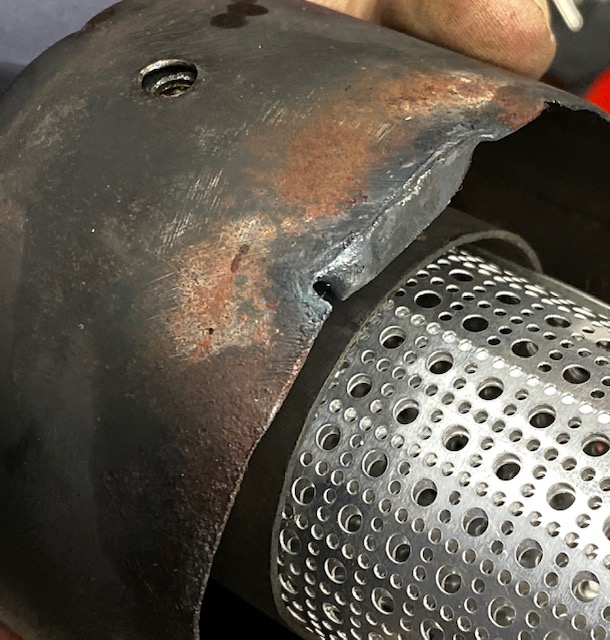
Zed’s exhaust was held on by coat hanger wire when I got the bike. The headers seem well made but the muffler section looks a bit crude. Not terrible but nothing like from a factory. It has an internal reverse cone 12” from the end of the muffler body. There was no baffle anywhere.
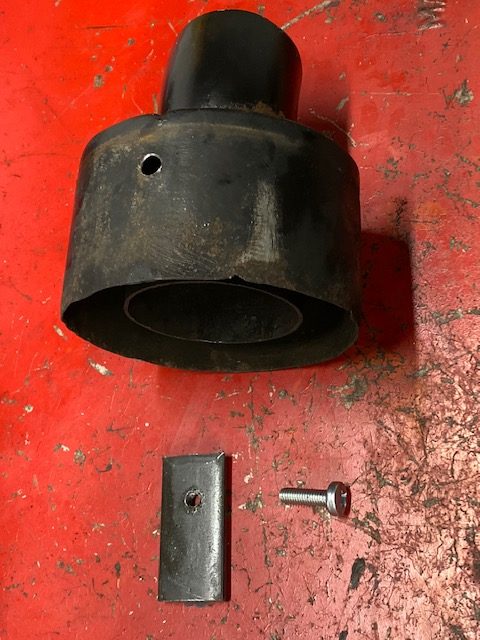
The muffler end cap was secured by a stripped sheet metal screw. I drilled and tapped a piece of flat stock for a 6mm screw. This backing piece gives the screw more meat to bite into. Then I set the backing piece into place and welded it to the end cap. I can’t weld and trying to stick a thick piece to thin sheet metal is hardest of all.
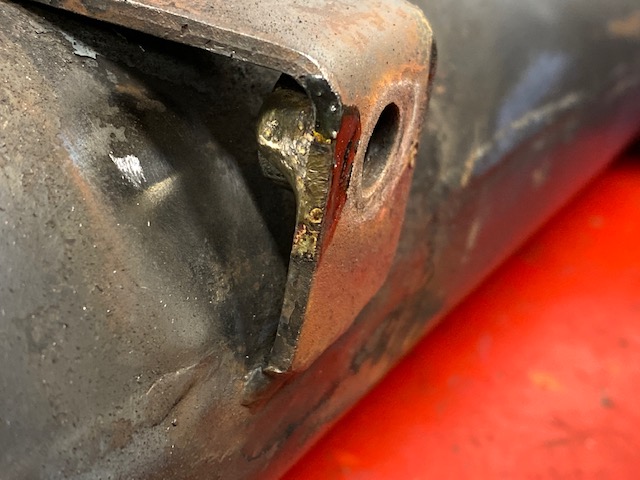
Where the muffler was held on by a coat hanger I brazed a 3/8-16 nut to act as a blind nut. This wasn’t critical but it will make muffler installation much easier as there is not much space for a wrench. It also eliminates one more variable when you are fumbling around trying to line things up.
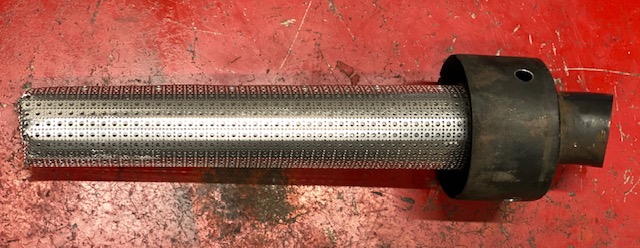
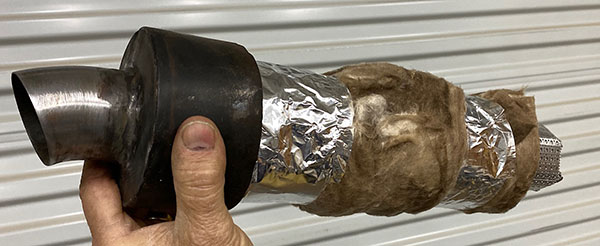
I made a baffle from perforated aluminum, rolling it over a 1-1/2” PVC pipe to form the tube. The baffle is long enough to protrude past the inner reverse cone for support and is wrapped in standard fiberglass insulation. The end of the baffle is folded in on itself and riveted. There are a lot of tiny holes in the baffle so I don’t think it will be too restrictive. I’m sure the Mansfield house insulation won’t last long but at least I tried.
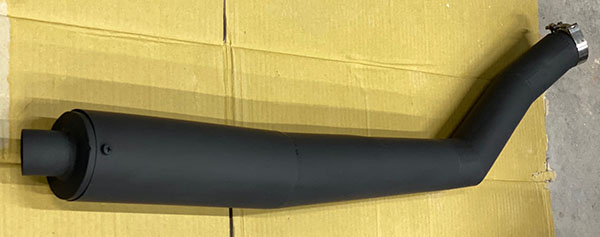
After all that pipe work I splashed some BBQ black on the muffler and it doesn’t look bad. As long as you don’t get within 25 feet.
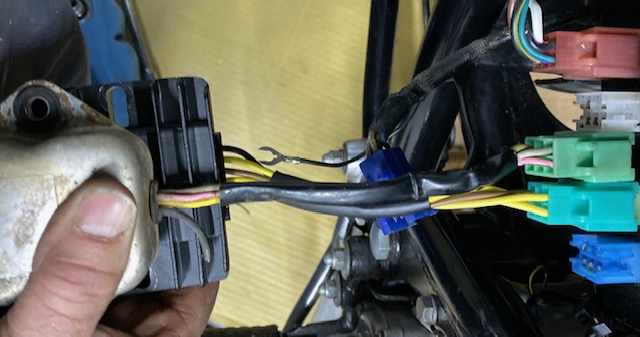
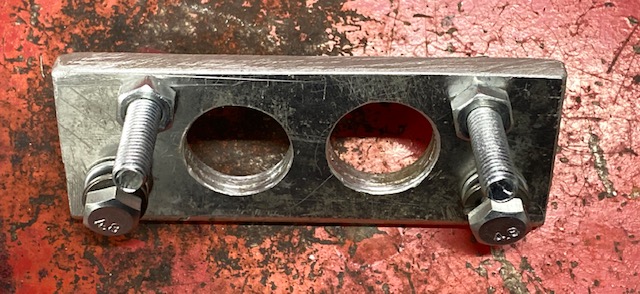
Zed was overcharging the battery to the tune of 17-volts so I bought a non-stock replacement unit from Z1E. The new unit eliminates the factory rectifier, having that function combined into the body of the regulator. Electrically, the unit is plug-n-play and the bolt holes from the old/new regulators line up but the wiring harness from the new unit was too short by about ¾”. There was no way to plug the regulator in and still have enough slack to reach the mounting holes under the battery box. I tried all sorts of finagling and considered rotating the regulator and using only one mounting bolt or drilling new holes closer to the harness socket. In the end I made a bracket to move the regulator. While I was at it I narrowed the bolt spacing between the slotted regulator mounting holes to make it easier to install.
All is mounted securely now and the unit plugs in just fine. It remains to be seen if it regulates. We will find that out in Zed 20.
Want more Zed? Just click here!
I love your detailed explanations for exactly what you’re doing. Can’t wait to see the final tank pics after the 2nd vinegar bath. I recently bought a gallon of something called metal rescue, but havnt used it yet
I think evaporust would would work well but it would cost more than a new tank to fill it with the stuff.