
Regular readers (if anyone who reads this endless chain of Kawasaki Z1 resurrection stories can be called Regular) will recall the broken intake manifold screw problem. I tried soaking the busted screw in penetrating oil, drilling it and using an easy-out to no avail. I heated the cylinder head around the broken screw. It didn’t budge (the screw, that is). I even ground a Harbor Freight screwdriver into a straight-sided, square easy out so as to not expand the screw tighter into the hole like commercial, spiral-type easy outs. I had a really good purchase on the thing but nothing doing. The screw was well and truly stuck.
My last resort hinged on drilling a hole exactly through the center of the broken piece with a left-hand drill bit. If you’ve never used a left-hand drill bit they are exactly like a right-hand drill bit but they cut in an anti-clockwise direction.
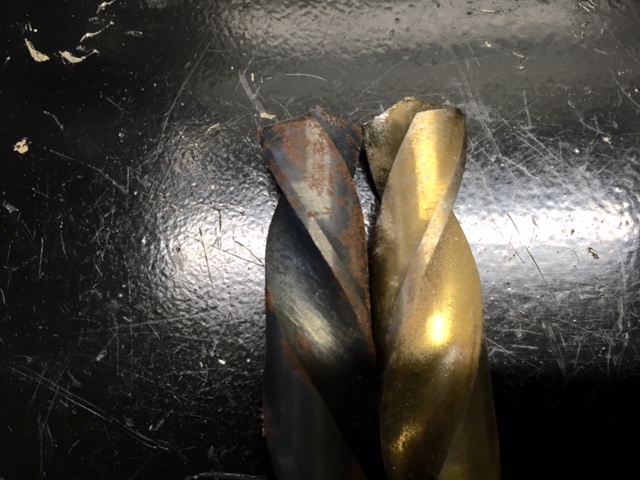 The reason lefty bits are the nads for removing stuck or broken bolts is because of their natural tendency to unscrew whatever they are drilling into. By increasing the bit size in stages hopefully you can get the offending screw so thin that the remaining threads weaken, collapse slightly and wind out of the hole looking like a coil spring. And that’s mostly what happened except the thread came out in pieces.
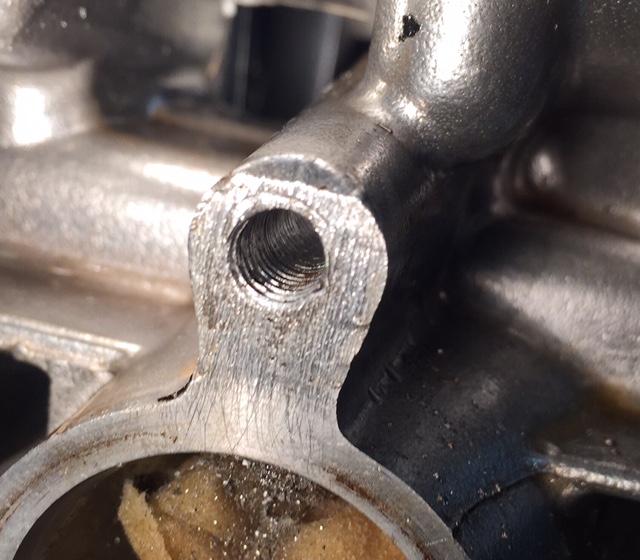 After clearing out the swarf I ran a bottoming tap into the hole and tidied up the threads as much as possible. I will use a slightly longer screw to compensate for the compromised hole but I’m pretty sure it will be fine and I have avoided using a Helicoil thread repair, which is the hack mechanic’s favorite crutch.
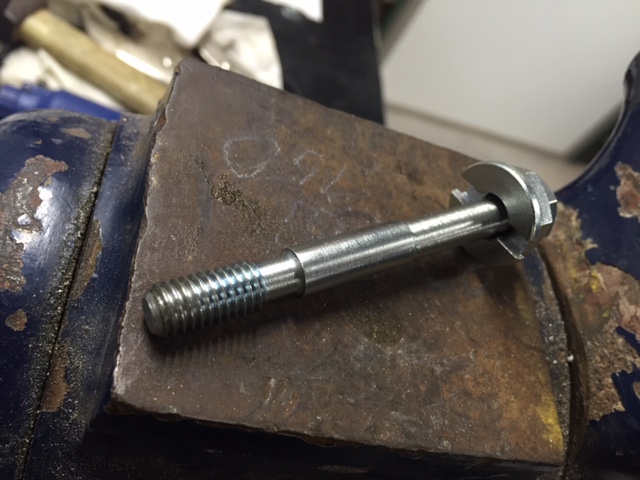
Zed was missing a few ignition parts so my Internet buddy Skip Duke sent me a spark advancer that very nearly fit the Kawasaki. The bolt that holds the advance to the crankshaft was a size too large for the hole in the advancer. Skip and I held a web-confab and decided that the advancer was the wrong part. Skip dug around his Z1 parts horde and found another unit that will work. This is the best thing about the Internet: you meet generous people that share your old motorcycle affliction.
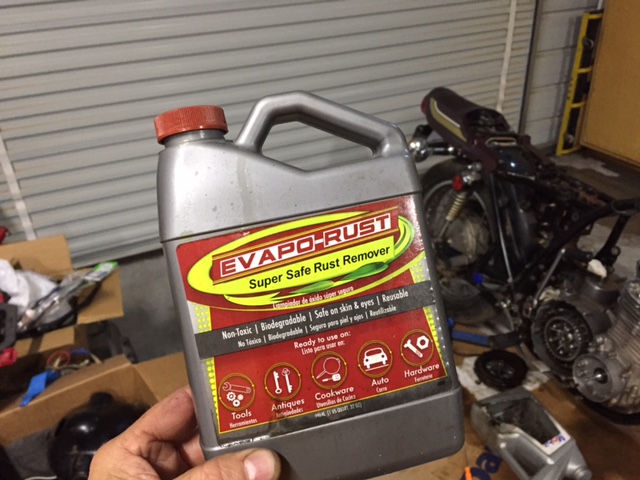
 I haven’t forgotten about the carburetors either. I’ve been soaking them in Evapor-rust and the stuff is doing a fine job. It’s very mild so you can leave zinc carb bodies immersed for days without fear of eating away the good parts. All four of the carbs are clean and I’m waiting on a few parts before I can reassemble the rack.
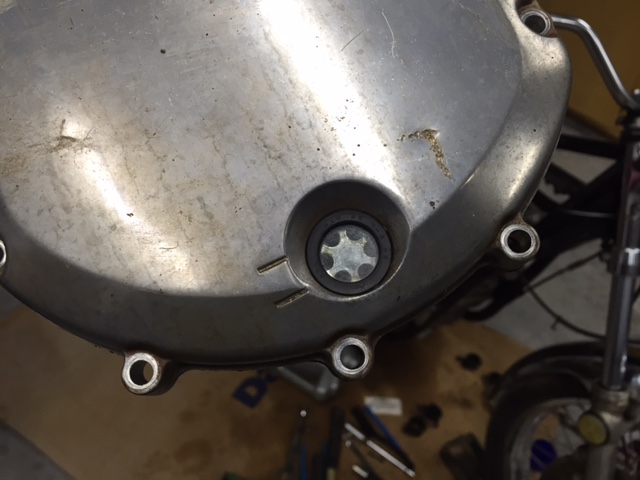
 Zed’s little clutch-cover, oil level window was black with sitting-bike mung. It was so black the oil level could not be determined. I removed the cover and cleaned out behind the metal back-plate. Since I had the cover off I figured it would be a good idea to check the clutch plates for wear. The fibers are within tolerance and the steels are only slightly rusty so I’ll clean all those parts up and Zed should have a functioning clutch.
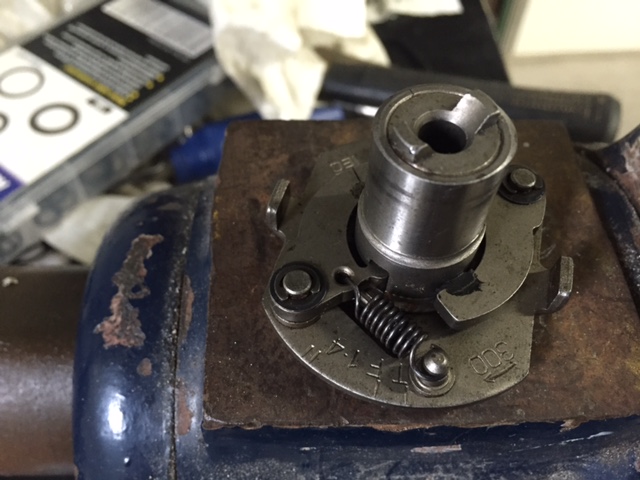
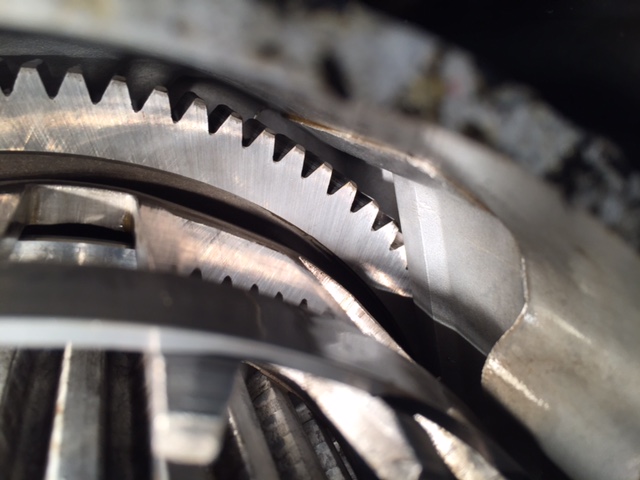
 When Kawasaki designed the Z1 they went all out. This was Big K’s flagship motorcycle and the robust clutch is a fine example of strength. The large, straight-cut clutch gear would not look out of place in a one-ton manual truck transmission. The fingers that locate the fiber plates are surrounded by a steel band to prevent them from spreading under load. This clutch is awe-inspiring and looks like it could handle double the Z1’s 82 (claimed) horsepower. The bike has 41,000 miles showing on the clock and the metal parts show minimal wear. I am impressed.
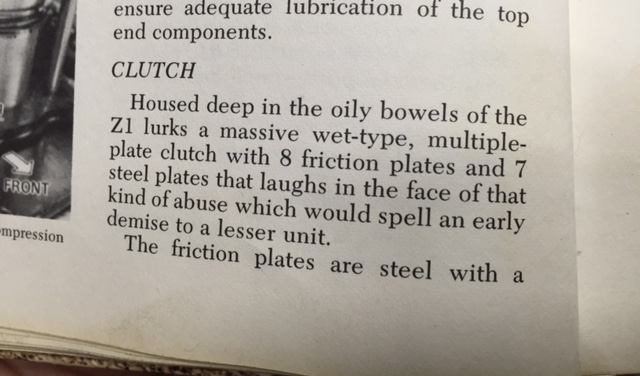
 Don’t take my word for it, here is the author of the Z1 repair manual waxing eloquent over the Z’s clutch.
 I’m making another list of parts and will be blowing more money on Zed. I really hope this engine runs without a lot of knocking and the transmission shifts like butter.
I’m hooked, where do I send money….
Your local bartender!
Bike will run and then make smoke signals to call all susukies & hondanas &yamahanas and make some bullacos and will end up with a Zongshen motor jaja
You’re patience with that one screw is awe inspiring. You have been, and always will be, my hero.
I spent a week on that screw…
Enjoying the series Joe. Waiting on the next update!