Gunstock Refinish: Part III

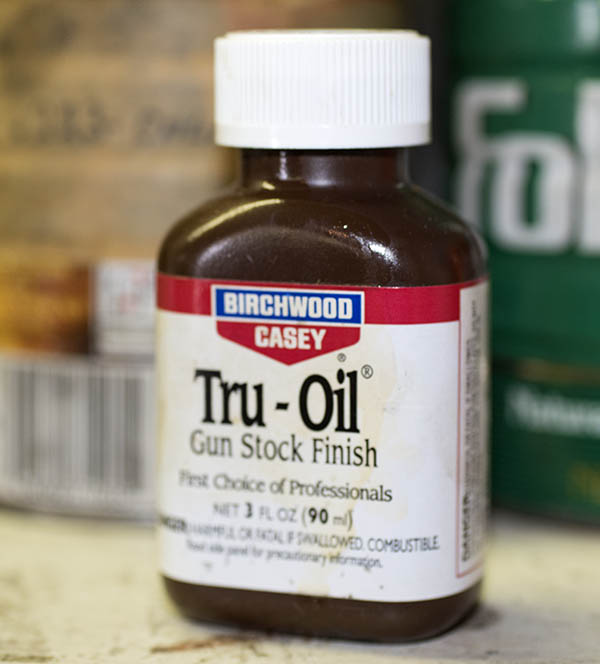
In our previous blogs, we removed the Savage 340 barreled action from the stock, we stripped the old finish and made a few minor wood repairs, and we sanded the stock to a smooth finish with successively finer sandpaper.  We’re now ready to get to the fun part, and that’s applying the TruOil for a rich, deep, and elegant finish.

TruOil Application

Applying the TruOil to the stock takes several days because it involves repeated applications and drying cycles.  There are basically two ways to go here.  We can create a deep gloss finish, or we can create a subdued satin finish.  I like both, and as of this writing, I haven’t decided what the final look is going to be.

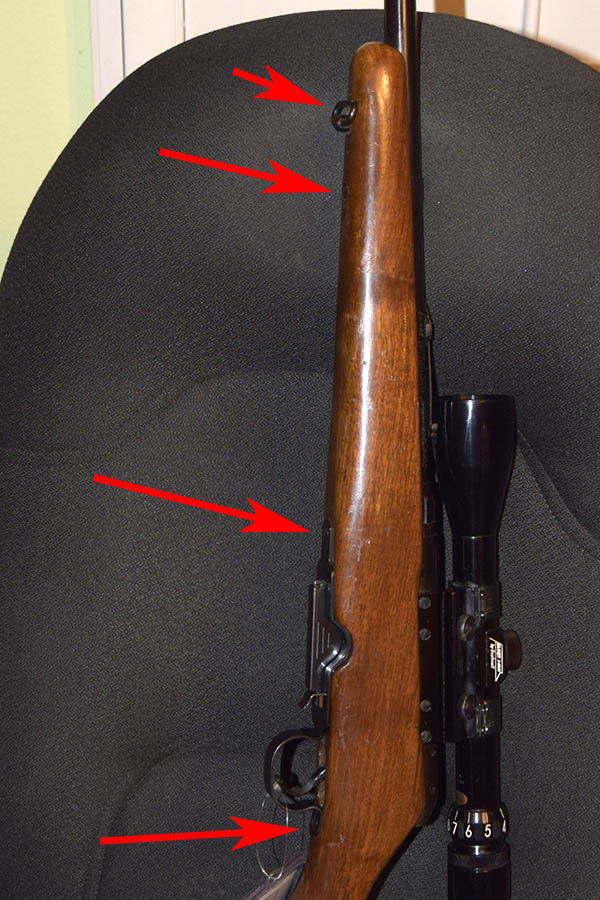
You’ll recall that I omitted the white line spacers between the stock and the buttplate and between the pistol grip cap and the buttplate because I like the look better without the spacers.

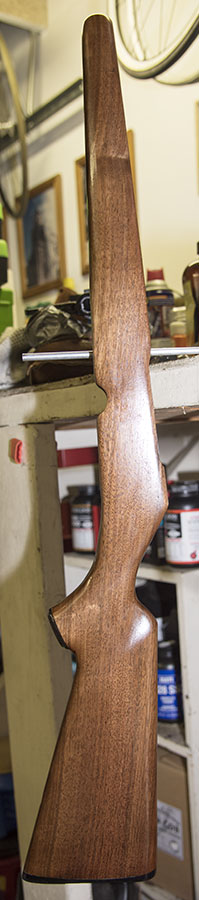
I always c-clamp a rod to my bench because that’s where I’ll hang the stock after each TruOil coat to allow it to dry.   You can see that in the photo to the right.

The way I like to do this is I cut out a small square of old T-shirt for the TruOil applicator.  I’ll put a small bit of TruOil on the cloth and rub that into the stock, and then hang the stock to allow it to dry.

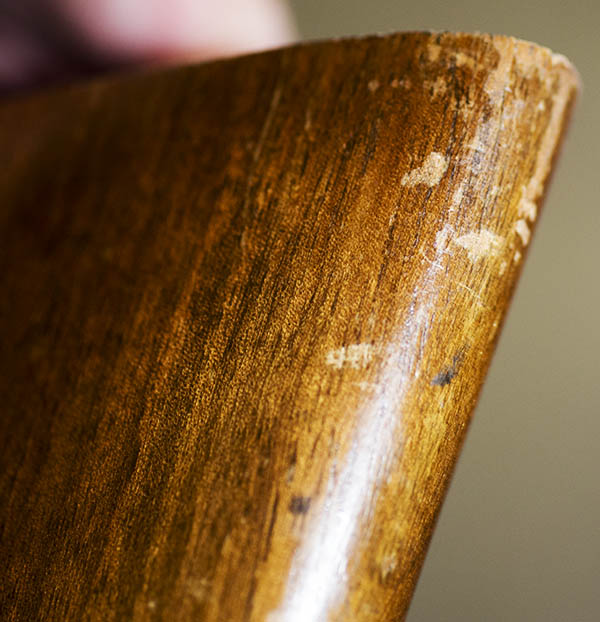
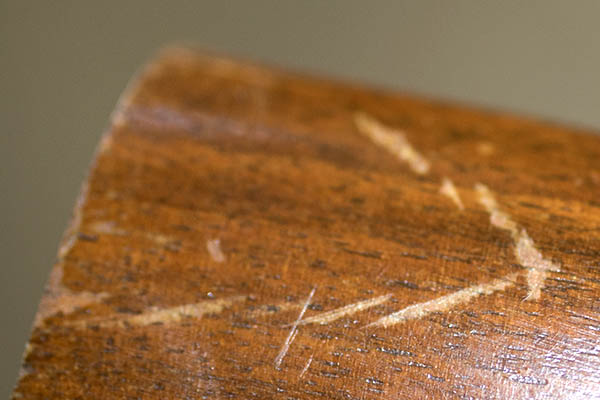
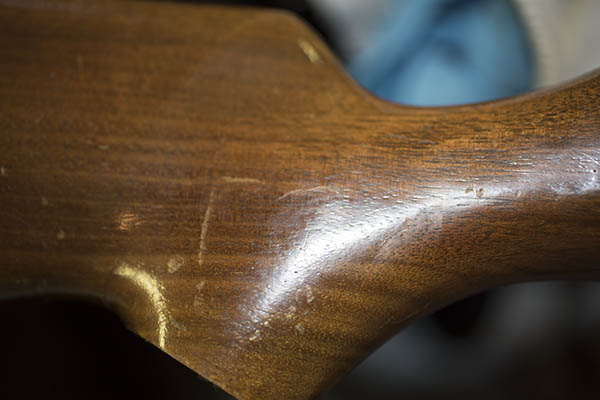
On this particular piece of walnut, I noticed that the walnut pores were large in a few areas, so I put on two coats over the space of a couple of days to see how they filled.  I didn’t like the way the pores looked (they were not filling) after the second coat.  That’s okay; we have an app for that.  It involves applying a thick coat of TruOil and giving it several days to cure.  That worked for me because I was going to be out of town for several days (another secret mission, you could say), and that would give the third coat plenty of time to thoroughly cure.

Some folks like to use a wood filler to fill the pores.  I’m not one of them.  I like to let the TruOil do all the work.  I think it looks better than using a filler.

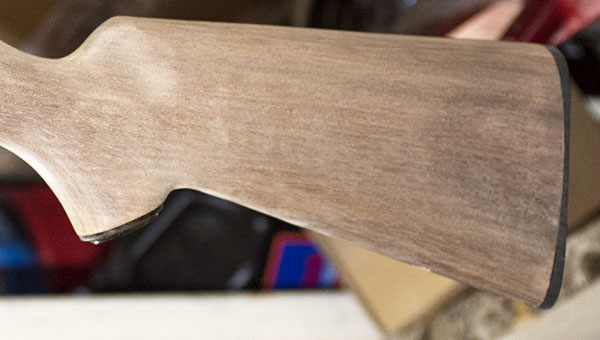
After the third, thick TruOil coat cured, I then went to work on the stock with 0000 steel wool.  The idea here is remove all of the excess TruOil from that third, thick coat, and get a uniform surface with no open pores.  That worked out well, and I had a nice subdued stock finish that already looked way better than the original finish.  I could have stopped at that point and reassembled the rifle, but I decided to go for a deeper finish.    More TruOil coming up, folks.

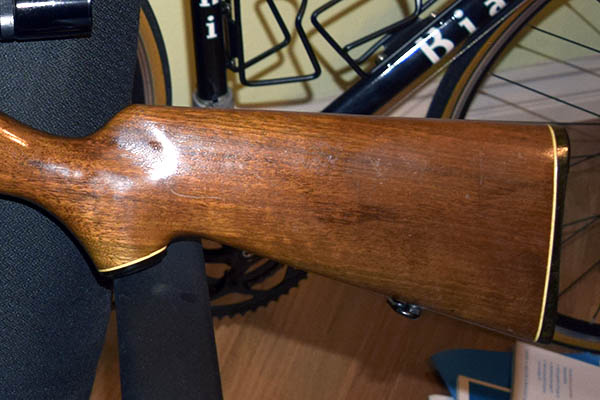
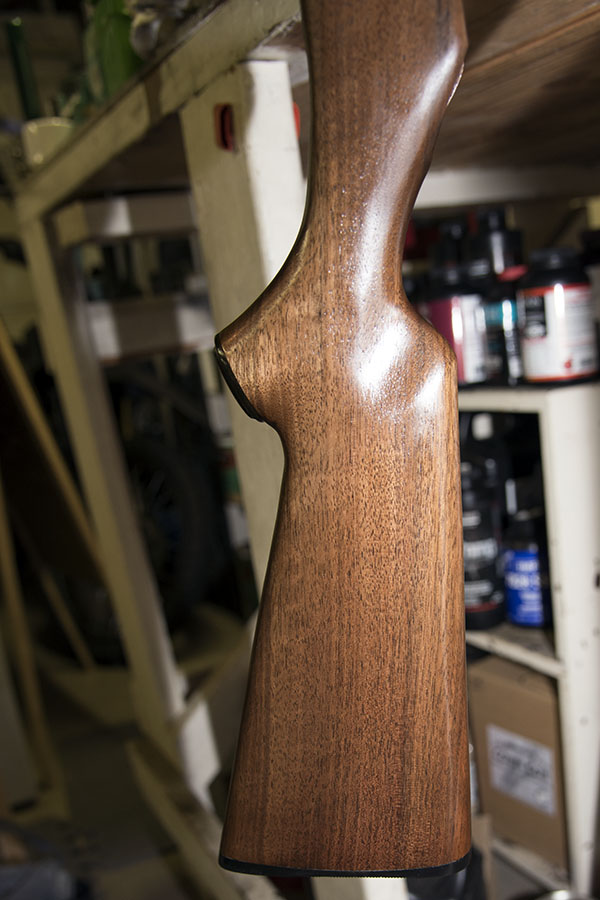
I applied a thin fourth coat of TruOil and allowed it to cure overnight.  The stock started to look very good, and I next applied a fifth thin coat.  It’s what’s curing now, and it’s what you see in these photos.  The drill is to go very, very light with each coat, rubbing it into the walnut with the cloth applicator.  You want to get the wood wet, but just barely.  If you get it too wet, the TruOil will run (and then you have to rub it down with steel wool after it cures and start all over).  I’m going to do this a few more times, and I’ll decide on the total number of TruOil applications based on how the stock looks after I apply each coat.   As I mentioned above, I may leave the high gloss finish as is, or I may opt to break the shine with 0000 steel wool and have a subdued satin finish.   We’ll see.


Read more of our Tales of the Gun stories here, and don’t forget to sign up for our automatic email blog notifications!


Did you miss the earlier blogs on this Savagely inexpensive, tack-driving Savage 340? You can see them here, here, and here.

Gunstock Refinish: Part II

I told you a bit about my 222 Savage 340 in an earlier blog, and I described removing the barreled action from the stock for a refinishing project.  This is the second installment of that project, in which I remove the old finish and prep the stock for refinishing.

Stripping

At this point, all that’s left is the walnut stock, and that means it’s time to remove the old finish.  The last time I did this I used an spray that took the finish off almost immediately, and it required only one application.   This new stuff is supposed to be better for the environment, and the spray can said it might take a couple of applications to get all of the old finish off.  The instructions also said to wait 3 hours after applying it.  It did take three applications to get all of the old finish off.  Somewhere a tree hugger is thankful, I guess, but it meant that with the wait times after each application this task was spread over 2 days.  The way I used it was I sprayed the stuff on, I waited the three hours, and then I wiped the gooey finish remnants off with a towel.  I wore disposable rubber gloves and wiped the stock down with an old terry cloth towel.

The stripper. I’m hoping the search engines see that term and we get lots of hits. You know. The stripper.

Oil Extraction

After that, I went to work with a heat gun on the stock.  That sweated out the whatever oils were left in the wood, and then it was time to start the stock repairs and the sanding.

Undinging

There were a couple of depressions in the stock (not chips, but slight depressions where the wood had been compressed). That called for the old wet washcloth and iron trick. The drill here is to lay a wet washcloth over the dings in the stock, and then apply the hot iron to the washcloth directly over the dings. The resulting steam is forced into the wood and it lifts the dents. It works well because the wood wants to return to its uncompressed state and the steam helps it do so.

Butt and Cap Alignment

After that, I reinstalled the butt plate and the pistol grip cap, but without the white line spacers. The white line spacer thing was a popular look in the ‘50s and 60’s, but I don’t care for it. I like the look of a black buttplate and pistol grip cap directly against the walnut. There was a bit of mismatch between these plastic parts and the stock, but that’s okay, too. It will be addressed in the next step.

The old look: White line spacers. Ugh!
The new look, pre-TruOIl and pre-final-sanding. It’s going the way I want it to.

Sanding

You might think the walnut would be smooth because it was already smooth before the original finish was applied several decades ago, but that’s usually not the case in a project like this.   Stripping the finish raises the grain a bit, and truth be told, original finishes from the factory are usually not so good, anyway.  And, as hinted at in the preceding paragraph, sanding will assure a perfect match between the walnut stock and the butt plate and pistol grip cap. I start with 220 grit sand paper, then 320 grit, then 400 grit, and finally, 600 grit. Again, patience is a friend here. I worked to get the match I wanted between the stock and the black plastic parts, and I wanted a smooth surface all over the stock. I always sand with a block to support the sandpaper, and I’m careful not to round any edges where crisp edges are desired (like along the top of fore end).

All of the above took a little more than 3 days, and at the end of this phase of the project, I had a pristine stock with a perfectly matched buttplate and pistol grip cap. It was ready for the next step, and that’s the start of the TruOil applications for a rich, subdued, and elegant oil finish. That’s coming up in the next blog on this project.


Read more of our Tales of the Gun stories here, and don’t forget to sign up for our automatic email blog notifications!


Did you miss the earlier blogs on this Savagely inexpensive, tack-driving Savage 340? You can see them here and here!

Gunstock Refinish: Part I

I’m refinishing the stock on my .222 Remington Savage 340 and as promised, here’s the beginning of the story on this project.

The Rifle:  A Savage 340

This story goes back a few years when I spotted a Savage 340 on the used gun rack at a local gun store.   Several thing about the rifle intrigued me…it was cheap (it was only $180), it was chambered for the 222 Remington (a very accurate cartridge), and the stock was scratched and worn (but the damage was superficial). I thought the little Savage would make for an interesting refinishing project.  But I guess I’m like Gresh.  Some things need to be put on simmer for a while.

The rifle shot well, I played around developing a load for it, and it was only after the thing sat around for a couple of years that I finally got on with my refinishing project.  I’ve blogged about this rifle a couple of times before, and I’ll give you the links to those posts at the end of this blog.

The Original Finish

The Savage had some kind of a shellac or varnish finish that was flaking and scratched in a lot of places. The underlying wood was sound; there were just a lot of finish scratches all over.

Superficial flaking on the butt.
More superficial surface finish damage.
Other light scratches. Like I said, the underlying walnut was sound.

The rifle had a black butt plate with a thin white plastic spacer, and the pistol grip catch had the same deal.  I knew I was going to delete the white spacers because I like the look better without it.

The white spacers had to go.

I’ll show you what the butt plate and pistol grip look like without the white line spacers in a subsequent blog.  Trust me; it’s way more elegant.

TruOil to the Rescue

Me?  I’m a big fan of oil finishes, and my soup du jour is always TruOil for projects like this one.  But I’m getting ahead of myself.

The best stuff ever invented, TruOil is.

Barreled Action Removal

The first step in any gunsmithing project is to make sure the rifle is unloaded, which I did, and then I remove the barreled action from the stock.  That was easy peasy…the Savage has three screws securing the metalwork in the stock.  It’s the rear trigger guard first (and unlike most rifles, on these old Savages all that rear most screw does is hold the rear of the trigger guard in the stock; it does go all the way through to the receiver).  Then it’s the screw up front, which taps into a barrel retainer.  And then it’s the main action screw, immediately under the forward portion of the receiver.  It’s an unusual setup.  Most rifles are secured by bolts through the trigger guard/floorplate that secure the receiver to the stock.  Having only one attach point to the receiver and another on the barrel is supposed to hurt accuracy.  No one told that to my Savage, though.   It shoots into an inch at 100 yards all day long.  After that it was the sling swivels, which unscrew from the stock.

Three screws release the barreled action from the stock (the barrel mount, the forward action, and the rear trigger guard screws). The sling loops unscrew, too.
The rear trigger guard screw and the action screw.

The next steps are to remove the butt plate and the stock’s pistol grip cap.   Those are retained by Phillips head screws and they came off easily.


That’s it for now.  The next steps will involve stripping the finish, and that’s a topic for the next blog in this series.  Stay tuned.  If you want to read the original blog we posted on the Savage 340, it’s here.


Want to get notified when we post subsequent blogs?   Hey, just sign up here!


Read more Tales of the Gun!