
I’m refinishing the stock on my .222 Remington Savage 340 and as promised, here’s the beginning of the story on this project.
The Rifle: A Savage 340
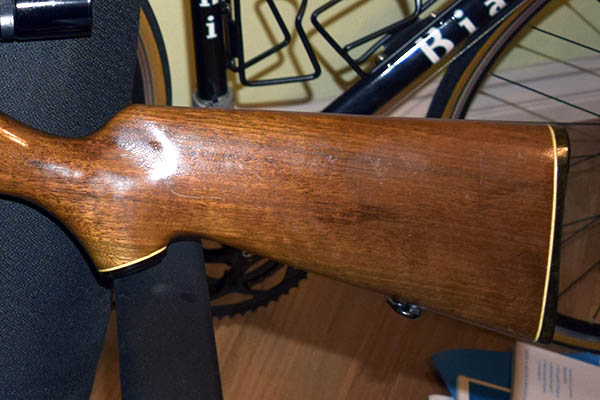
This story goes back a few years when I spotted a Savage 340 on the used gun rack at a local gun store. Several thing about the rifle intrigued me…it was cheap (it was only $180), it was chambered for the 222 Remington (a very accurate cartridge), and the stock was scratched and worn (but the damage was superficial). I thought the little Savage would make for an interesting refinishing project. But I guess I’m like Gresh. Some things need to be put on simmer for a while.
The rifle shot well, I played around developing a load for it, and it was only after the thing sat around for a couple of years that I finally got on with my refinishing project. I’ve blogged about this rifle a couple of times before, and I’ll give you the links to those posts at the end of this blog.
The Original Finish
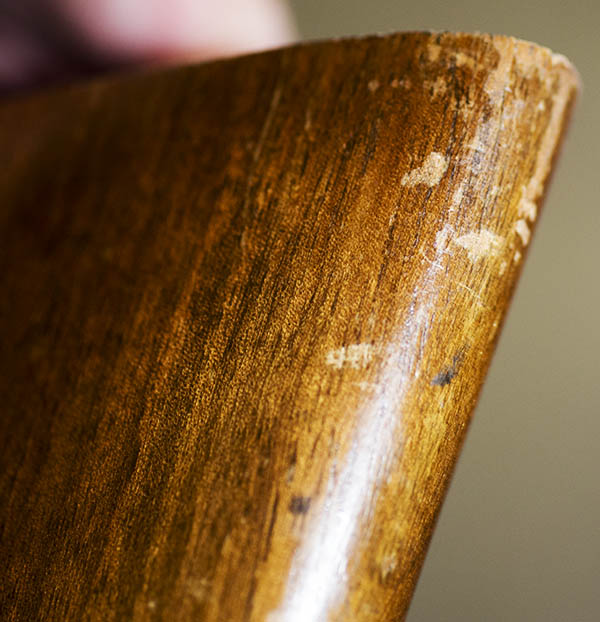
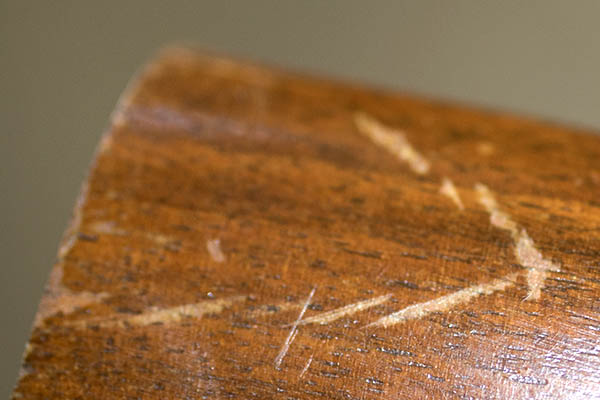
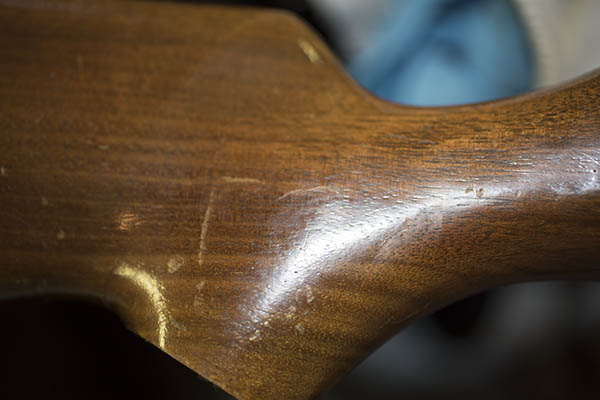
The Savage had some kind of a shellac or varnish finish that was flaking and scratched in a lot of places. The underlying wood was sound; there were just a lot of finish scratches all over.
The rifle had a black butt plate with a thin white plastic spacer, and the pistol grip catch had the same deal. I knew I was going to delete the white spacers because I like the look better without it.
I’ll show you what the butt plate and pistol grip look like without the white line spacers in a subsequent blog. Trust me; it’s way more elegant.
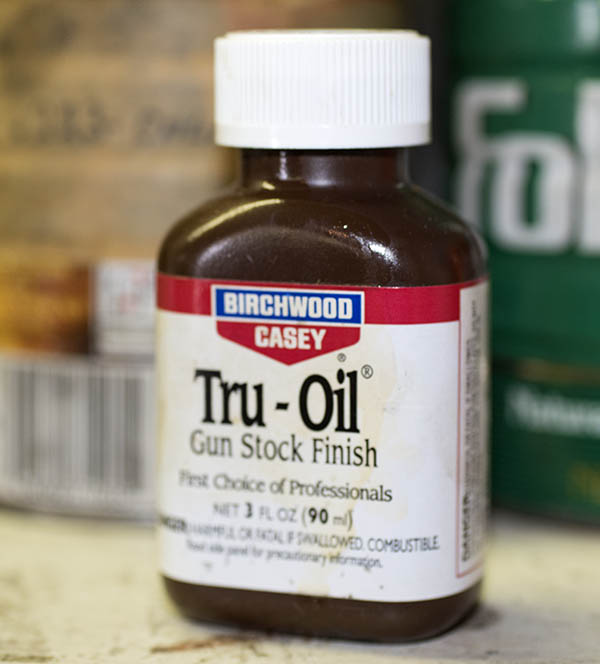
TruOil to the Rescue
Me? I’m a big fan of oil finishes, and my soup du jour is always TruOil for projects like this one. But I’m getting ahead of myself.
Barreled Action Removal
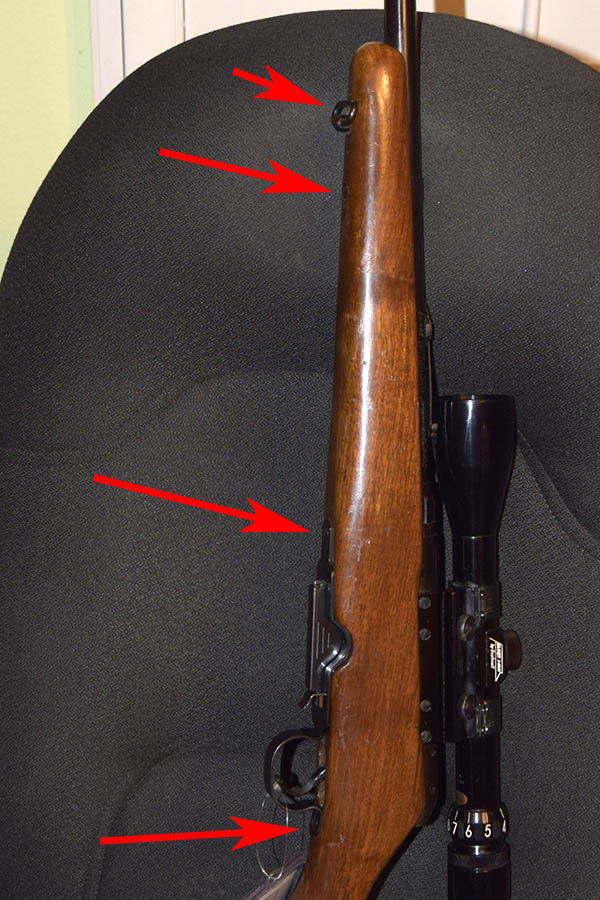
The first step in any gunsmithing project is to make sure the rifle is unloaded, which I did, and then I remove the barreled action from the stock. That was easy peasy…the Savage has three screws securing the metalwork in the stock. It’s the rear trigger guard first (and unlike most rifles, on these old Savages all that rear most screw does is hold the rear of the trigger guard in the stock; it does go all the way through to the receiver). Then it’s the screw up front, which taps into a barrel retainer. And then it’s the main action screw, immediately under the forward portion of the receiver. It’s an unusual setup. Most rifles are secured by bolts through the trigger guard/floorplate that secure the receiver to the stock. Having only one attach point to the receiver and another on the barrel is supposed to hurt accuracy. No one told that to my Savage, though. It shoots into an inch at 100 yards all day long. After that it was the sling swivels, which unscrew from the stock.

The next steps are to remove the butt plate and the stock’s pistol grip cap. Those are retained by Phillips head screws and they came off easily.
That’s it for now. The next steps will involve stripping the finish, and that’s a topic for the next blog in this series. Stay tuned. If you want to read the original blog we posted on the Savage 340, it’s here.
Want to get notified when we post subsequent blogs? Hey, just sign up here!
Read more Tales of the Gun!
Whats the difference between Tru Oil and say, tung oil or boiled linseed oil? And have you ever tried tung oil or BLO on any projects?
As I understand it, Bob, TruOil dries much faster. I’ve never tried BLO or Tung Oil.
TruOil is mostly paint thinner, oil varnish, and about 10% tung/linseed. Because of the thinner, it dries a lot faster but you need more coats but soaks into the wood quickly. Boiled linseed has driers added (otherwise would take a week or more to dry) and is not water resistant (turns white/hazy when wet.) Tung takes 2-3 days to dry and is water resistant. I used to cut BLO with turpentine to get it to soak into the wood faster and then finish with tung to get a satin look and add some water resistance.