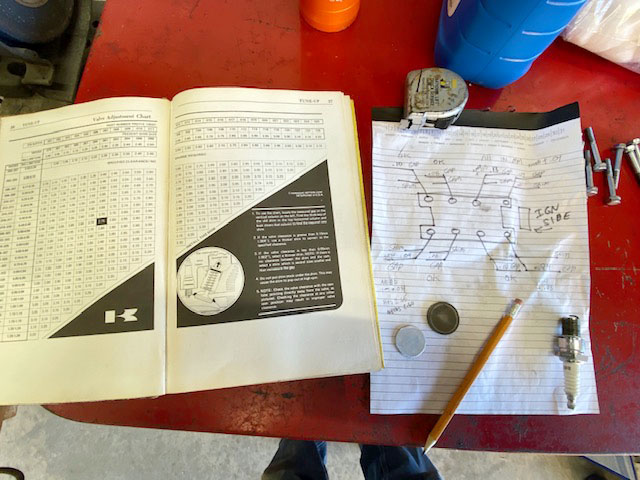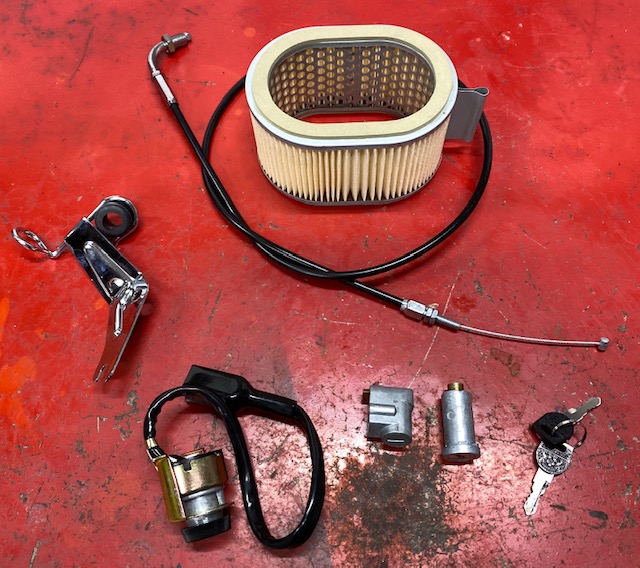
The pace has quickened here at Tinfiny Ranch. Lots of new parts from Z1 Enterprises arrived and lots of new ground was covered on Zed’s resurrection. We are going to ride like the wind soon. In Part 17 the ignition switch was giving me trouble but that’s been resolved with all new locks from Z1E. I had to dismantle the headlight area to replace the ignition and the under-seat area to install the new seat lock. The fork lock was easy. I should have gone with new parts in the first place. Ah well, if I didn’t do stupid things no one would understand me.
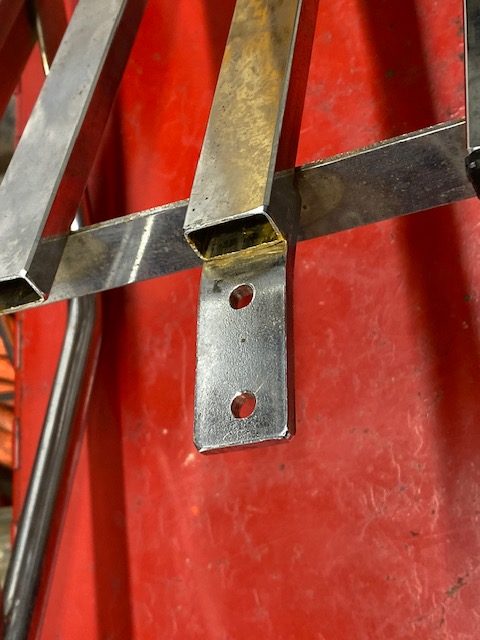
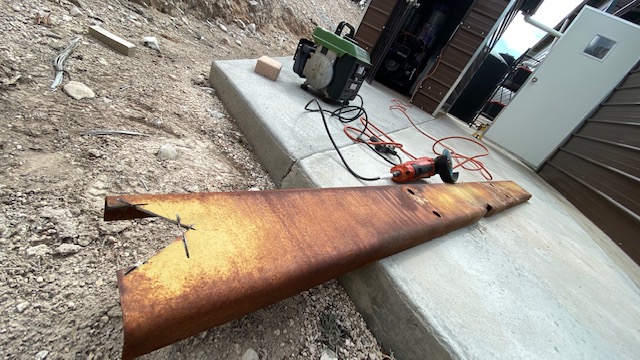
The luggage rack I bought from ebay fit Zed only in the broadest sense of the word. It was made to connect to the original grab bar on this tab but I don’t have the grab bar. That’s ok because it sat way too far back on the bike for me. Like 6 inches past the taillight. I lopped that tab off and shortened the rack where it mounts to the top shock bolt.
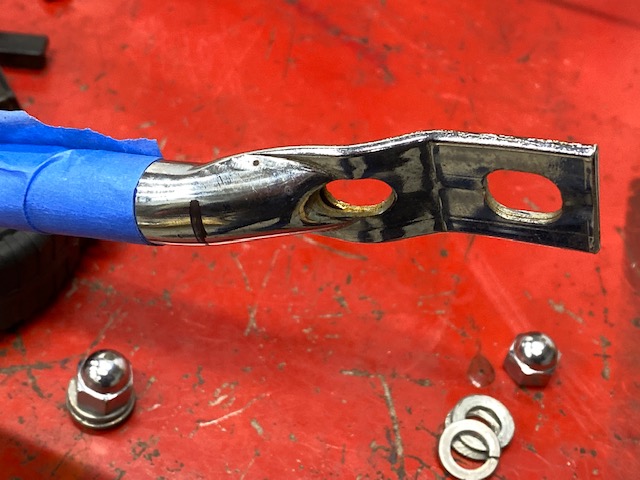
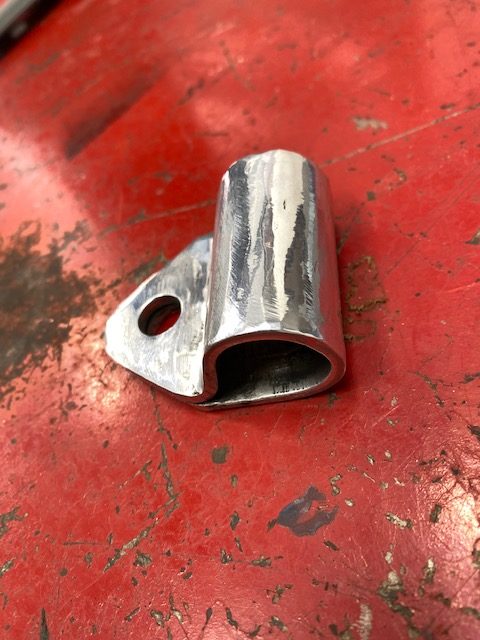
Without the tab or grab rail there was nothing to hold the rack from flopping down onto the rear fender. Using a New Mexico hammer-and-14mm deep socket-roll forming machine I knocked up two brackets that fit into the old grab rail mounting holes. I made a 1-inch spacer out of some solid steel round stock that had lain in Tinfiny’s driveway for several years.
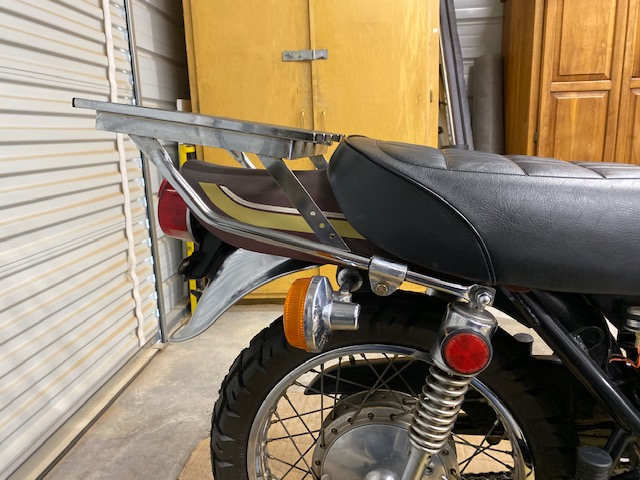
The rack looks much better tucked in tight but cantilevered as it is, I’m not sure the tubing will be strong enough to hold much gear. I may redesign the rack with a long gusset running on the bottom of the tube that will incorporate the mounting tabs for a rearward set of blinker tabs. Moving the blinkers aft will allow me to use those toss-over, Pony Express style saddlebags.
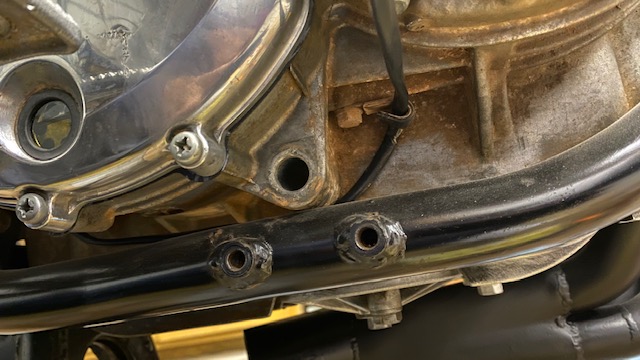
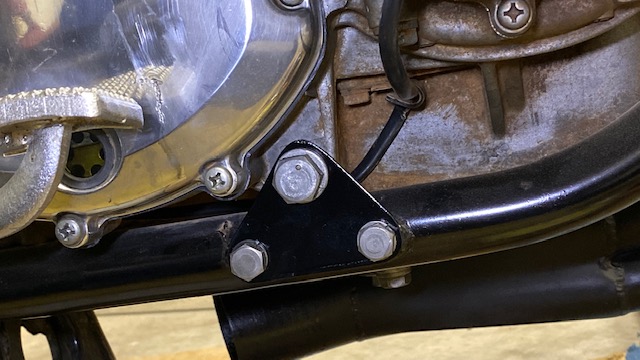
Zed’s lower, right-side engine mount was missing and I’m getting tired of buying parts for this bike so I made a paper template and cut a chunk out of an old motorhome bumper that had also laid in Tinfiny’s driveway for years. I hate to disturb the junk buried around Tinfiny because it stabilizes the soil. You never know which part you pull out of the ground will cause a landslide. It’s like living atop a Jenga stack.
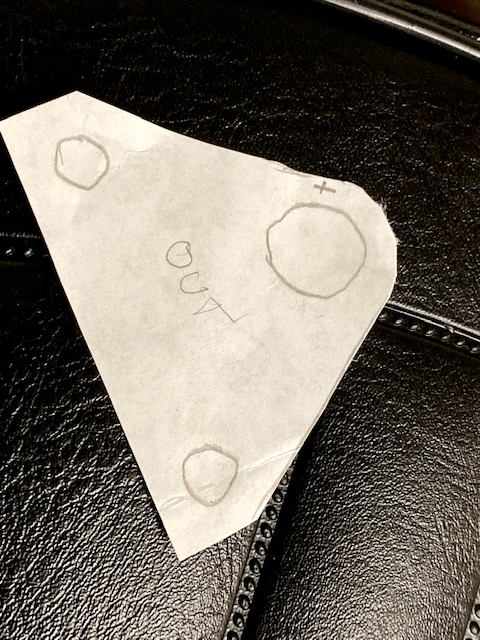
The mount is not as nice as a stock mount but it’s way on the bottom. No one will ever know.
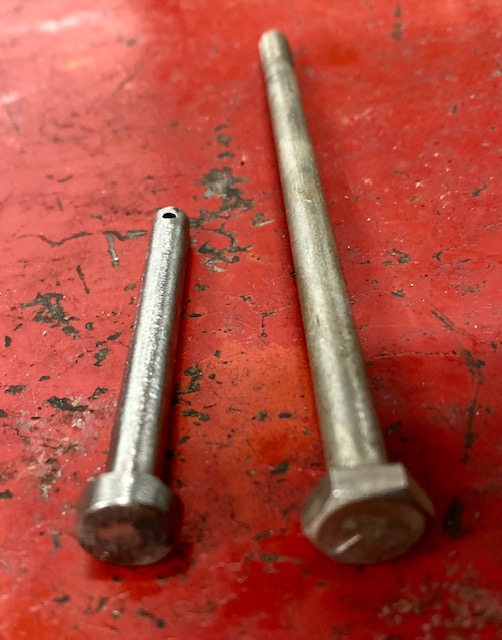
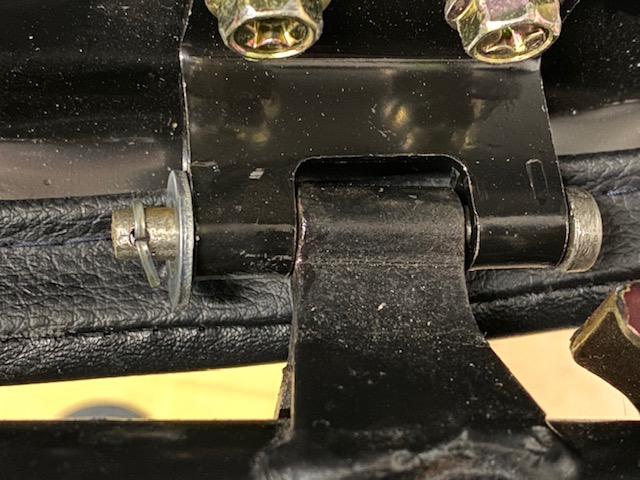
I also bought a new seat! Replacement foam and a new seat cover added up to nearly the same as a whole new seat so I bit the bullet. It tasted like brass with a hint of lead. The seat came complete with brackets, rubber supports and seat latch. It was missing only the pivot pins that hold the seat on. Using my New Mexico hand-lathe, I spun down a ¼-20 stainless bolt to fit through the frame brackets. A hole for a cotter pin & washer keeps the seat pins from falling out.
Besides rebuilding the caliper and master cylinder in a previous Zed installment I replaced the rubber hoses and the missing hose support down by the fender. I also had to replace the solid pipe from the caliper to the lower brake hose.
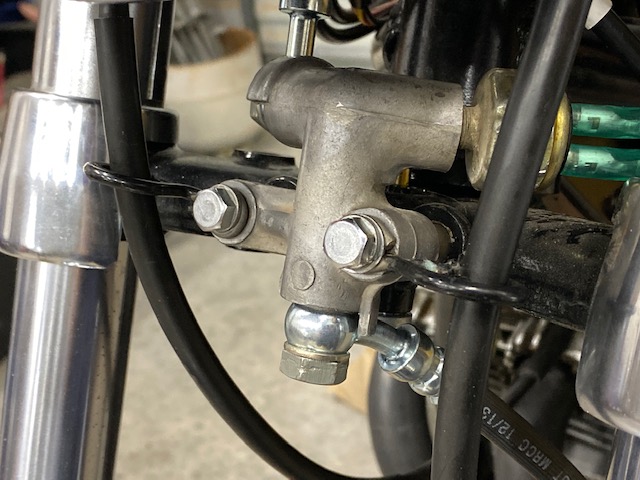
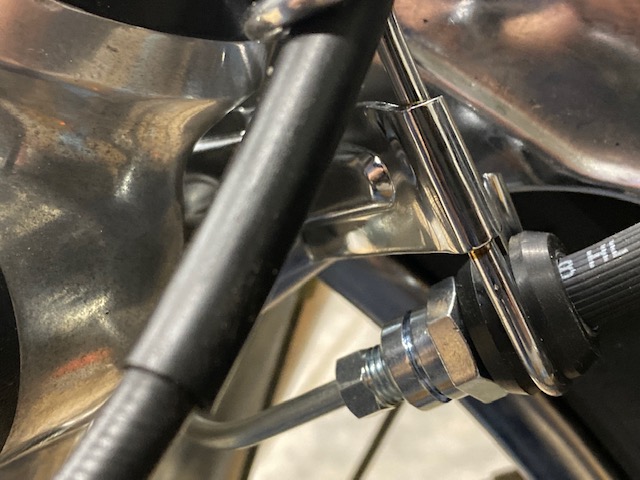
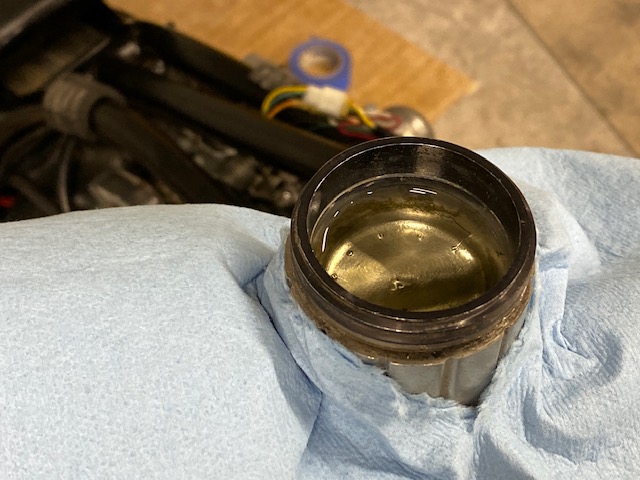
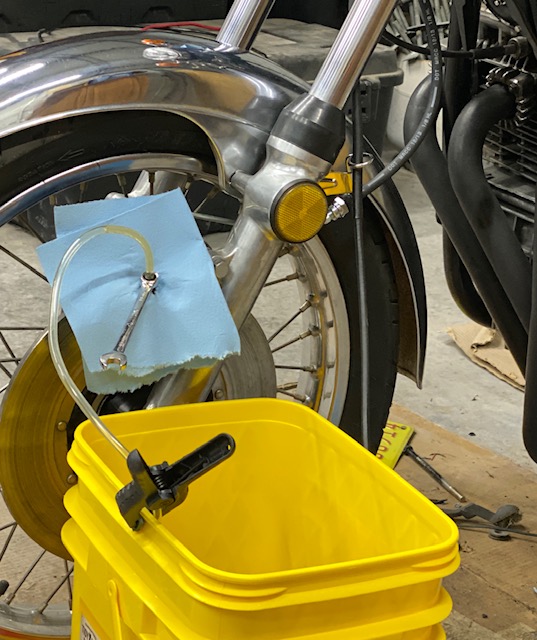
Bleeding the brakes was fairly straightforward. So far nothing has leaked out of the rebuilt parts. The lever feels a bit mushy; I’ll let it sit a bit to let the air bubbles coalesce then try a little more bleeding.
I rigged the bike with a spare battery and tested all the electrical circuits. Amazingly, everything works. The alternator works a little too well putting out 17 volts to the battery! Not to worry, another $100 has a new Z1 Enterprises regulator/rectifier on the way. The new unit is not an exact replacement. The regulator/rectifier is all in one finned casting unlike the stock Kawasaki set up where the two functions are separate parts.
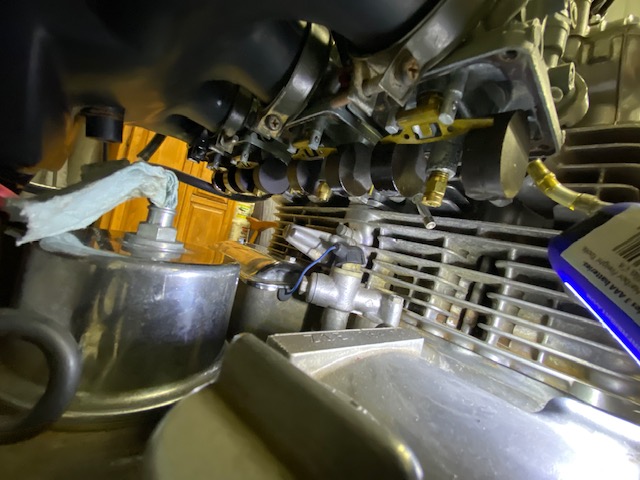
The last time I ran Zed way back in Zed’s Not Dead 10 it ran and idled great. Now the bike is popping and won’t run off choke. The poor quality of gas sold today turned dark red in a very short time so I have removed the float bowls and will blast the carbs with aerosol carb cleaner. Hopefully this will get the bike running normally as I don’t want to take those damn carbs apart again.
Read our earlier Zed’s Not Dead installments for the rest of the resurrection!

