All good things must come to an end, I suppose, and Newcomb’s may be one of those things. I just read that this iconic roadhouse on what may be the most famous moto road in So Cal is on the block. The article also said that Newcomb’s has been shut down for months…another casualty of the pandemic. Ah, let’s hope the right somebody buys it and brings it back to its former splendor.
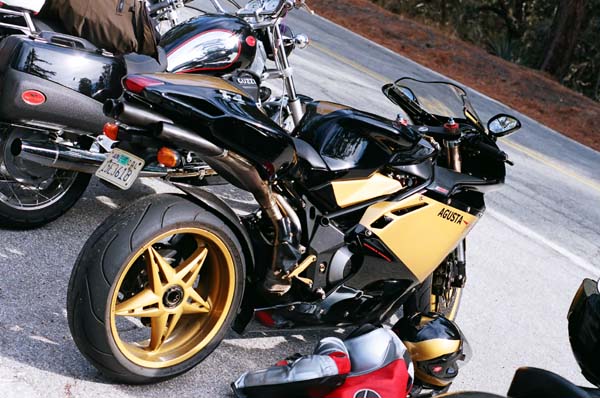
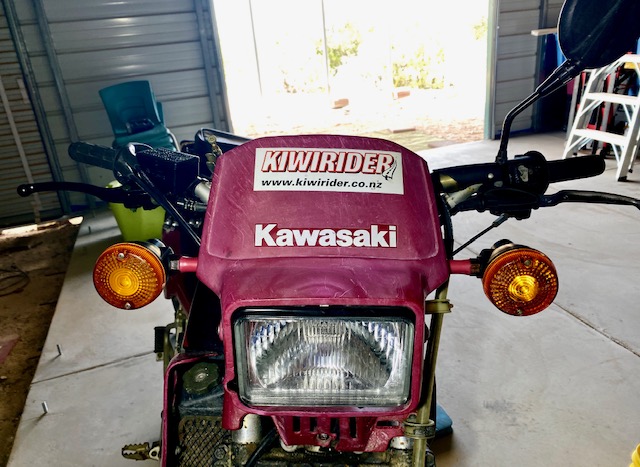
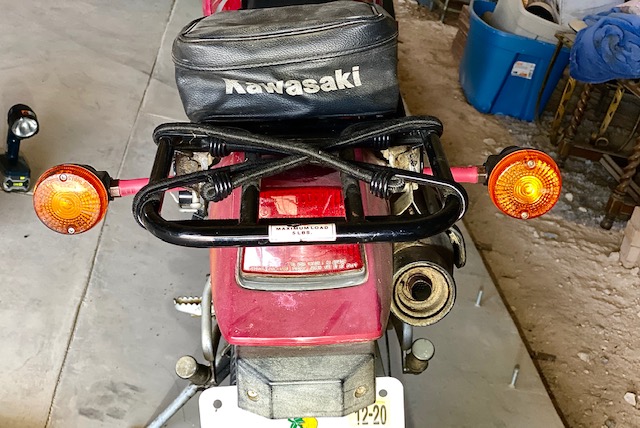
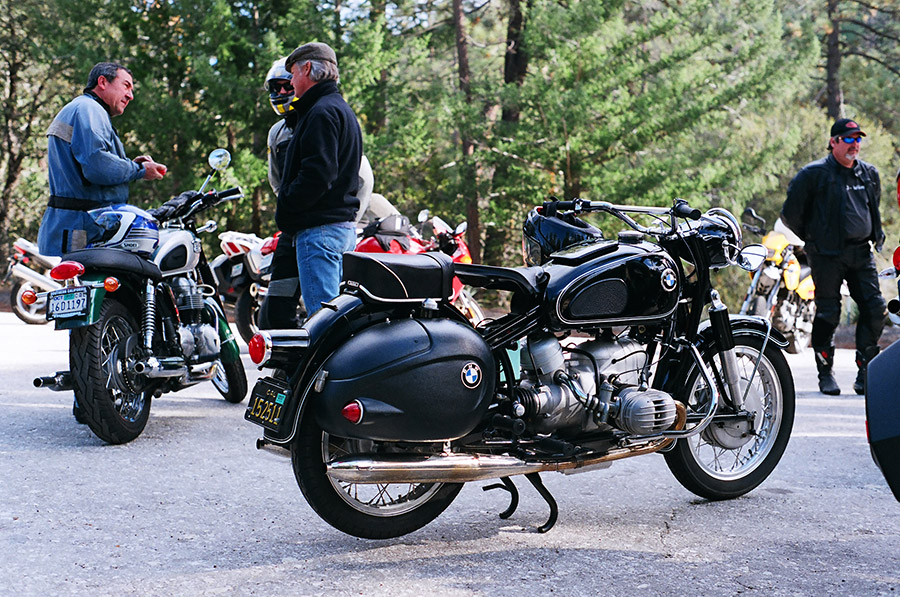
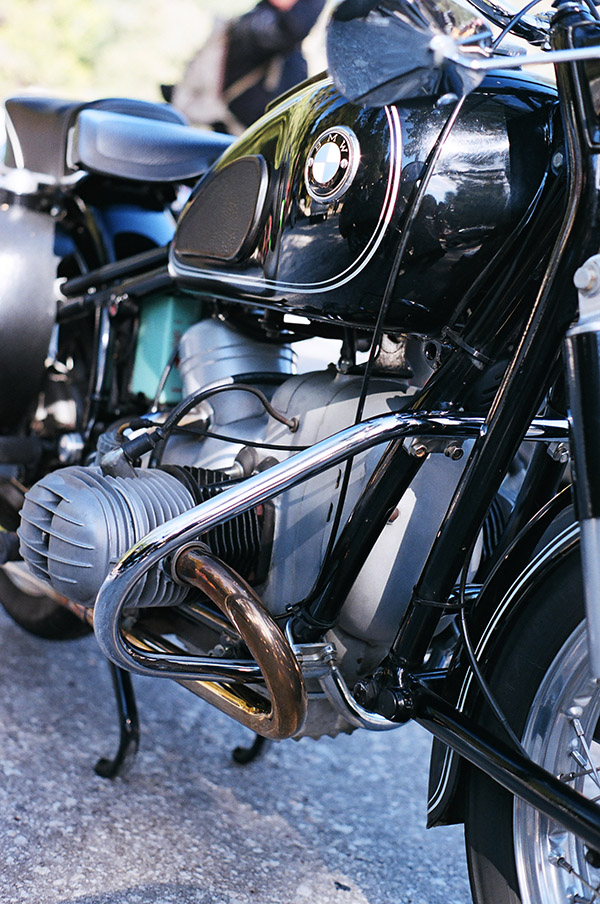
Truth be told, it was the ride, and not the Newcomb’s restaurant that made Angeles Crest Highway something special. The food was okay and the service was always outstanding, but the real attraction was the Newcomb’s parking lot and the ride to get there. Ferraris, MV Augustas, vintage bikes, Jay Leno…you just never knew what you’d see out there. That was always worth the ride.

I wrote a Destinations piece for Motorcycle Classics magazine on the Angeles Crest Highway and Newcomb’s Ranch a few years ago. I’ve ridden the Crest many times, and I don’t think I’ve ever ridden by Newcomb’s without stopping.

You can approach Newcomb’s from either end of the Angeles Crest Highway. The Crest, or California Highway 2, can be picked up off the 210 freeway just north of Glendale (which is just north of Los Angeles), or you can get on it in Wrightwood at the northeastern end on the other side of the San Gabriel Mountains. It’s a delightful ride.
I have a lot of stories about rides on the Crest. I led a bunch of CSC Motorcycles company rides up there, I’ve ridden it a lot with my geezer moto buddies, I’ve seen more than a few crashes (by others) up there, and I even went ice racing up there on a Triumph Daytona once. Good buddy Bryan (who is fast approaching geezerdom) and I started out from the Wrightwood end one winter day and we soon noticed we were the only two people on the road. Then it got cold. Then it started snowing. Then we realized the bikes were moving around a bit more than usual. We were riding on ice. And we faced that age-old question: Do we admit defeat and turn around, or press ahead in the belief warmer weather lies ahead and things will get better?
Being redblooded American engineers (read that any way you want), Bryan and yours truly pressed ahead. We stopped at Newcomb’s, and we were the only ones in the parking. We went inside to warm up and the folks who worked there were astonished. How did you get here? On our motorcycles, we said. But the road’s closed, they said. Wow.
Newcomb’s. An American and So Cal icon. Let’s hope it comes back to life soon.
Stay up to date with a free ExhaustNotes subscription!