.22 LR Rim Thickness vs. Accuracy

By Joe Berk

Here’s the latest accuracy rabbit hole I’ve gone down: Rim thickness as an accuracy factor for .22 Long Rifle ammo.
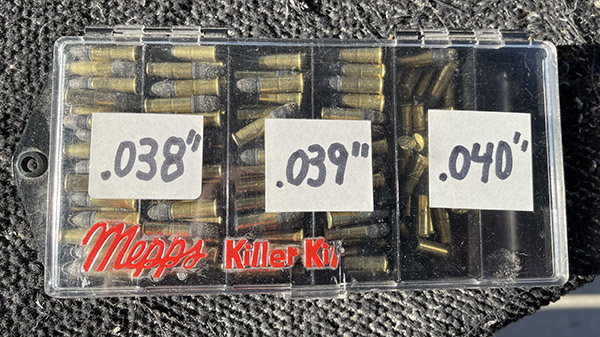
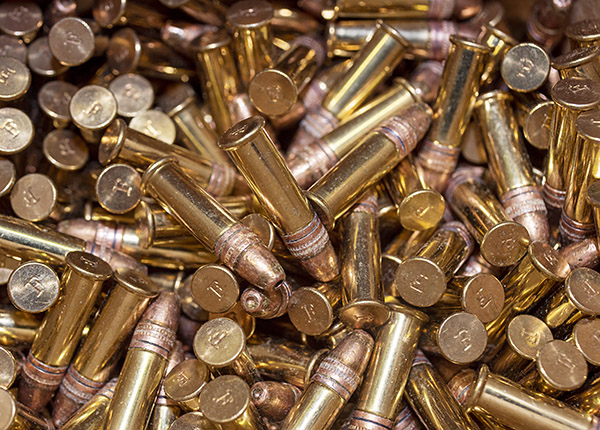
Kevin’s .22 Long Rifle ammo sorted by rim thickness.

My friend Kevin told me about a hypothesis that holds you can get even cheap .22 ammo to shoot well if you sort by rim thickness.  I researched this online, and like most things online, opinions are all over the map (Abraham Lincoln once famously said not everything you read on the internet is true).  Kevin told me about this and suggested it might make for an interesting blog.  I felt it was worth investigating, and I’d never considered .22 Long Rifle rim thickness as a variable until Kevin mentioned it.
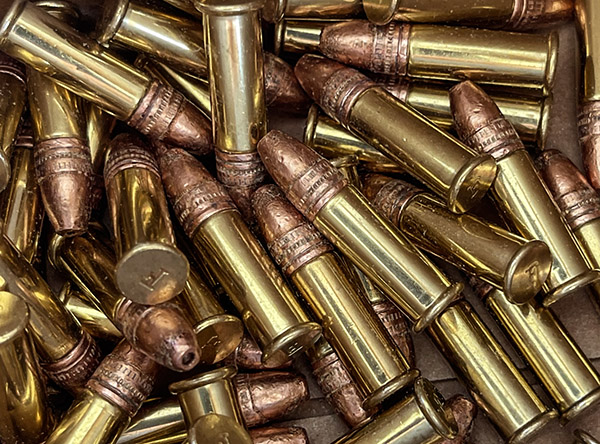
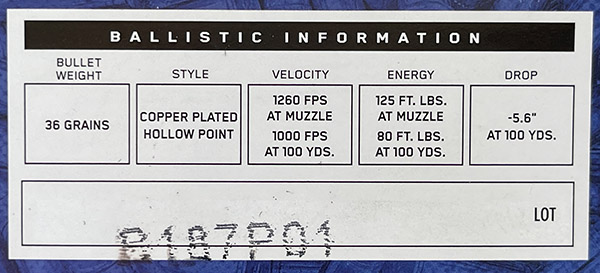
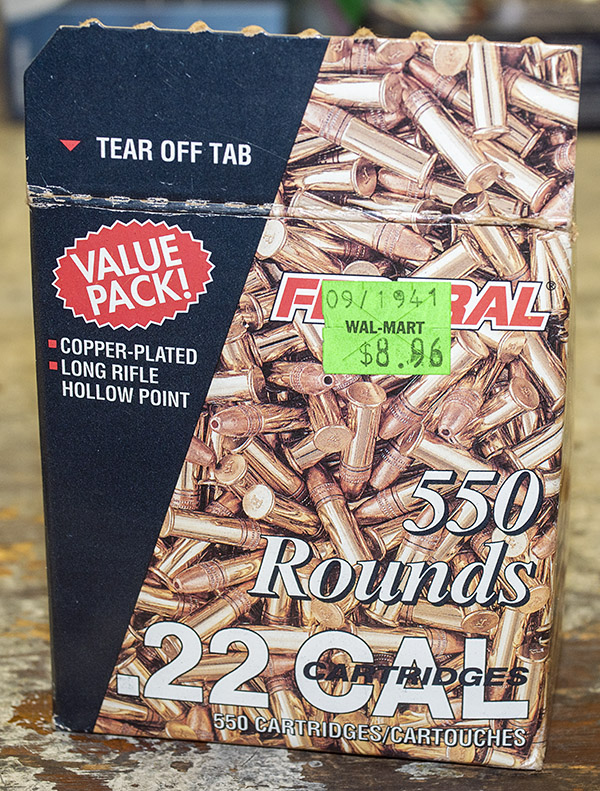
Federal Value Pack .22 Long Rifle ammo.
Velocity data on the Federal Value Pack ammo. A bit optimistic, as it turns out.

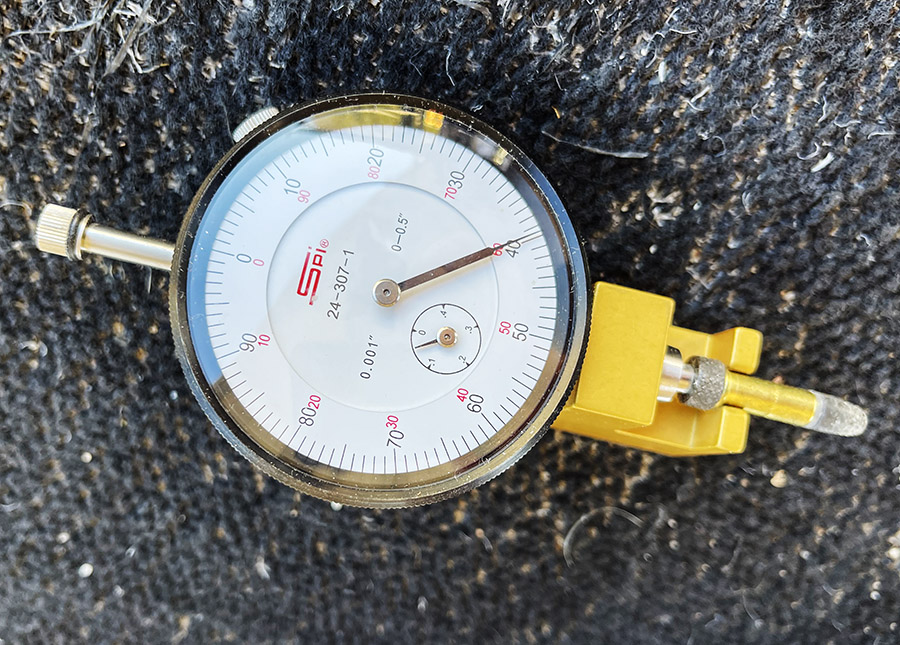
Kevin had a specially fixtured dial indicator for measuring rim thickness (see the photo on top of this blog) and he lent it to me for this blog.  I sorted a bunch of Federal Value Pack 36 grain .22 ammo.  It’s cheap ammo.  I’ll get to the results in a second.

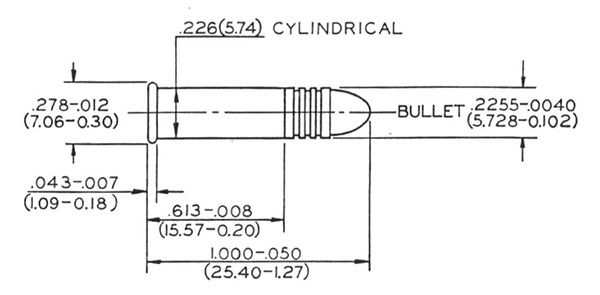
First, take a look at the SAAMI specs for sporting .22 Long Rifle ammo:
…and for match grade .22 LR ammo:
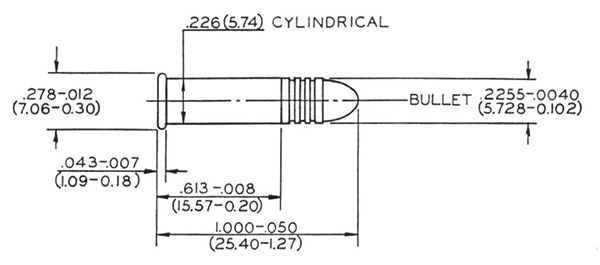
Yeah, I couldn’t see any difference between the two, either.  You’d think match grade specs would be tighter, but they’re not.  But check out that tolerance on rim thickness for both grades of .22 Long Rifle ammo…it varies from 0.036 to 0.043 inches.  That seems like a huge tolerance to me.

If you read the SAAMI .22 Long Rifle chamber specs, the dimensioning there is the same for the chamber’s rim cavity on a sporting versus a match chamber.  The chamber rim cavity can range from 0.043 to 0.051 inches.  It would seem that a max thickness rim in a minimum length chamber would have line-to-line contact between the bolt face and the back of the cartridge.  Any cartridge case that is less than 0.043 inches thick, or any chamber with the rim cavity longer than 0.043 inches, would allow clearance between the bolt face and the rear of the cartridge.  Thicker rimmed cartridges would have minimal room to move around in the chamber, and should be more accurate.

The rim thickness versus accuracy hypothesis sounds like it could make sense.  Differing rim thicknesses will influence headspace (.22 Long Rifle ammo headspaces on the rim), and that could influence accuracy.  Also, as Kevin pointed out, rim thickness will affect firing pin strike on the cartridge case, so if the thicknesses are identical, the firing pin strike should be the same (and that should result in improved accuracy).  It all sounds good, anyway.

I used Kevin’s dial indicator and measured rim thickness until I got tired of doing so (it took 62 cartridges for me to get there).  I found four different rim thicknesses:  0.038, 0.039, 0.040, and 0.041 inches.  I could see that the rim thicknesses were normally distributed with the cartridges sorted on my desk, but I thought it would be cool to prepare a bar chart and make that finding a bit more clear.
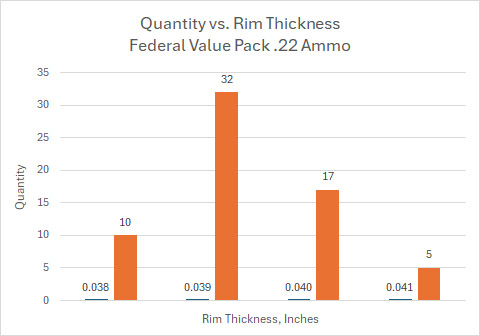
A rim thickness histogram. The rim thicknesses are normally distributed.

All the cartridge rim thicknesses I measured were within the SAAMI specification, but the SAAMI specification is liberal.

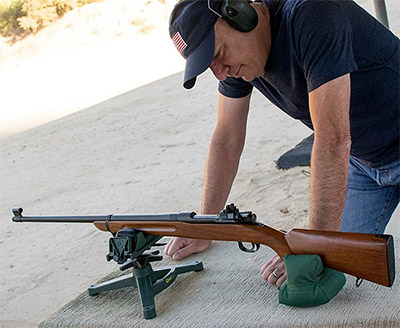
I headed to the West End Gun Club the next day with my most accurate .22 rifle, a beautiful CZ 452 Varmint model with a 14X Mueller scope.
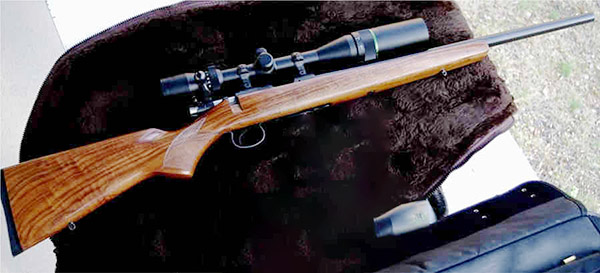
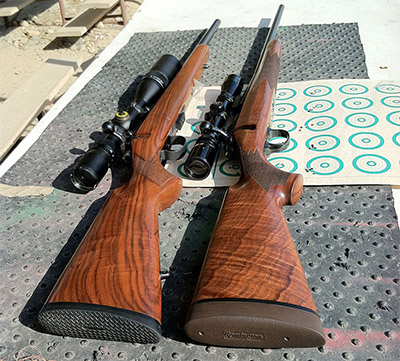
My CZ 452. I saw this photo on a forum and wrote to the owner asking if he’d consider selling the rifle. The answer was no. But a year later he contacted me to ask if I still wanted to buy it. With wood like that, my answer was “Hell, yeah…”

The plan was to shoot five-shot groups at 50 yards off the bench using the rim-thickness sorted Federal El Cheapo ammo.  Here’s how that turned out:
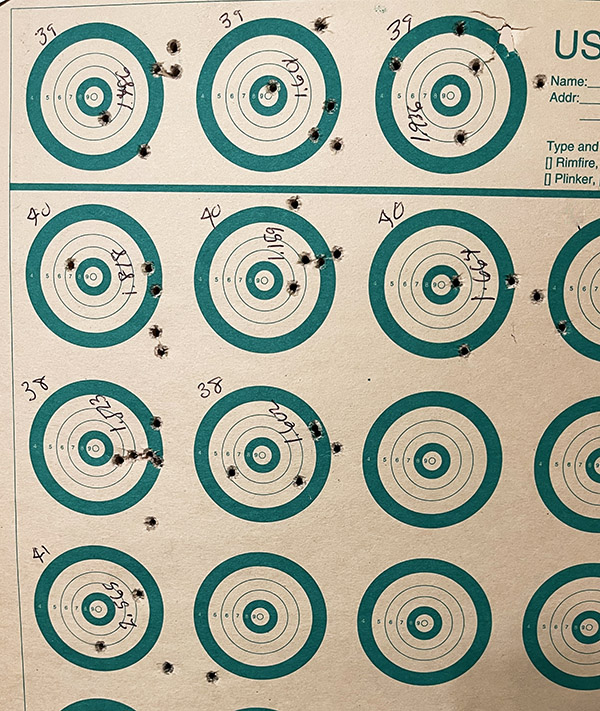
50-yard groups with ammo sorted by rim thickness.

All my shots felt right when the firing pin dropped, so I’m pretty sure that I wasn’t throwing the shots around due to poor technique.  This rifle normally shoots much tighter groups at 50 yards with standard velocity ammo.   The intent here was to see if I could get it to shoot better with cheap ammunition sorted by rim thickness.

Here’s how it all shook out:

Results show that for Federal Value Pack ammo, sorting by rim thickness does not improve accuracy. Note the average velocity figures; they are all well below Federal’s claimed 1260 feet per second value. All group size data in inches; all velocity data in feet per second.

My take on the above data is:

      • All the rim thicknesses I measured were well within the liberal SAAMI specification tolerance band.
      • Not surprisingly, rim thickness is normally distributed (something I’ve found to be true for most manufacturing processes).
      • Rim thickness, at least with my inexpensive Federal Value Pack ammo, has no effect on accuracy.  Well, almost no effect; that last group with 0.041-inch rims jumped in size.  But it was only one group.  I looked for more 0.041-inch-thick rounds to test this again and I couldn’t find any.
      • Rim thickness, at least with my inexpensive Federal Value Pack ammo, has no effect on average velocity.
      • Rim thickness, at least with my inexpensive Federal Value Pack ammo, probably has no effect on velocity variation.  Although the table above shows differences, it’s likely those differences would disappear if the sample sizes were larger.

Sorting by rim thickness is an interesting hypothesis, but my limited testing to assess the hypothesis shows it’s not worth the effort (at least with Federal Value Pack ammo).  I have Remington and Aquila target ammo, and I’m going to measure rim thickness on those two brands in the next day or so to see if the rim thickness variability is lower.   I’ll fire that sorted ammo through the CZ to see if the rim thickness hypothesis holds up with better ammo.   It’s another good excuse to get out to the range (not that I ever need an excuse).

Stay tuned, my friends.


Never miss an ExNotes blog:


Don’t forget: Visit our advertisers!


The Rimfire Series: Winchester Model 62

By Joe Berk

The gun that has been in my family the longest is a Model 62 Winchester chambered in .22 Short, Long, and Long Rifle.  I remember it being in the gun cabinet when I was a little boy and being told never to play with it (you can guess how well I listened to that advice).

I could go into a bunch of technical details about the Model 62, and I’ll provide a little bit of that below, but that’s not my intent with this article.  I decided to instead focus on the rifle, how it shoots and handles, a little bit of its history, and what it means to me.

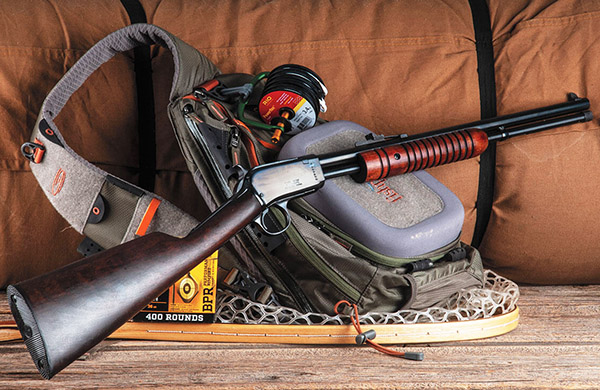
The starboard side of my Winchester Model 62 rifle. It’s a sleek and lightweight .pump-action 22.
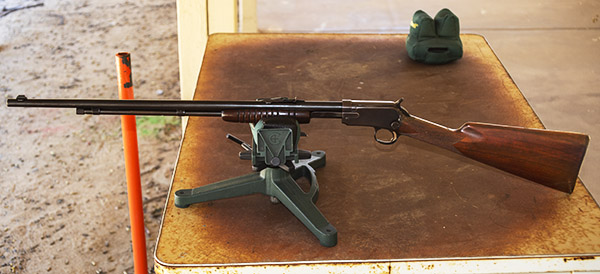
A port side view of the Model 62 on the range at the West End Gun Club.

When Dad had the rifle up until the time I went into the Army (and that would be in 1973), the rifle’s metalwork was flawless.  Then I disappeared from the scene for about 10 years (the Army, work, and other things).  I guess during that time my father stopped paying attention to the rifle.  Dad passed in 1982, and when I came home for the funeral, the metal parts had taken on the patina you see here.  New Jersey is a unforgiving and humid place; if you don’t keep your toys oiled, they corrode quickly.  But the Model 62 still looks good and it shoots well.

Shooting in RAW (the camera, that is), a macro lens, and even lighting bring out the inherent beauty of this fine old rifle.

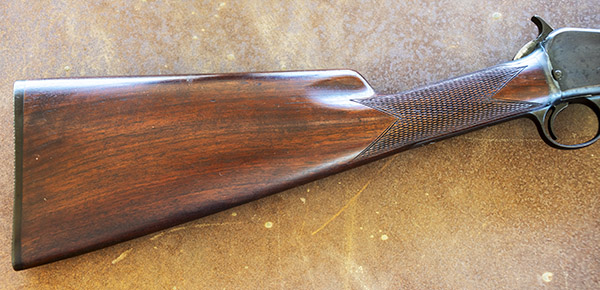
I like the Model 62 Winchester’s straight grip stock.  It felt right to me when I was a kid and it influenced my future preferences in firearms.  I have more than a few rifles with that same straight grip stock now…a Winchester 1886 .45 70 clone made by Chiappa in Italy, several Ruger No. 3 rifles, and a few Marlin lever guns.

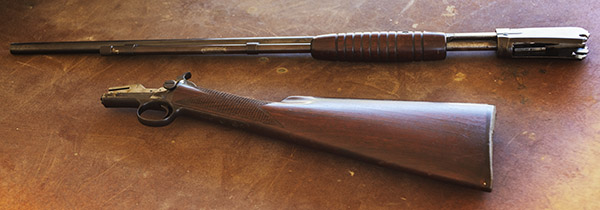
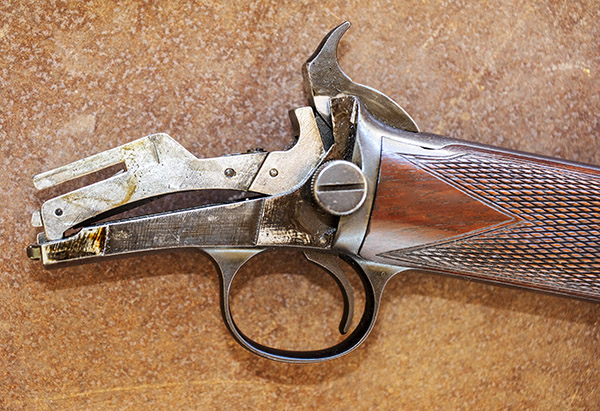
The Model 62 is what we call a “takedown” rifle.  A single thumb screw secures the stock and trigger group to the rest of the gun.  It’s a cool approach.

The Model 62 taken down. The stock and the trigger group detach from the barreled action with a single thumbscrew on the left side of the receiver.
I rotated the photo 90 degrees clockwise to provide a better look at the rifle after take down.
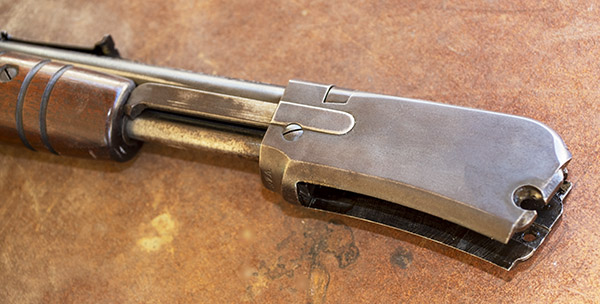
A macro view of the aft portion of the Model 62 after it has been taken down. The large thumbscrew in the center of this photo allows disassembly.
The Model 62’s barreled action after take down.

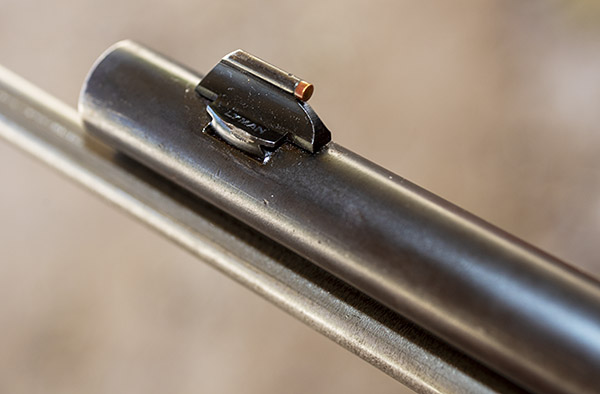
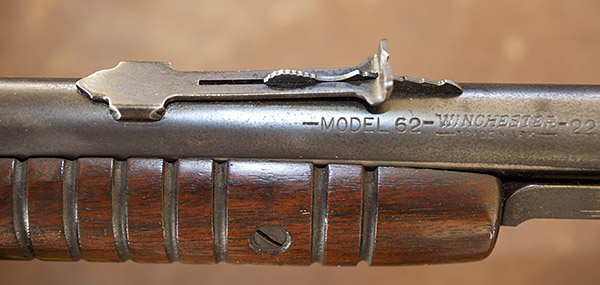
The sights on the Model 62 are old school.  They’re Lyman front and rear.  Nothing fancy, but they work well.  A simple gold bead up front, and a drift adjustable rear with a stepped ramp for adjusting elevation.  But I’ve never had to adjust them.   Either they came zeroed from the factory, or the guy who owned the rifle before Dad adjusted the sights, or Dad adjusted them.

Winchester used Lyman sights front and rear back in the 1930s. This front sight has a brass bead. It tarnished enough so that it looks black when I align the sights, and that works for me. Bright brass beads reflect light and pull the shots to one side.
The Model 62 rear sight. Simple, elegant, and traditional.

I think my Nikon 810 and the Sigma 50mm 2.8 macro lens do a good job in bringing out the rifle’s vintage beauty.  You can see it in the next few photos.

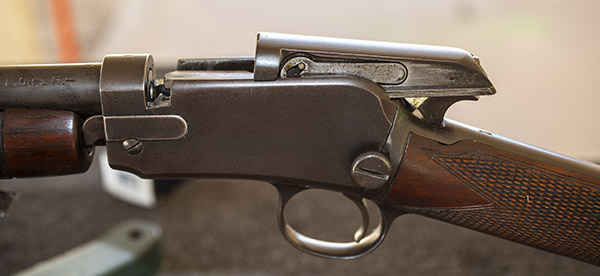
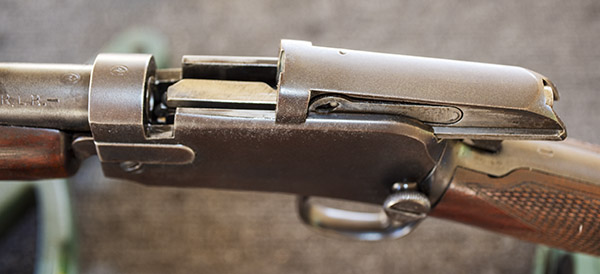
The Model 62’s bolt lifts up and slides to the rear when the pump is actuated. The spent brass ejects upward.
Another shot of the retracted bolt, showing the mechanism that ejects the spent brass case.
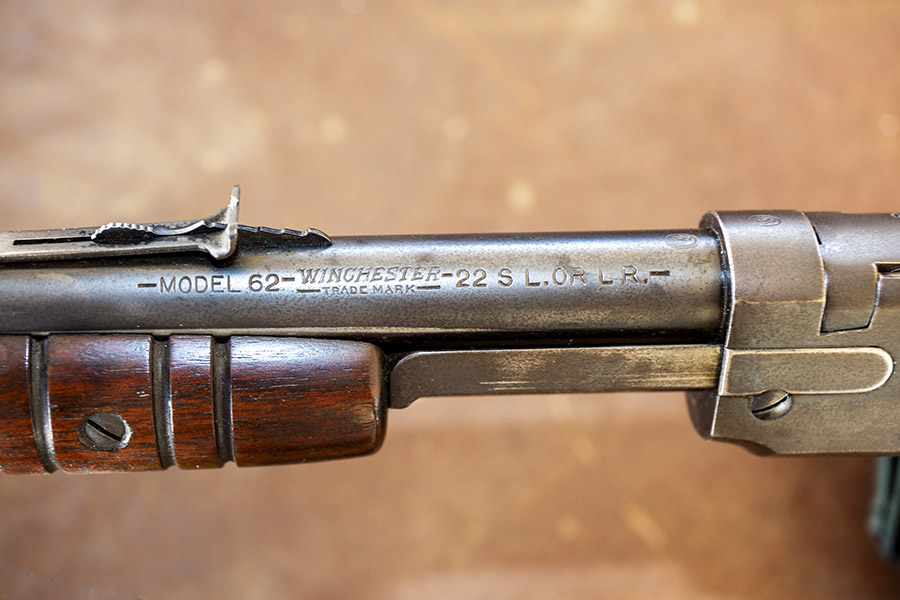
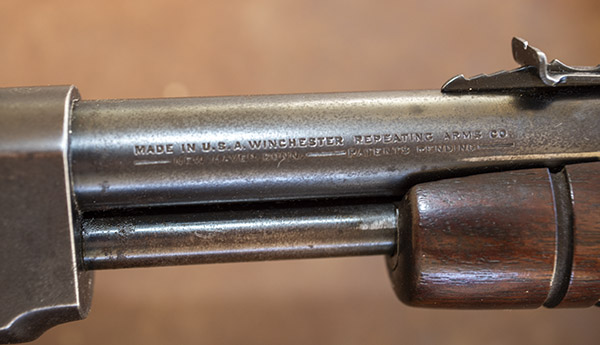
Rollmarks on the right side of the barrel: “Made in U.S.A. Winchester Repeating Arms Co. New Haven, Conn. Patents Pending.” Cool stuff.
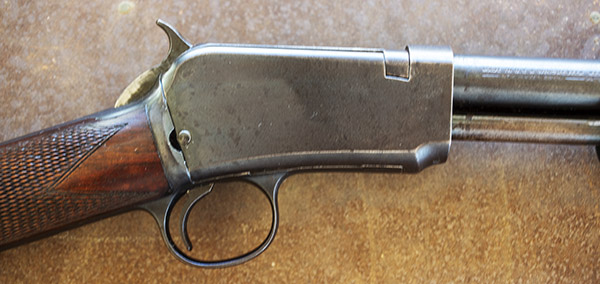
The receiver from the left side. Patina, they call it. I could have it reblued, but then it wouldn’t be original, and like they say, it’s only original once.
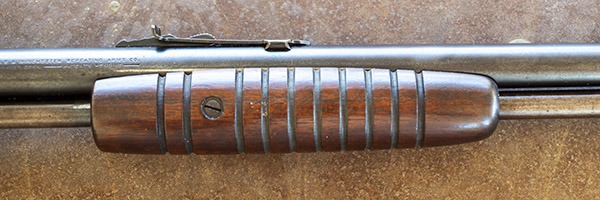
The pump action forearm with its distinctive pre-war oval shape. Post-war forearms were straight. This one is much classier.

When I was a kid and my parents weren’t home, I sometimes snuck out of the house with the Model 62 and a box of .22 ammo.  We had a couple of acres in New Jersey that ran into the woods with a stream behind the house (the stream fed Farrington Lake, which emptied into Raritan Bay on the Atlantic Ocean).   You might think having a couple of acres in central Jersey with property bordered by a stream was a sign of wealth, but it wasn’t.  It’s what people did in the 1950s: You bought a couple of acres and built a house, and that’s what my Dad did.  He didn’t pay somebody else to build a house; he actually built our house.  Today you’d have to be rich to own those two acres.  Back then it was the path you took if you didn’t have money.

Those were good days and good times.   One time a kid from my junior high came home with me (Bob Dixon, if you’re reading this, drop us a line).  Mom and Dad weren’t home yet, so Bob and I grabbed the Model 62 and headed into the woods.  There was an old cellar door laying in the mud next to the stream and Bob thought it would be a good idea to flip it over.  “You know, there might be a snake or something under there…”

A New Jersey water snake. This one was about five feet long. We used to think these were water moccasins.

We did, and what we saw shocked the hell out of both of us: A monstrous, scaly, and scary reptile.  Being kids, we were convinced it was a water moccasin.  Today, I realize it was probably a water snake.  But it was huge and we did the only thing any kid would have done in similar circumstances, and that was to put the Model 62 to good use.  Call me Bwana.  (On a recent trip back to New Jersey’s Farrington Lake, I saw another one of those frighteningly large snakes and I wrote about it here.)

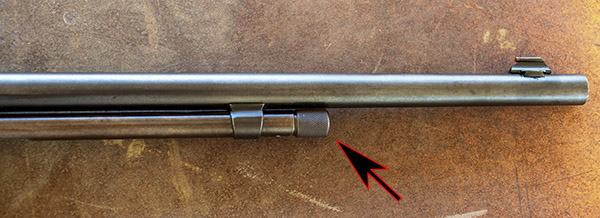
Loading the Model 62 is pretty straightforward.  The rifle has a tubular magazine that holds a ton of ammo.  As you see from the rollmarks above, it will shoot .22 Long Rifle, .22 Long, and .22 Short.  I don’t know how many rounds of each it will hold, but it is a lot.  I only load five rounds at a time, so it’s kind of a moot point to me.  Come to think of it, I can’t remember the last time I saw .22 Long or .22 Short ammo anywhere.  It’s all .22 Long Rifle these days.

The tubular magazine below the barrel. The arrow points to the knurled knob that opens the magazine.
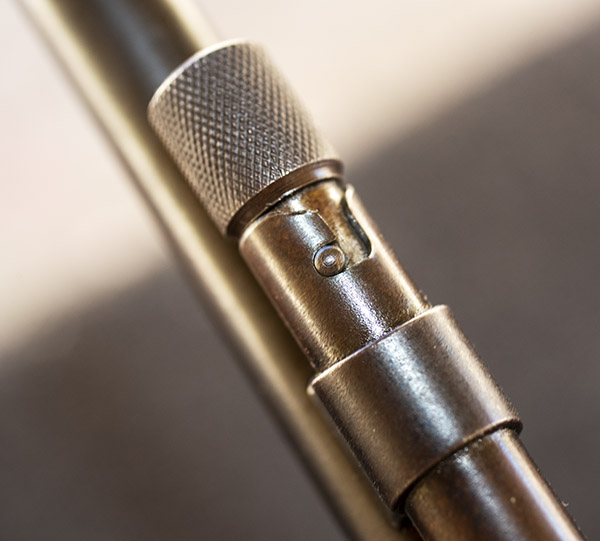
A macro shot of the tubular magazine’s knurled knob and its bayonet lock. Twist the knob and the plunger can be pulled forward for loading.
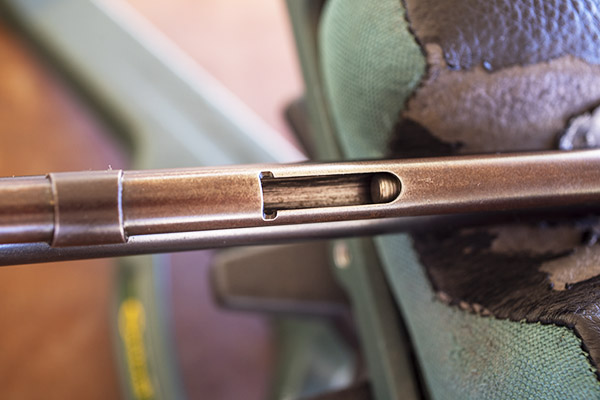
When the magazine’s inner plunger is pulled forward, the loading port can receive ammo.
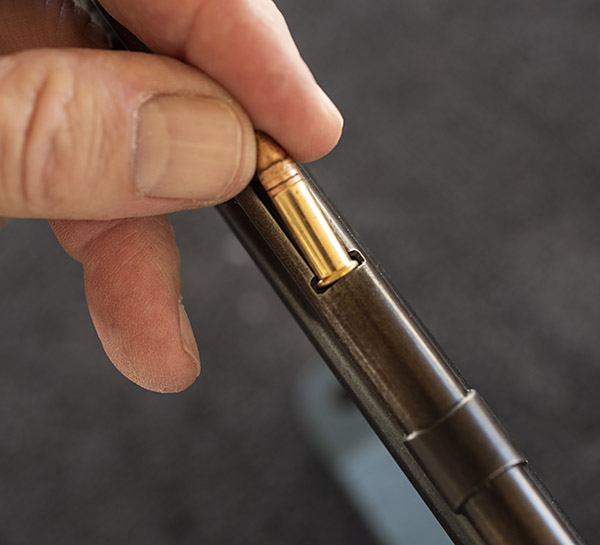
A Federal .22 Long Rifle being loaded into the Model 62.

So how accurate is this nearly 80-year-old pump action .22?  I’m glad you asked.  I had not shot it in three or four years, so I grabbed three different kinds of .22 ammunition I had in my ammo locker:  Older Federal copper washed high velocity ammo, CCI standard velocity ammo good buddy Greg gave me a few years ago, and Aguila standard velocity target ammo I bought from a local sporting goods chain when it was on sale.

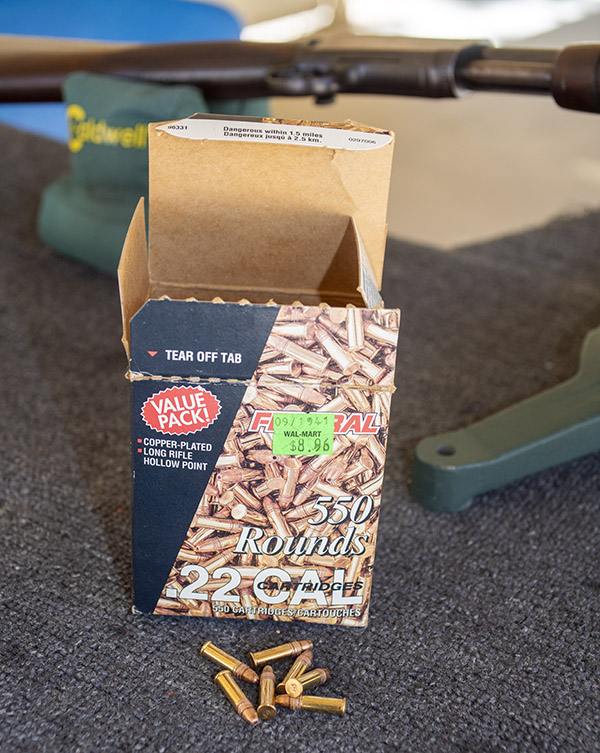
I’m just about to the end of this box of .22 Long Rifle Federal ammo. Look at the price!
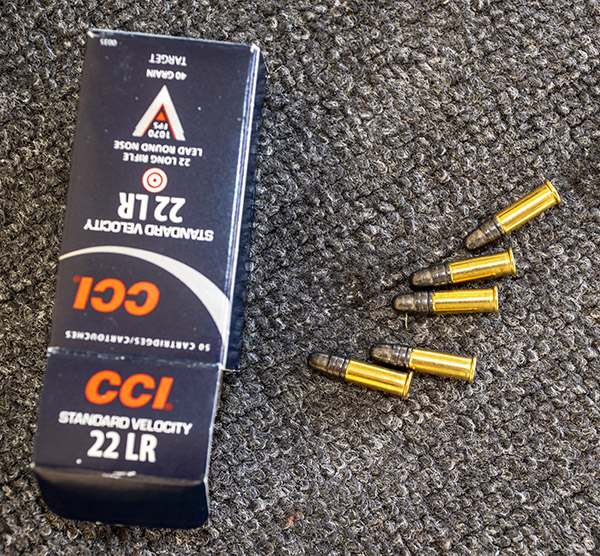
The accuracy load: CCI standard velocity .22 Long Rifle ammo. This is good stuff.
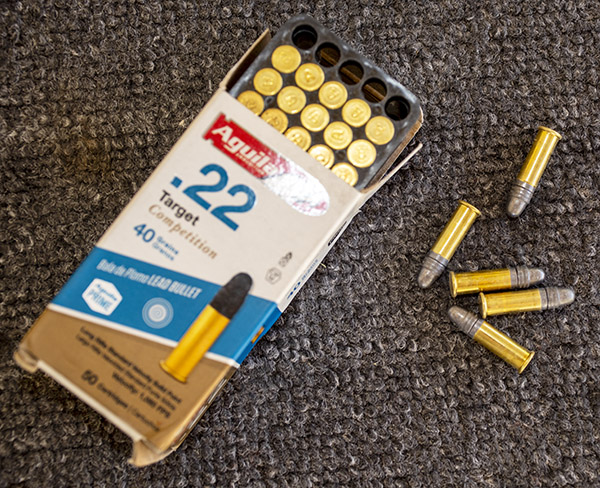
Aguila .22 Long Rifle target loads. Previous testing at 50 yards showed this worked best in my Ruger 10/22 (a Rimfire Series blog on that rifle will follow in the near future).

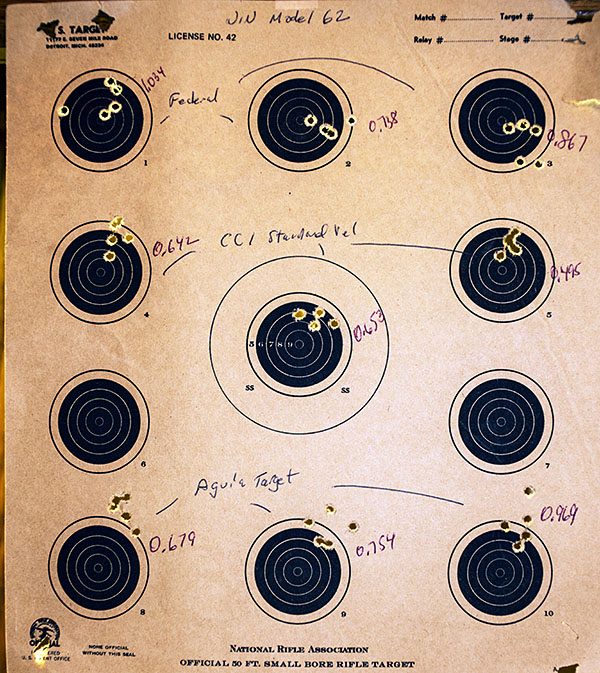
My U-boat Subie and I braved the Meyers Canyon water crossing to get to the West End Gun Club, I went to the .22 range and set up a table, and I tested the Model 62’s accuracy at 50 feet from a bench rest.  I fired three 5-shot groups at an old 50-foot rimfire target I found in my stash.   Here’s how it went:

Test results at 50 feet. The top right target was the first target of the day, and it was predicably the largest group (the bore was unfouled, and I was not yet in form). The Model 62 did best with CCI standard velocity ammo. This is not too shabby with open sights on an 85-year-old rifle.

A bit more info on the Model 62 Winchester:  This Model 62 carries the serial number 94XXX, which puts its date of manufacture at 1939.  My father bought the rifle when he was a kid; he would have been 13 years old in 1939.  Winchester manufactured 409,000 Model 62 rifles from 1932 to 1958, with a two-year break during World War II.   In 1939, production switched over to the Model 62A.  The Model 62A incorporated engineering changes to reduce production cost (mine is the original Model 62, not the 62A).  When Winchester introduced the Model 62 in 1932, the rifle’s suggested retail price was $17.85.  Presumably, the price had climbed a bit by 1939.  Family lore has it that Dad paid $8 for the rifle.  Sales of recently completed auctions on Gunbroker.com show the price for a Model 62 today ranges from $300 to $3000.   That’s quite a spread, but to me it’s irrelevant.  This rifle is not for sale at any price; one day it will go to one of my grandsons.

Model 62 Winchesters show up for sale on Gunbroker.com pretty much all the time, so if you want one they are available.  More good news is that the Model 62 is legal here in the Peoples Republik of Kalifornia.

The Rossi Model 62.

More good news is that Rossi, a Brazilian firearms manufacturer, offered their Model 62 (a fairly faithful reproduction of the Winchester Model 62) from 1970 to 1998 and the Rossi rifles can still be found.   Rossi discontinued the Model 62 when they were acquired by Taurus, but the Rossi rifles still show up on the auction site gunboards. Sometimes you see one in a pawnshop or a gunstore’s used gun rack. I’ve never handled or fired the Rossi so I can’t say anything about them, but if I came across one at a reasonable price I would jump on it.  You might consider doing the same.


Never miss an ExNotes blog:

Check out our other Tales of the Gun Rimfire Series articles here.

The Rimfire Series: An Early Ruger Single-Six

By Joe Berk

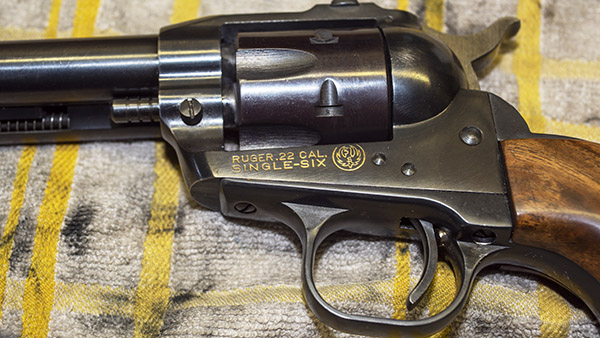
If you like old guns and family heirlooms, you’ll enjoy this blog.  The Ruger Single-Six you see here was my Dad’s gun.  This revolver’s 4-digit, no-prefix serial number puts its date of manufacture at 1954, which means it is just a little bit younger than me.  Ruger introduced the Single-Six in 1953 and they only made 49 of these revolvers that year, so mine is a first year of production revolver.  That’s cool.

Dad kept the Single-Six loaded in a drawer near his bed.  I don’t remember him ever shooting it.  He kept it there just in case.  Storing any gun in a holster is not a good idea (the leather retains moisture) and it had a light coating of surface rust in a few spots when Dad passed.  A bit of 0000 steel wool and oil took the rust off and the gun is in remarkable condition.


Don’t forget to take care of us:  Please click on the popup ads!


You probably noticed the custom walnut grips on this vintage Ruger.  Dad was an excellent stockmaker (his work was on high end shotguns), but the stocks on his personal trap guns were usually kluged-up affairs with adhesive padding on the comb and glued-on spacers to get the fit he wanted.  Dad didn’t care about appearance on his competition guns; all he wanted was a good fit so he could smoke clay pigeons.  The work he did on his friends’ shotguns…that was another story.  Those were stunning.  Those other guys weren’t great shots; they cared more about looks.  Dad was all about breaking pigeons on his guns, bringing home trophies, and bringing home cash (the monetary awards, especially for live pigeon shoots, were significant).   We always had walnut blanks and remnants in Dad’s workshop, and one day when he didn’t have anything else to do he crafted the custom grips you see here.  The wood-to-metal fit and the oil finish is perfect on these.

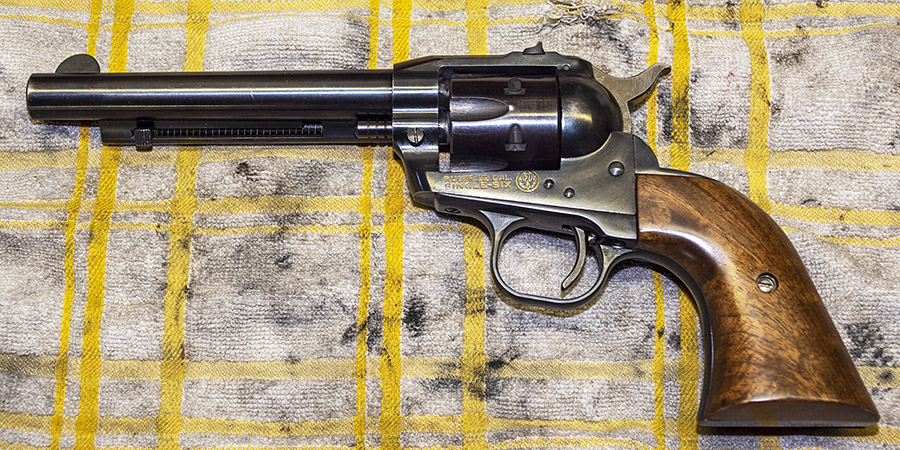
The right side of my 1954 Ruger Single-Six.
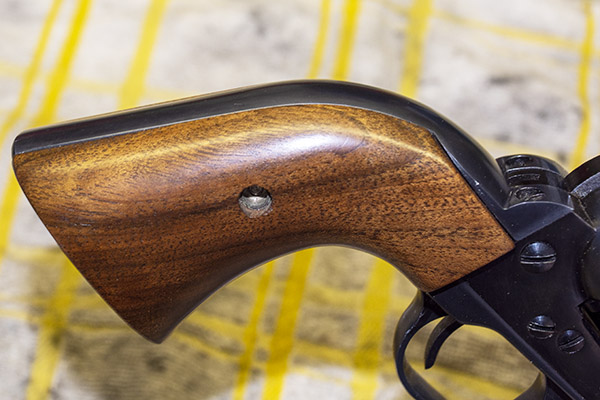
A perfect wood-to-metal finish. They don’t come from Ruger like this.

I wish new Rugers had grips that looked and fit like that.  They don’t.  You may recall the blog I did last year about a new Ruger .357 Magnum Blackhawk.  It’s grip-to-frame fit was atrocious.

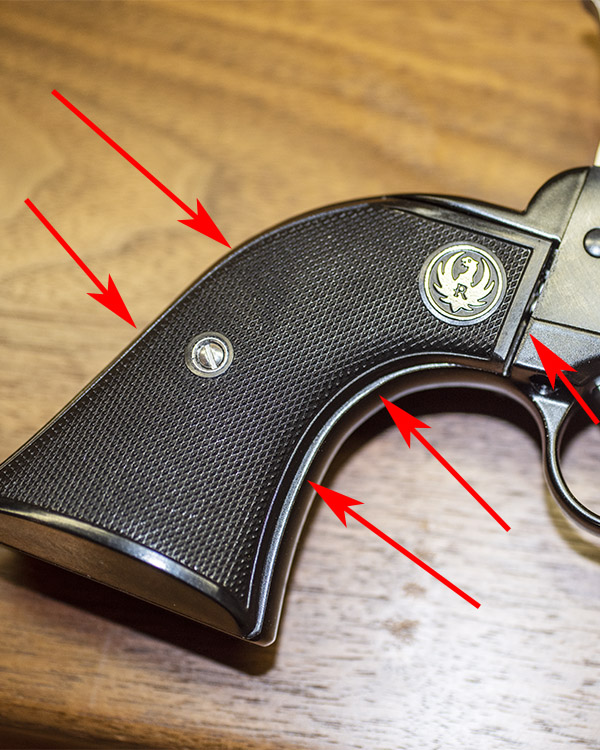
A current production Ruger Blackhawk. Somewhere along the line, Ruger lost its attention to detail. These ugly gaps can’t be unseen.

As an original Single-Six, this Ruger is what is referred to as an Old Model.  It doesn’t have the transfer bar safety, and what that means is that if you drop it with the hammer over a loaded chamber, it can fire.  Call me old fashioned; I’ve got my own safety approach to this problem:  Don’t drop the gun.   But that’s just me.

The Old Model Ruger revolvers are elegant.  They are also referred to as three screw Rugers (because they have three screws on the right side; the newer model has two pins instead).  The hammer cocking in the Old Model Rugers is similar to a Colt Single Action Army.  There are four clocks, and that’s cool, too (especially for old guys like me).

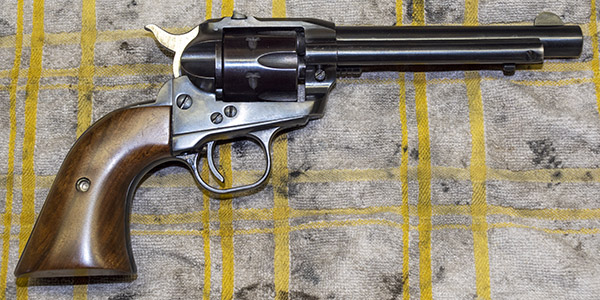
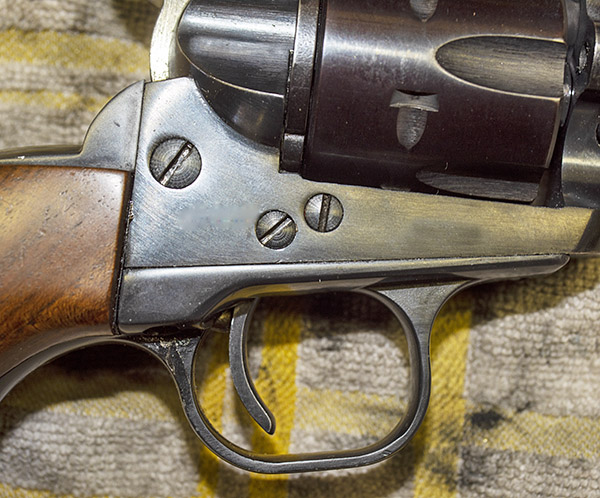
The old three-screw configuration.

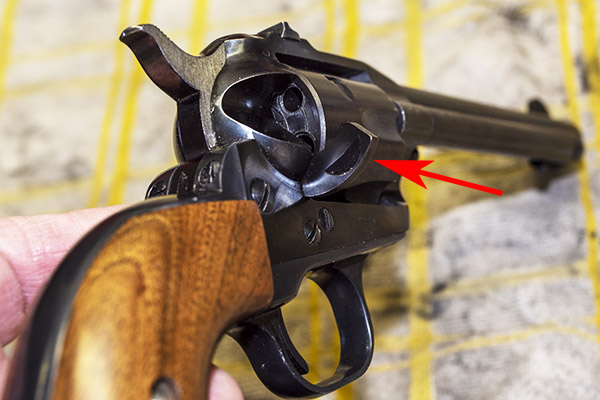
These old Ruger six shooters are also called flat gates because of the flat gate that opens for loading.  The flat gate feature that didn’t stay on Rugers long.  Ruger went to a contoured loading gate early in their history.  It’s just something that sets this revolver apart.

The flat gate on my Ruger Single-Six.
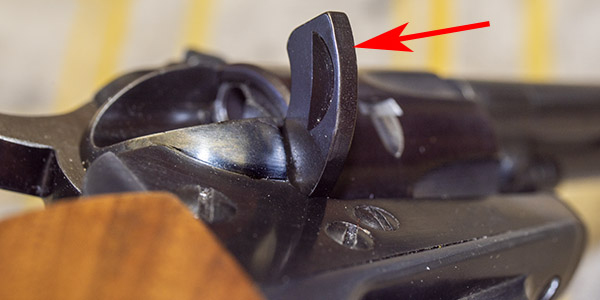
A better view of the Ruger’s flat loading gate.

The early Rugers had recessed chambers.  I haven’t owned a new Single-Six in decades and I don’t remember if the newer ones do or not.  It’s a classy feature.

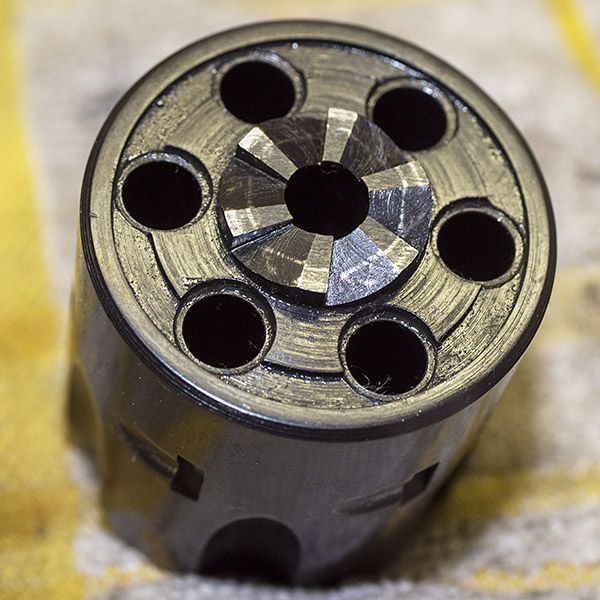
Recessed chambers. Back in the day, everything was better.  I know it’s dirty; I took this photo after the range session and before I cleaned it.

You probably noticed the gold inlay in this Ruger’s lettering.  Back in the day, kits to do this at home were popular.  I guess it holds up well; this was done quite a few years ago.  You can still get these gold inlay kits from MidwayUSA.com.

Look for the Forster gold inlay kit on Midwayusa.com.
Fixed sights and gold inlay. These old guns are awesome.

I grabbed an old box of .22 Long Rifle ammo and headed to the range a few days ago.

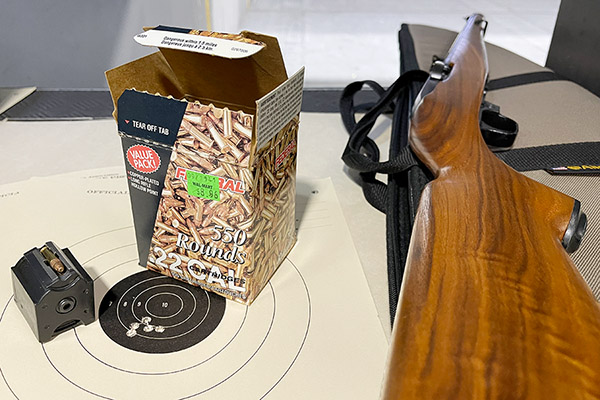
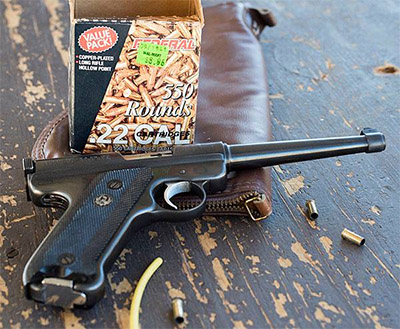
$8.96 for 550 rounds. We didn’t know how good we had it.
Federal hollow point ammo. You can’t have these in New Jersey or San Francisco (they outlawed hollow point ammo). Sarcasm alert: That’s why their crime rates are so low.
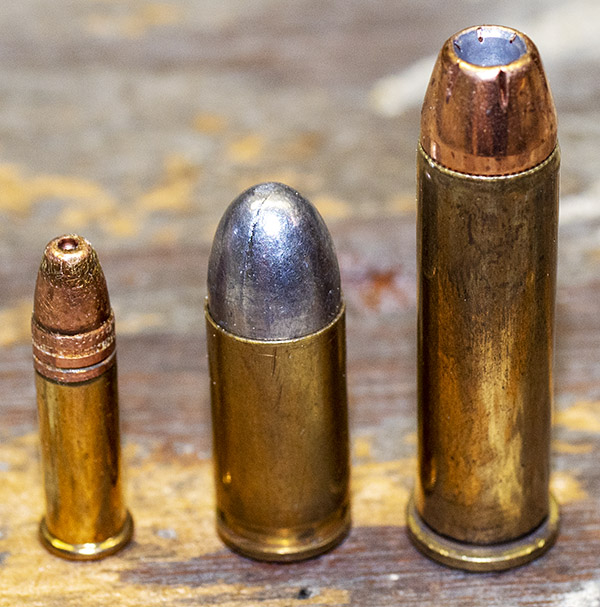
An ammo comparison. From left to right, it’s the Federal .22 Long Rifle hollow points featured in this article, one of my 9mm reloads, and a .357 Magnum hollowpoint.

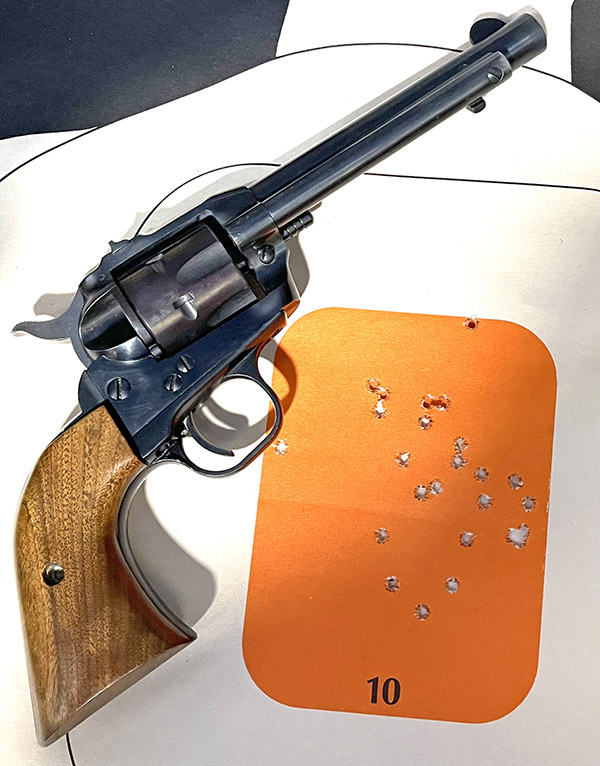
I ran my targets out to 50 feet at my indoor range and had at it, shooting off hand with a two-hand hold.  As always, the Single-Six did not disappoint.  It has fixed sights, but they are spot on.

I held at 6:00 on the orange bullseye. If I had used a rest, the group would have been much smaller.  For an offhand group, I’m happy.

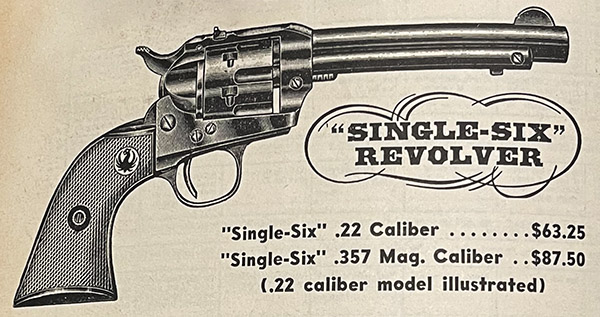
When first introduced in 1953, the cost of the Single-Six was $57.50.  I grabbed this photo from my old 1956 edition of the Stoeger Shooter’s Bible.  The Single-Six had gone up to $63.25 by 1956.

They don’t do covers like this today: The 1956 Shooter’s Bible.
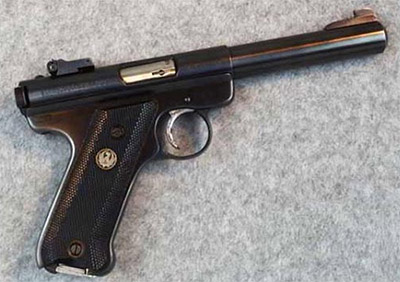
The ad for Ruger’s Single-Six in 1956. Ruger’s Standard .22 automatic pistol was only $37.50 back then.  The Single-Six was a more expensive handgun.

If you enjoyed this Rimfire Series story, keep an eye on us.  Our next Rimfire Series story will be on a very cool Ruger 10/22 Mannlicher rifle from 1974, one with exceptional walnut.

The same ammo and an old Mannlicher 10/22. Watch ExNotes for the story. It will be the next featured in our Rimfire Series.

If you want to make sure you don’t miss the upcoming 10/22 story, please subscribe to the ExNotes blog:

If you would like to see our earlier blogs on .22 rifles and handguns, here’s a set of links.

A Tale of Two .22s (a CZ Model 452 and a Remington Model 504)

A .22 Colt Trooper Mk III

¡Siluetas Metálicas!

First Person Shooter

A 200th Year Ruger .22

A Tale of Two Springfields

The Rimfire Series: A .22 Colt Trooper Mk III
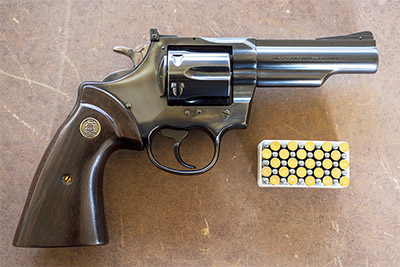
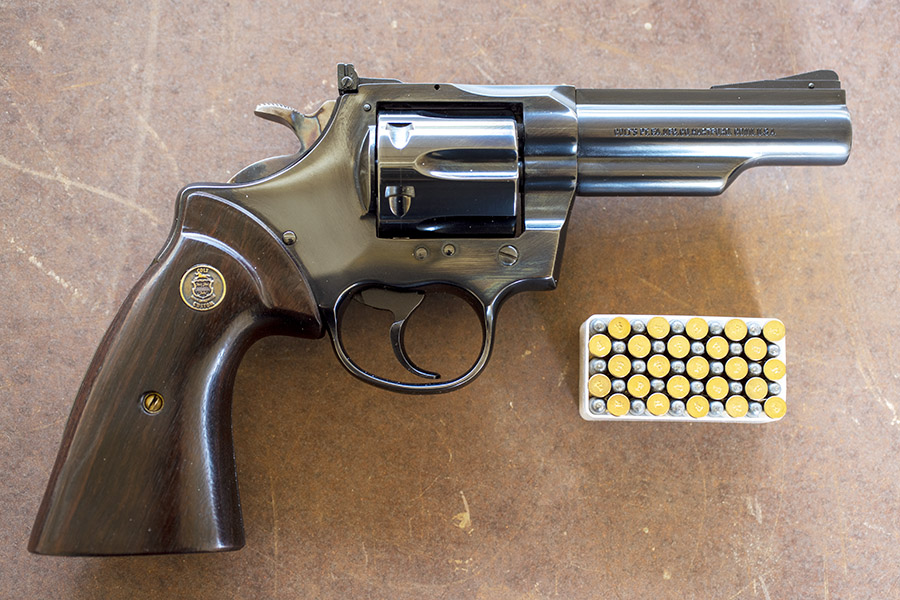
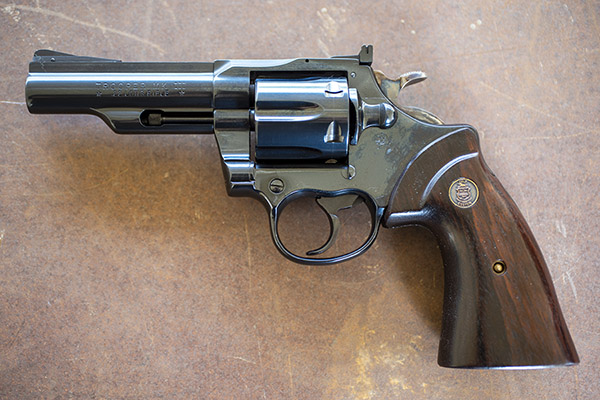
Take a look at this:  A Colt Trooper Mk III chambered in .22 Long Rifle, an interesting and extremely accurate revolver.  I picked it up maybe 30 years ago in a local gun store.  The revolver was in their display case on the lower shelf and I almost didn’t see it.  I wasn’t in the market, but when I saw the Trooper it grabbed my attention.  It was marked $225, I offered $200, the guy on the other side of the counter said okay, and the Trooper was mine.

Deep bluing, crisp lockwork, and color case hardening on the hammer. It makes for a good-looking revolver. This one wears custom handgrips.

I didn’t realize it at the time, but the little Trooper is a phenomenally accurate handgun, maybe one of the most accurate I’ve ever shot.   It groups as well as a Model 41 Smith and Wesson, a target handgun with maybe twice the sight radius.

The Trooper is based on a Colt that was originally a .38 Special, then it was chambered for the .357 Magnum, then it was redesigned as the Trooper Mk III, and then it was offered in .22.  That was a thing back in the ’60s and ’70s, you know, offering full-sized revolvers but in .22, and it was a good thing.   These are awesome target guns, relatively inexpensive to shoot, and just plain fun.  And heavy.  The Trooper kept the same external envelope (i.e., the exterior dimensions) as the far-more-powerful .357 Magnum Trooper, and that means there’s a lot more steel in the barrel and the cylinder.

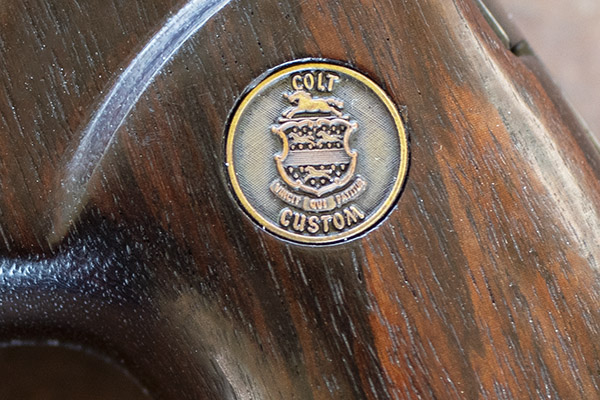
I bought my Trooper used, but it is in as new condition.  It came with the original lighter colored (and checkered) walnut grips, but I saw the grips you see the revolver wearing in these photos about 15 years ago and I had to have them.  The smooth grips look good and the medallions imply the gun went throught the Colt Custom Shop (it did not), but truth be told, the original grips offer a better hold and they fit the revolver better.

The grips say Colt Custom, but my Trooper was a regular production gun. The build standards were way higher back in the day.

One of these days I’ll get around to hogging out the interior of the custom grips and fitting them to the Trooper with AcraGlas, but that’s a project for the future.  Or, I may put the original grips back on the gun (they’re around here somewhere).

The Troopers were available with a 4-inch barrel (like mine), a 6-inch barrel, or an 8-inch barrel, and they could be had with a high polish blue (like mine), a high-polish nickel, or a brushed nickel finish.  If I knew then what I know now I would have purchased a matching blue steel Trooper Mk III in .357 Magnum.  They were around $200 back in the day, and like my .22, the .357 would have been a sound investment.  These guns go for five to eight times that amount today.  You could argue that they make for a good investment, but that implies flipping the gun to realize the profit, and that’s not going to happen.  I’ll keep this one forever.

You know, it’s hard to find new guns built to these same standards as regular service guns were 30 or more years ago.  When I look at the deep bluing on my Trooper, that’s pretty obvious.  The new Colt Python is one that rivals the Trooper for build quality, but it’s the exception.


Join our Milsurp Target Shooting group!


Click on the popup ads and help us keep the lights on!

Never miss an ExNotes blog!


Need targets?  Order them the way we do and have them delivered to your door!


Check out our Tales of the Gun page!

A tale of four 1911s…

My good buddy Paul, whom you’ve already read about on the ExNotes blog, is a retired aerospace engineer who has way more talent than me in the gun-tinkering arena.  During one of our shooting expeditions, Paul brought along an interesting 1911…a .45 that he had re-barreled to shoot 9mm.   There’s not a simple proposition, but hey, Paul’s good at this stuff and his 9mm conversion shot well.   Then, a few months ago, we had a discussion about the merits of the .38 Super cartridge.  That’s a round similar to the 9mm, but the case is longer, allowing for more propellant.  The result?  The .38 Super’s velocity is substantially higher than a 9mm (the .38 Super is roughly equivalent to a .357 Magnum).

Well, one thing led to another, I guess, and I received an interesting photo and email from Paul a few days ago…

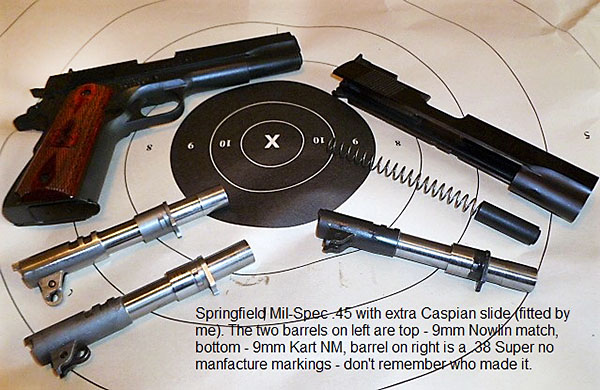
A four-fer, so to speak….a 1911 that can shoot .45 ACP, .38 Super, 9mm, and .22 Long Rifle.

Joe:

I started this project about 5 or 6 years ago. My intent originally was to buy a stainless steel Springfield 1911 9mm target pistol. At the time they were very scarce and wait time was close to a year at an inflated price. I then decided to purchase a mil spec .45 and buy a Caspian 9mm slide, barrel and slide components to convert the .45 to 9mm. I said to myself that if I was going this far with the project that I would buy a .38 Super barrel and have a pistol that will convert into a .45, 9mm, and .38 Super. I did the Caspian slide and 9mm Nowlin barrel fitting first, a few months after I originally purchased the pistol.

I shot the pistol in 9mm conversion at Joe’s range a few years back and it performed very well. The .38 Super conversion was put on hold until now. I purchased a new oversized bushing and three different barrel links to get the correct lockup, which arrived from Brownell’s a few days ago. I recontoured the barrel and fit the bushing to barrel, and then to the slide. This took 3+ hours to do with a 0.0005″ to 0.001″ tolerance fit on all surfaces. Link and lockup fitting were next.

When I fit the link to the barrel, a job that I thought would take 10 minutes, it actually took 1.5 hours.  That barrel must have been a budget-manufactured barrel because the workmanship was poor in the link recess and not deep enough to allow the link to fully seat. I’m glad I have a milling machine. The lockup is now solid and everything cycles as it should.

I think it’s ready to test fire but first I have to reload some ammo for it. I’m going to do a Cerrosafe casting of the bore to see what the diameter is. The spec for the bullet diameter for the .38 Super is 0.356-inch and the 9mm it is 0.355-inch. I have some Berry’s plated bullets that are 0.356 but I’m not sure if they are 115 or 124 grains. I want to use 124 to 130 grain bullets. I do have a fair amount of 124 gr semi-wadcutter cast bullets that I did many years ago for my Colt 9mm target bullet experiment but I never sized or lubed them (looks like I’ll be bringing out the bullet sizer/luber). Not too sure that this style of bullet will cycle, but it’s worth a try.

I also purchased a .22 LR conversion kit for this pistol about four years ago, which I have also previously shot. So, now this 1911 Springfield Mil Spec will shoot .45 ACP, 9mm Luger, .38 Super, and .22 LR when it’s finally finished…how neat is that!

Paul

That’s awesome, Paul…and thanks for taking the time to explain your approach and for the photo.  It’s a cool handgun and having that kind of versatility is a slick concept.  I think it has to be especially satisfying knowing that you built it yourself.


We’ve found that folks who ride are frequently into guns, and vice versa (like good buddy Paul).  It’s why we include interesting Tales of the Gun stories on the ExNotes blog.  Want to see more?