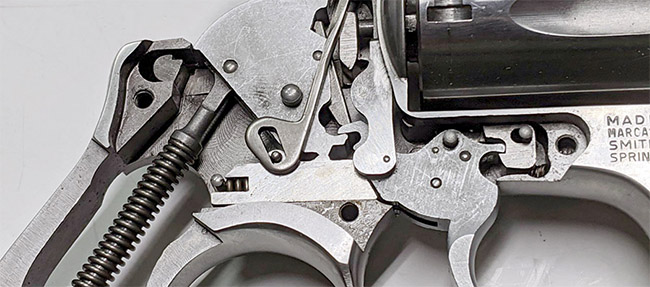
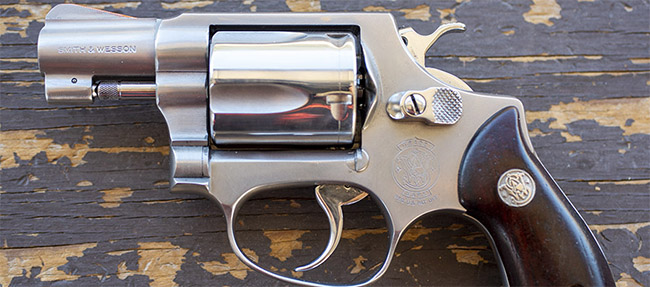
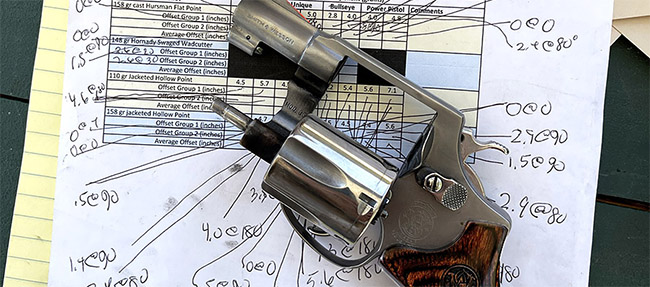
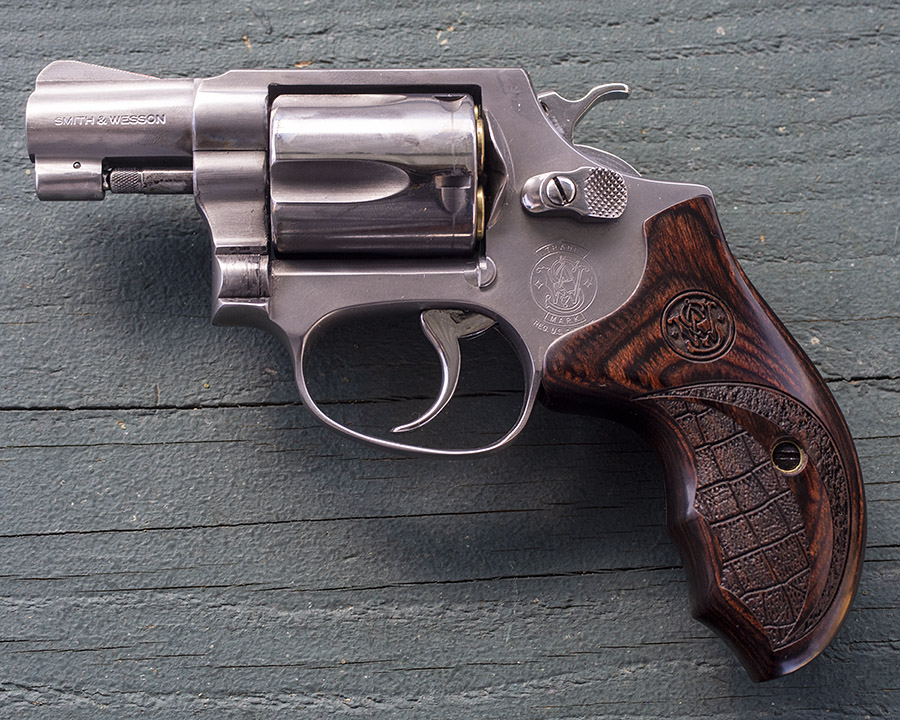
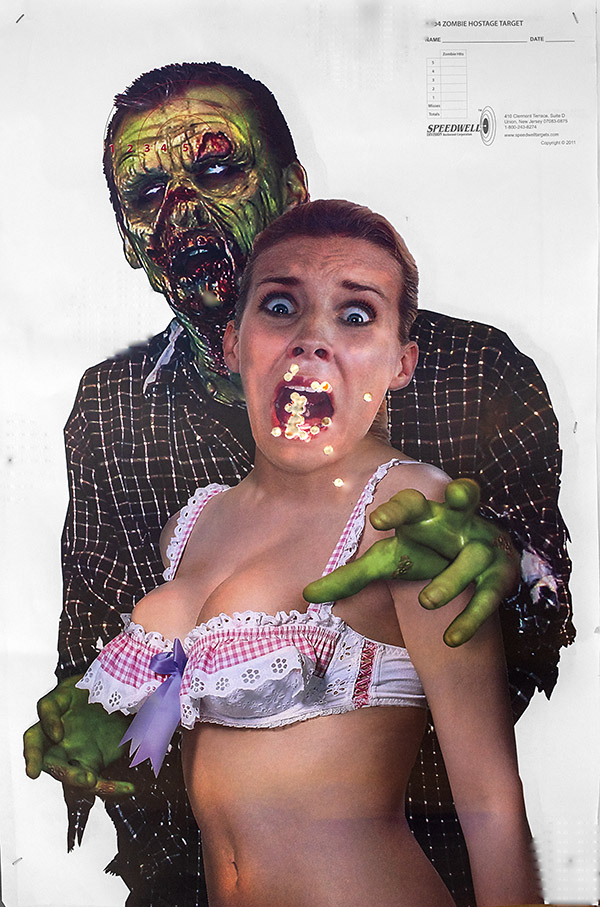
That’s a Model 60 Smith and Wesson snubbie you see in the big photo above, and Betty and Boris you see in the photo below. You’ve read about the Model 60 before here on the ExhaustNotes blog. One thing about the Model 60 I wasn’t excited about is that it had a tendency to misfire occasionally when firing double action (it always fired single action, but when shooting double action, I would get one or two misfires in every box of ammo).
When shooting double action, the hammer fall is a little less than it is when firing single action, and that little bit of energy loss makes a dfference in ignition reliability. I tried replacing the hammer spring on the Model 60 (thinking the spring had fatigued like it did on my Rock Island Compact), but I still had the double action misfiring problem. Hmmm. It was time for a bit of online research.
I’ve read that there are differences in primer manufacturers that can make a difference in ignition sensitivity, with CCI primers being the hardest to light and Federal being the easiest. These days, it’s a stroke of good fortune to find any kind of primers. I have CCI primers (with components, halitosis is better than no breath at all). I had tried Winchester primers in the Model 60 in the past and they had the same propensity to occasionally double action misfire.
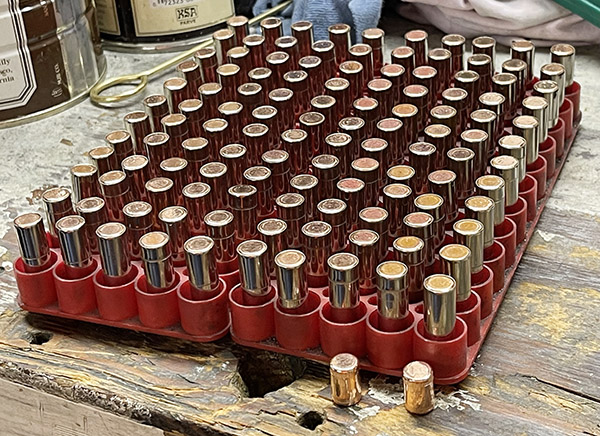
My research tumbled me onto something I kind of already knew but more or less forgot: Primer seating makes a difference. It’s typically not an issue for most guns, but on those with little hammers (like the Model 60 snubnose), it matters more. From what I read, you can’t just seat your primers to a consistent depth and call it good. There’s variability in the primer height and there’s variability in the primer hole depth. There’s also variability induced by the carbon residue from the last shot if you’re reloading fired cases. The conventional wisdom is that you need to have the primer anvil in firm contact with the bottom of the primer cavity, maybe even with a little bit of crush on the primer cup material. A little bit of primer crush affects primer output less (i.e., it’s better, or so I’ve read), than not having the primer fully seated. If a primer is not fully seated, the first strike may or may not light the primer. If the primer is not seated, a lot of the hammer’s energy is consumed finishing the primer seating operation. After the primer gets seated the rest of the way by the firing pin, the hammer may not have enough energy left to ignite the primer. It all makes sense to me.
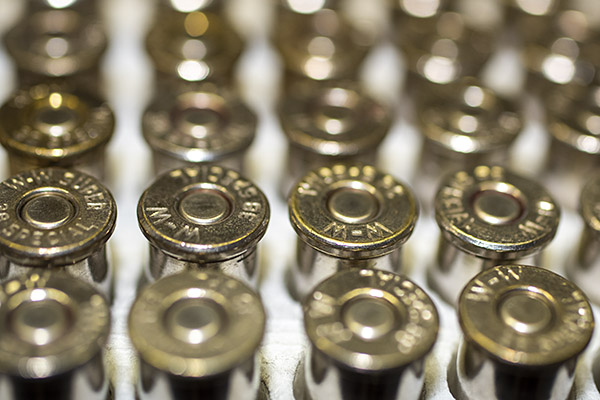
The more I thought about the above, the more I convinced myself the Model 60’s occasional misfires were a primer seating issue. The reason I think that’s what I had going on is because when I had a misfire, the cartridge that misfired always fired on the second strike. That’s consistent with the primer-not-fully-seated hypothesis. If it was just a matter of insufficient firing pin energy, the primer wouldn’t fire on the second strike, either. The issue is more pronounced on a little snubby like the Model 60 because it has such a tiny hammer and hammer spring. There’s not a lot of energy there like there is on a Colt Python or a Ruger Blackhawk (those handguns have much bigger hammers and hammer springs).
I loaded a box of 38 Special ammo on my Star reloader (I love that machine) and examined the primer seating depth. They were below flush with the rear of the cartridge, but not by much. I can fix that, I knew. The Star has an adjustment for primer seating depth, as explained in the photos below.
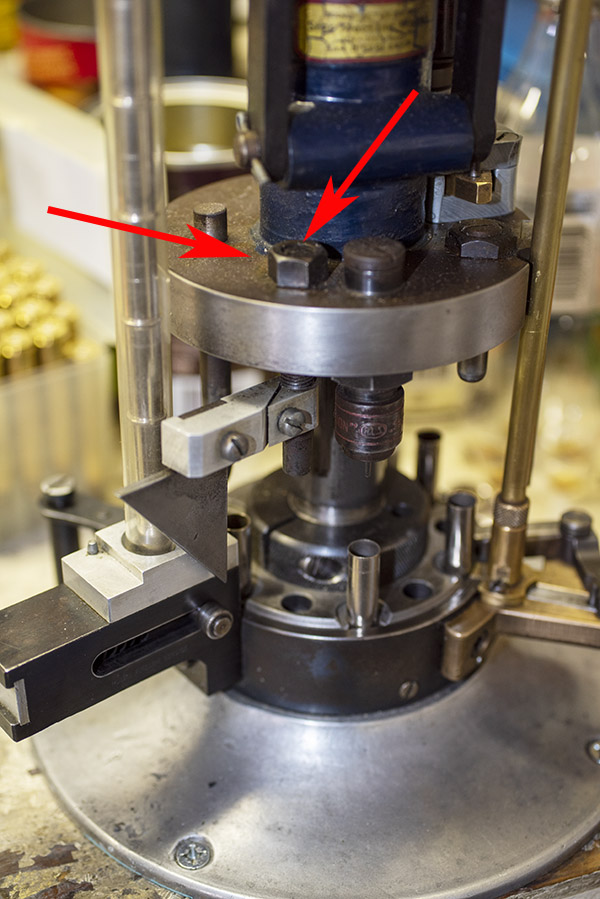
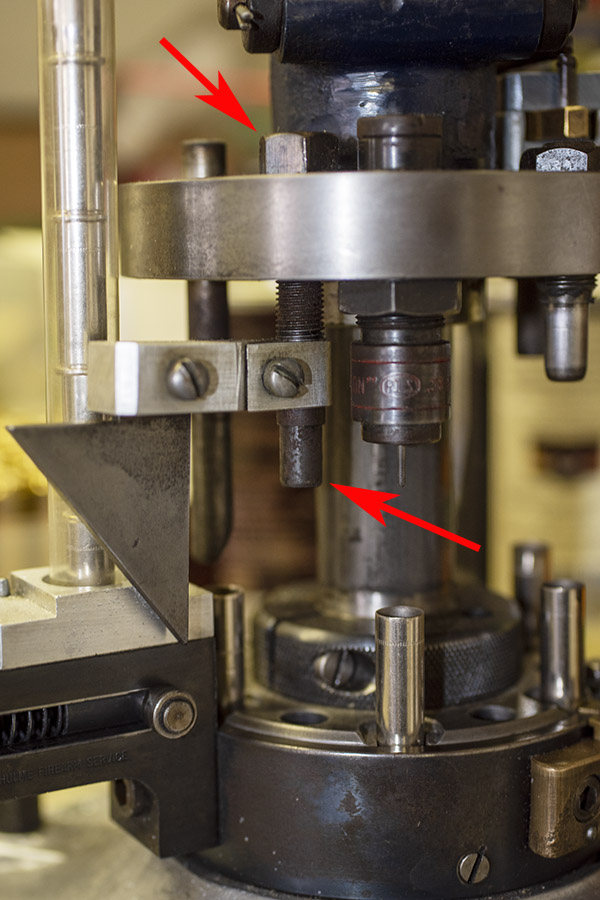
After adjusting the Star to seat the primers deeper, I loaded another box of .38 Special wadcutter ammo. You can guess where this story is going. I double action fired a box of ammo I loaded before I made the adjustment, and I had two misfires. That’s about how the Model 60 has always performed. Then I shot the second 50 cartridges using ammo that I reloaded after making the primer seating depth adjustment, and every round fired. There were zero misfires. My Model 60 double action misfire issue was primer seating. What do you know. Live and learn.
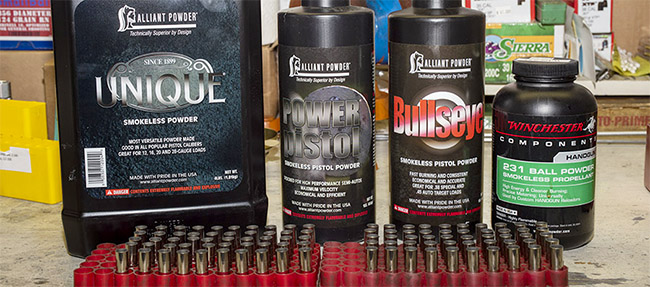
All this is interesting, but I usually don’t shoot wadcutter ammo loaded on the Star in the Model 60. My Star reloader is configured to load the classic .38 Special target load: 2.7 grains of Bullseye and a 148 grain wadcutter bullet. The powder weight is not adjustable without buying a new powder throw bar for the Star, and I don’t want to do that. The Star will remain dedicated to .38 Special wadcutter ammo.
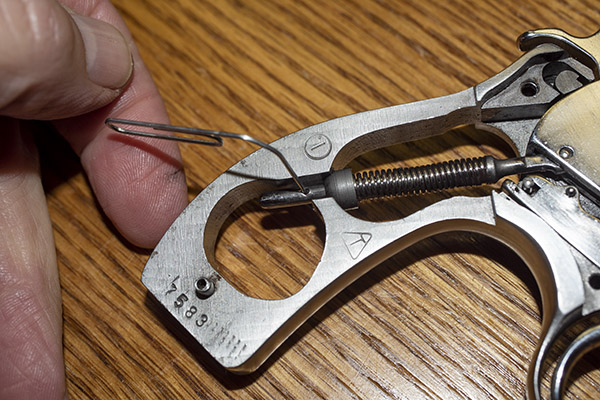
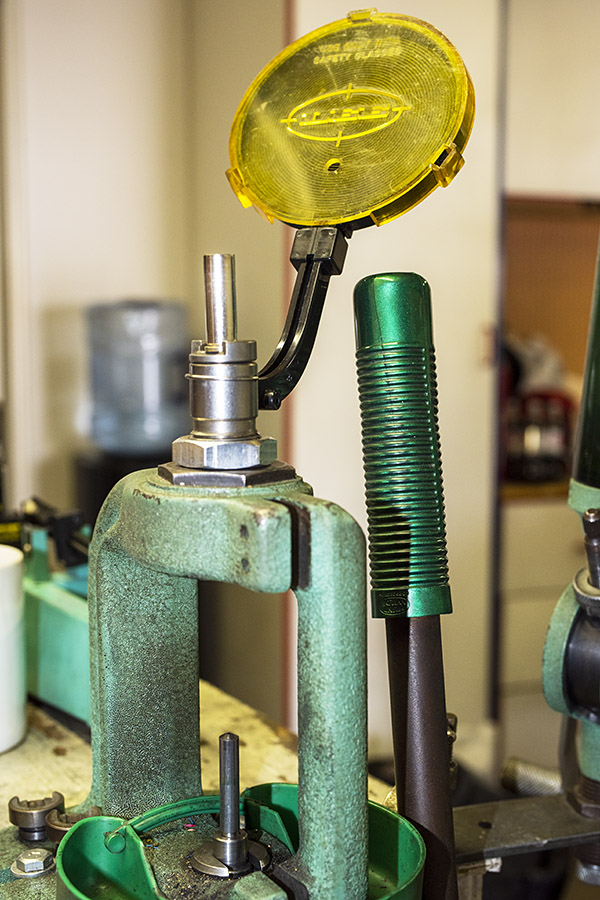
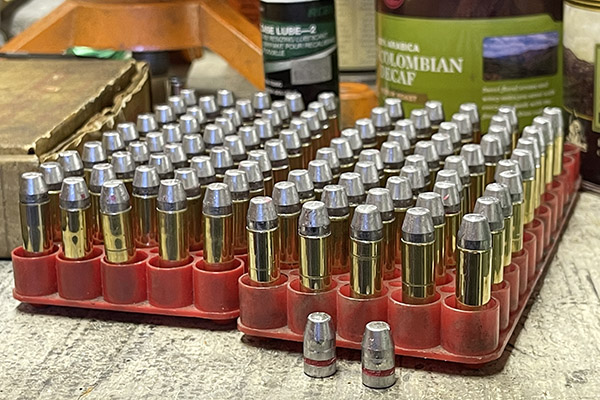
For the Model 60, I found that a good accuracy load (and a heavier load better suited for defensive purposes) is 3.5 grains of WW 231 propellant and a 158 grain cast flatpoint (also known as a truncated cone) bullet. That combination shoots to point of aim at 50 feet in the Model 60. I reload that ammo on my single stage RCBS Rockchucker press. For primer seating on the Rockchucker, I use an old Lee priming tool (they called it the AutoPrime II) I’ve had for 40 years (it’s shown in the photo below). Unfortunately, Lee no longer offers this system and they don’t have anything that offers both automatic primer feeding and primer seating on the press upstroke. That’s a pity, because it’s a good approach and allows for much more positive primer seating.
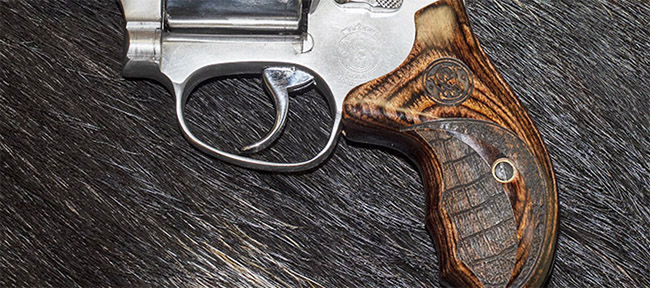
A couple of final notes…when doing this kind of testing, I always make sure the revolver is clean and properly lubricated. My preference is BreakFree cleaner and lubricant. It does a stellar job. And if you’re wondering about the grips on the Model 60, they from Altamont. Those grips turn the Model 60 into a more manageable and less punishing handgun. I like them.
You know, one of the things I enjoy with this reloading hobby is just how much there is to learn. I’ve been reloading for about 50 years now, and I’m still learning (and sometimes relearning) new things. When you roll your own, you’re in charge and you can tune a load for better accuracy, better reliability, and lower cost. Reloading is a cool hobby, and it’s as much fun as the shooting itself.
Click on our pop up ads!
Never miss an ExNotes blog…sign up for a free subscription:
More gun and reloading stories are here!
More Model 60 articles!
