Fighting Mud With Mud

By Joe Gresh 

ExhaustNotes readers may think I pour a lot of concrete but that’s not really true. I do pour concrete frequently but only a little at a time. My limiting factor is how much total work I can get done in one day. That number dwindles as I grow older. I pour 30 to 40 60-pound bags of 4000 psi concrete on average. Any more and I start to have problems keeping up the finish work and any less is not worth getting the tools dirty. Cleanup takes a lot of time and if you don’t wash everything each time your tools become encrusted with dried concrete. It’s never fun to work with heavy, dirty tools.

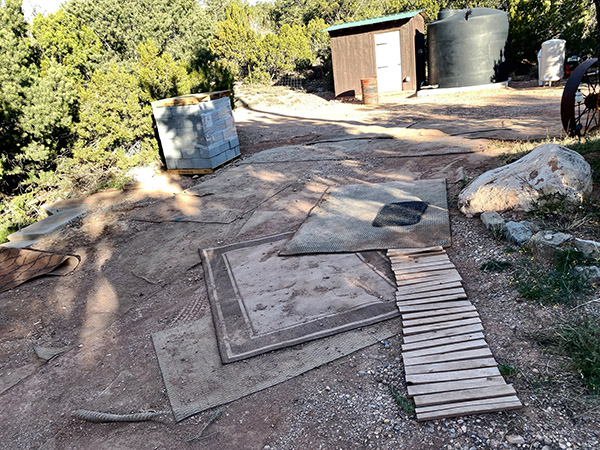
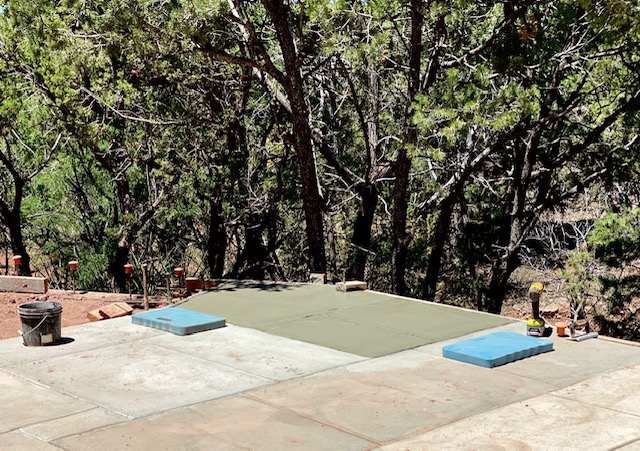
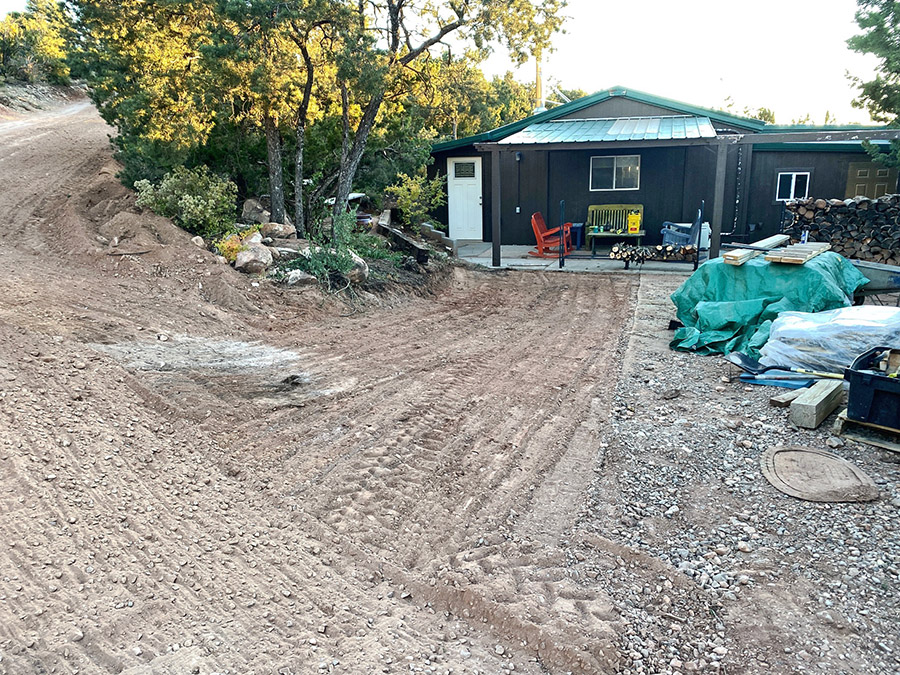
Take my latest project, the driveway in front of the little shack we call The Carriage House.  In an attempt to class up the place I am removing the existing driveway, which consisted of remnants of old rugs thrown over dirt. We acquired the rugs from a Physical Therapy training center. The PT rugs were in great condition and very sturdily constructed. Best of all they were free. The rugs served us well for many years by adding a semi-pervious layer between our feet and the dirt below. Engineered earth is the technical term, I think, for fabric-supported fill.

Of course, old rugs aren’t the most perfect solution for driveways or everyone would be using them. You’d see them in Beverly Hills or New York City, not just in poverty stricken rural areas. After several years the rugs become impregnated with dirt and are impossible to vacuum, much less shampoo. Being semi-pervious you still get mud underneath the rug although you don’t sink in as far as you would if going bare earth.

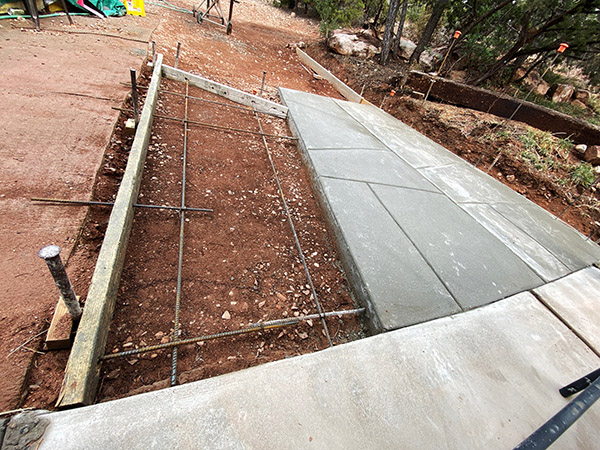
For this driveway I’m using a decorative finishing method called No Need To Square.  No Need To Square means just that: the concrete is formed and finished in a random pattern giving the illusion of being made from many individual pavers. No Need To Square frees the concrete from The Man’s rigid, conformist hierarchy. It allows the finisher to follow the jagged contours found in the crystalline structure of cast Iron like you see in those electron-microscope photographs. The only constant is the slope that steers water runoff towards the drainage ditch running alongside The Carriage House.

Just as a cubist must master fine arts before experimenting with abstract art, the concrete finisher must master the square before leaving it far behind. Unfortunately, I am neither an artist nor a concrete finisher so things can go pear shaped quickly if you don’t mind your grades.

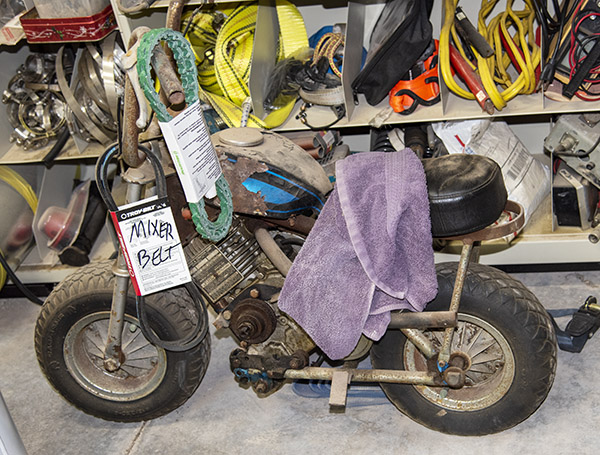
I’ve purchased a new tool for this driveway project: a belt-mounted tie wire spool. Tie wire is used to tie rebar together so that it doesn’t shift position when the concrete pours into the form or clumsy finishers kick it around when striking off. I owned a spool many years ago when I was a construction worker. My old one was more open, like a cage. You could see the wire in the spool, unlike this new one. I don’t know what happened to that old spool.

You’d think as often as I do little concrete pours I would have bought a wire spool sooner and I would have except for the price. The things are like $47 at Home Depot for an off-brand spool. I found a Klein brand spool on Amazon for only a dollar more than the clone version at HD. I’ve seen cheaper, plastic versions and they probably work fine.

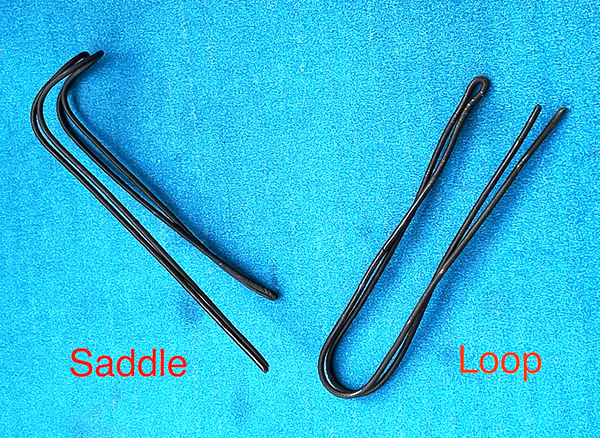
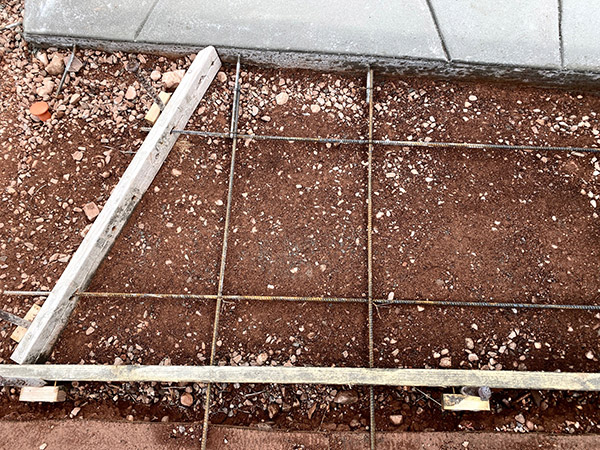
There are basically two types of ties for re-bar: the saddle for tying re-bars that cross at right angles and the plain old loop for tying straight pieces together. I like to make up a bunch of each type before starting to tie. Real iron workers make up saddles and loops as they go so because it’s faster and they don’t have to carry a bunch of little, pre-made bits.  I’m never in a hurry. Sitting in a chair with New Mexico’s warm, winter sun shining down on me gives the pre-tying process a sort of Zen-like quality. Sometimes I fall into a trance and end up making 600 of the things.

If you’ve tied much wire you know how easily an unspooled roll of wire can unwind and get tangled up. Pulling wire from the center results in a pig’s tail that you need to straighten out before using. I always double up my wires, as a single strand is easy to break when twisting the rebar tight. The doubling method uses twice as much wire but it makes for a secure grid of rebar. It’s also easy to get stabbed with tie wire and the spool allows you to wind it back inside for the safety of everyone involved on the project.

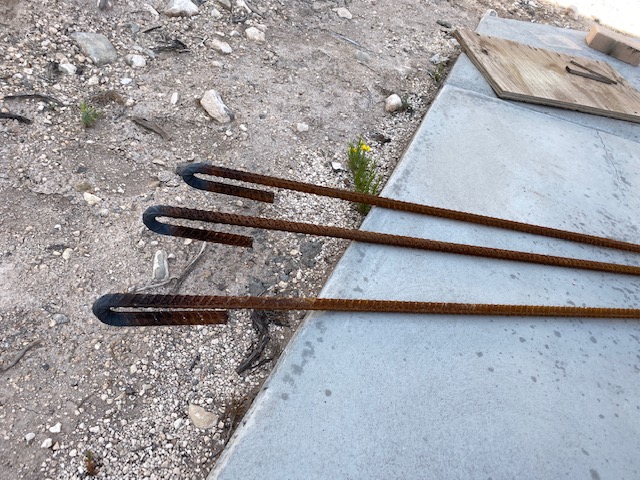
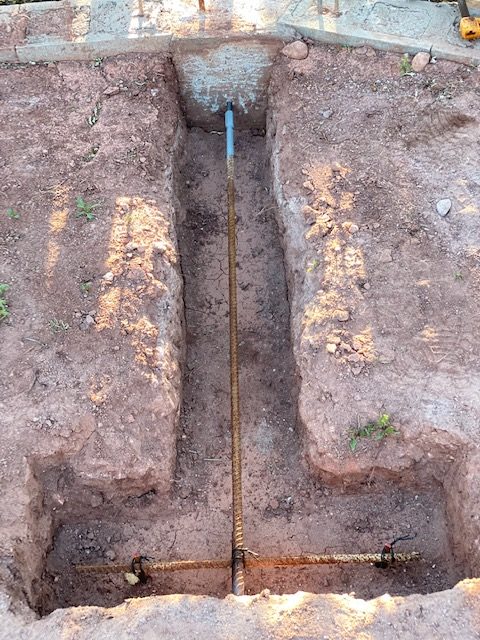
I’m going to tackle the driveway in two parts: the southern and northern wings. I’ll do the southern (higher) side first. That will give CT somewhere to park while I work on the northern (lower) section. I expect to be working on the southern section for a month or so before the weather gets too cold and I take a break and go back to tying up loose ends on motorcycles.


Help us help you:  Please click on the popup links!

Joe Gresh’s Tinfiny Toys

A recent road trip took us to New Mexico, and that meant a stop at Joe Gresh’s Tinfiny Ranch.   The word “ranch” has a nice ring to it, but Joe’s ranch is more of a cool toys repository than a place where cattle range freely (the toys more than make up for the missing cattle…the stories they hold are better than any Bonanza episode).

When walking up the hill from Joe’s home to his shop, you can’t miss his powder blue MGB GT.  The MG came with the property.  At one point Joe was going to get it running again and he started a resurrection blog series on it.  He’s now thinking he may sell it.  I’d like to see him finish this one for a lot of reasons, mostly centered around my belief that any British motor vehicle is inherently cool and there would be interesting blog content accompanying the effort.  Time will tell.   And so will we.

As you can see from the above photo, it was raining a bit when we visited.  The rain gave the MGB a nice look, a hint of what it would be if it was running again with the original paint buffed out.  The MG would be a cool resurrection project.  If you agree, leave a comment here on the blog.  I’m trying to start a “Keep the MG” movement.

Joe has a  bunch of equipment in his Tinfiny Ranch shop, including a sandblast cabinet, a drill press, all manner of hand and power tools, and a lathe.  “You can make anything with a lathe…you can even make another lathe,” Joe once said.   You can read more about that here.

The photo at the top of this blog is Zed, Joe’s original 900cc Kawasaki, and it is the first resurrection story Joe wrote for ExNotes.  In my opinion, this is the coolest bike on the planet.  I especially like the original paint.  The patina is priceless.

Joe had Zed’s carbs off the bike when we visited.  Zed needs Joe, and I think Joe needs Zed.  He’s talked about selling it; I hope he doesn’t.  If you agree, leave a comment here on the blog.  You know the drill.

Joe’s well worn Zed shop manual.

One of Joe’s more famous vintage bikes is Godzilla, a Yamaha 360 he rode on the Trans America Trail.   It’s a delightfully original machine with a lot of stories, a few of which have appeared here on ExNotes.

I wish Yamaha still made these bikes. I always wanted one, but I’ve never ridden one. Someday.

Joe is one of two guys I know with a Kawasaki KLR 250 (the other guy is also named Joe, but it’s not me).   Joe has a few stories about the KLR 250 here on ExNotes.

When I first met Joe on our CSC Motorcycles 5000-mile ride through the American Southwest (with our friends from China and Colombia), Joe told me he would really love to install the 250cc RX3 engine in his KLR 250.   Joe is thinking about selling his KLR.  I get it; I sold my KLR a few years ago.  But I regretted it.   KLRs are great bikes.

I have one of these decals on my motorcycle, too.

Incidentally, if you want to know more about the RX3 and our ride with the Chinese on it through the American Southwest, you might consider picking up a copy of 5000 Miles At 8000 RPM.

Here’s Joe’s mini-bike.   He’s owned this one a long time.

Joe’s famous Husky…with the engine out.  Joe is rebuilding the transmission on this motorcycle.  He’s blogged about it; watch ExNotes for future updates.  I know Joe will have it on the road again.

Joe’s Kawi 1100 hasn’t been started in a decade or two.  He’s thinking about getting it on the road again.  That will make for a bunch of great blogs.

Joe’s most recent acquisition is this stellar Yamaha RD 350.  Joe’s written about it here on ExNotes.

Joe explaining the RD’s merits to Susie.

Joe started the RD 350 for us.  It sounded great.

It was a good visit.  There’s a lot going on at Tinfiny Ranch (living off the grid stuff, concrete stories, tractors, implements, the water wars, vintage motorcycles, and more), and you can read about it here on ExNotes.  Stay tuned, my friends.


Keep us going!  Here’s why you should click on those popup ads!


Become a paid ExNotes writer!


Never miss an ExNotes blog:

Tie Back Action!

Tinfiny Ranch is a steep and rutted place. Located in the foothills of the Sacramento Mountains we get a lot of runoff. When it rains water flows through the joint with alarming speed carrying off soil as fast as I can put it back. After living here only 4 years we lost 18 inches of dirt and the house’s foundation was laid bare. The solution to handling intermittent, mass quantities of water is terracing and concrete. I built a long retaining wall and back filled it with dirt but I wanted a bit more tip resistance than just the extended foundation and concrete slab top would provide. The new grade is much gentler slowing the speed of the water and directing it away from the house.

Enter the tieback. The tieback is a belt and suspenders type of thing. In my case I bent a loop on pieces of 5/8” rebar, ground the ends as round as I could by free hand (If I only had a lathe!) and threaded the bar for 5/8 coupling nuts.

The nuts spin on to the threaded rebar until tight, but seeing as how the threads were kind of ragged on the rebar I decided to give them a lick of weld to ensure the bar won’t pull out of the nut. I used an Oxy-Acetylene welder because it’s the only type of welding I can still see.

After welding the tieback I dug a T-shaped hole for concrete. In this setup the concrete is mostly there to protect the rebar from rusting. Any tipping force on the wall tries to stretch the rebar and pull the cross piece through the dirt.

The rebar connects to a 5/8” threaded rod cast into the poured concrete columns. These poured columns tie each 8-foot section of wall together and have a L-shaped foot protruding on the fill side. The L-foot column is yet another tool to prevent tipping.

Once poured, the tie back is buried and the dirt compacted. About 6-feet long with a 24-inch cross bar, one of these tiebacks anchors each 8-foot section. The idea being the wall would have to move a lot of compacted, dry dirt to fall over.

The wall has 3/8” rebar every few cells of the block sections. This rebar is poured into the foundation of the wall and all the block cells are filled with concrete. The 3/8” rebar stands proud of the final slab elevation.

Capping all this monkey-motion, the protruding 3/8” rebar is bent over below the finished grade of the slab and tied to more steel. Another rebar runs parallel along the wall to emulate a cap. Then the slab is poured making a nice beer drinking or steak grilling patio.

Obviously if you’ve read this far you’ll realize I’m not an engineer so all this may be excessive or futile but to tip the retaining wall you’ll have to lever the foundation L-feet, pull the tie backs through the dirt and drag a 30-foot long by 10-feet wide patio across the ground. It’s not impossible given enough ground saturation but the wall is only 4-feet tall at its highest and I’m hoping the slab keeps the dirt beneath dry.

If this wall fails I’ll just leave it for fill and start another wall a few feet away from the wreckage. It’s been a fun project and I plan to extend the retaining wall another 30 feet after this year’s monsoon season is over.