The 9mm 1911 Resurrection

By Joe Berk

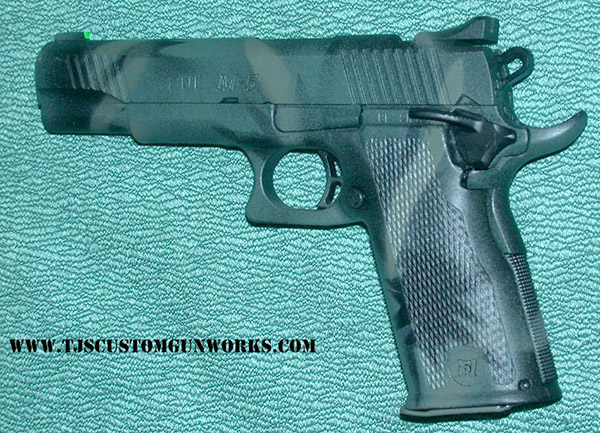
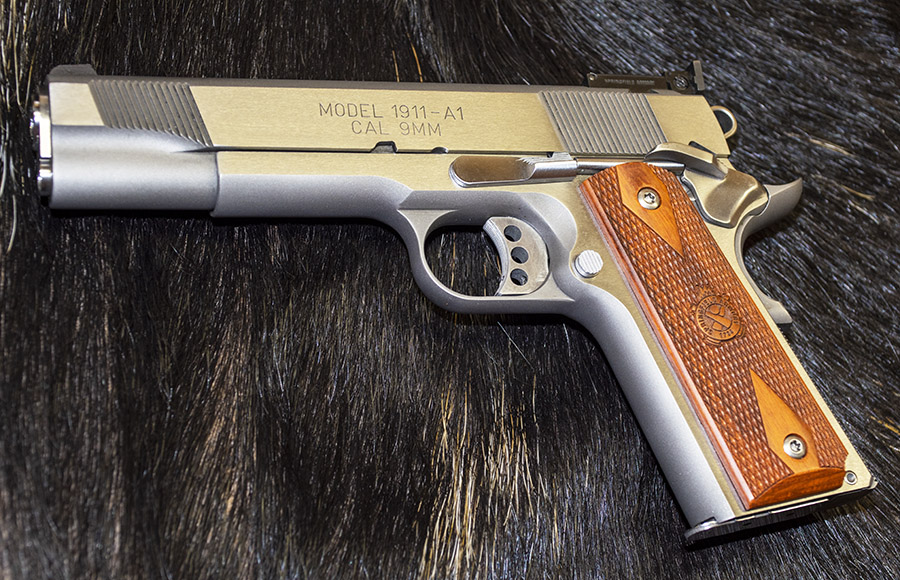
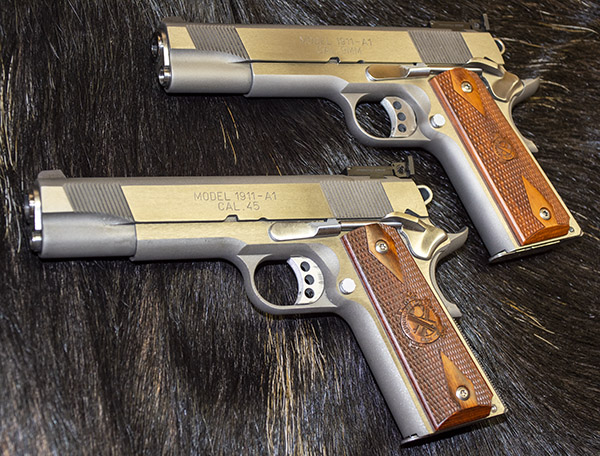
As mentioned in recent blogs on my 9mm Springfield Armory 1911, I took the gun to TJ’s Custom Gunworks to have it repaired and customized.  I have the gun back now and I am very satisfied with the work.

When I took the 1911 to TJ, I asked him to repair the damage I did to my 1911 and to add several custom touches.  That’s what he did, and I’ll describe them below.   Most of the photos in this blog are from TJ.   I took a few, too.

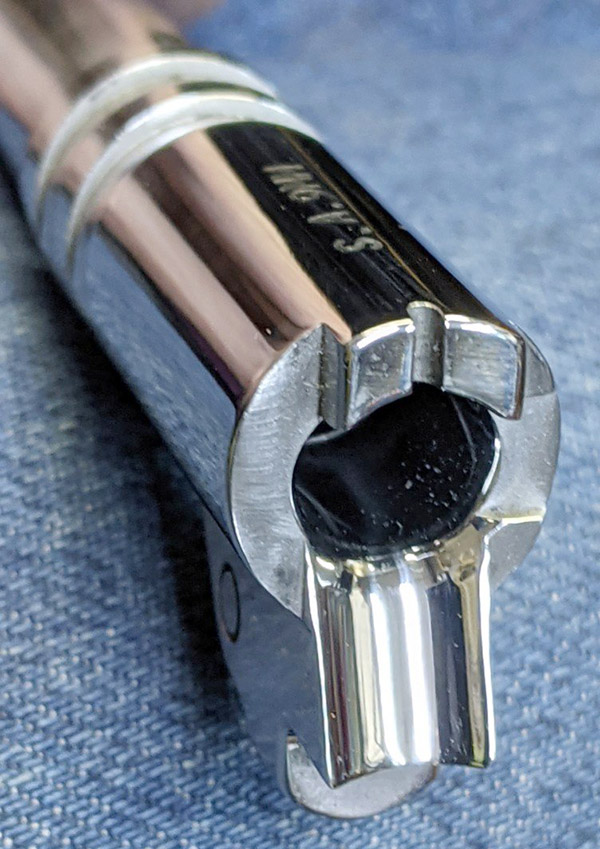
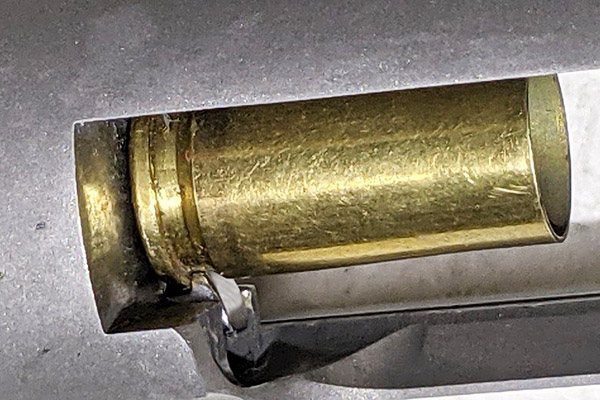
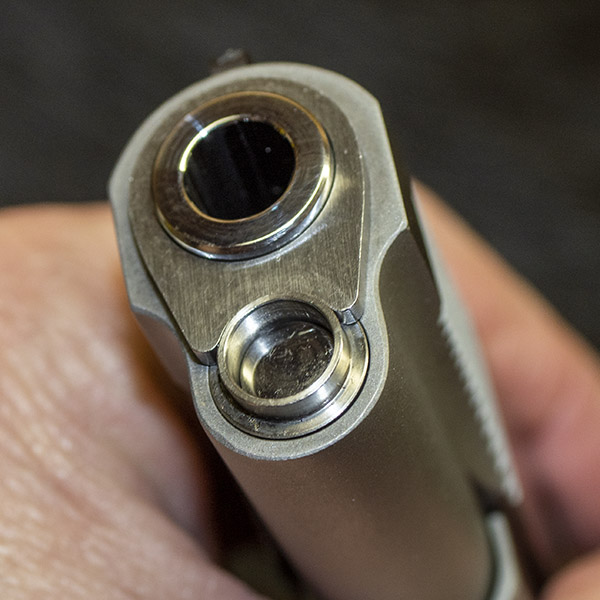
Fortunately, the 1911’s barrel was not damaged (the cartridge blew apart; the barrel and chamber survived).  TJ polished the barrel, the chamber, and the ramp.  The reinvigorated barrel looks great and it adds to the 1911’s appearance.

The polished 1911 barrel.
It looks great, doesn’t it?

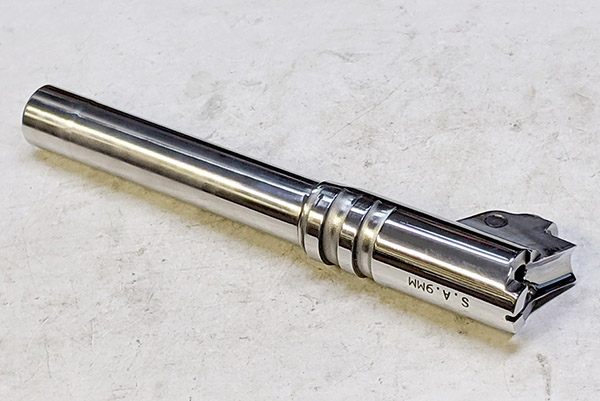
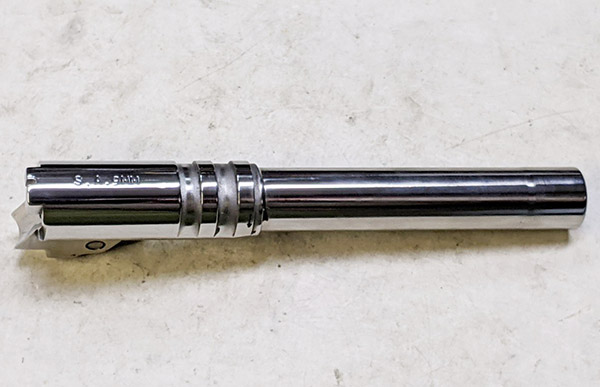
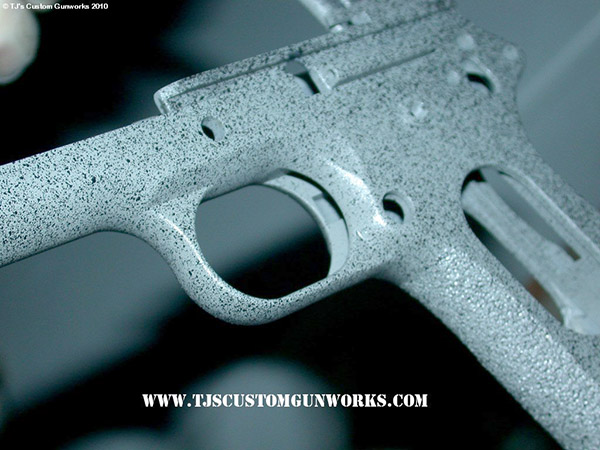
TJ polished the 1911’s ramp and chamber.  This helps to prevent feed failures and assists in extraction.  The polished ramp also helps to prevent bullet pushback into the case as the ramp is pushed from the magazine into the chamber.

The feed ramp before polishing.
The feed ramp after polishing.

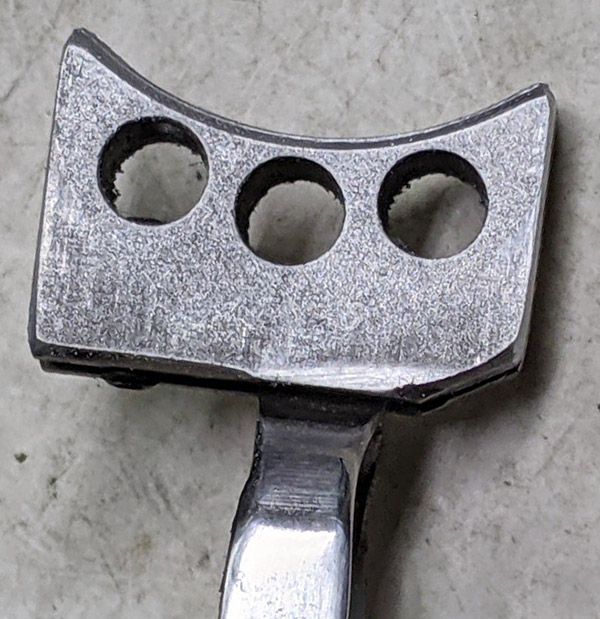
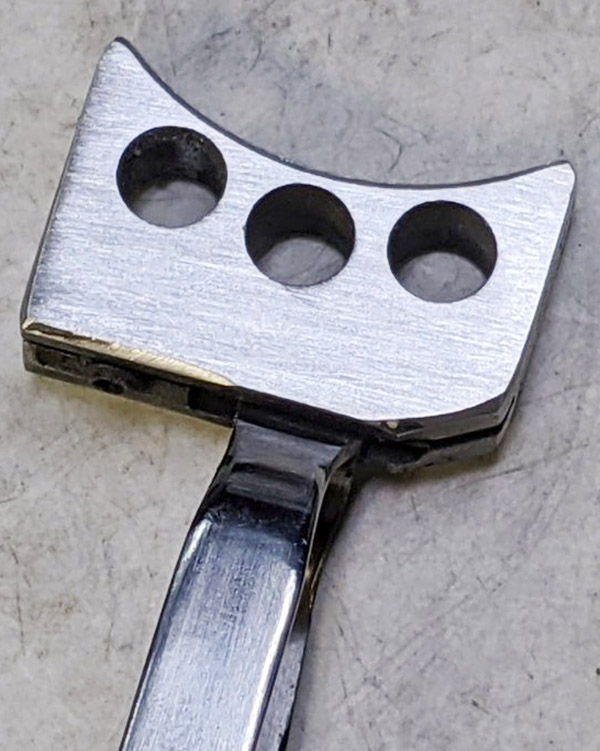
The trigger was in bad shape after the 9mm cartridge went into its sudden unintended disassembly mode.  TJ cleaned it up, but I’m going to have him fit a new target trigger at some point in the future.

The rigger before TJ cleaned and finished it.
The trigger and its bracket after brushing and polishing.

While TJ was in the gun, he removed and replaced the Springfield Armory firing pin and firing pin spring (which he does on all the Springfield Armory 1911s that come into his shop).   Springfield uses a titanium firing pin and a heavier firing pin spring, which is a bad combination.  I’ve had occasional misfires with my Springfield, and the primers have previously always shown light firing pin strikes.  With the new Wilson firing pin and firing pin spring TJ installed, that problem is in the rear-view mirror (where it belongs).

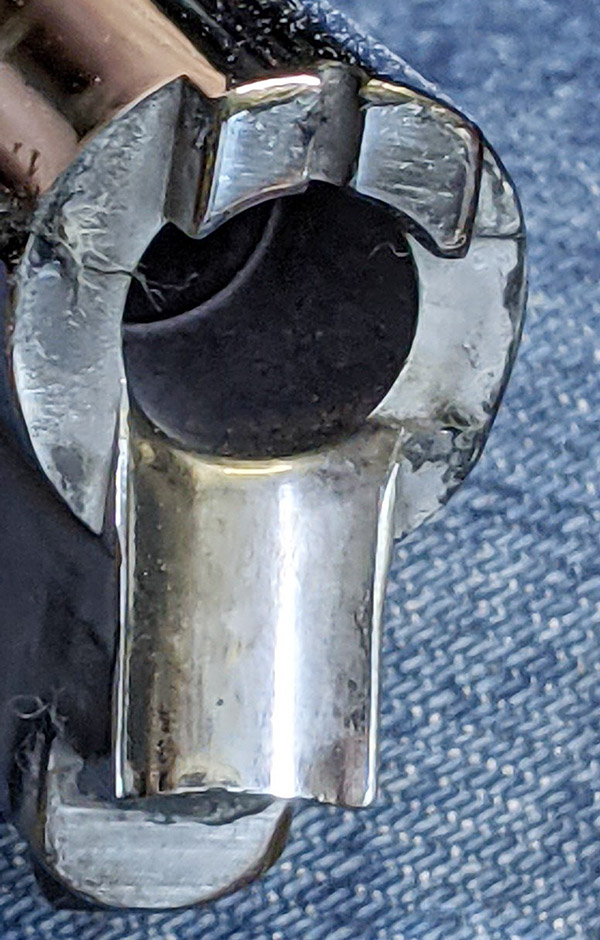
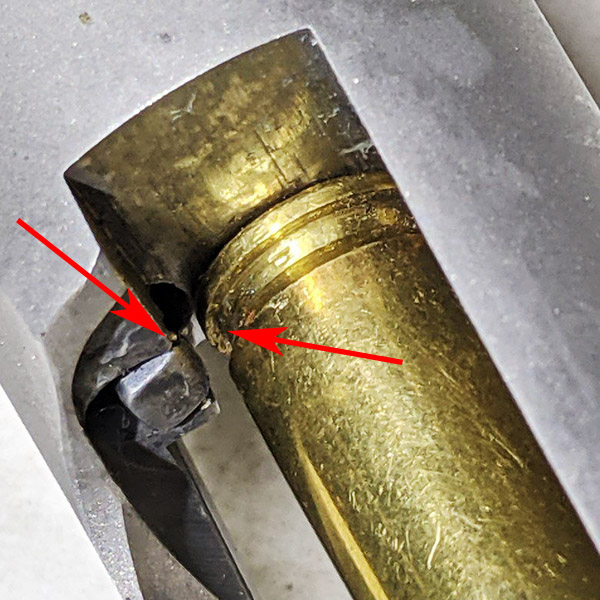
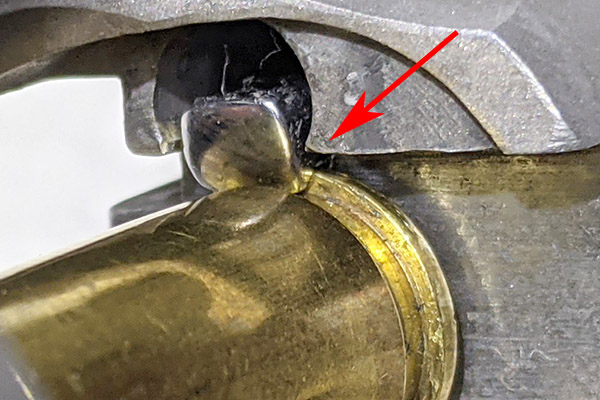
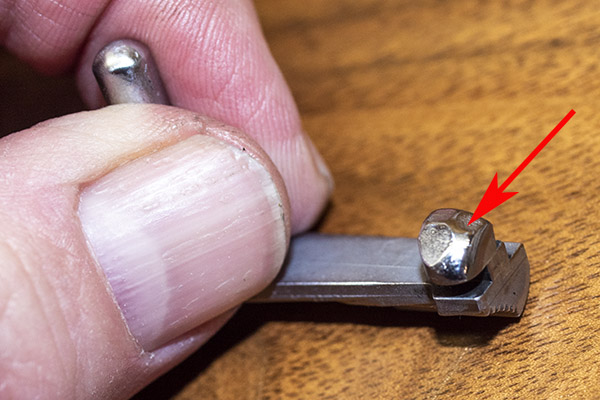
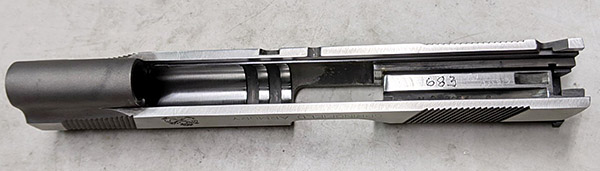
TJ found that the extractor on my Springfield Armory 1911 was terrible.  I thought that might be due the base of the cartridge bursting, but it was not.  It was just a factory goof up. The photo TJ included shows the extractor about as I remembered it before the event that set all this in motion.  The extractor had been extremely difficult to remove from the slide when I disassembled it for cleaning, but I never thought to check if it was engaging the cartridge (the gun had been ejecting).  You would think an outfit like Springfield would know what they are doing in this area, but apparently they did not.  TJ fit a new extractor to fix that problem.

This photo shows the original extractor not touching the cartridge case at all. It appears that the claw is just too short.
The new extractor TJ installed; note that it now has a firm grip on the case rim.
Another shot of the extractor on the case rim. It’s amazing the cartridges were extracting and ejecting before this fix.  They were flying everywhere.
The old extractor is on top; the new one is on the bottom. Note that the old extractor was not reaching in to engage the case.

Ejection is way better now.  The gun drops all the cases in the same spot just to my right (they don’t go flying all over creation like they used to).  It makes scooping up my brass a lot easier.

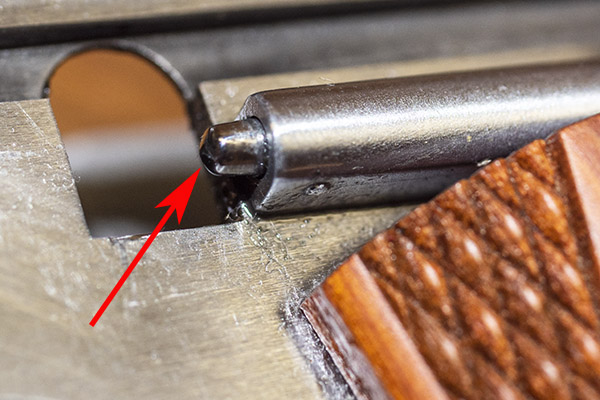
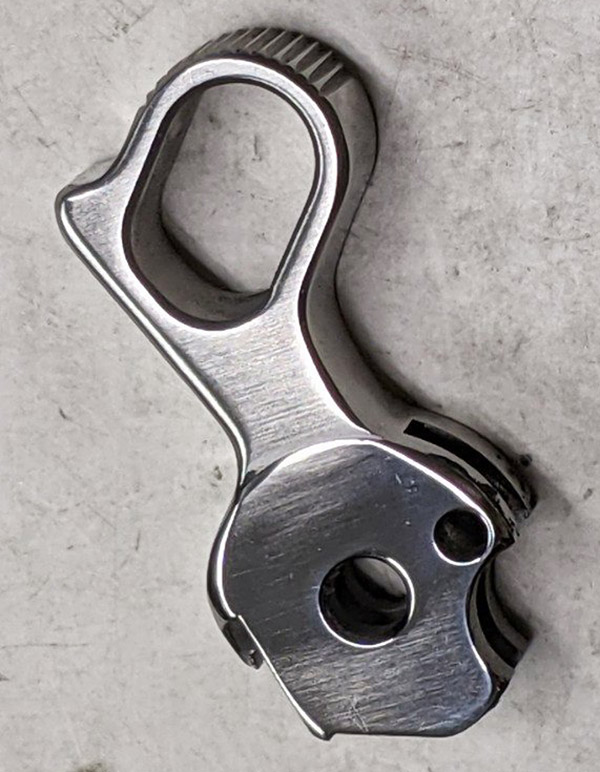
Reinstalling the slide release on my Springfield was difficult.  The slide release plunger was too long and the camming surfaces on the underside of the slide release were not cut at the correct angles.  TJ reconfigured both.  The slide release snaps into place in a very slick manner now.  There’s no more worry about scratching the receiver (the so-called idiot scratch) when the gun is reassembled.

The slide release plunger, as delivered by Springfield Armory, was originally too long. It made installing the slide release problematic. TJ shortened and recontoured it.
The slide release has a contoured bevel to push the slide release plunger in when the slide release is installed. As delivered by Springfield Armory, the angles were incorrect. TJ recontoured this area to make installing the slide release much easier.

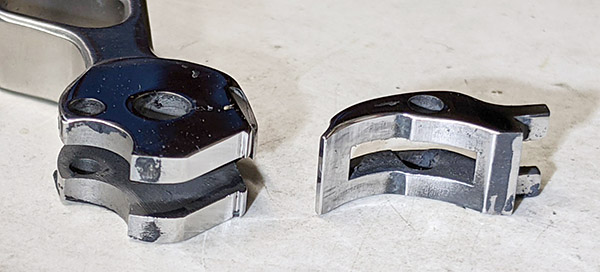
TJ polished and fit a new hammer, which looks better than the original.  He also lightened the trigger pull.  The new trigger is light and I like it.

A polished hammer and sear.
The new hammer. It looks good.

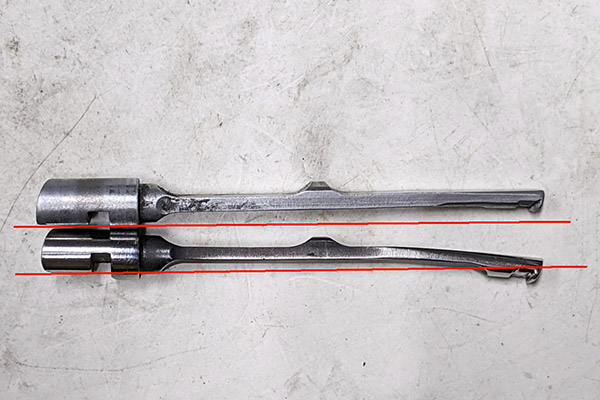
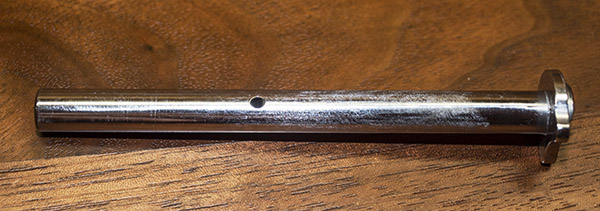
The Springfield Armory 9mm 1911 came from the factory with a two-piece guide rod, which I hated.  It would constantly unscrew, even after applying blue Loctite after each cleaning.  The stock Springfield guide rod needed an Allen wrench to unscrew and remove it (Springfield provided one with the gun).  The gun required doing this to be able to rotate the barrel bushing after depressing the guide rod plug.  In my opinion, two-piece guide rods are a solution to a problem that doesn’t exist.  I don’t know why manufacturers fit them to new guns and I don’t why anybody would want one. I asked TJ to fit a polished one-piece guide rod to my 1911, and to make it short enough so that I could rotate the barrel bushing for disassembly without having to unscrew the guide rod.  I like the new set up a lot better.

TJ installed a one-piece guide rod. I like it. The original two-piece guide rod was always unscrewing.
The new guide rod in its bushing. TJ modified it so I could disassemble the 1911 without having to unscrew the guide rod. Not the polished end of the new guide rod, and the polished barrel end.

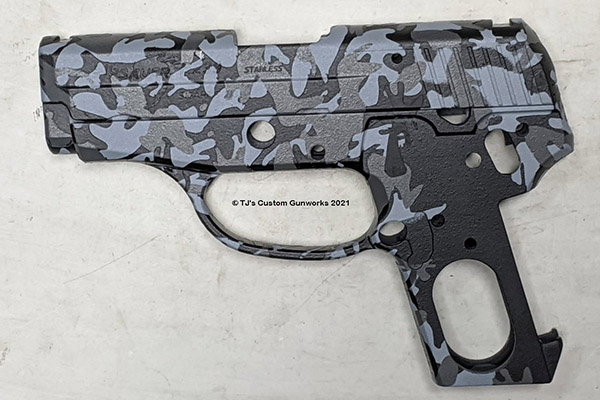
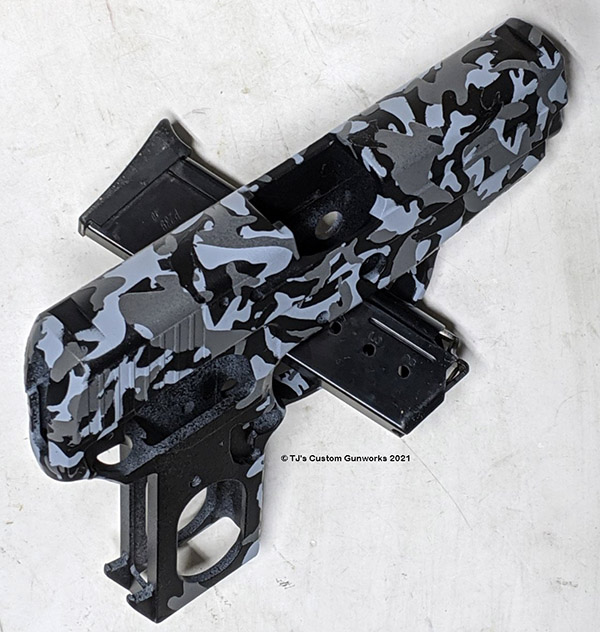
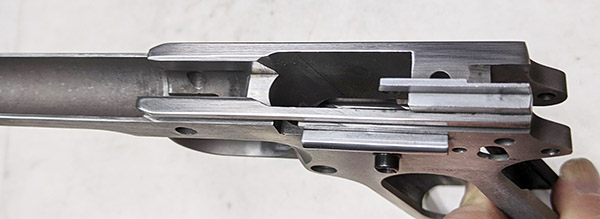
Finally, TJ polished the slide-to-receiver interface points.  You can see this work in the photos below.

The 1911 slide underside.
The 9mm 1911 receiver.

While TJ had the gun, I ordered new grips and a replacement magazine from the Springfield Armory website.  The original crossed-cannon cocobolo Springfield grips were damaged when the cartridge burst, so I bought another set (they were reasonably priced at $32.95).  The Springfield site also advertised a set of double-diamond checkered cocobolo grips (without the Springfield logo) for $15, so I checked that box, too (I like having an extra set of 1911 grips on hand).  The grips and the new magazine arrived a few days after I ordered them.

I picked up the repaired and reinvigorated 1911 from TJ this week. I’ve already been to the range with it and it works well.  Watch the blog; I’ll post a range report in the near term.  I’ve also had a few more thoughts on what might have caused the burst round that started this adventure, and we’ll have another blog on that as well.  Here are links to our prior blogs on this topic:

KABOOM!

Thoughts on the 9mm Double Charge


Help us bring more content to you…please click on the popup ads!


Seeing double? Nope. I liked my 9mm 1911 so much that when I saw the same gun in .45 ACP, I bought it, too. Watch for a report on it in an upcoming ExNotes blog.

Never miss an ExNotes blog:

A Custom TJ Combat Commander

We’ve featured TJ’s Custom Gunworks a few times here on the ExNotes blog.  I’ll take credit for influencing another good buddy who had TJ work his magic on a Colt Combat Commander, and this one is a honey.  Colt’s Combat Commander is a 4.25-inch barreled version of the 1911.  This TJ custom auto is hard chromed and it is a stunning example of TJ’s workmanship. You can see it in the photos and you can see the results on the range.

The Combat Commander shown here has had the following modifications:

      • Polished hard chrome finish over stainless steel.
      • Throated and polished barrel and frame.
      • Fitted and polished extractor.
      • New match trigger and action job.
      • New match hammer.
      • Smoothed breech face.
      • Polished full length guide rod.
      • Satin polish on barrel hood and chamber.
      • Extended slide catch.
      • New and rounded steel mainspring housing.
      • Trigger pull set to 3.0 lbs.
      • Melted sharp edges.
      • Reduced strength and smoothed magazine release button.
      • DayGlo red front sight.
      • Honduran rosewood burl grips.

I’ve seen this gun in action on the range and it is a thing of beauty.  I’ve had a few guns customized by TJ, and I’ve steered a few friends there. I’ve had six handguns and a rifle customized by TJ, and every one of them is a stellar example of his craftsmanship.  These include a Model 59, a bright stainless Colt 1911, the MacManus Colt 1911, the Rock Island Compact, a Model 60 Smith and Wesson snubbie, a Ruger Mini 14, and a new Colt Python.  TJ’s emphasis is on reliability and perfection and on all of my guns he met those objectives in every case.  When it comes to custom firearms, it doesn’t get any better than TJ’s Custom Gunworks.


You can read more firearms features on the Tales of the Gun page.


Enjoying the ExNotes site?  Want to help support us?


Never miss an ExNotes blog.  Sign up here for free!

TJ’s Urban Camo Process

A couple of months ago I shared a photo of a very cool SIG 239 that good buddy TJ had finished in Urban Camo (it’s the one you see in the photo above).  I was intrigued by the finish, and as TJ walked me through the steps, I started to get an appreciation for how much work is involved.  Here’s the process as TJ explained it to me:

Step 1:  Disassemble, clean and inspect the firearm.
Step 2:  Sand blast or other surface preparation.
Step 3:  Apply base coat (black Duracoat for the gun you see above).
Step 4:  Add camo stickers to create pattern.
Step 5:  Spray light grey Duracoat.
Step 6:  Add more camo stickers to create pattern.
Step 7:  Spray dark grey Duracoat to create pattern.
Step 8:  Add more camo stickers to create pattern.
Step 9:  Spray base coat again (black Duracoat for the gun you see above).
Step 10:  Remove all camouflage stickers and inspect gun.
Step 11:   Overspray muting stripes (netted flat black).
Step 12:  Spray clear coat.
Step 13:  Clean excess Duracoat from holes, rails, etc.
Step 14:  Reassemble and oil firearm.

Here’s what it looks like as the gun proceeds through the urban camo application process:

The above makes for a good-looking gun and a durable finish.  After it’s fully cured, it’s relatively impervious to solvents or gun oils.

TJ can do other finishes as well, including a soft camouflage done without the tape described above (freehand spots or stripes).

TJ can also do speckling (like you see below), which is a good finish for hiding pitting and other surface imperfections.

If you would like to get a feel for a few of the other finishes TJ offers, you might take a look at his website at www.TJsCustomGunworks.com.

I’ve had six handguns and a rifle customized by TJ, and every one of them is a stellar example of his craftsmanship.  These include my Model 59, a bright stainless Colt 1911, my MacManus Colt 1911, the Rock Island Compact, a Model 60 Smith and Wesson snubbie, a Ruger Mini 14, and my new Colt Python.  TJ’s emphasis is on reliability and perfection and he’s met both of those objectives in every case.  It’s been money well spent.  When it comes to custom firearms, TJ is in a class by himself.