By Joe Gresh
There are many fast motorcycle riders/writers that would be better suited to the task of reviewing motorcycle tires. Unfortunately, none of them are available at the moment so you’ll have to go with my impression of these Shinko Raven tires.
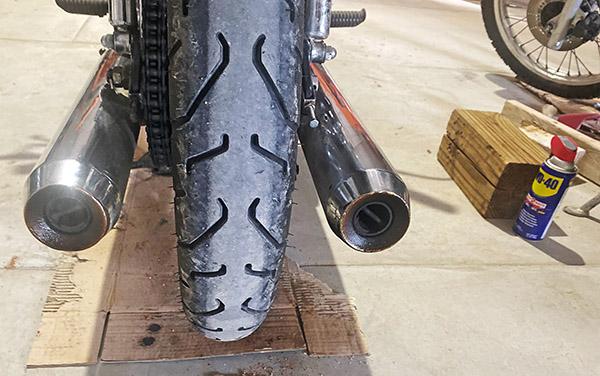
I previously ran Continental Conti-Motion tires on the ZRX1100 mostly because they were cheap. I got a good deal on a set of front/rear tires with shipping included. The Conti-Motion set came with a 180/55-17 rear tire that was a little bigger than the original 170/60-17 called for on the ZRX. The wider, lower profile tire seemed ok at the time because I hadn’t ridden the motorcycle for 9 years. After I fitted the Shinko Ravens I could tell a difference.

The Harbor Freight tire machine along with the tubeless rims on the ZRX made swapping the tires a breeze. The new tires took only a few ounces of weight to balance so I assume the rubber is pretty evenly distributed around the tire.
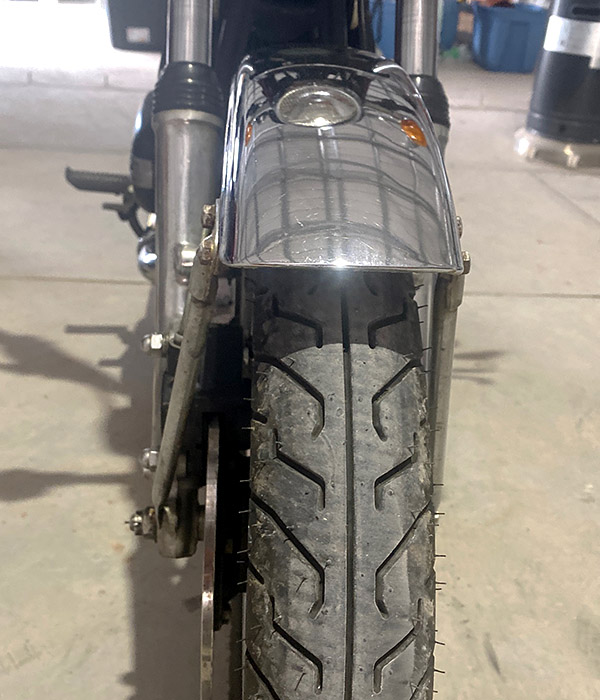
I have around 4000 miles on the Shinko tires and it looks like the rear might go another 3000 miles or so. The front tire is wearing much slower and looks like it will go 10,000 miles. Like I said: there are faster riders that could eat these tires up in one day.
The Shinko Ravens are supposedly aramid belted radials with a speed rating of Z, or 149 mph plus. The ZRX1100 won’t do 149 falling out of an airplane so I should be good. Shinko claims the Raven is their longest wearing sport tire. Until they start making car tires, that is.
In a straight line the Contis and the Shinkos are about the same. However the Shinko tires feel much different than the Contis in corners. With the wide 180 series Continental rear tire it felt like the ass end of the bike raised as you laid the bike into a corner. Or maybe the front end dropped. Hitting a bump mid-corner made the rear of the bike want to twist outwards instead of absorb the bump. You had to counteract that wagging sensation with a firm grip on the bars.
No such problem with the Shinko Raven 170 series tire. The ZRX leans into a curve with the ride height feeling evenly matched front to back. No effort on the handle bars is required. Mid-corner bumps don’t have the twisting feel and the rear suspension articulates without drama.
These sensations are all relative and feelings are hard to quantify, maybe it’s just me, and on a race track there might not be any difference in lap times. But then what are you doing racing a heavy street bike on cheap street tires? Stop that.
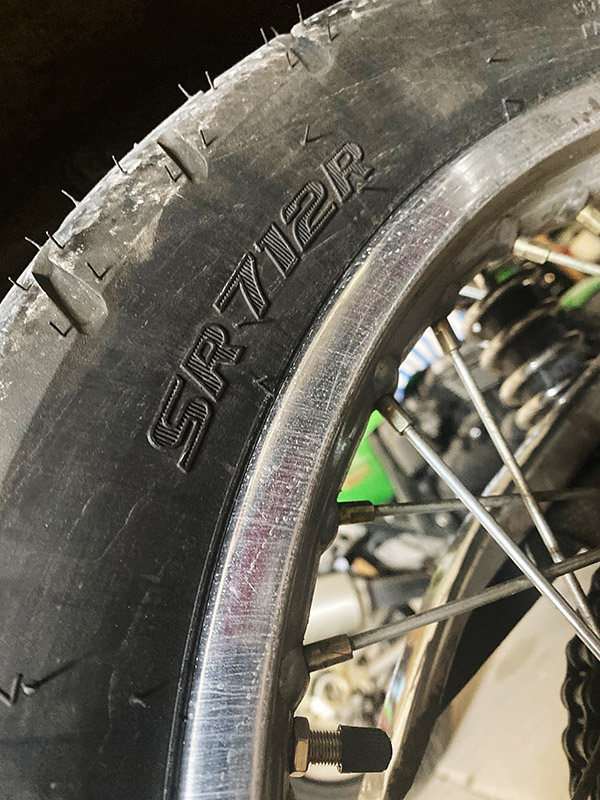
I much prefer the handling characteristics of the Ravens even though I can’t find the word “Raven” anywhere on the tire. They are stable, go around corners nicely and are round and black.
I haven’t had many opportunities to try the Shinko tires in the wet. In the dry season it rains infrequently (hence “dry season”) and when it’s monsoon I tend to stay home. Still, it’s possible to get caught in the rain here in New Mexico. What little time I have in the wet with the Shinkos didn’t feel all that grippy. I took it easy as the oils accumulated during the dry season rose to the top of the asphalt. Cracking the throttle on the torquey 1100cc 4-cylinder can induce wheel spin on a wet road so don’t do that. In a wet corner you can get the big ZRX drifting easily. Don’t do that either.
In the dry I have yet to lean the bike over far enough to use all the available tread, also known as crashing. The mountain roads where I live are swept only by wind and rain. It’s not surprising to round a corner and find a steaming cow turd in the road. Or sand. Or a downed tree. Anyway, that’s my excuse.
The Shinko tires are a great match for the ZRX1100, I wouldn’t think a small thing such as tire size would have such an outsized effect on the overall feel of a motorcycle but there it is. I would buy another Raven if they go on sale but then I’m the worst guy to take tire advice from, as there are other, faster shills.
Join our Facebook ExNotes page!
Never miss an ExNotes blog:
Help us keep the lights on:
Don’t forget: Visit our advertisers!


