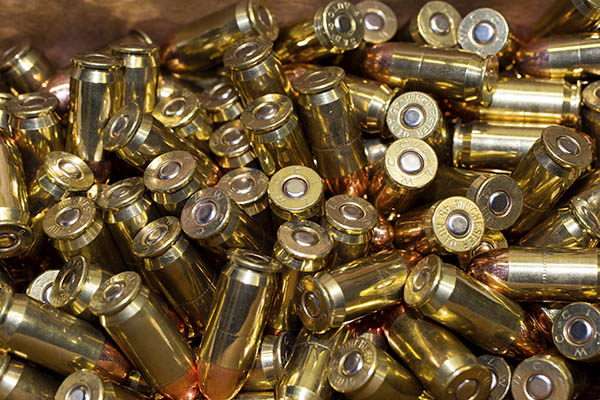
In our first post on this topic, we talked about the equipment and components needed for reloading the .45 ACP cartridge. In this blog, we talk about the reloading process. We won’t cover all of it here (we’ll get about halfway through), and we’ll cover the rest of the process in a subsequent blog or two. In our first blog, we discussed the basic equipment. In this blog, we’ll talk about a few more bits of equipment that I use, but they are not essential. You can get by without them.
If you want to catch up with the first blog on this topic, you can do so here.
Let’s say you’ve been to the range, you’ve made .45-caliber holes in your targets, and you’ve collected your spent brass. That’s the only part of the reloading process I don’t like…at my age, bending over and picking up all that brass is a pain-in-the-you-know-what. But I still do it. In fact, if I see somebody leaving brass on the ground, I’ll collect it. I grew up collecting brass to reload, and leaving brass at the range feels to me like a crime against nature.
So we’re home, and you’ve got your fired brass…
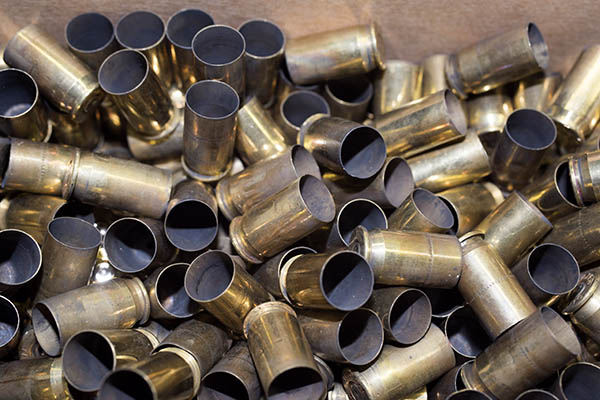
This next step I’m going to show you is an optional one, and that’s cleaning the brass. You don’t need to do this, and I reloaded .45 ammo for a lot of years without ever cleaning my brass. I always do it now, though, and I do it for two reasons: Cosmetics and accuracy
Here’s how I go about doing it. I dump the brass into my vibratory tumbler and let it rock for a couple of hours.
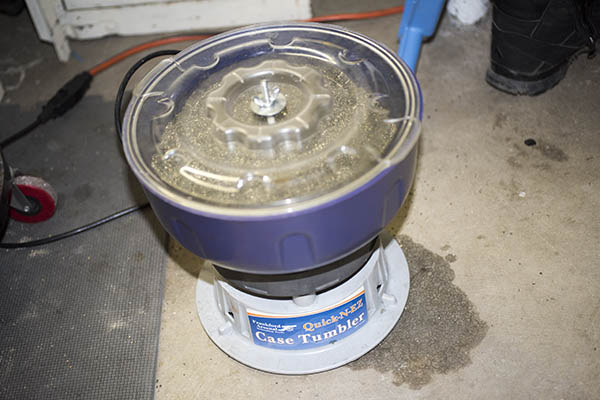
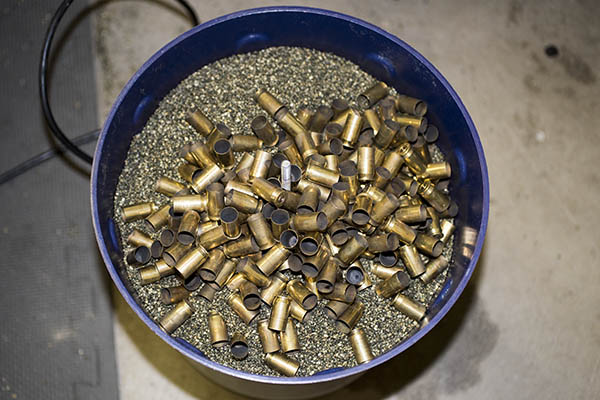
Like I said above, I tumble my brass. One of the reasons is that I like bright, shiny ammo (it just looks cool). But a far more important reason is that it makes the ammo more accurate. When you tumble the brass, you’re cleaning it on the inside and the outside. The outside is cosmetic. The inside affects the grip the brass case has on the bullet. We’re not interested in making it shiny on the inside; we’re interested in making that grip consistent. I’ve found over the years that a consistent inside case surface (where the case interfaces with the bullet) makes for a more accurate cartridge. It’s extremely significant in a rifle (I’ve seen 100-yard groups shrink from 3 inches to a quarter of an inch in my .30 06 Model 70 Winchester just by tumbling the brass). The accuracy improvement in a handgun is not that significant, but it’s still there. You don’t have to do this (you can reload the brass without tumbling it), but it’s something I do.
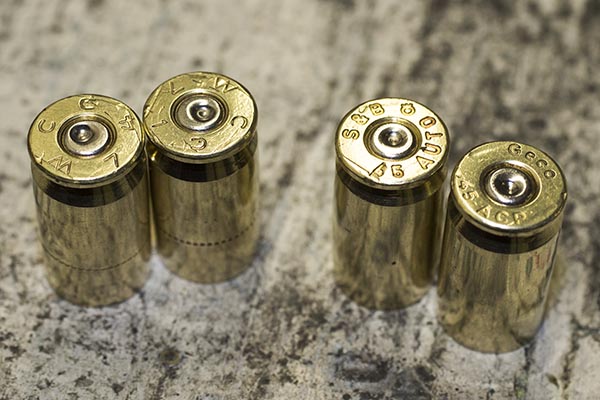
Here’s what the brass looks like after it’s been tumbled….
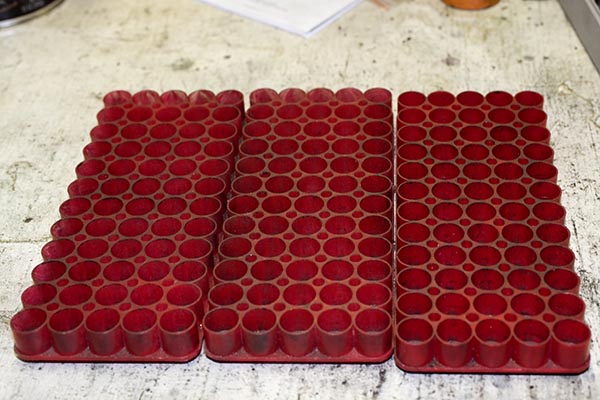
Now we’re ready to start the resizing operations. We’ll want to get our ammo trays ready…
The next step is to install the first of our reloading dies (the resizing die) in the press. We’re going to use this die to squeeze the cartridge case back to its unfired case diameter and simultaneously knock out the fired primer.
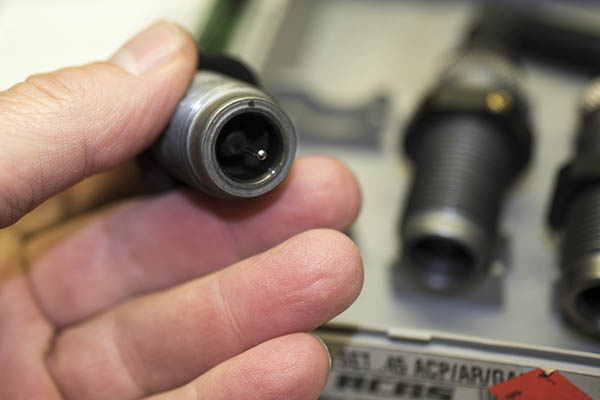
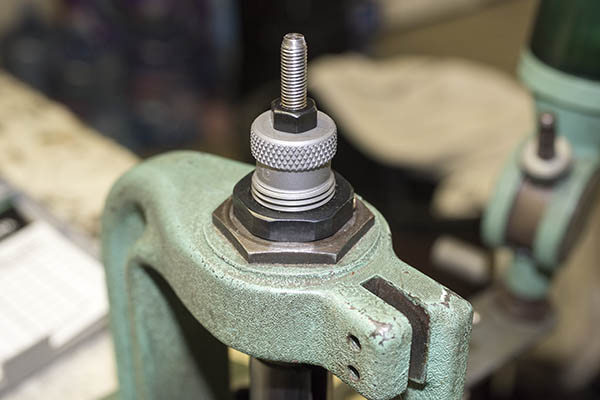
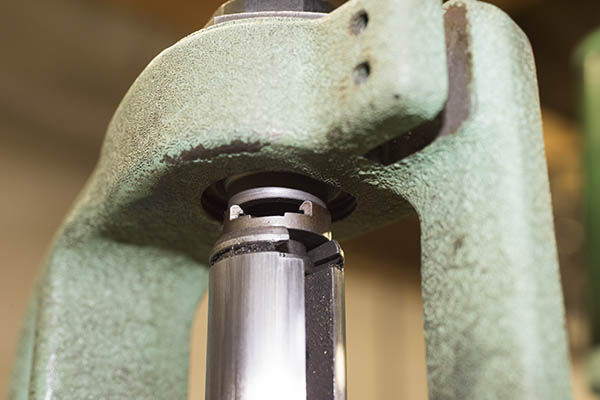
At this point, we’re ready to start resizing and depriming cases. Here’s what that looks like.
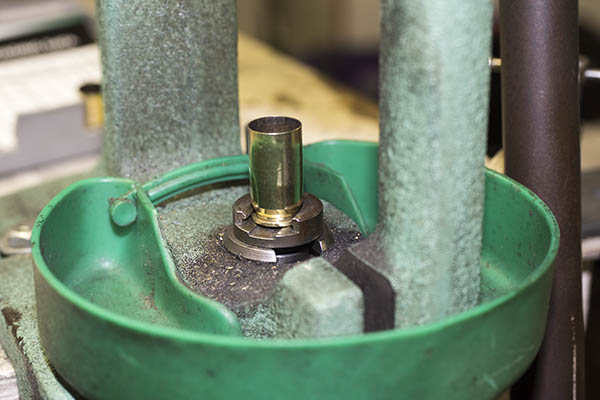
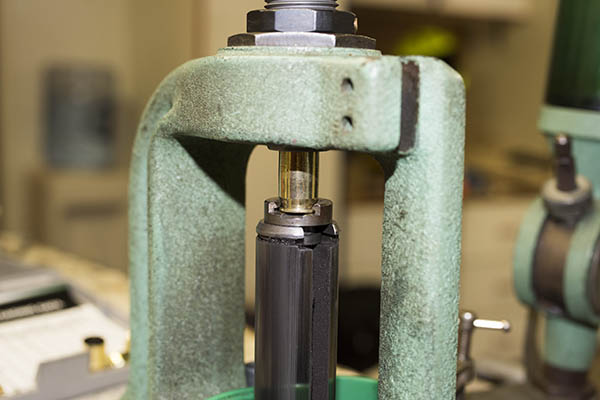
This is what the case looks like after it has been resized. Note that the primer is no longer in the case. Also, note how funky the primer pocket is. It’s gunked up with combustion residue.
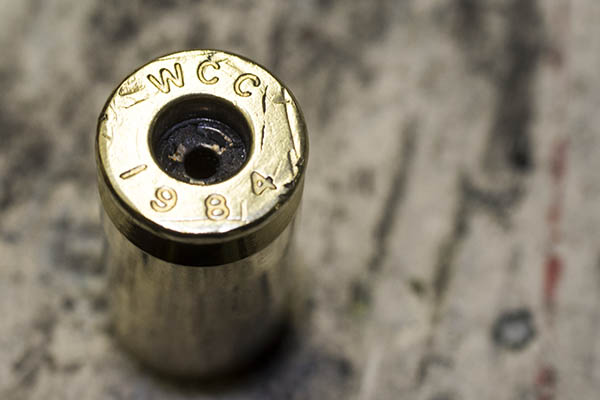
As each case comes out, I’ll place it in the reloading tray, like you see below.
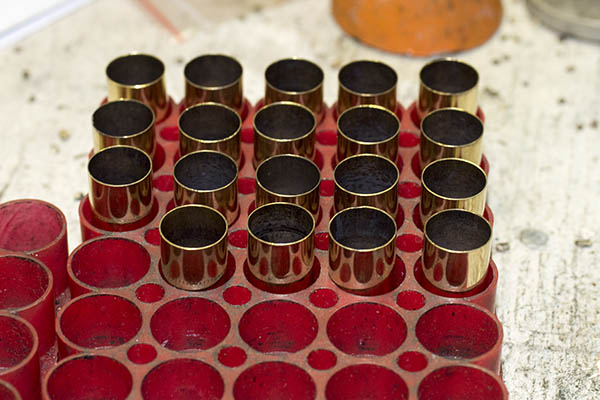
When I reload, I’ll generally do between 20 and 200 rounds in a batch. I reloaded 150 rounds in this batch.
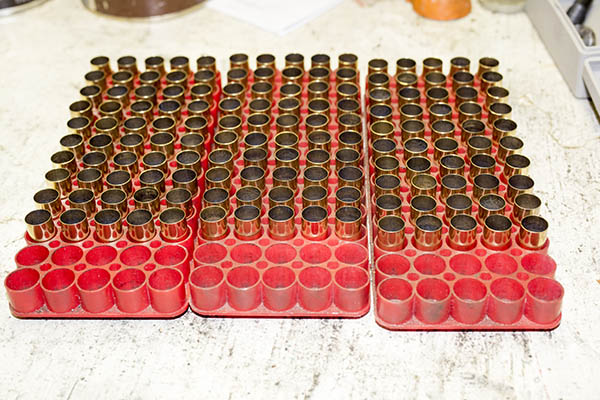
I use reloading trays that hold 60 rounds, and the reason I like these is that for a group of 50 cases I can track which case I’ve performed an operation on and which ones remain. Each time a case undergoes a reloading step, I move it over such that I always have 1o open spots between the cases that have undergone a reloading step and those that have yet to undergo the step.
Ah, but those primer pockets. Remember how dirty they were after we pushed the primers out? Well, this is another optional step. I clean the primer pockets. I do each case manually, one at a time, using a primer pocket cleaning tool.
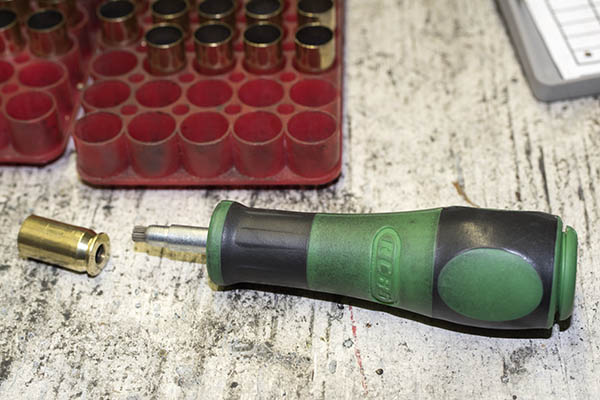
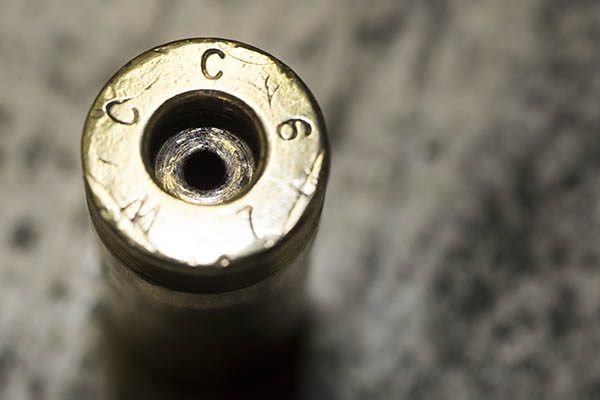
Like I said, primer pocket cleaning is optional. I reloaded for a lot of years and won more than a few matches without primer pocket cleaning, but these days I do it on every case. The reason we want the residue gone is that the residue can interfere with the new primer seating fully in the case (we’ll talk more about that in the next .45 ACP reloading blog). Having the primers all seated to the same depth will theoretically make for more accurate ammunition (less variability always equals more accuracy). It won’t effect functioning if the primers are at slightly different depths in a 1911, but if you’re reloading ammo for a revolver, a primer that is seated above flush (one that sticks out beyond the cartridge case base) can interfere with the cylinder turning.
At this point, we’ve got cleaned, resized, and deprimed cases. We’re ready to bellmouth the cases, install the primers, charge the cases with propellant, and seat the new bullets.
So that’s it for now. Stay tuned; this series will continue right here on the ExNotes blog!

Joe I’ve been reloading for 50years but I still enjoy your instructions your never to old to pick up a tip and I like the way you do the instructions it’s easy to understand I guess thats why you’re a good writer and I’m not
Thanks, Tom.