Reloading Part II: The first steps

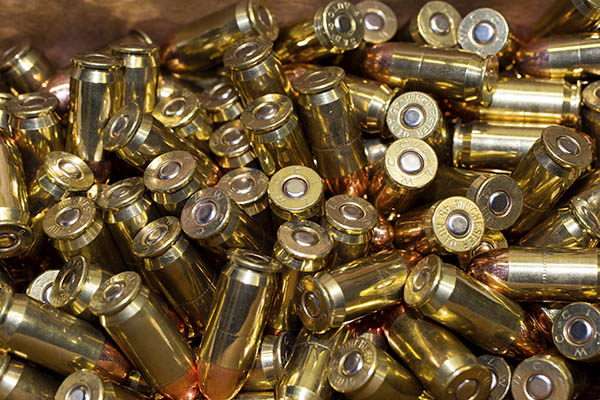
Reloaded .45 ACP ammunition. Bright, shiny, and far more accurate than factory ammunition in my Colt and Rock Island 1911 pistols.  I’ve got the targets to prove it.

In our first post on this topic, we talked about the equipment and components needed for reloading the .45 ACP cartridge.   In this blog, we talk about the reloading process.  We won’t cover all of it here (we’ll get about halfway through), and we’ll cover the rest of the process in a subsequent blog or two.  In our first blog, we discussed the basic equipment.  In this blog, we’ll talk about a few more bits of equipment that I use, but they are not essential.  You can get by without them.

If you want to catch up with the first blog on this topic, you can do so here.

Let’s say you’ve been to the range, you’ve made .45-caliber holes in your targets, and you’ve collected your spent brass.   That’s the only part of the reloading process I don’t like…at my age, bending over and picking up all that brass is a pain-in-the-you-know-what.   But I still do it.  In fact, if I see somebody leaving brass on the ground, I’ll collect it.  I grew up collecting brass to reload, and leaving brass at the range feels to me like a crime against nature.

So we’re home, and you’ve got your fired brass…
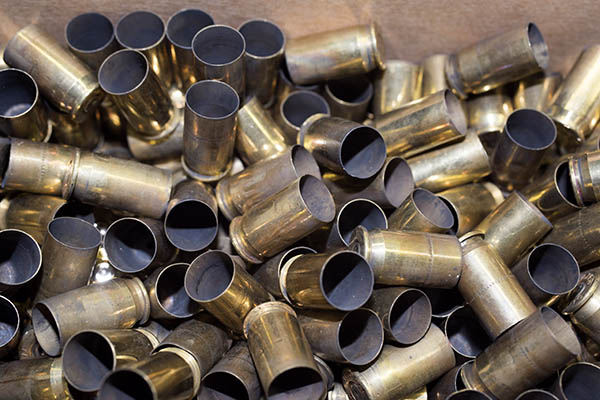
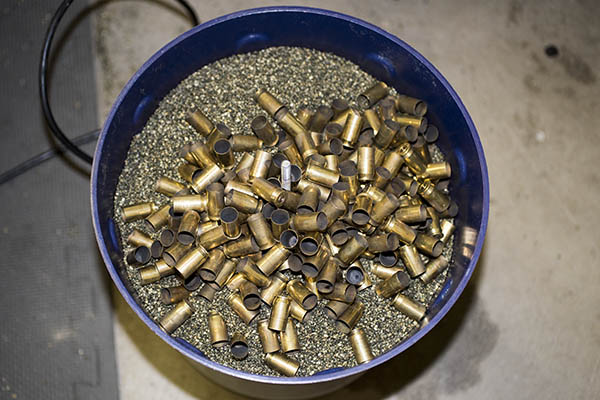
Fired .45 ACP brass.  I just can’t leave brass at the range.  To me, it’s like leaving cash on the ground.

This next step I’m going to show you is an optional one, and that’s cleaning the brass.   You don’t need to do this, and I reloaded .45 ammo for a lot of years without ever cleaning my brass.  I always do it now, though, and I do it for two reasons:  Cosmetics and accuracy

Here’s how I go about doing it.   I dump the brass into my vibratory tumbler and let it rock for a couple of hours.
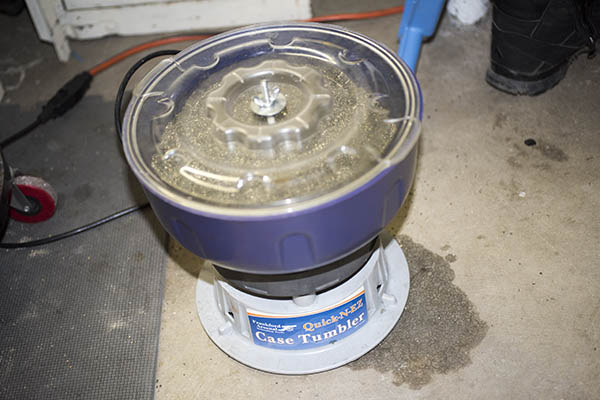
My Frankford Arsenal vibratory cleaner. I call it a tumbler. It has corn cob media. You unscrew the butterfly nut on top, remove the cover, and dump the fired brass into the media.
Here’s the tumbler with the cover removed and the brass placed on the media. The cover goes back on and I let the thing vibrate for a couple of hours.

Like I said above, I tumble my brass.  One of the reasons is that I like bright, shiny ammo (it just looks cool).  But a far more important reason is that it makes the ammo more accurate.   When you tumble the brass, you’re cleaning it on the inside and the outside.  The outside is cosmetic.  The inside affects the grip the brass case has on the bullet.  We’re not interested in making it shiny on the inside; we’re interested in making that grip consistent.   I’ve found over the years that a consistent inside case surface (where the case interfaces with the bullet) makes for a more accurate cartridge.   It’s extremely significant in a rifle (I’ve seen 100-yard groups shrink from 3 inches to a quarter of an inch in my .30 06 Model 70 Winchester just by tumbling the brass).  The accuracy improvement in a handgun is not that significant, but it’s still there.   You don’t have to do this (you can reload the brass without tumbling it), but it’s something I do.

Here’s what the brass looks like after it’s been tumbled….
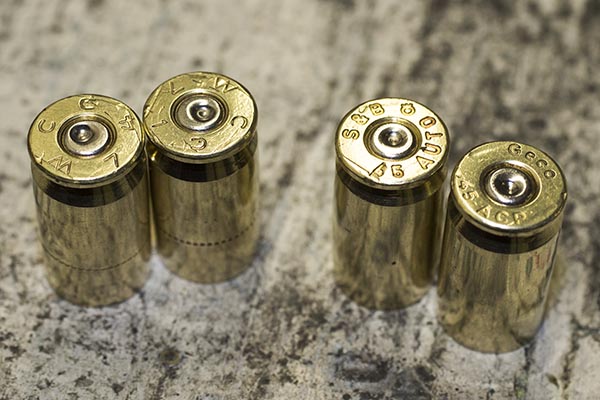
Squeaky clean and shiny. Fired, cleaned brass.

Now we’re ready to start the resizing operations.   We’ll want to get our ammo trays ready…
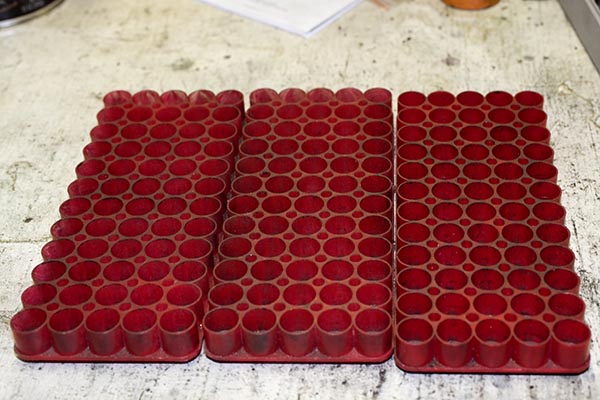
Reloading trays. Each tray holds 60 rounds, but I only load 50 in each one.

The next step is to install the first of our reloading dies (the resizing die) in the press.  We’re going to use this die to squeeze the cartridge case back to its unfired case diameter and simultaneously knock out the fired primer.
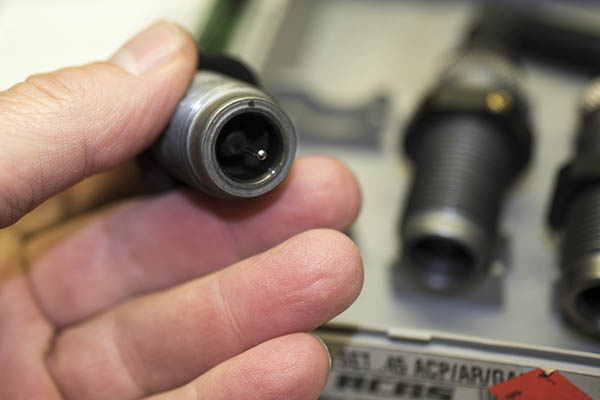
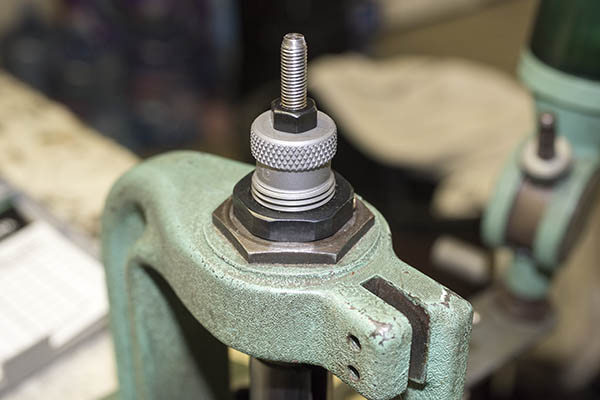
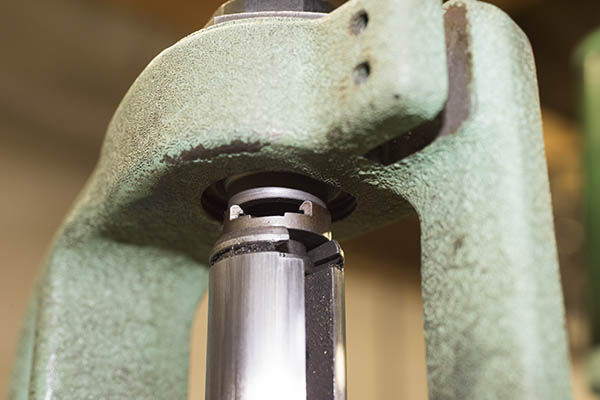
The resizing die. Note the protruding pin; it’s what pushes the old primer out of the brass case.
The resizing die, threaded into the reloading press.  Note the large locknut at the base.
With the shell holder installed on the press ram, we fully elevate the ram, thread the resizing die down to contact the shellholder, withdraw the ram slightly, turn the die in just a bit more, run the ram up, and then lock the die in place with its locknut.  What we want is to feel a slight “knuckle over” when the ram is fully elevated.

At this point, we’re ready to start resizing and depriming cases.  Here’s what that looks like.
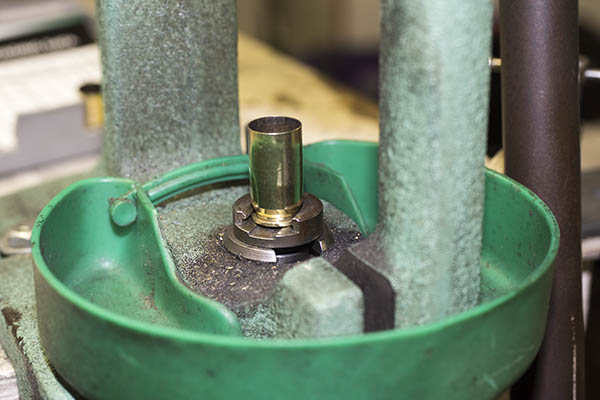
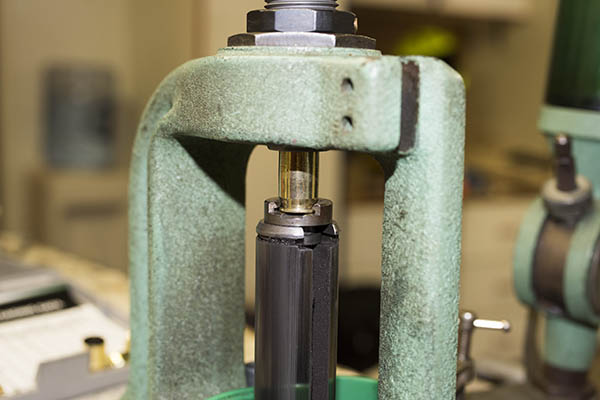
A case in the shellholder.  When we raise the ram, it will be resized and the old primer will be pushed out.
The ram is raised all the way to the top of its stroke. Here we see the case just starting to enter the resizing die. You don’t want to get your finger caught between the die and the fired case (don’t ask me how I know). The ram will go up until the shellholder contacts the bottom of the sizing die.  As that occurs, the case is resized to its original diameter, and the primer is pushed out of the case.

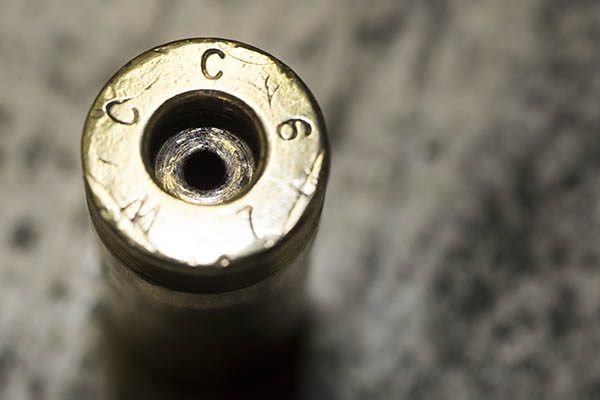
This is what the case looks like after it has been resized.   Note that the primer is no longer in the case.  Also, note how funky the primer pocket is.  It’s gunked up with combustion residue.
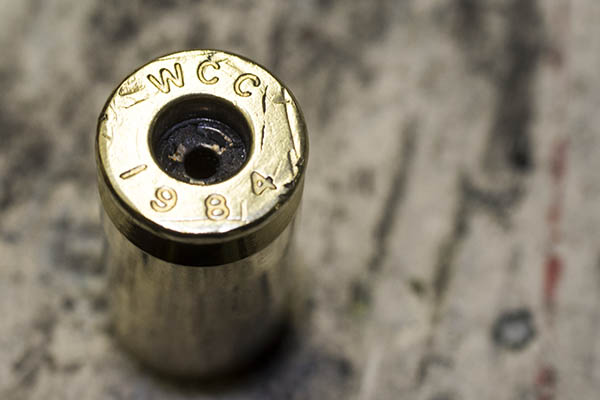
A resized, deprimed case. Note the combustion reside remaining in the case’s primer pocket.  And yes, I’ve been reloading this case since 1984.  I’ve got some that are even older.  .45 ACP brass lasts a long time.

As each case comes out, I’ll place it in the reloading tray, like you see below.
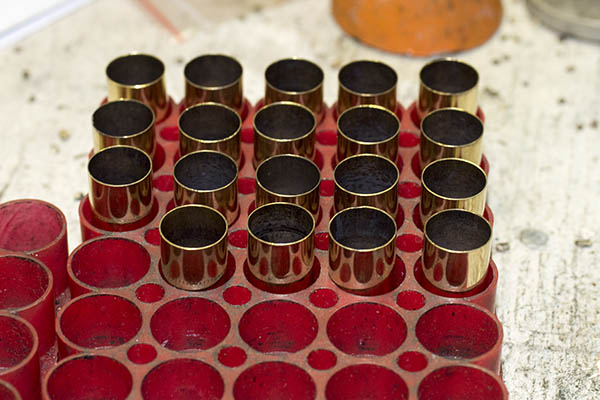
Resized and deprimed cases in the reloading tray.

When I reload, I’ll generally do between 20 and 200 rounds in a batch.   I reloaded 150 rounds in this batch.
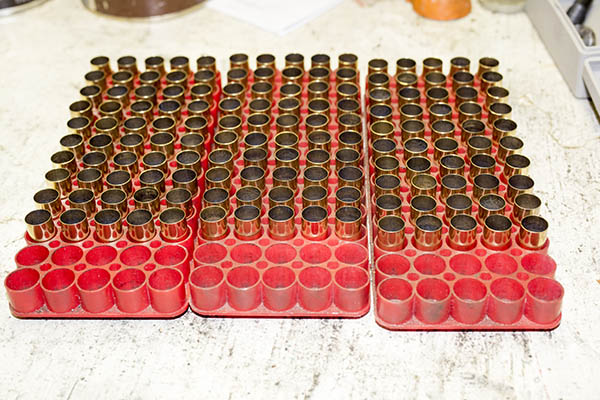
150 resized and deprimed cases.  Note that there are 10 empty spaces in each tray.

I use reloading trays that hold 60 rounds, and the reason I like these is that for a group of 50 cases I can track which case I’ve performed an operation on and which ones remain.   Each time a case undergoes a reloading step, I move it over such that I always have 1o open spots between the cases that have undergone a reloading step and those that have yet to undergo the step.

Ah, but those primer pockets.  Remember how dirty they were after we pushed the primers out?  Well, this is another optional step.  I clean the primer pockets.  I do each case manually, one at a time, using a primer pocket cleaning tool.
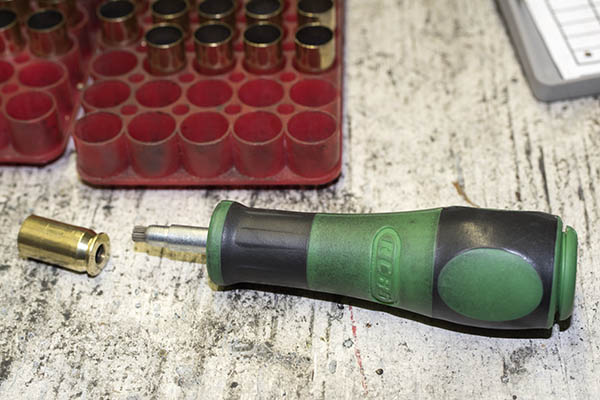
The primer pocket cleaning tool. It’s a primer-pocket-sized wire brush, and it removes the primer pocket combustion residue.
A cleaned primer pocket.  It doesn’t need to be bright and shiny; we just want to remove the clumps of combustion residue so the new primer can fully seat.

Like I said, primer pocket cleaning is optional.  I reloaded for a lot of years and won more than a few matches without primer pocket cleaning, but these days I do it on every case.  The reason we want the residue gone is that the residue can interfere with the new primer seating fully in the case (we’ll talk more about that in the next .45 ACP reloading blog).   Having the primers all seated to the same depth will theoretically make for more accurate ammunition (less variability always equals more accuracy).  It won’t effect functioning if the primers are at slightly different depths in a 1911, but if you’re reloading ammo for a revolver, a primer that is seated above flush (one that sticks out beyond the cartridge case base) can interfere with the cylinder turning.

At this point, we’ve got cleaned, resized, and deprimed cases.  We’re ready to bellmouth the cases, install the primers, charge the cases with propellant, and seat the new bullets.

So that’s it for now.  Stay tuned; this series will continue right here on the ExNotes blog!

Another Tale of Two .45s…

We’ve done “A Tale of Two Guns” pieces before here on the ExNotes blog, and we’ve specifically done a “Tale of Two .45s.”  That earlier piece was on the Rock Island Compact 1911 and a Smith and Wesson Model 625.  The Rock Island Compact has become my favorite handgun and it’s the one I shoot most often.  I wondered:   How much accuracy am I giving up by shooting a snubbie 1911?

When I call the Compact a snubbie, I’m referring to the fact that it has a shorter barrel. You know, a standard Government Model 1911 has a 5-inch barrel, and the Rock Island Compact has a 3.5-inch barrel.  There’s nothing inherently more or less accurate about a shorter versus longer barrel.  What could make an accuracy difference, though, is the sight radius (the distance between the front and rear sights).  The longer barrel 1911 has a longer sight radius, and that theoretically should make it more accurate.

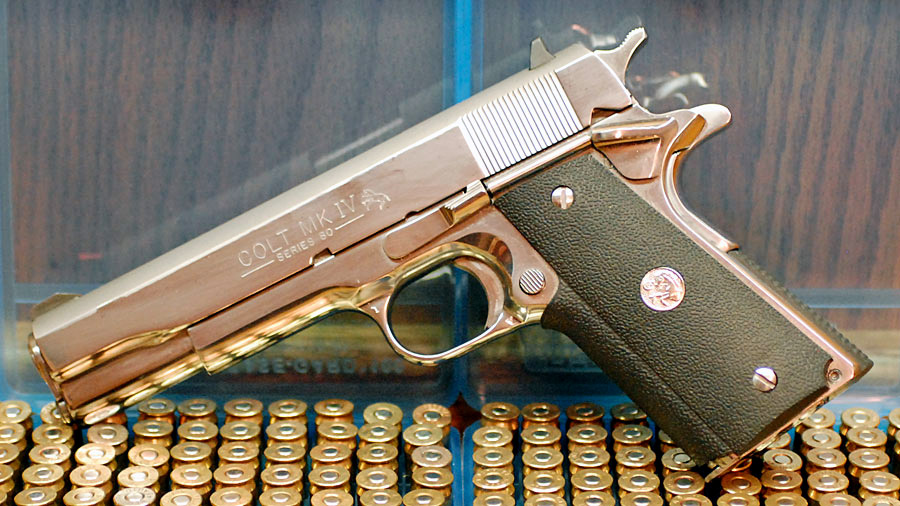
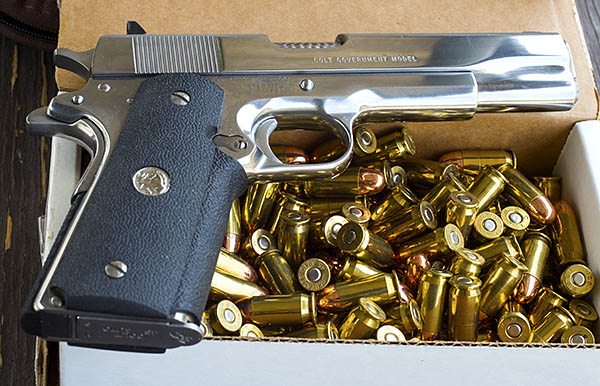
A Colt bright stainless steel full-sized 1911 Government Model, along with a box of reloaded .45 ACP ammo. The standard 1911 barrel length is 5 inches, and that’s what this handgun has.  This particular 1911 has been extensively customized, with a view toward extreme reliability.
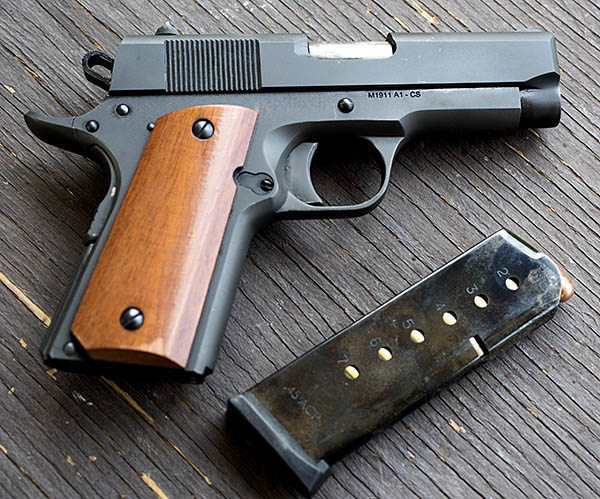
The Rock Island Compact 1911. This inexpensive .45 auto has a 3.5-inch barrel. It’s become my favorite handgun.

I was taught to shoot the 1911 by one of the best. Command Sergeant Major Emory L. Hickman, a US Army Marksmanship Training Unit NCO, taught me the basics (you can read about that here). I’ve been shooting the .45 since 1973, and I’ve been reloading ammo for it about that long, too. I used to be pretty good, but I’ve slowed down a bit. Hey, speaking of that…here’s a video of me playing around at the range with the Colt bright stainless .45 auto…

The video above is real time…it’s not been modified from the video that came straight out of the camera. But I couldn’t leave it alone. My choices were to spend about a zillion hours on the range and maybe shoot up another zillion dollars of ammo to get really good, or to just use my video editing software to have a little fun. I went for Door No. 2…

Okay, enough goofing around. Let’s get serious, and get to the real topic of this blog.  I went to the range with the two 1911s shown above with two objectives in mind.  I wanted to test different loads to see which was the most accurate in each gun, and I wanted to see if there really was a difference in accuracy between a standard size 1911 and the Compact.

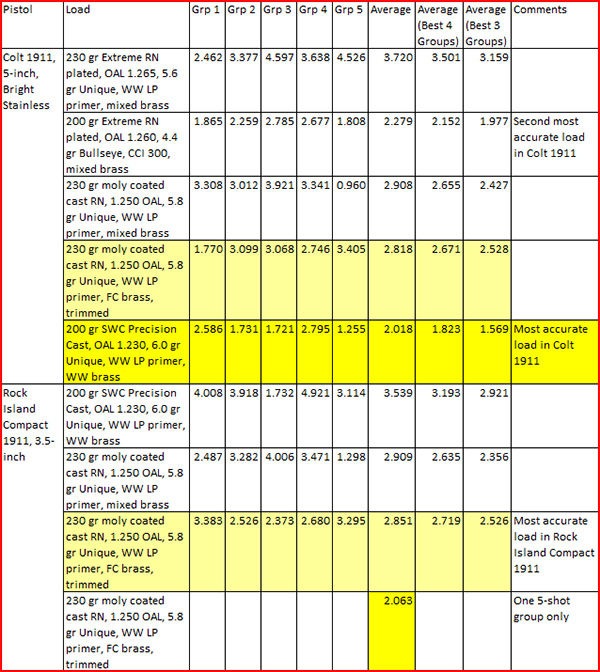
I brought along different loads with two different propellants (Unique and Bullseye) and several different bullets (a 230-grain moly-coated roundnose, a 230-grain plated roundnose, a 200-grain plated roundnose, and a 200-grain cast semi-wadcutter).  I fired all groups at 50 feet from a two-hand-hold, bench-rest position.   All groups were 5-shot groups.  I then measured the groups and took the average group size for each load.

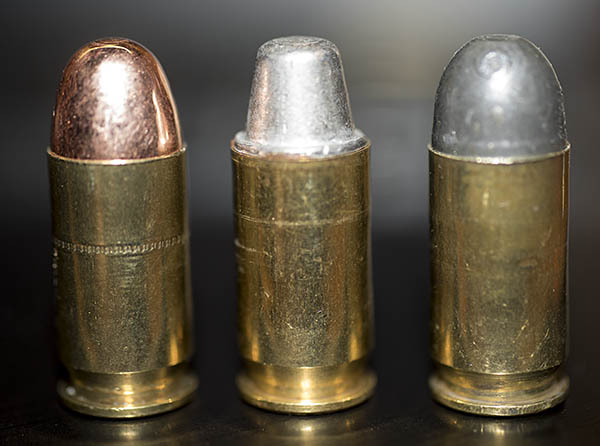
Different .45 ACP bullet configurations. From left to right: A 200-grain roundnose plated bullet, a 200-grain cast lead semi-wadcutter bullet, and a 230-grain moly coated cast bullet.

I know that using a hand-held approach as I did is not the way to eliminate all variability except that due to the gun and the load, and my inability to hold the gun completely steady was a significant contributor to the size of the groups I shot.  A better approach would have been to use a machine rest (you know, the deal where you bolt the gun into a rigidly mounted support), but like my good buddy Rummy used to say, you go to war with the Army you have.  I don’t have a machine rest, so all you get is me.

Because I introduced so much variability into this accuracy assessment, I thought I would throw out the largest group for each combination of load and gun, and take the average of the four best groups.   I did that, and then I did it again by throwing out the two largest groups for each combination of load and gun.   Doing so predictably made the averages smaller, but the relative ranking of the different loads from an accuracy perspective pretty much stayed the same.   That’s good to know.

Before I get into the results, let me tell you a bit about the two handguns. The Compact 1911 is a stock handgun, as delivered from the factory, with the exception of a Klonimus extractor (which I installed because the factory extractor failed after about 1000 rounds). The Colt has been extensively customized by my gunsmith (TJ’s Custom Gunworks in Redondo Beach), with a view toward 100% reliability with any ammo.  That handgun is probably worth $2500 as it sits now. The Compact 1911 can be had for a little over $400.

Okay, that’s enough background.  Let’s get to the bottom line…

Interesting stuff, to be sure.  Most of the variability you see in the above table (and you can see that there’s a lot) was me.  A machine rest would have provided for better groups, but you get what you get, and what you get here is me.

As I expected, the 5-inch 1911 is a bit more accurate than the Compact. The best average group with the full size Colt 1911 was 2.018 inches.  The best average group with the Compact was 2.851 inches.   Okay, so at 50 feet that’s 8/10 of an inch difference, and as they say, that’s close enough for government work.  What was surprising was how accurate the Compact is.  You really don’t give up much in accuracy between the two guns.  And, look at the last row of the above table.  I fired one group with the Compact (and what is now my preferred load) that hung right in there with the Government Model.  More on that in a second.

In the Rock Island 1911, the 230-grain moly bullet was the most accurate load I tested.  After I did the five groups to get an average group size, I fired one more group with this load in the Compact and it was a scant 2.083 inches.   Yeah, this gun is accurate enough.

In the Colt, the most accurate load was with the 200-grain semi-wadcutter bullets over 6.0 grains of Unique.   This load fed flawlessly in both the Rock Island Compact and the Colt.  My Colt has been throated to feed semi-wadcutter bullets; the Rock Island has not been (usually, a 1911 requires that the feed ramp be opened up and polished, or throated as we say, to feed semi-wadcutter bullets).  But the 200-grain semi-wadcutter load failed to eject twice in the Compact.  The Compact is fussy about ejection, and the two failures convinced me that this load won’t work reliably in the Rock Island without additional work.  For now, I’m sticking with the 230-grain roundnose load.  It’s completely reliable for both feeding and ejection.

You’ll notice that one of the Government Model five-shot groups with the 230-grain moly coated bullet and 5.8 grains of Unique was a tight 0.960 inches.  The bottom line is that this load is a good one.  Yeah, the other groups with that load were larger: It’s that shooter variability thing again. Both the Compact and the Colt are capable of greater accuracy than what I could do.

The moly-coated 230-grain bullets shot tighter groups in the Colt than did the plated 230-grain Extreme plated bullets.  That’s consistent with my observations over the years.  Cast bullets seem to be more accurate than plated bullets in any of the .45 autos I’ve shot.  But, the 200-grain roundnose plated bullet did pretty well in the Government Model, too.   I didn’t test that load in the Compact.

The bottom line to all of the above:  My standard .45 Auto load is going to be 5.8 gr of Unique with the 230-grain moly coated cast roundnose bullet.  It fired the best overall group (at 0.960 inches) in the Colt, and it was the best load for the Compact.  This load functions well in both guns, with no anomalies in feed or ejection, and it’s accurate.  The only problem I may have is that moly coating fell out of favor some time ago, and I don’t know if any one is still offering moly-coated bullets. I have a stash of the 230-grain moly bullets, so I’m good for a little while.  After that, it’s back to the loading bench and the range to find the next favorite load.

Regarding the two handguns, I love them both.  That bright stainless Colt Government Model has had a lot of work done to it (a Les Baer barrel, custom fitting, porting and polishing, engine turning, and Millet Hi-Viz sights).  The Rock Island Compact can be had new for something a little north of $400.  It’s a phenomenal value.  The Compact is a lot more concealable, and surprisingly the recoil is only very slightly more than the bigger Colt.  And, as I showed above, it’s accurate.   The Rock Island is a hell of a 1911 at any price, but at it’s current price, the Rock Island is an absolute steal.  I like the look of the Compact, too.  The Parkerized finish, simple wood grips, and low profile fixed GI sights remind me a lot of the 1911s I carried when I was in the Army, and I like that.


Check out our other Tales of the Gun stories here!

Want great deals on targets?  Click here.

Click on those popup ads!