
This is the second blog in our series of three articles on the Lee Deluxe 4-die set. The first blog focused on the dies and their components; this blog focuses on how to set up the dies in a press.
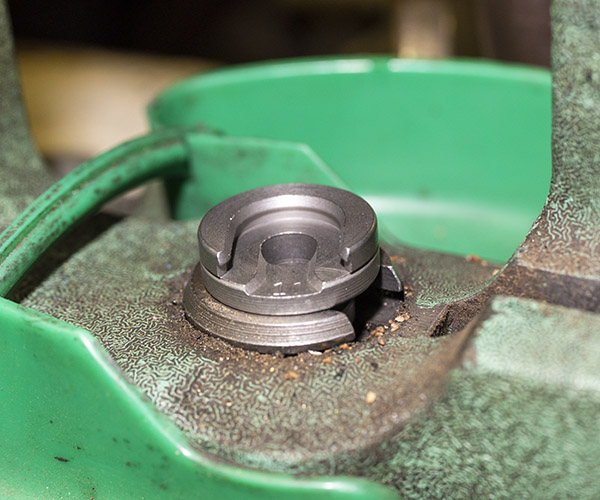
1. Shellholder
As a first step, I inserted the shell holder (No. 11 in Lee’s numbering system) into the press ram. It’s a no brainer, but I wanted to mention that Lee includes the shellholder with their dies, which is a nice touch.
2. Resizing
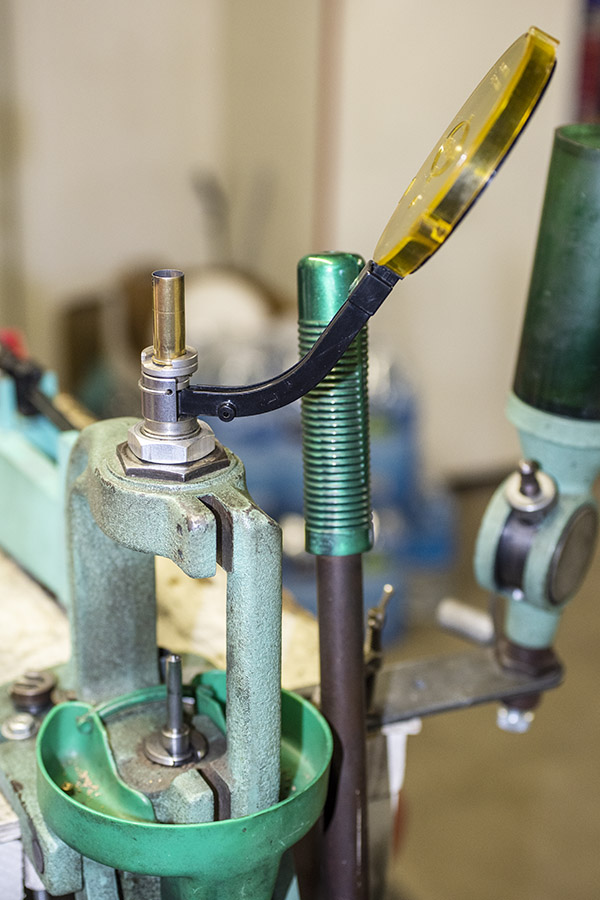
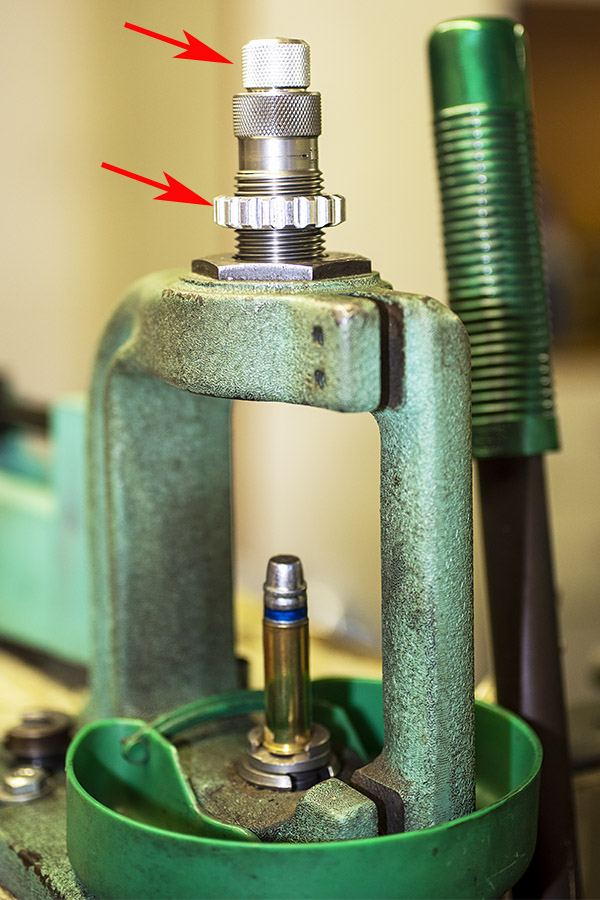
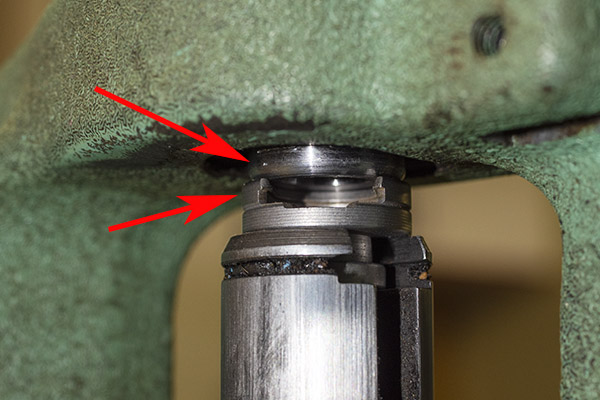
I then raised the reloading press ram, and threaded in the sizing die in until it made contact with the shell holder. After the bottom of the sizing die contacted the shell holder, I lowered the press a bit, turned the die into the press a bit more, and tested it by raising the ram again. I wanted to feel just a bit of pushback on the ram.
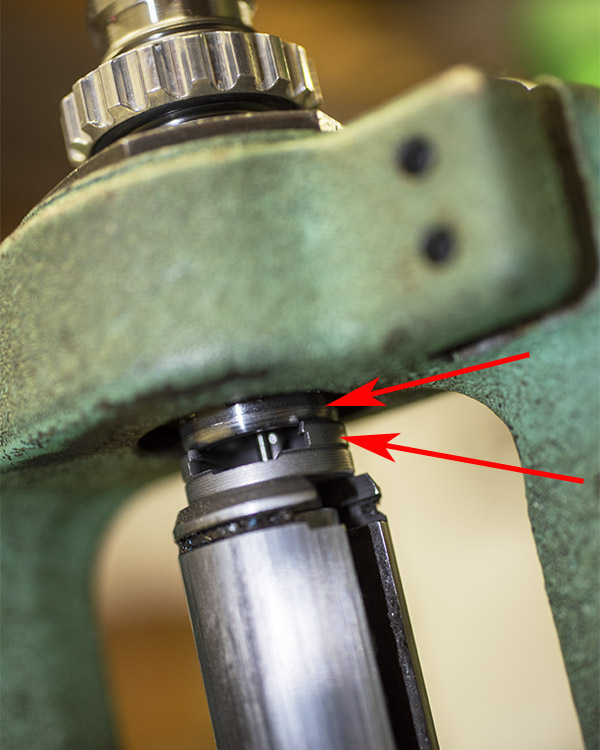
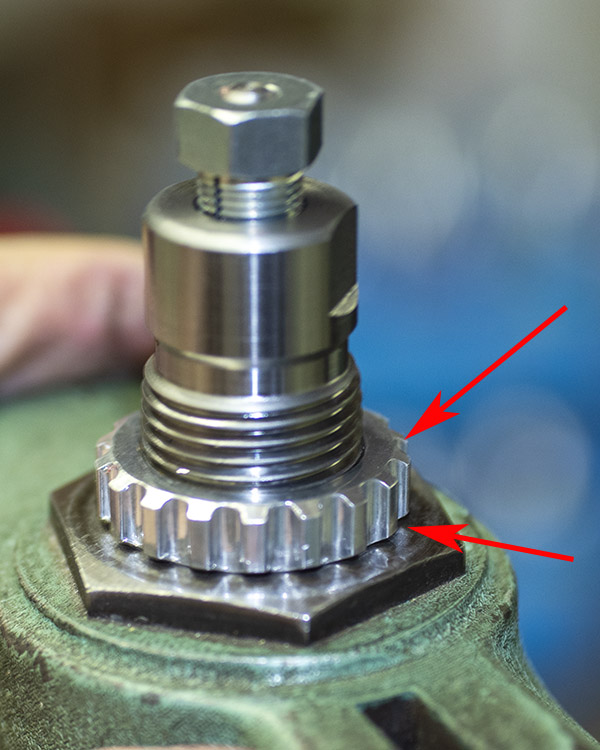
Once I felt resistance in the ram lever with the ram fully raised, I screwed the sizing die’s locking ring all the way down to the press head.
Once that adjustment was made, I don’t have to adjust the sizing die again for future reloading sessions. I can unscrew it by grabbing the locking ring and unscrewing it from the press head. The locking ring’s oring prevents the locking ring from inadvertently moving on the die body. All I need to do is screw the sizing die into the press.
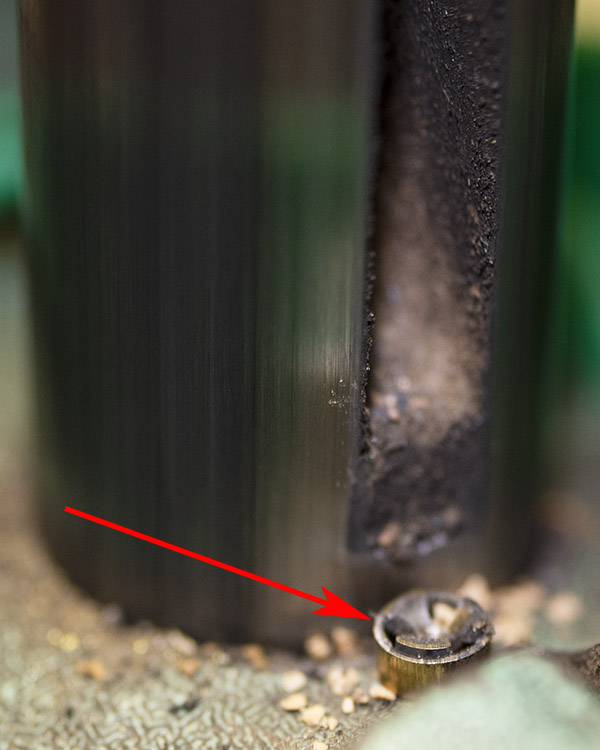
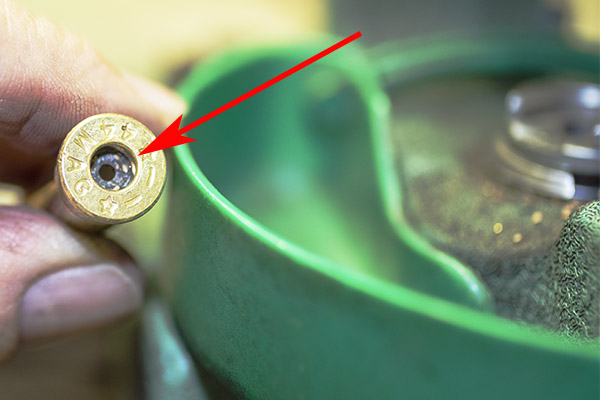
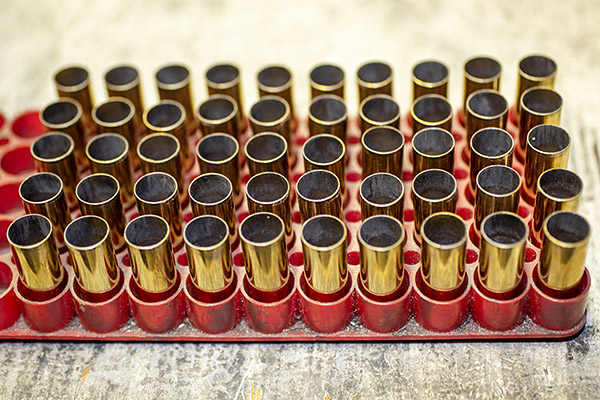
At this point, I proceeded to size 50 cases. I inserted each into the shell holder and raised the ram fully. This both knocked out the old primer and resized each case.
3. Expanding
After completing the resizing operation, I unscrewed the sizing die from the press and partially screwed in the expander die (just a couple of turns at this point). I placed a resized cartridge case in the shell holder and raised the ram fully.
I then continued to screw in the expander die until I felt the cartridge case touching the expander die. I then lowered the ram slightly and screwed the expander die a little further into the press, raising the ram and then lowering it again. I repeated this in minor increments to get the desired amount of flare on the case mouth. I knew I only needed a little bit, just enough to allow a bullet to start in the case mouth. When I do this part of the expander die installation, I check for adequate case mouth flare by taking a bullet and checking to see if it can start in the case mouth.
I don’t put too much flare on the case mouth. All that’s necessary is enough to allow the bullet to start into the case mouth.
Once the bullet could start to enter the case mouth, I knew I had enough flare. At that point, I raised the ram with the case in the shellholder. The case is now in intimate contact with the expander, preventing any expander die rotation. I then threaded the locking ring all the way down on the expander die, locking it in place in the press.
Once I had locked the expander die in place, I proceeded to run all 50 cartridge cases through it.
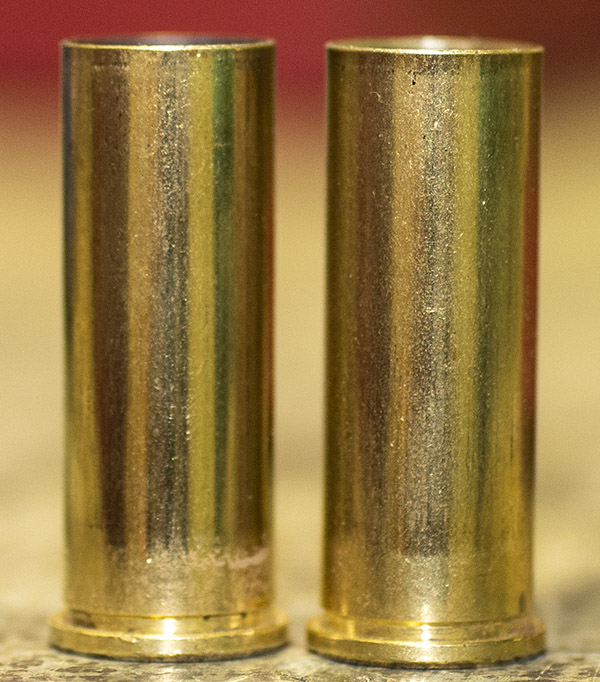
After completing that operation, I grabbed the expander die by its locking collar and unscrewed it. It, too (like the sizing die) now had the locking ring in the right place, and it would not require adjustment for future reloading sessions (for .44 Magnum ammo; if I wanted to load .44 Special ammo, the shorter .44 Special cases would require making the adjustment described above again).
4. Priming
At this point, I seated primers in all 50 cases. I use an older Lee priming tool that is no longer available from Lee. My Lee priming tool is close to 50 years old, which says a lot about the quality and durability of Lee reloading equipment. I’m not going to spend too much time today talking about seating the primers, as this blog is focused on the Lee Deluxe 4-die set. I may do a future blog on the latest Lee priming equipment.
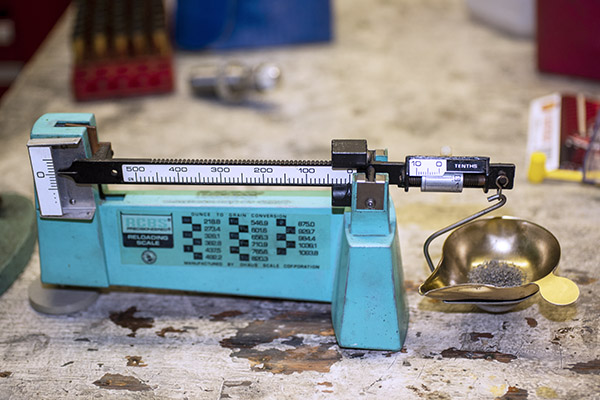
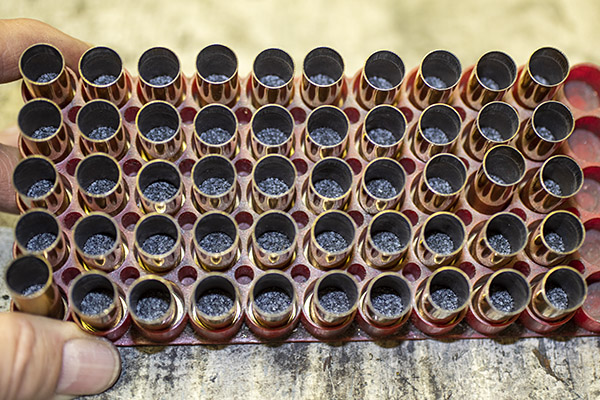
5. Charging
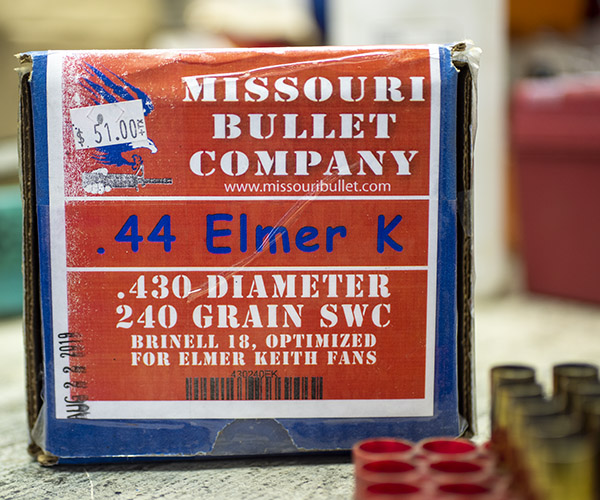
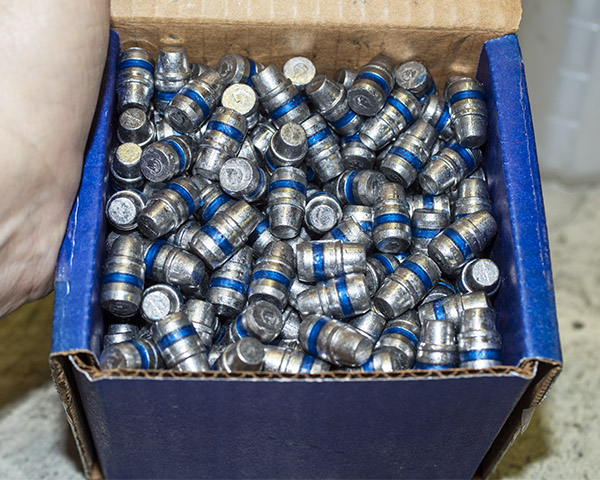
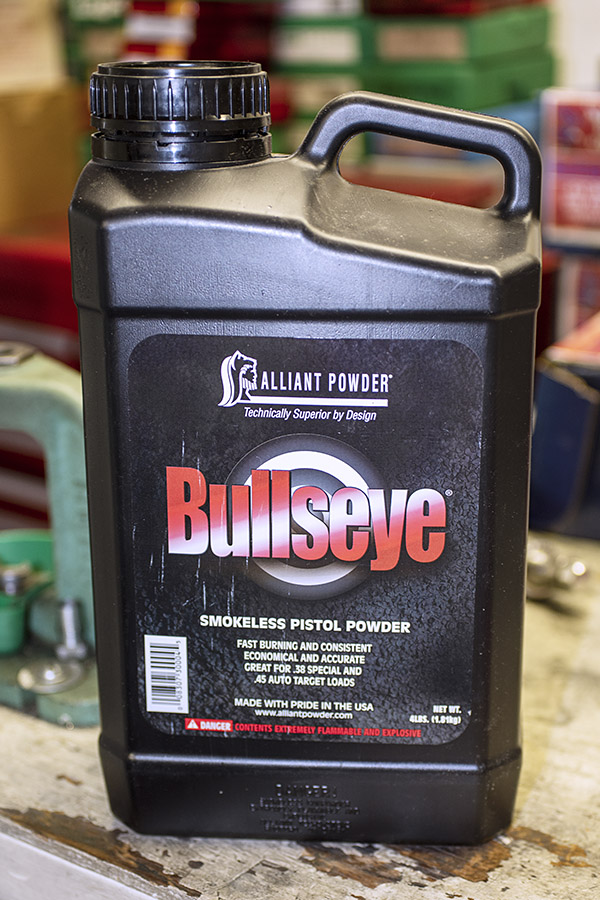
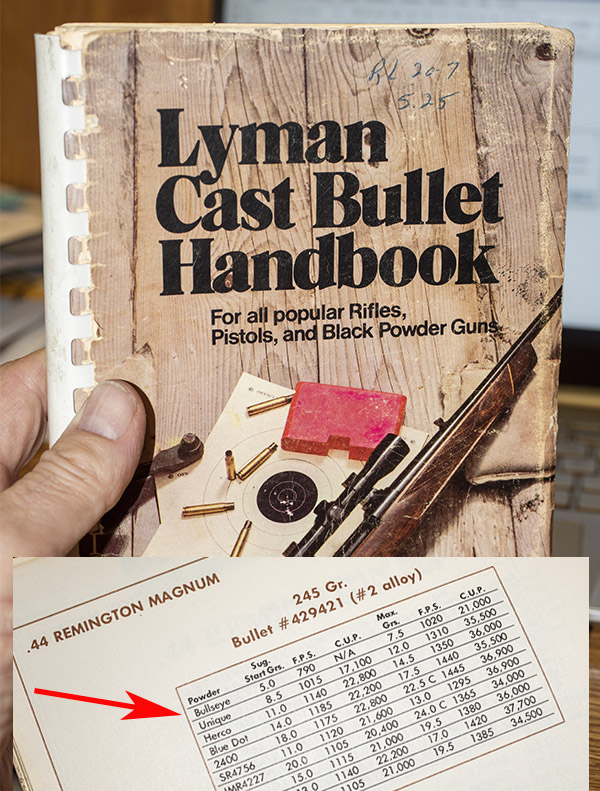
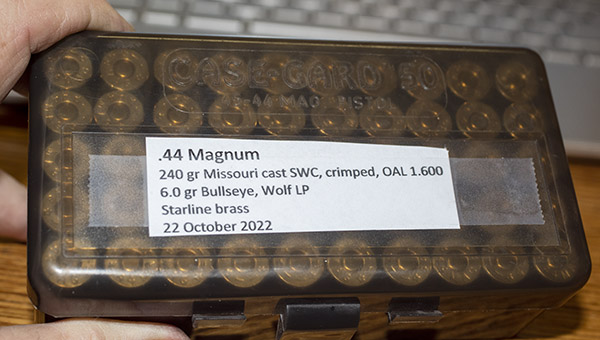
After priming, I charged the cases with propellant. My load is 6.0 grains of Bullseye powder with a 240-grain Missouri Bullet Company semiwadcutter bullet. You won’t find that load in modern reloading manuals. I have a library of old reloading manuals; this one is from an earlier Lyman cast bullet handbook.
6. Bullet Seating
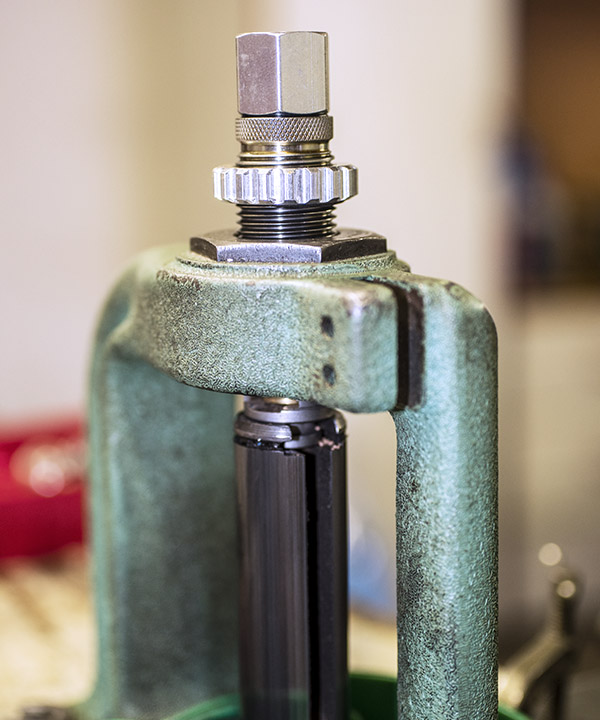
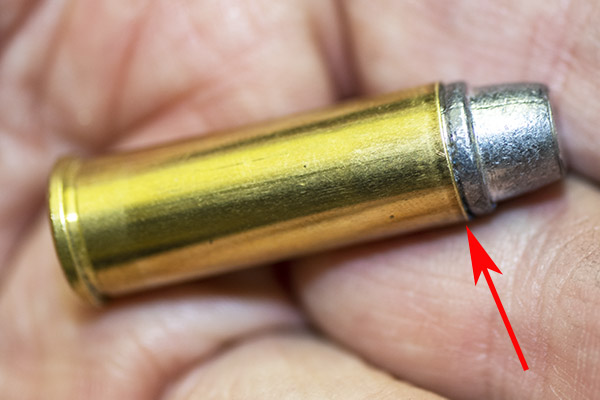
I next seated the bullets using the bullet seating die. The bullet seating die can also be used to crimp the bullet in place, but I don’t crimp with this die. To prevent the bullet seating die’s internal crimping ring from crimping the bullet, I screwed the bullet seater nearly all the way into the bullet seating die (I wanted the bullet seater to reach the bullet before the die’s crimping feature reaches the case mouth). I then adjusted the bullet seating depth by screwing the die body deeper into the press.
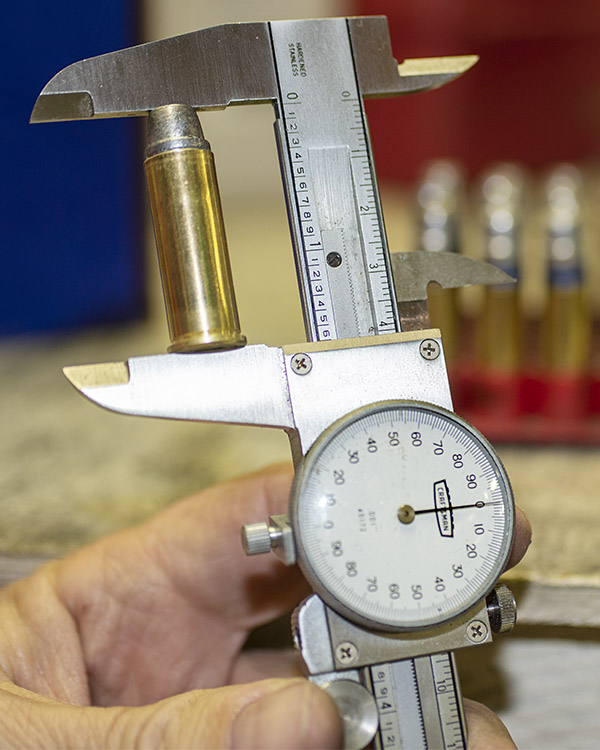
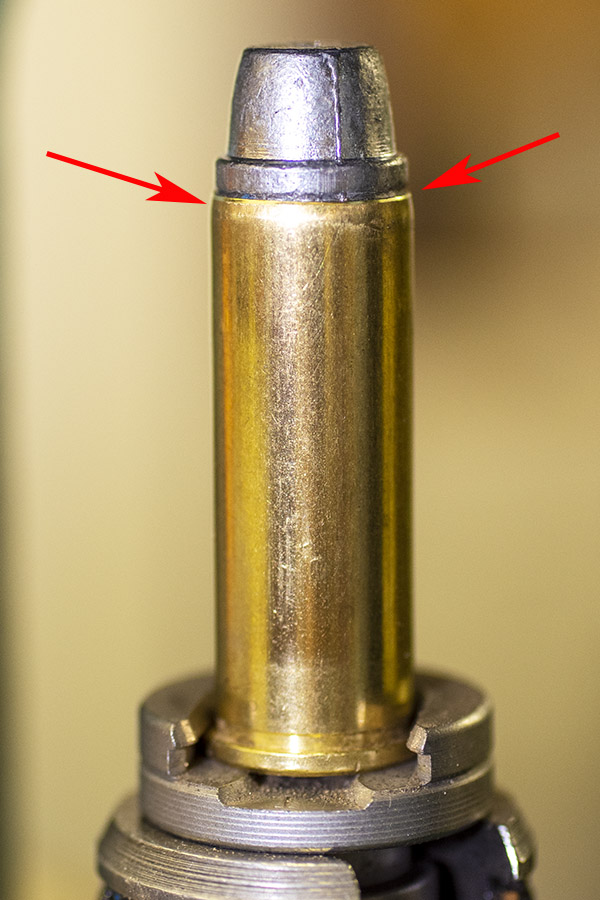
I adjusted the die deeper into the press until the bullet was seated to its crimping groove. This resulted in an overall cartridge length of 1.600 inches.
After I had achieved the desired bullet seating depth, with the ram raised and a cartridge with a seated bullet in the shell holder, I screwed down the die’s lock ring to lock the die in place. I then seated the bullets in all 50 cartridges.
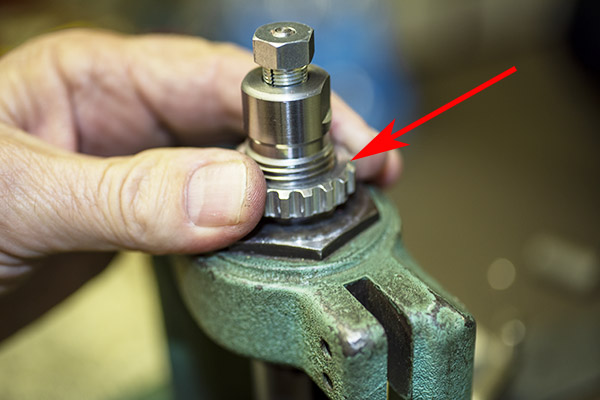
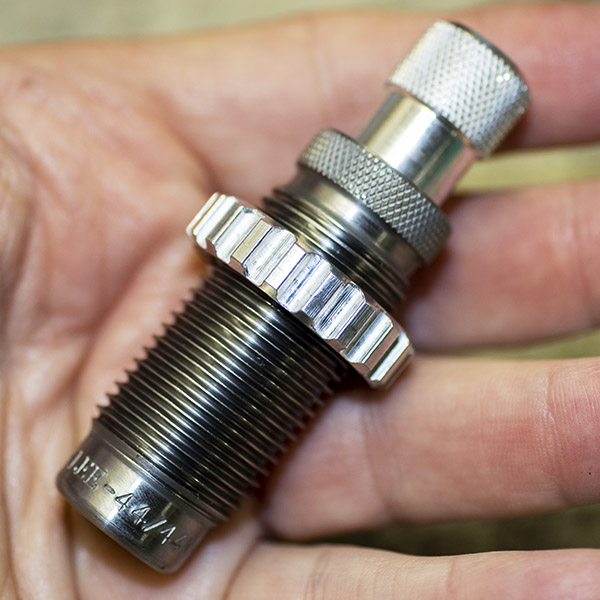
7. Crimping
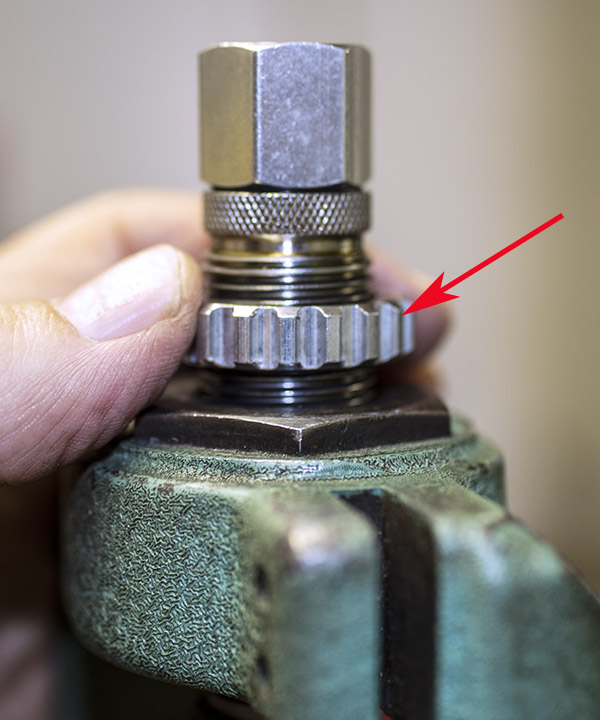
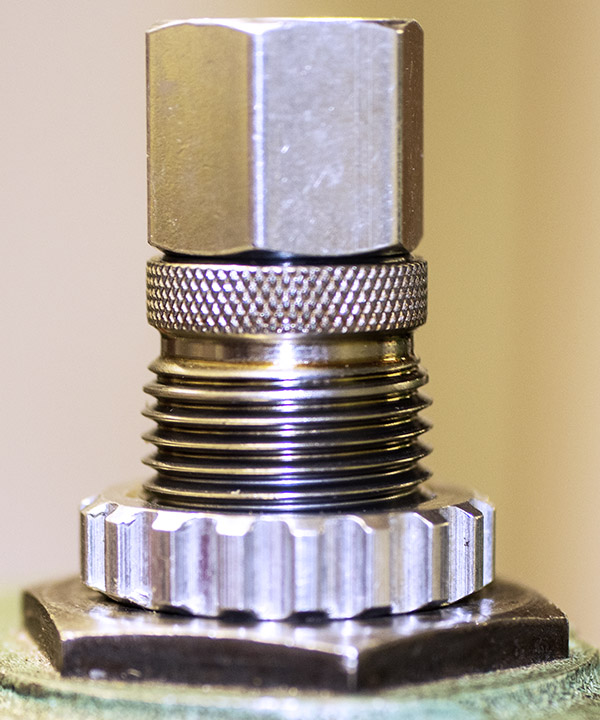
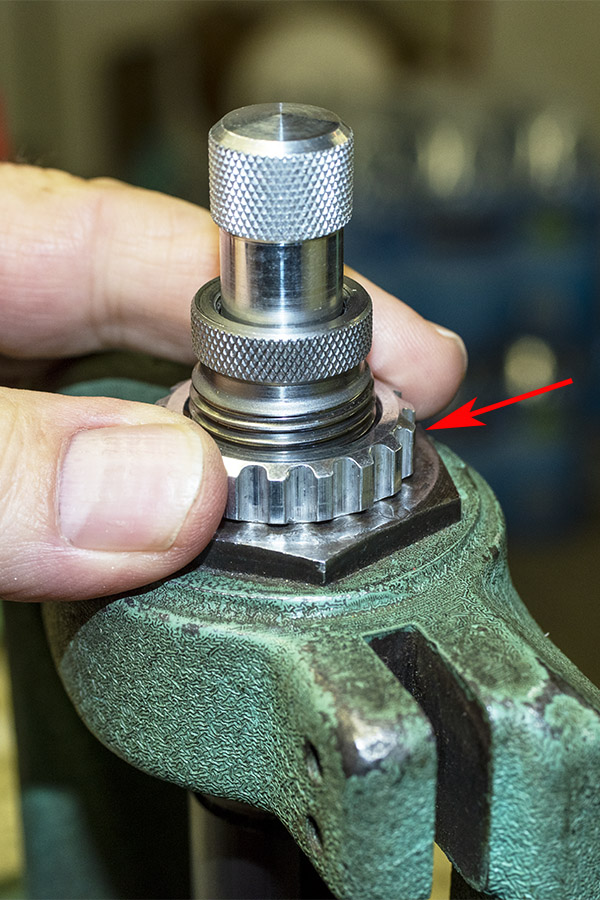
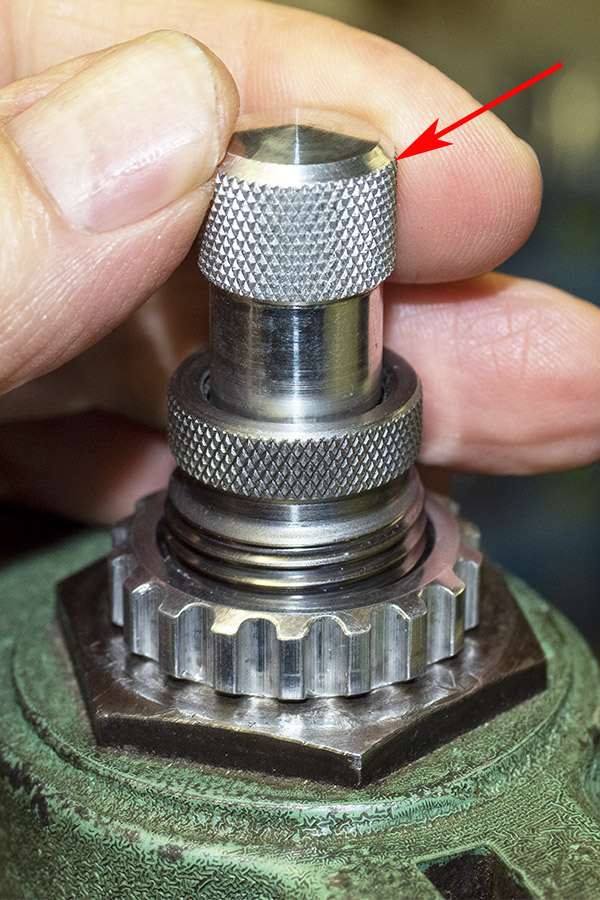
The last die is the crimping die. Here’s what it looks like.
To install and adjust the crimping die, I raised the ram without a cartridge in the shellholder. I then screwed the die fully into the press head until the bottom of the crimping die firmly contacted the shellholder. At that point, I backed the crimp adjuster nearly fully out (until I knew it would not contact the cartridge case). I needed to do this step without a cartridge in the press because if I tried to do it with a cartridge in the press, I might have overcrimped the bullet in the case before I had the crimp adjustment correct.
I lowered the ram, installed a cartridge that had not been crimped into the shellholder, and raised the ram fully. I lowered the crimp adjuster until it contacted the cartridge case (I could feel when it did do by increased resistance on the crimp adjuster as I screwed it into the die body).
I then withdrew the ram slighly and turned the crimp adjuster in a little bit more. I backed off the ram and examined the crimp. I repeated this process (backing off the ram, screwing the crimp adjuster in a bit more, and examining the crimp) until I was satisfied with the crimp.
Once I was satisfied with crimp, I crimped all 50 cartridges.
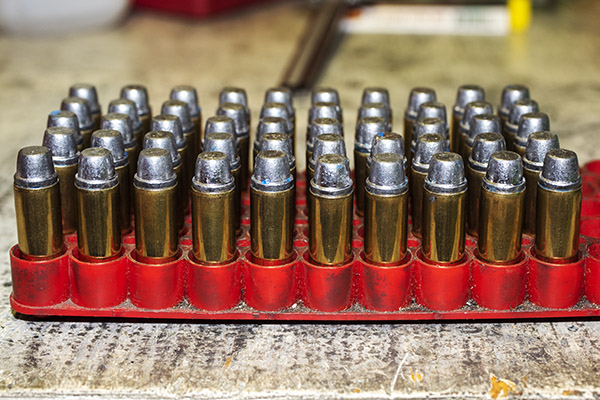
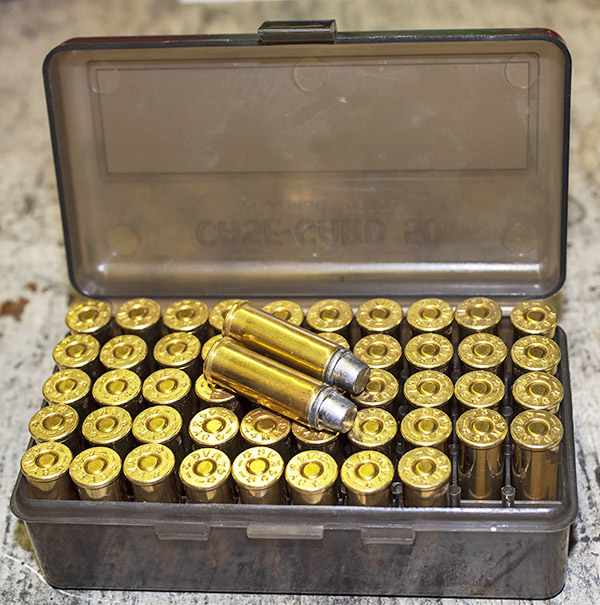
The last step for me was to label my newly reloaded box of .44 Magnum ammunition.
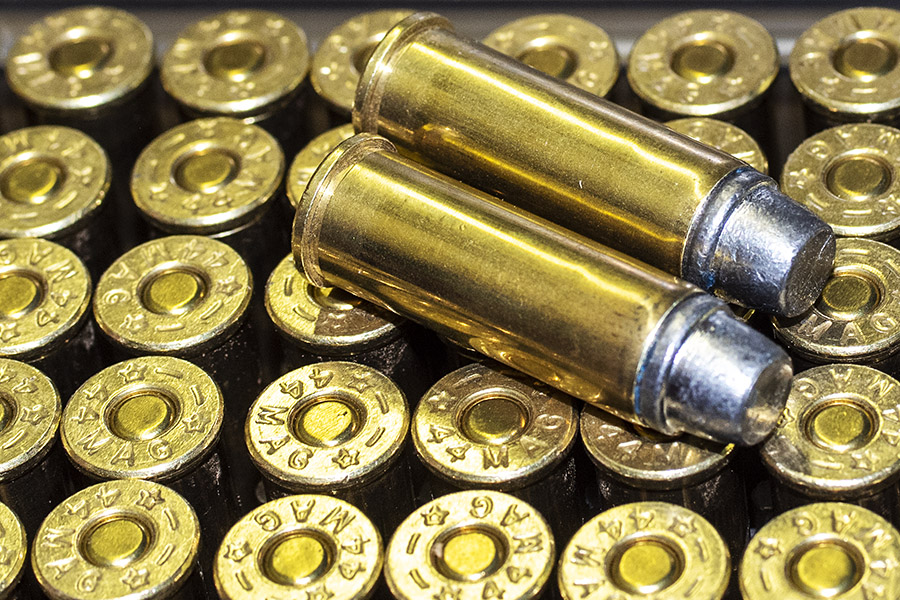
I had my 50 rounds of reloaded .44 Magnum ammo; the next step was a trip to the range to see how it shot. That blog will post in about a week. A spoiler alert…this ammo performed magnificently. Stay tuned, and you’ll see.
Keep hitting those popup ads! You’ve been helping us enormously and we appreciate it!
Never miss an ExNotes blog!
For more info on Lee Precision reloading equipment, click on the image below:

Joe, how long does it take to make 50 bullets once you dial in the machine? And, do bullets ever fire by accident in the press? What happens if they do?
It takes 30 to 45 minutes, Marcus. I’ve not had one fire in the press and I’ve been doing this a while.
Priming, is the time it could happen, seating depth is in your hands.
Clean pockets,& feel, after 10 rounds primed , ya get the feeling.