Part 2: Lee’s Fab Four for the .44

This is the second blog in our series of three articles on the Lee Deluxe 4-die set.  The first blog focused on the dies and their components; this blog focuses on how to set up the dies in a press.

1. Shellholder

As a first step, I inserted the shell holder (No. 11 in Lee’s numbering system) into the press ram.  It’s a no brainer, but I wanted to mention that Lee includes the shellholder with their dies, which is a nice touch.
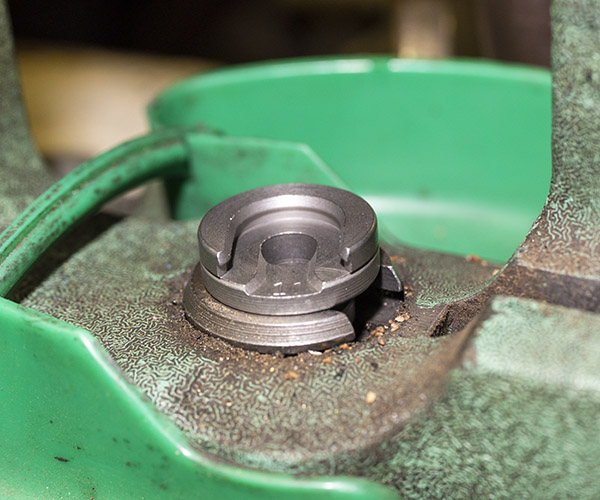
The Lee shellholder in the press ram.

2. Resizing

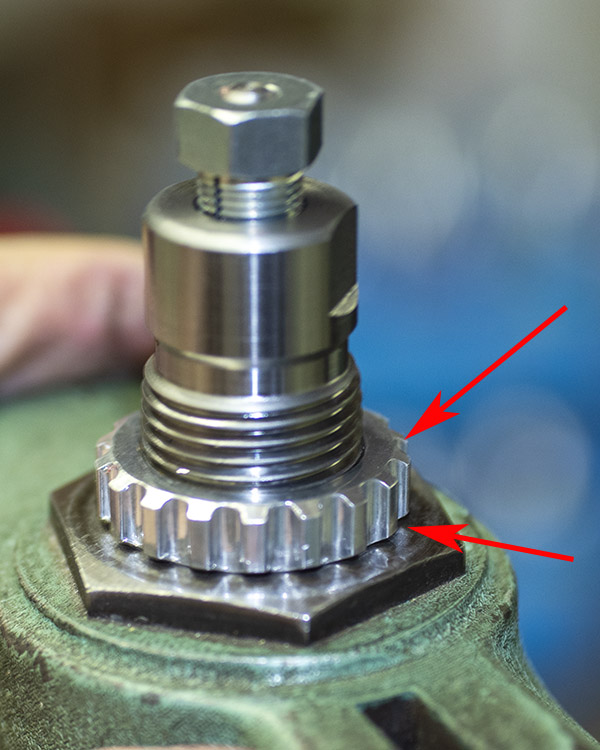
I then raised the reloading press ram, and threaded in the sizing die in until it made contact with the shell holder.  After the bottom of the sizing die contacted the shell holder, I lowered the press a bit, turned the die into the press a bit more, and tested it by raising the ram again.  I wanted to feel just a bit of pushback on the ram.
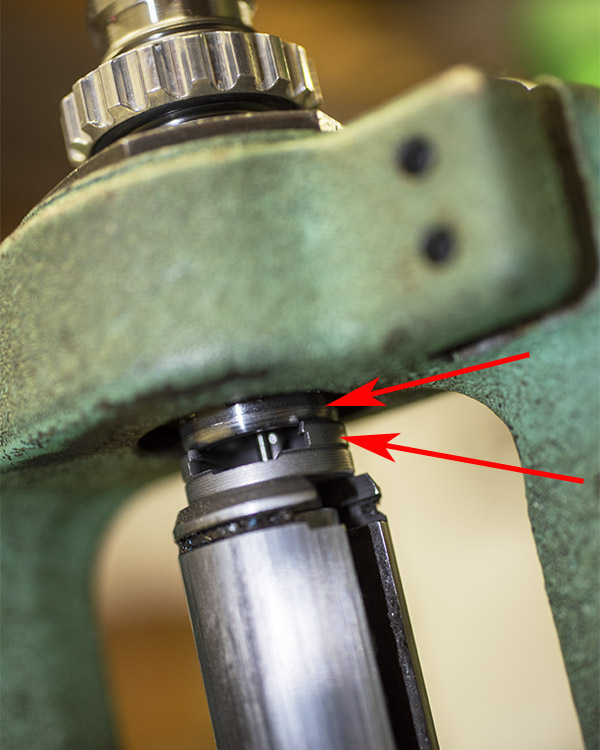
The shellholder (lower arrow) in intimate contact with thre sizing die (upper arrow).

Once I felt resistance in the ram lever with the ram fully raised, I screwed the sizing die’s locking ring all the way down to the press head.
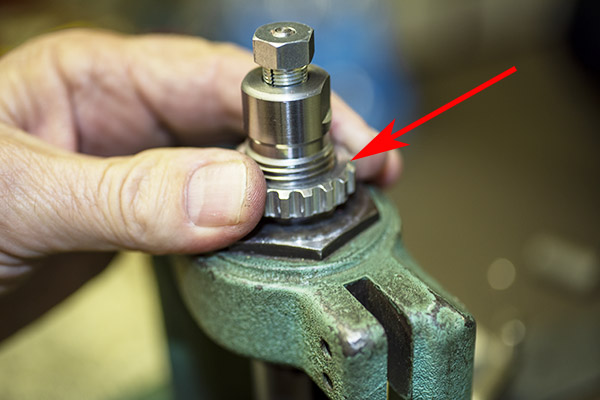
Screwing down the sizing die locking ring.

Once that adjustment was made, I don’t have to adjust the sizing die again for future reloading sessions.  I can unscrew it by grabbing the locking ring and unscrewing it from the press head.  The locking ring’s oring prevents the locking ring from inadvertently moving on the die body.  All I need to do is screw the sizing die into the press.
The sizing die locking ring screwed all the way down to the press head.

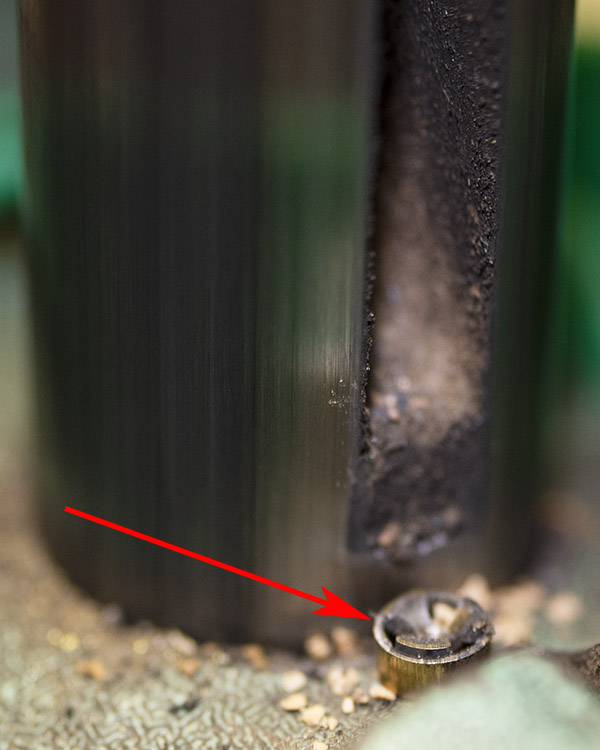
At this point, I proceeded to size 50 cases.  I inserted each into the shell holder and raised the ram fully.  This both knocked out the old primer and resized each case.
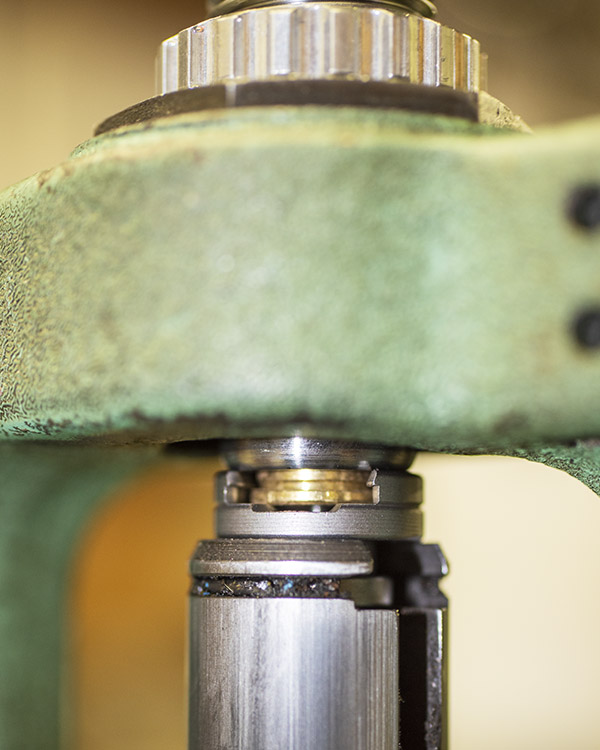
Sizing .44 Magnum cases and punching out the spent primers.
An ejected, spent primer.
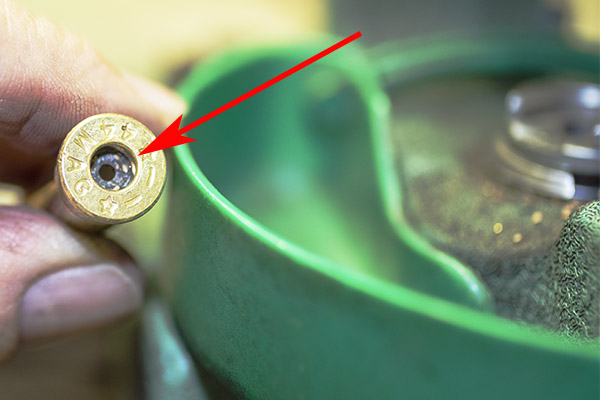
.44 Magnum case with primer removed.

3.  Expanding

After completing the resizing operation, I unscrewed the sizing die from the press and partially screwed in the expander die (just a couple of turns at this point).  I placed a resized cartridge case in the shell holder and raised the ram fully.
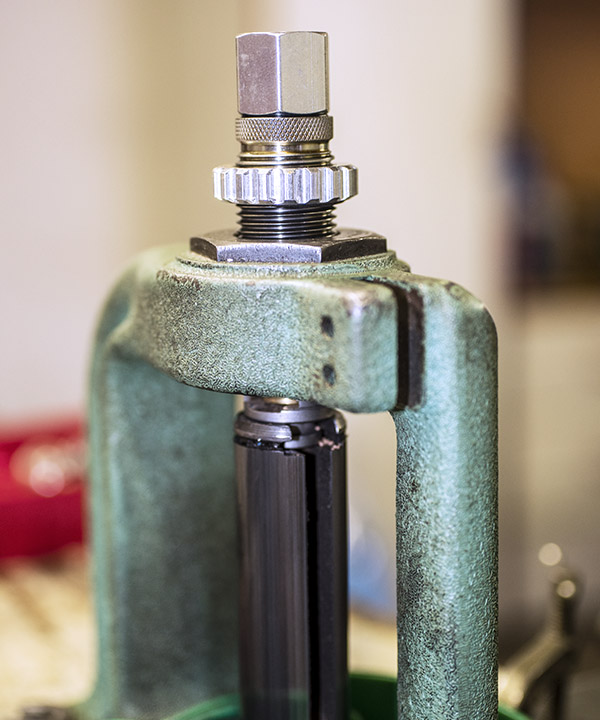
The Lee expander die in the reloading press.

I then continued to screw in the expander die until I felt the cartridge case touching the expander die.  I then lowered the ram slightly and screwed the expander die a little further into the press, raising the ram and then lowering it again.  I repeated this in minor increments to get the desired amount of flare on the case mouth.   I knew I only needed a little bit, just enough to allow a bullet to start in the case mouth.  When I do this part of the expander die installation, I check for adequate case mouth flare by taking a bullet and checking to see if it can start in the case mouth.
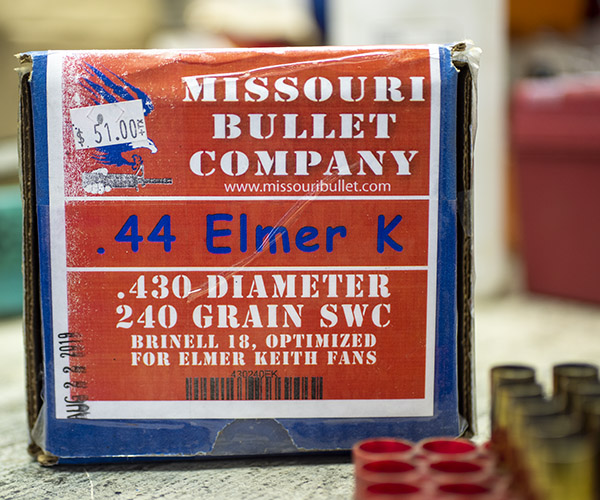
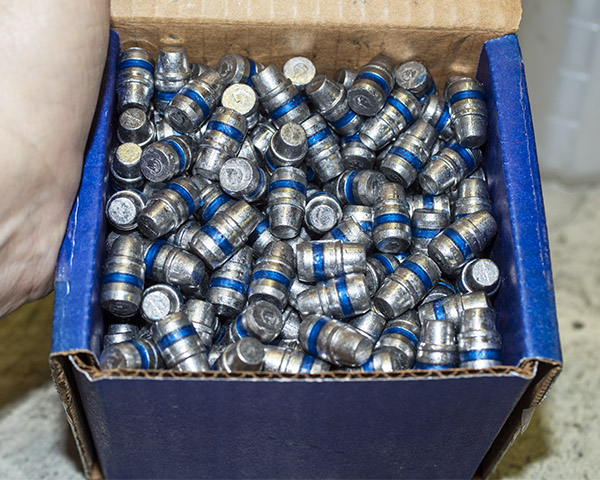
I used Missouri Bullet Company 240-grain cast bullets for these reloads.
The 240-grain Missouri bullets.

I don’t put too much flare on the case mouth.  All that’s necessary is enough to allow the bullet to start into the case mouth.
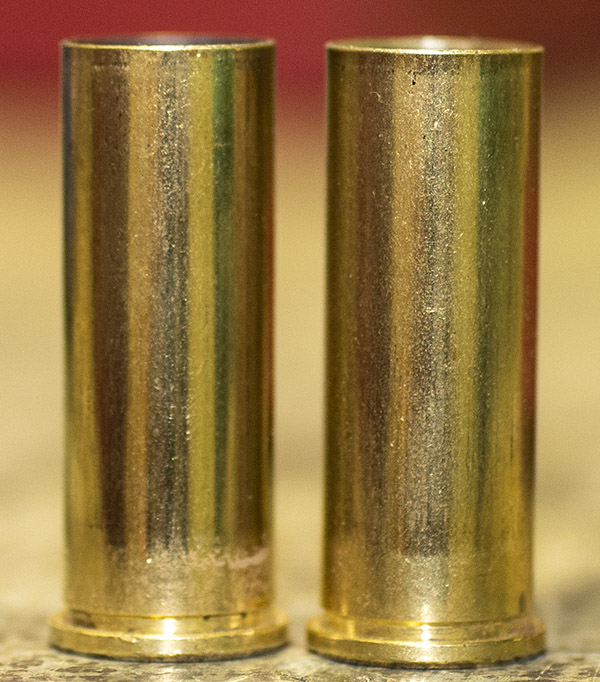
The case on the left has not had the case mount expanded; the case on the right has had the case mouth expanded. Only a small flare is necessary.

Once the bullet could start to enter the case mouth, I knew I had enough flare.  At that point, I raised the ram with the case in the shellholder.  The case is now in intimate contact with the expander, preventing any expander die rotation.  I then threaded the locking ring all the way down on the expander die, locking it in place in the press.
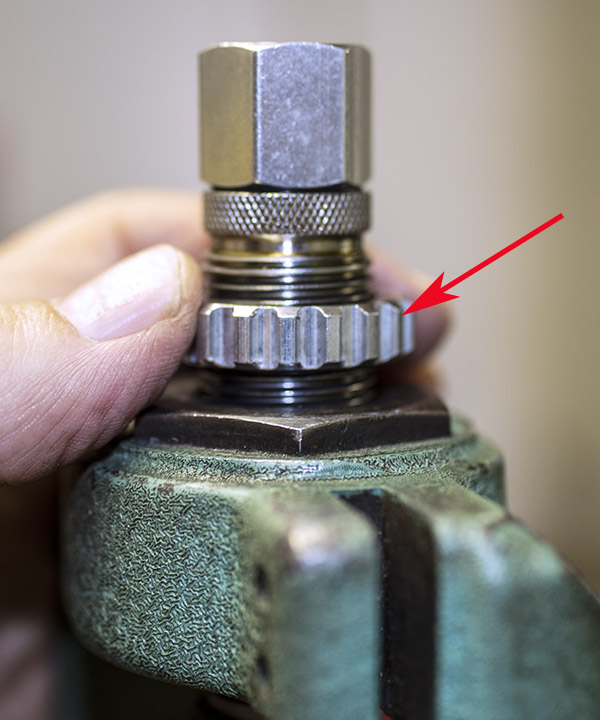
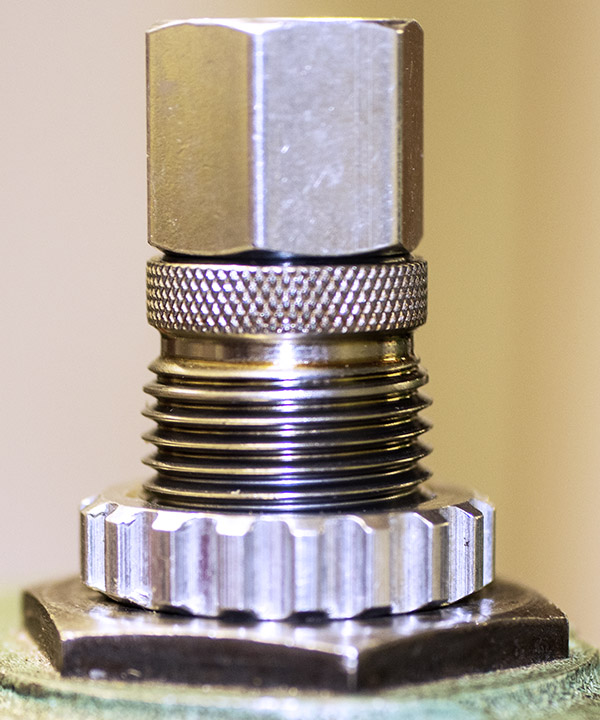
Screwing down the locking ring after the expander die has been adjusted.
The expander die lock ring locked in position.

Once I had locked the expander die in place, I proceeded to run all 50 cartridge cases through it.
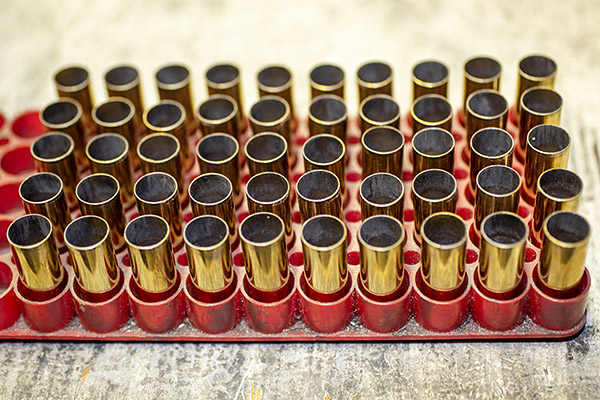
50 Starline cases that have been run through the expander die. I usually reload handgun cases in multiples of 50.

After completing that operation, I grabbed the expander die by its locking collar and unscrewed it.   It, too (like the sizing die) now had the locking ring in the right place, and it would not require adjustment for future reloading sessions (for .44 Magnum ammo; if I wanted to load .44 Special ammo, the shorter .44 Special cases would require making the adjustment described above again).

4.  Priming

At this point, I seated primers in all 50 cases.  I use an older Lee priming tool that is no longer available from Lee.  My Lee priming tool is close to 50 years old, which says a lot about the quality and durability of Lee reloading equipment.  I’m not going to spend too much time today talking about seating the primers, as this blog is focused on the Lee Deluxe 4-die set.  I may do a future blog on the latest Lee priming equipment.
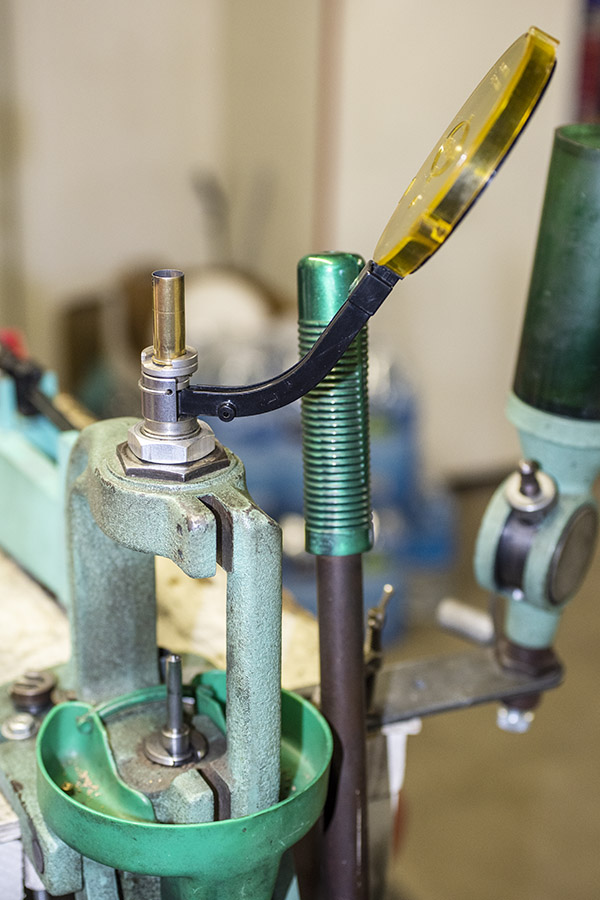
My old Lee priming tool. It still does a great job.

5. Charging

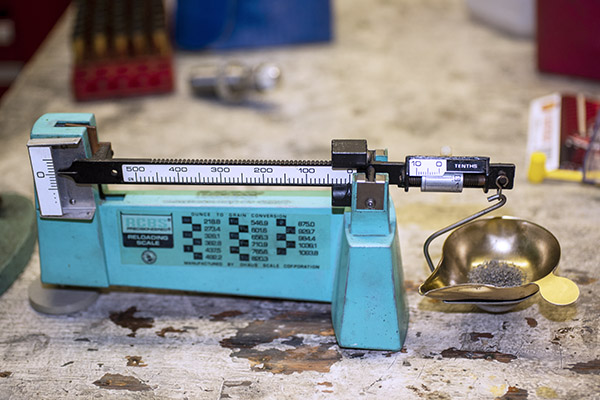
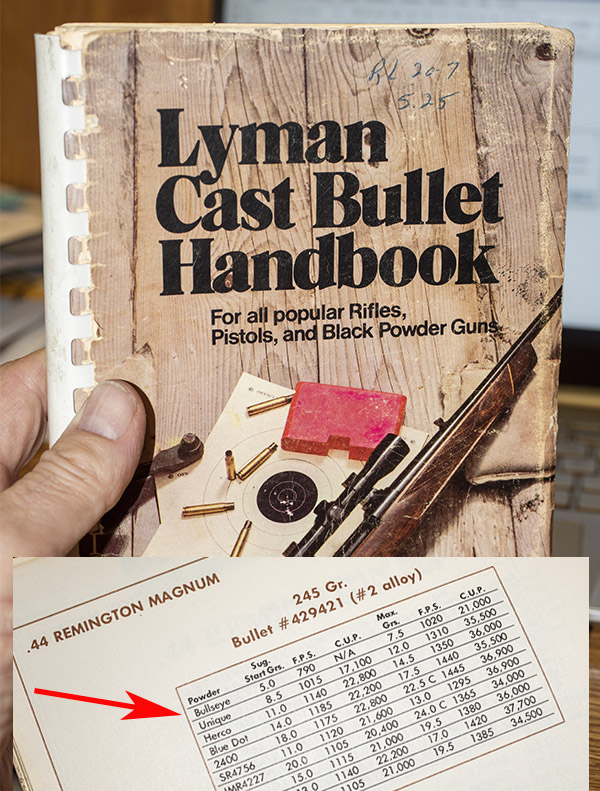
After priming, I charged the cases with propellant.  My load is 6.0 grains of Bullseye powder with a 240-grain Missouri Bullet Company semiwadcutter bullet.   You won’t find that load in modern reloading manuals.  I have a library of old reloading manuals; this one is from an earlier Lyman cast bullet handbook.
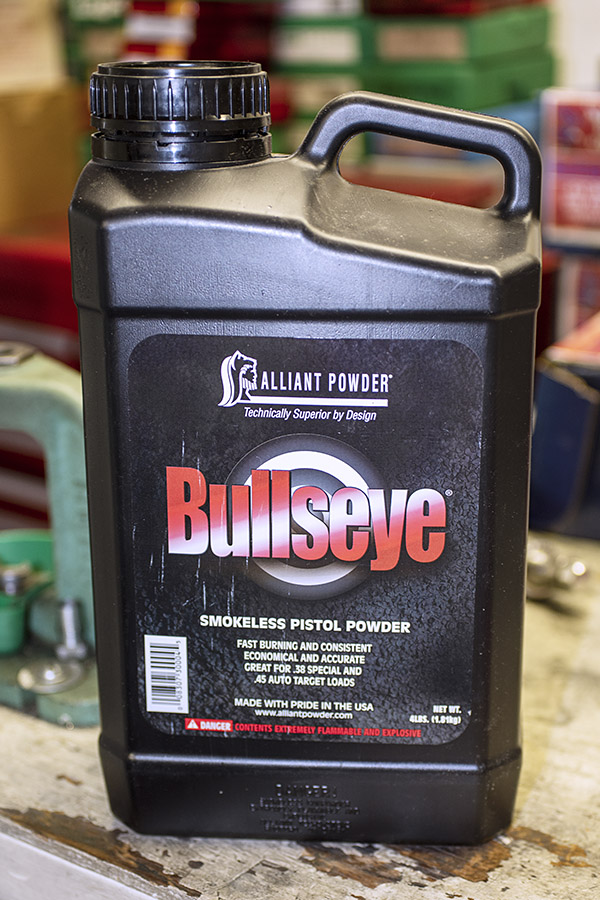
An oldie but still a goodie. I use Bullseye powder for several different handgun loads.
An older Lyman Cast Bullet Handbook with a great load for the .44 Magnum.
6.0 grains of Bullseye with a 240-grain cast bullet works well in the .44 Magnum.
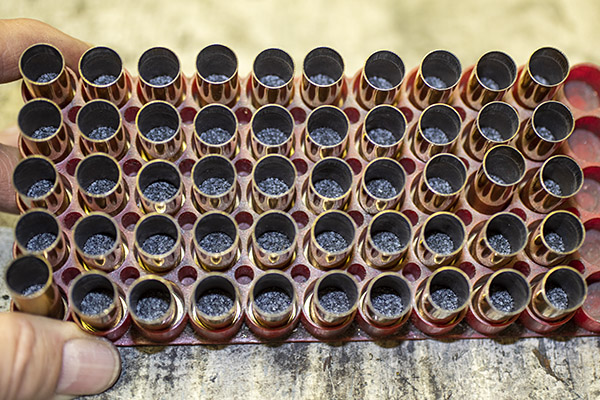
50 Starline cases primed and charged with Bullseye propellant.

6.  Bullet Seating

I next seated the bullets using the bullet seating die.  The bullet seating die can also be used to crimp the bullet in place, but I don’t crimp with this die.  To prevent the bullet seating die’s internal crimping ring from crimping the bullet, I screwed the bullet seater nearly all the way into the bullet seating die (I wanted the bullet seater to reach the bullet before the die’s crimping feature reaches the case mouth).  I then adjusted the bullet seating depth by screwing the die body deeper into the press.
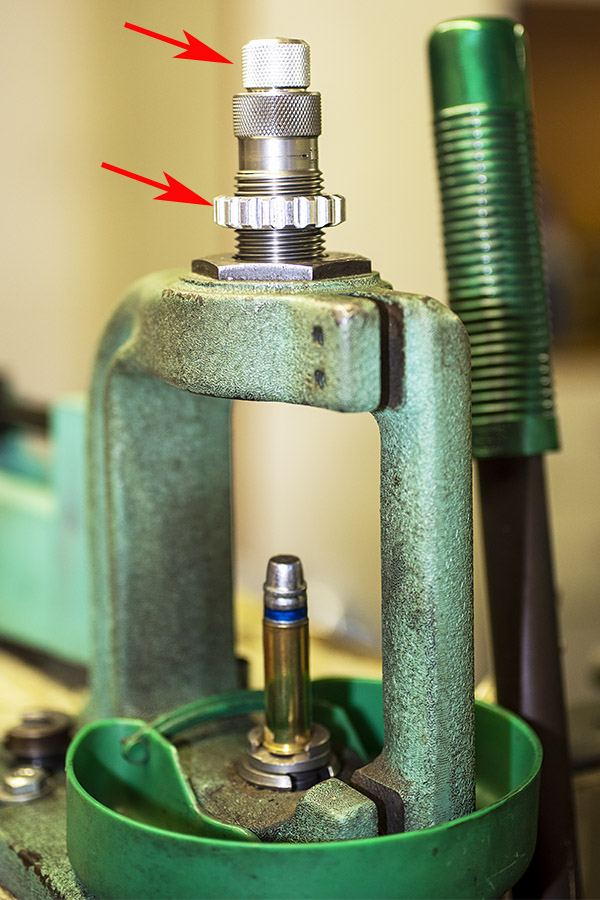
A .44 Magnum cartridge about to have its bullet seated to the correct depth. The upper arrow points to the bullet seater adjustment; the lower arrow points to the locking ring.

I adjusted the die deeper into the press until the bullet was seated to its crimping groove.  This resulted in an overall cartridge length of 1.600 inches.
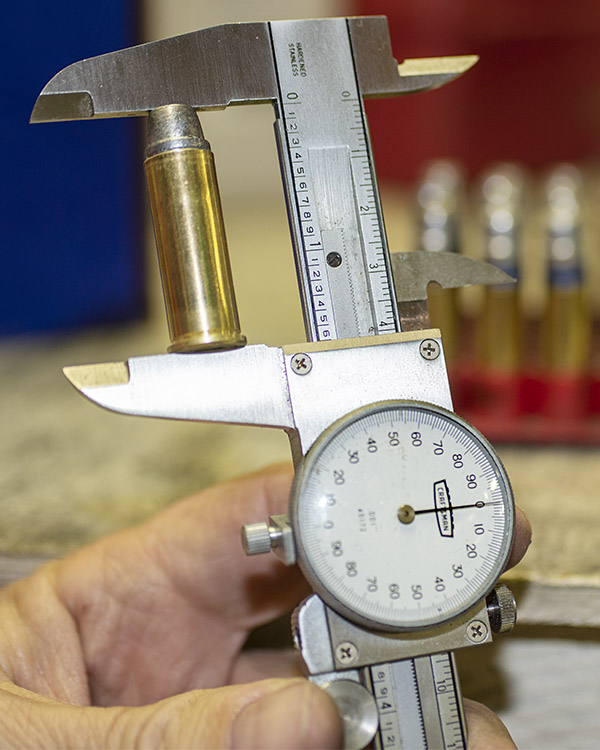
Having a good calipers helps reloading enormously.
The 240-grain bullet seated at an overall cartridge length of 1.600 inches, but not yet crimped in place.

After I had achieved the desired bullet seating depth, with the ram raised and a cartridge with a seated bullet in the shell holder, I screwed down the die’s lock ring to lock the die in place.  I then seated the bullets in all 50 cartridges.

7. Crimping

The last die is the crimping die.  Here’s what it looks like.
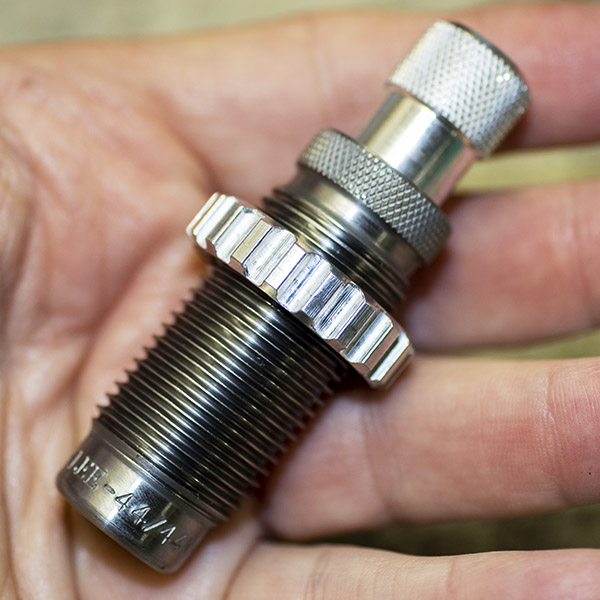
The Lee Factory Crimp Die. This is a stellar bit of reloading equipment.

To install and adjust the crimping die, I raised the ram without a cartridge in the shellholder.  I then screwed the die fully into the press head until the bottom of the crimping die firmly contacted the shellholder.  At that point, I backed the crimp adjuster nearly fully  out (until I knew it would not contact the cartridge case).  I needed to do this step without a cartridge in the press because if I tried to do it with a cartridge in the press, I might have overcrimped the bullet in the case before I had the crimp adjustment correct.
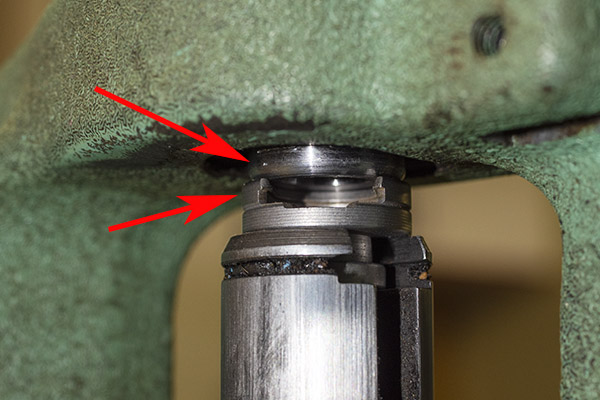
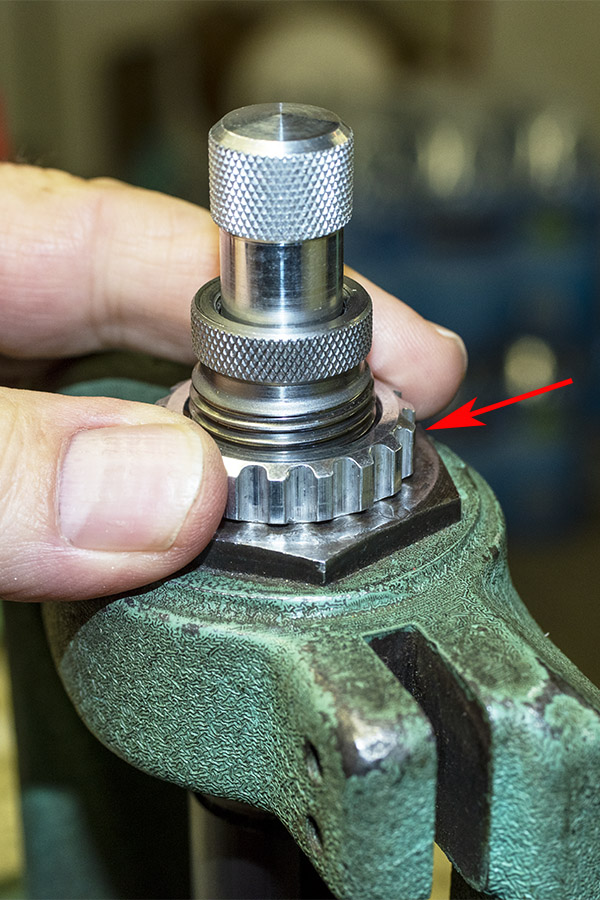
The shellholder in intimate contact with the bottom of the Lee factory crimp die.
The factory crimp die locking ring, fully screwed down on the die body.

I lowered the ram, installed a cartridge that had not been crimped into the shellholder, and raised the ram fully.   I lowered the crimp adjuster until it contacted the cartridge case (I could feel when it did do by increased resistance on the crimp adjuster as I screwed it into the die body).
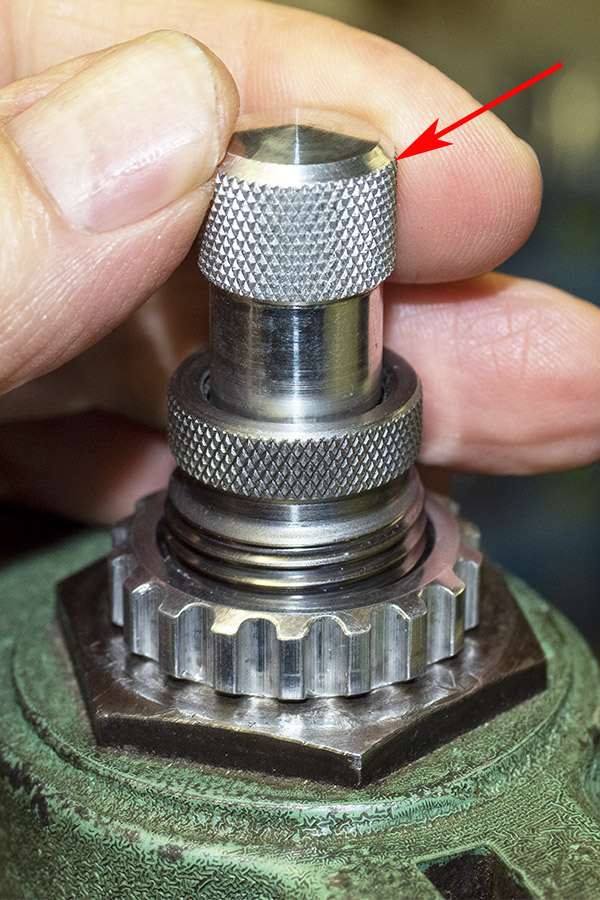
The crimp adjuster.

I then withdrew the ram slighly and turned the crimp adjuster in a little bit more.  I backed off the ram and examined the crimp.  I repeated this process (backing off the ram, screwing the crimp adjuster in a bit more, and examining the crimp) until I was satisfied with the crimp.
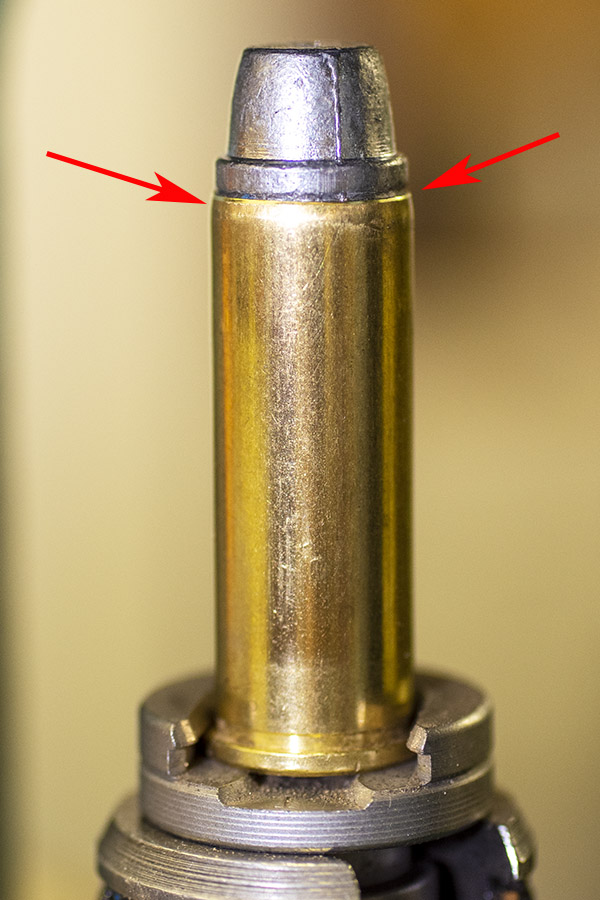
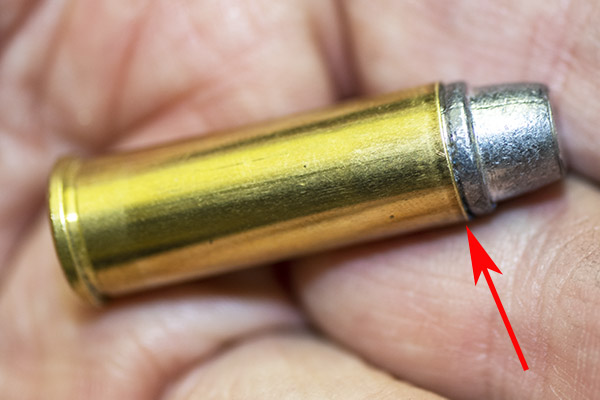
A crimped .44 Magnum cartridge. The Lee factory crimp die does a great job.

Once I was satisfied with crimp, I crimped all 50 cartridges.
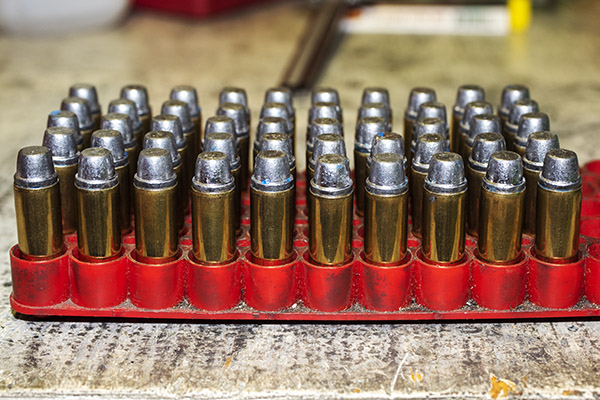
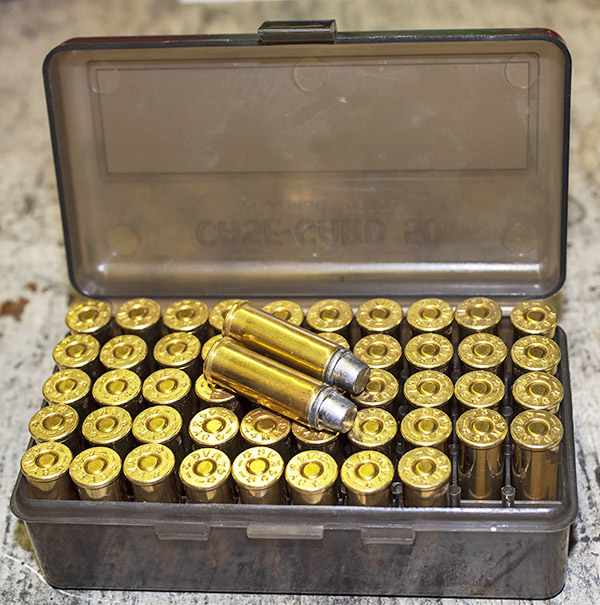
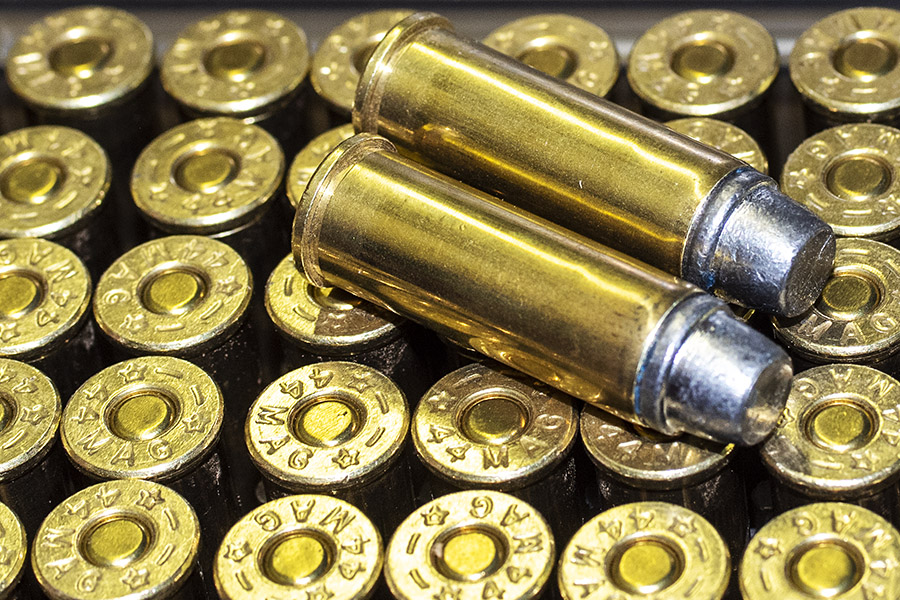
50 reloaded .44 Magnum cartridges.
Reloaded ammo in the cartridge box.

The last step for me was to label my newly reloaded box of .44 Magnum ammunition.
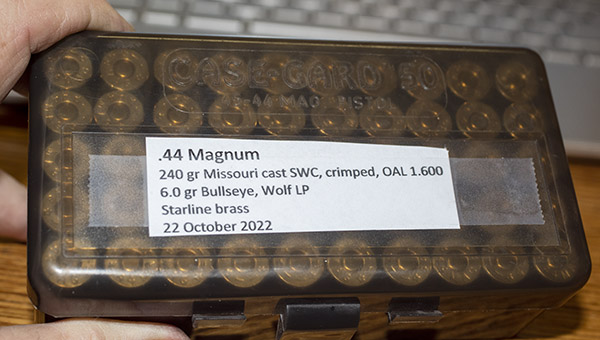
Labeling is critical. If I don’t do this immediately after loading the ammo, I might forget what the recipe was.

I had my 50 rounds of reloaded .44 Magnum ammo; the next step was a trip to the range to see how it shot.   That blog will post in about a week.  A spoiler alert…this ammo performed magnificently.  Stay tuned, and you’ll see.


Keep hitting those popup ads!  You’ve been helping us enormously and we appreciate it!


Never miss an ExNotes blog!


For more info on Lee Precision reloading equipment, click on the image below:

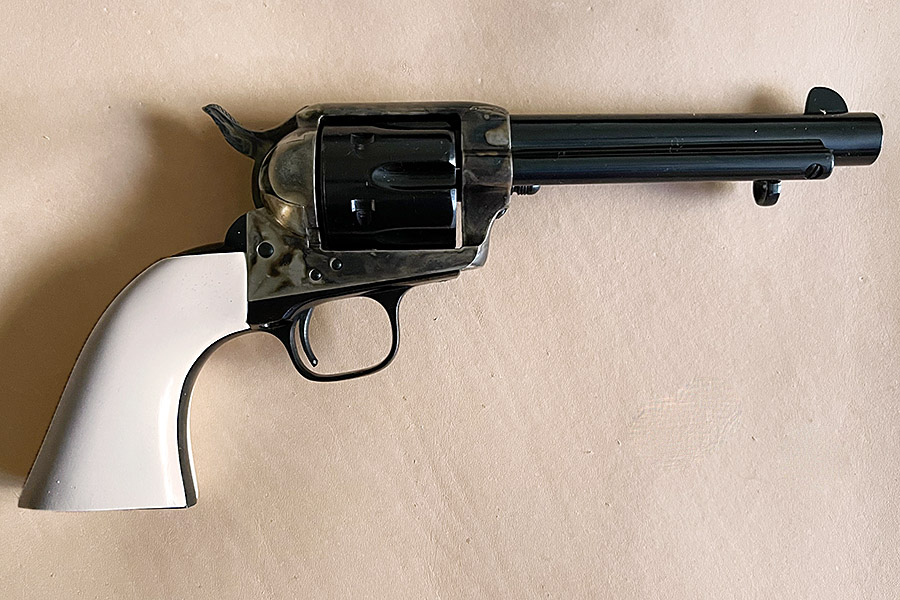
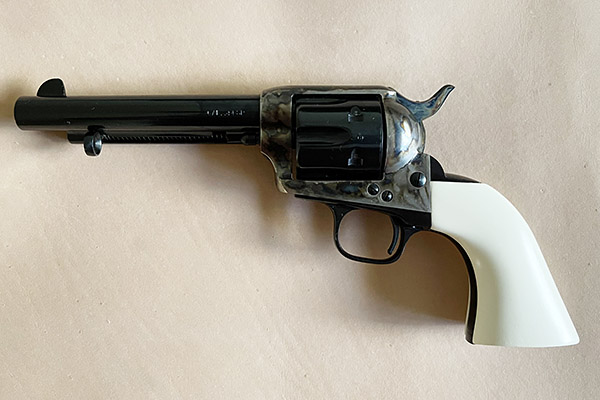
A Uberti 44 Special SAA

Good buddy Paul is the guy who got me interested in the Uberti Single Action Army and blackpowder Colt replicas, and it’s an interest that I am thoroughly enjoying.  We visited recently and Paul showed me one I had seen before that he had recently added a set of custom grips to.  This is a  Uberti Single Action Army with the black powder frame chambered in .44 Special, and it is a stunning example of Uberti’s work.

Paul purchased a set of synthetic ivory grips that had a large decorative eagles molded into the grip material.  The original grips with the eagles didn’t quite make it for Paul, and the fit of the grips to the grip frame was poor.  Paul sanded the eagles into oblivion and very carefully recontoured the grips for what is now a perfect fit.  There are no gaps and no overhangs anywhere.  There’s something about the Colt SAA configuration that just feels right in the hand.

I like this gun.  I’m a big fan of the .44 Special cartridge. Paul tells me he shoots a 215-grain bullet he casts himself and it is quite accurate.  Like my .45 Colt Uberti, Paul’s gun shoots to point of aim at 50 feet, which is great for a fixed sight handgun.

Paul and I had a good conversation about our shared interest in these old western style sixguns.  We’re both about the same age and we grew up in an era when cowboy TV series and western movies dominated the entertainment industry, and that undoubtedly influenced our taste in firearms.  It was a good time to be a kid, I think.


Join our Uberti Firearms Facebook group!


Help us continue our Tales of the Gun articles:  Please click on the popup ads!

More Tales of the Gun!


Never miss an ExNotes blog…sign up here for free!

A Competition Taurus .44 Special

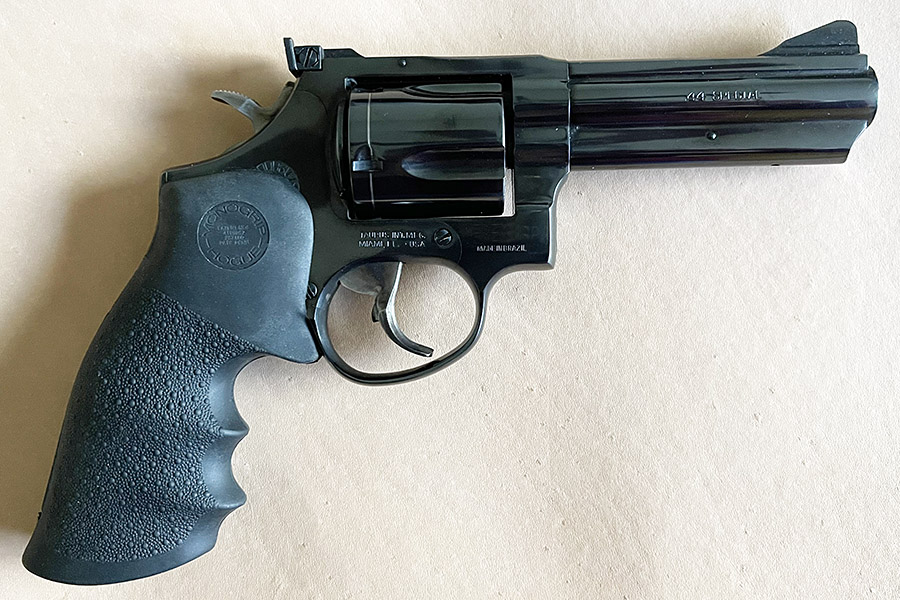
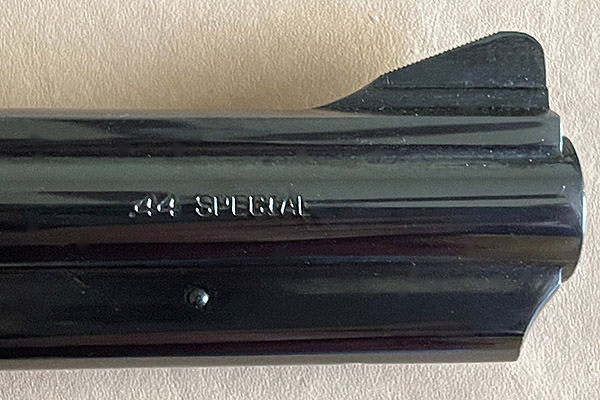
I recently visited with my good buddy Paul and he let me photograph his Taurus Model 441 .44 Special revolver.   Paul and I grew up together in rural New Jersey.  We’re both firearms and reloading guys, and I love getting together with Paul and talking about both topics.

Paul told me he purchased the Taurus new in 1986 or 1987 from Harry’s Army & Navy store on Route 130 in Robbinsville, New Jersey.  That shop is no longer there, but back in the day it was a major gun store in central Jersey.   Paul said he is 98% sure he paid $249 for it.

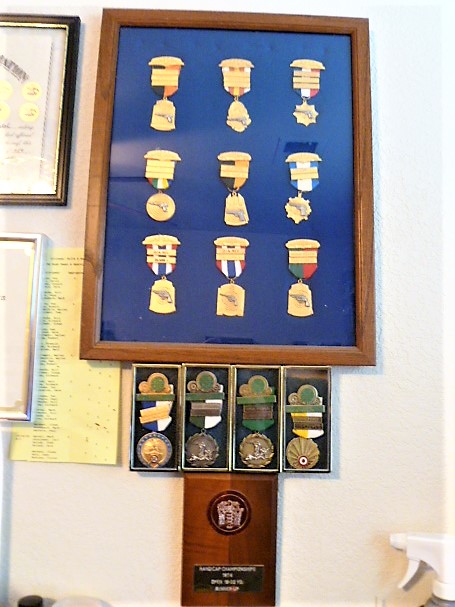
I know Paul likes this 5-shot .44 Special revolver very much.  He used it extensively in monthly defense revolver matches.   Those matches required a defense revolver with a barrel length of 4 inches or less and a caliber of .38 or larger.  The matches were shot at distances up to 50 yards. Paul did well with the Taurus in the Eastern Regional Defense Pistol matches, taking many medals in his class. The matches attracted over 60 shooters from Maine to Florida and they were held over three days.   The awards you see below are just a few Paul won with this handgun.

The frame size is between a Smith & Wesson K and L frame. The grips you see in these photos are from Hogue.  Paul has the original grips.  He told me the Hogue just feels better in his hand.  Paul did all his match shooting with the original grips and changed them for the Hogue grip about two years ago.
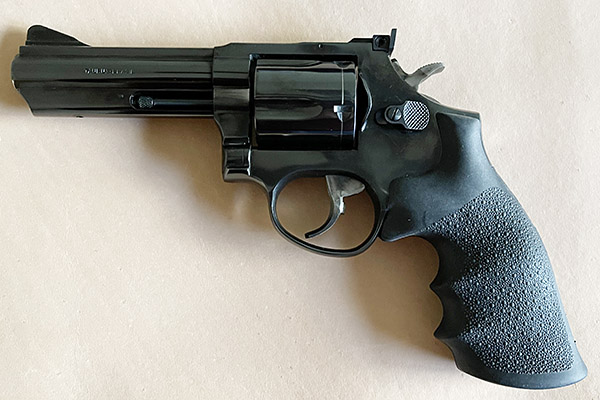
Paul is a very competent machinist and gunsmith, and he modified the Taurus to his tastes.  He did a trigger job on it and replaced the springs with a Wolf spring kit.  He also added the trigger over-travel piece on the back of the trigger.  That’s to limit any further rearward trigger movement after the hammer has been released.  It helps to minimize gun movement and improves accuracy.  I dry fired this gun both single and double action at Paul’s place and the gun is silky smooth. It’s a really nice weapon.

Paul is also a very experienced reloader and he does it all, including casting his own bullets.   He’s the guy I call when I have reloading questions.   For this gun, Paul uses the 429215 Lyman gas check bullet mould, but he does not use a gas check.   Paul’s preferred .44 Special load is the 215-grain Lyman bullet and 7.0 – 7.1 grains of Unique.  Paul told me it’s very accurate in this gun and the load has mild recoil.

While handling the Taurus, I was impressed.  I was tempted to make Paul an offer on it, but I knew doing so would be pointless.  When you have a handgun you shoot well, you modified to fit your tastes, and you have a history with, you keep it.  It sure is nice.


More Tales of the Gun!


Never miss an ExNotes blog.  Sign up here for free.

TJ’s Bulldog

What does a professional, world-class pistolsmith use for his personal weapon of choice?

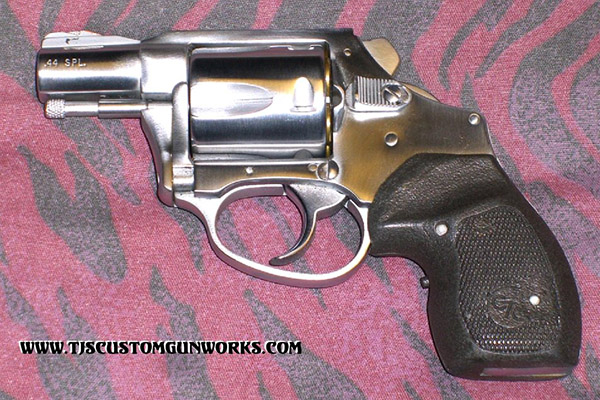
I asked good buddy TJ (of TJ’s Custom Gunworks) that question, and the answer was surprising.  This is a man who knows handguns inside and out, and a guy who is one of the top men in the world for custom-crafted combat handguns.  SIGs, 1911s, Colt and Smith revolvers and autos, and more.  A guy who could have just about anything he wanted.  His guns are carried by law enforcement officers, special agents, and others the world over.  So what is TJ’s personal sidearm?

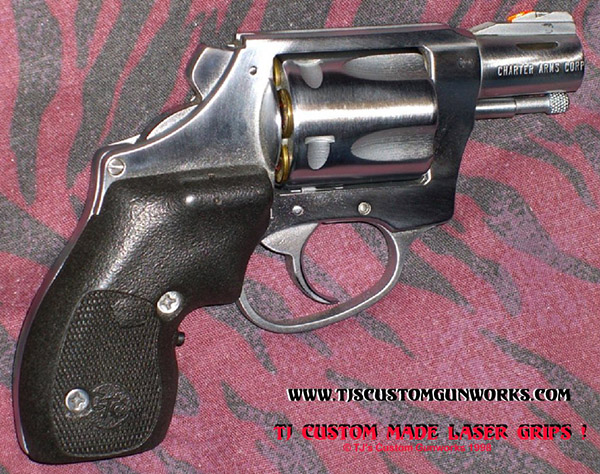
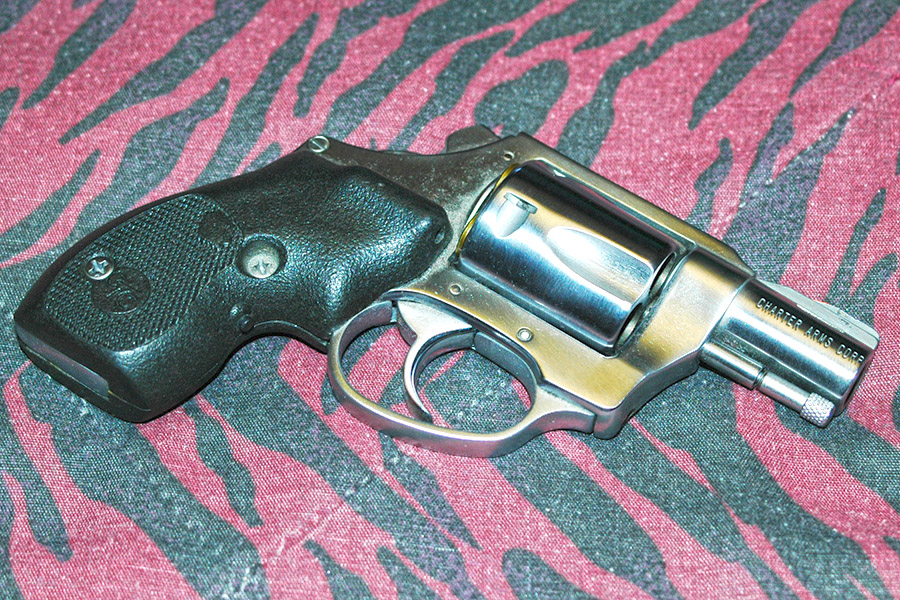
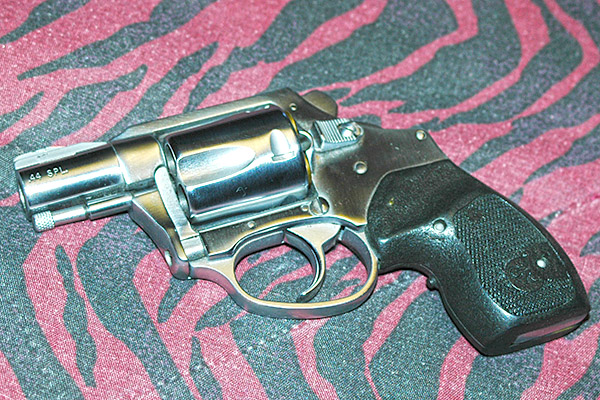
It’s a highly-customized Charter Arms Bulldog, chambered in the mighty .44 Special cartridge.  It’s the one you see here and in the photo above:

As you might imagine, TJ did not leave the gun stock.  These are the custom features TJ’s personal .44 carries:

      • Satin brushed hard chrome finish
      • 1.5-inch barrel (cutdown from stock barrel)
      • Radiused and polished trigger
      • “Melted” (rounded – sharp edges removed) contours throughout
      • Night sights with orange DayGlo highlighting
      • Custom-contoured front sight
      • Level 1 action work
      • Action modified to double action only
      • MagNaPorted barrel
      • Bobbed hammer
      • TJ custom prototype laser grips (modified from Crimson Trace S&W grips)

TJ explained that double action is the only way he uses revolvers.  You know, there’s a school of thought that a good man with a double action revolver can fire faster than can one with a semi-auto handgun.  You can read more about that in Ed McGivern’s Fast and Fancy Revolver Shooting, a good read for anyone interested in improving their handgun shooting with a double action revolver.

TJ’s Charter Arms custom Bulldog is a very impressive weapon.  You can see more photos of it, and a few of TJ’s other custom guns, on the TJ’s Custom Gunworks website.


Help us bring more content to you:  Please click on the popup ads!


More Tales of the Gun!


Never miss an ExNotes blog:  Sign up here for free!

44 Special Loads

The .44 Special: It’s a classic cartridge, one that suggests sixguns, the Old West, and Dirty Harry. Elmer Keith, Remington, and Smith and Wesson created the .44 Magnum, but Clint Eastwood is the guy who put it on the map. Before Dirty Harry, gun dealers had to discount Model 29 Smith and Wessons to get them to move; after the movie, Model 29s were selling for three times MSRP. It was as good an example of product placement as ever existed, and it occurred before the concept of product placement was even created.

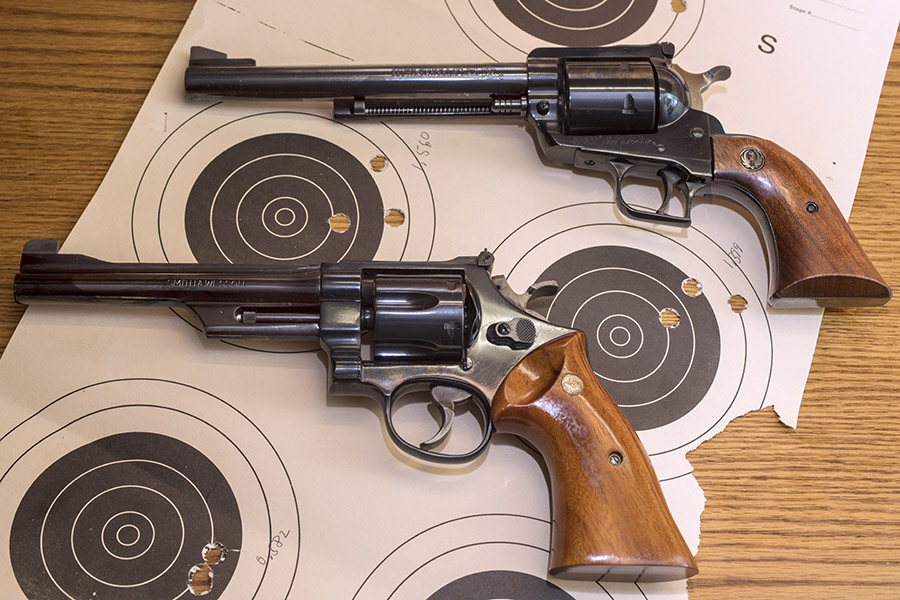
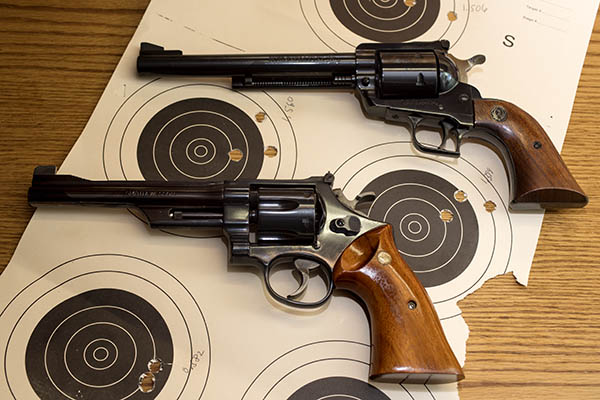
A Ruger Super Blackhawk up top, and a vintage, hard-to-find Smith and Wesson Model 24.

But this really isn’t a story on the .44 Magnum. Nope, this is about the cartridge that preceded the .44 Magnum, and that’s the .44 Special. If you were paying attention during the Dirty Harry series, that’s the cartridge ol’ Harry Callahan said he used in his .44 Magnum Model 29 Smith and Wesson. He explained to his sidekick (a wayward, perpetually-confused female detective) that the .44 Special had  less recoil than the .44 Magnum (duh). To me, that was the best line in Dead Pool, arguably the worst of the Dirty Harry franchise.  I think the producers tried to squeeze too much milk out of the Dirty Harry cow; they should have stopped at Magnum Force and called it a win.

The .44 story is a complicated one. There’s the .44 Russian (predecessor to and shorter yet than the .44 Special), the .44 Special (the topic here today), the .44 Magnum, and the old .44-40. To make matters even more confusing, the bullet is not really a .44 in any of these cartridges; it’s actually 0.429 inches in diameter.   But cowboy songs about a .429 wouldn’t have the same ring as the ol’ .44 (think Marty Robbins and his Arizona Ranger ballad), so .44 it is.

The .44 Special and its big brother, the .44 Magnum, have a relationship similar to the .38 Special and the .357 Magnum. The .44 Mag is a longer version of the .44 Special (it has a longer brass cartridge case), just as the .357 Mag is a longer version of the .38 Special (it’s the same deal; the .357 has a longer case). The idea is the longer case holds more propellant, more propellant equals more pressure, and more pressure means more projectile velocity. Like Harry pointed out, you get a lot more recoil with a magnum cartridge (f still equals ma, as we are fond of saying in the engineering world), but real men ought to be able to handle it. Or so the thinking goes. Truth be told, the .44 Magnum is a bit much for me.  I greatly prefer shooting the .44 Special (as did the fictional Harry Callahan). But I digress…let’s get back to the topic of this blog.

So Saturday was to be another day and another quest for a “secret sauce” recipe (this time for the .44 Special cartridge). The drill was to get out to the range before it started raining so I could test four different .44 Special loads in two different handguns: A 200th Year Super Blackhawk in .44 Magnum, and a Model 24 Smith and Wesson in .44 Special. I loaded 50 .44 Special rounds for this test; I just wanted to get a quick look near the top and bottom of the load range for two propellants (and those were Bullseye and Unique). The bullet du jour was a 240-grain cast Keith-type semi-wadcutter. I’ve been playing with .44s of one flavor or another since Dirty Harry first graced the silver screen, and the 240-grain cast Keith is as good as it gets.  I have a bunch of them on my reloading bench.

I expected the Smith and Wesson Model 24 to do better than the Ruger, and it did. The Ruger can handle both .44 Special and .44 Magnum cartridges, as it is chambered for .44 Magnum. When you shoot .44 Specials (which are shorter than .44 Magnum cartridges) in a gun chambered for the .44 Magnum, the bullet has to jump another tenth of an inch or so to get to the rifling. The Smith Model 24 is chambered in .44 Special, so the barrel’s rifling starts closer to the cartridge than it would in a gun chambered for the longer .44 Magnum cartridge.  But the Ruger is a .44 Magnum, and the .44 Special in the Ruger has to make that jump.  It’s already smoking right along when it hits the rifling and it’s unsupported during that first bit of its flight. That induces some smearing and distortion when the bullet smacks into the rifling, and that hurts accuracy. The same thing occurs when shooting .38 Specials in a .357 Magnum revolver. It’s why I’ve never been a fan of .45 Colt handguns with the extra .45 ACP cylinder, or .357 Magnum handguns with the extra 9mm cylinder. Those auto cartridge bullets have an even bigger jump to the rifling, and I’ve never seen good accuracy in the shorter auto cartridges in these revolvers.

Anyway, to get back to the main attraction, as explained above I only loaded 50 cartridges for this test, so I couldn’t shoot three groups with each load. This was to be just a quick look, because I had another 250 .44 Special cases primed, flared, and ready to reload back at the ranch. I just needed to know how to load them.

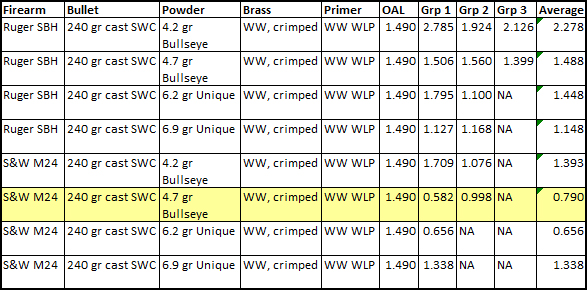
Based on my testing, the near-max load of Bullseye is the cat’s meow. 4.7 grains of Bullseye with the 240-grain bullet was consistent and accurate in both handguns, and it was awesomely accurate in the Smith and Wesson. Here are my results. So you know, all groups were shot at 50 feet, and all were 3-shot groups.

Accuracy testing of the .44 Special in the Ruger and the Smith and Wesson. 4.7 grains of Bullseye is the secret sauce!

Like I said above, the Bullseye load (again, that’s 4.7 grains with the 240-grain SWC bullet) is great in the Model 24 Smith, and it’s good enough in the Ruger. I mostly shoot .44 Magnum in the Ruger, and I will get better accuracy in that gun firing magnum cartridges than I would with the .44 Special rounds for the reasons explained above. I’ve already got a few great .44 Magnum loads; at some point I’ll develop lighter magnum loads for the Ruger. But that’s a project for another day.

Both the Ruger and the Smith are fine firearms, built in an era when attention to detail mattered to the manufacturers. The Model 24 Smith and Wesson is a real honey of a handgun. I’ve owned it since Mr. Reagan was in the White House, but until this weekend I had not shot it in years.  It’s nice to know I can still make it sing. And I love my Ruger, too. It’s a 200th year Ruger made in 1976, the 200th year of American liberty (and all Rugers manufactured in 1976 carry that inscription). I bought the Super Blackhawk Ruger when I was in the Army. Understandably but regrettably, my battery commander wouldn’t let me carry the Ruger in Korea (I had to carry a .45 ACP 1911, but that was a good deal, too).

I’ll have the Ruger out next weekend for our Motorcycles and Milsurps match (watch for the story here on the ExNotes blog).  I have a good load for it now, and I should do well.  We’ll see.


Want to see more Tales of the Gun stories?  You can do so here!

Don’t pay exorbitant range fees for your targets…get them delivered to your door here!

I use RCBS reloading gear.  This link will get you in the game!