 I didn’t start out working for Mr. Bray. He was a deep red construction foreman who had been baking in the Florida sun all his life. His nose looked like Bob Hope’s except God had pressed his thumb into Mr. Bray’s right nostril and kind of smooshed the thing to the side. Mr. Bray ran projects all around Miami. I was a laborer helping my dad who was an equipment operator. The main job of labor for an equipment operator is to never let the operator get off the machine. Anything that needed to be done in order to keep him in his seat was my responsibility.
Mr. Bray had hired my dad to do the earthwork on a shopping center he was building in North Miami. I was a hard worker because I wanted to make some seed money and go back to California. I was taking growth hormones and steroids at the time. It was all I could do not to tear the footings out of the ground with my bare hands. The meds were prescription: Starting with a 5-foot tall, 98-pound body the pills added 6 inches in height and 27 pounds in acne over 3 years. I had abundance of energy, man. I tore around the construction site like a banshee. Mr. Bray liked a hard worker, drug-induced or not, so he hired me away from my dad just by offering twice the money.
The job was Union, which meant I had to join one. Mr. Bray had connections at the carpenter’s local so he arraigned for my union card. This was a big deal because normally you’d have to wait in line to join and then you’d have to wait in line until the Union sent you out on a job. It might take several years to clear the backlog. I was a First Period Apprentice without missing a paycheck.
When I got that paycheck it was a disappointment. The Union dues sapped a lot, then the federal and state deductions sapped some more. My dad paid cash, you know? I ended up making less money than before. Mr. Bray had pulled strings to get me in but I showed him my pay stub anyway. “That’s not so good, is it?” Mr. Bray said. I told him that it wasn’t but that I would carry on. I mean I had taken the deal; I felt obligated. “Lemme see what I can do about it,” Mr. Bray told me.
The next paycheck I received my rating was Third Period Apprentice (equivalent to 1-1/2 years of experience and passing several written tests) and I was making 8 dollars an hour. This was more money than I had ever made in my lifetime. From then on my loyalties were clear. I was Mr. Bray’s boy. If he needed a body buried on the site I would do faster it and better than anyone else.
Mr. Bray’s crew consisted of a journeyman carpenter, a mid-level carpenter, a laborer and me. In practice, we weren’t tied to a trade. I might have to do a little wiring, relocate pipe or dig a foundation. We formed all the foundations, then the steel workers would tie the steel and we would pour the concrete. These were non-cosmetic jobs. For slabs we hired a crew of finishers.
It didn’t set well with the other guys when Mr. Bray made me the foreman the few times he had to go off site. I only had like two months of construction experience but had absorbed a lot more knowledge just by being around my dad. The journeyman carpenter got sulky taking orders from a third period apprentice.
I have never been a leader of men. My approach to management is to tell everyone to stay the hell out of my way and I’ll do it myself. Surprisingly it worked in this instance because these guys still had remnants of a conscience. We usually got more done when Mr. Bray was gone.
Mr. Bray used my size to motivate the crew. Whenever there was something heavy to move the guys would bitch and want a crane. “Gresh, put that plank on the roof.” That was all I needed to hear. I was a greyhound shot out of a gate. I’d shoulder the 10-inch wide, 20-footer, run full tilt at the building, spear the end of the board into the ground like a pole vaulter and walk the board vertical onto the wall. While the rest of the crew shook their heads in pity I’d run up the ladder and grab the board, hand-over-handing the thing until I could rest it onto my shoulder. Putting the wood onto the roof took about 45 seconds.
The whole thing had a creepy, Cool-Hand-Luke-when-he-was-acting-broken vibe but I wasn’t acting. It was more an act of unreasonable anger. I wanted to get stuff done. It was all that mattered to me. Mr. Bray would turn to the guys and say “Look at Gresh, he did it easy. You don’t need a crane. Now put the rest of those damn boards up there.” Picturing the guys pole-vaulting the boards up one by one I’ll never understand why they didn’t beat the crap out of me when Mr. Bray turned his back.
Another Union trade on a construction job are the bricklayers. They would put up walls on the foundations we poured. The floors were left dirt to allow new tenants to choose the interior layout. After they put up the walls we would tie the steel and form the gaps between sections of wall then pour them full of concrete. The poured columns made a sturdy wall. Unfortunately, being only 8 inches wide, the wall is very fragile until the concrete columns are in.
Mr. Bray was always looking for ways to save the company money and as my dad’s equipment was still on site he would have me do small operator jobs rather than have my dad drive to the site and charge him. We needed a trench for something, I can’t remember what but since we only had a 14-inch bucket it didn’t matter. I was digging inches away from a wall with the backhoe at 45 degrees to allow the bucket to dump the spoil. I could only put one outrigger down because the wall was too close. The whole setup was wobbly and when a return swing ran a bit wide the boom tapped the wall. Not hard, it didn’t even chip the blocks.
It happened so slowly. The wall teetered. I pulled the boom away. I was wishing it to settle down. The wall tottered. More thoughts and prayers were directed at the wall. Slowly the wall went over and smashed into pieces. After checking to see that I didn’t kill anyone I went to Mr. Bray. “Um…we have a problem, Mr. Bray.”
He was marking stuff on his critical path chart. “What is it, Gresh?”
“You better come take a look.”
We walked over to the crushed wall. I explained everything like I just did. Mr. Bray was fighting some inner demons for sure. Finally his face relaxed and he said, “Don’t worry about it, we’ll tell the bricklayers the wind blew it over.” Man, I loved that guy.
From my dad I learned a perfectionism that I have rarely been able to equal. From Mr. Bray I learned that perfection is a great goal but the job needs to get done because another trade is waiting on you. Mr. Bray would let a lot of things slide that my dad would obsess over. Working for Mr. Bray was much less stressful and customers inside the finished shoe store could not tell the difference.
The shopping center was nearly done. I had worked for Mr. Bray 6 months. I had a couple thousand dollars saved and told him I was going back to California. “Why don’t you stay on? I’ll train you in construction management, you’ll be a journeyman carpenter in 5 years and you’ll be running jobs like this.”
Mr. Bray was offering me his most valuable gift. He was offering me everything he had: To pass his lifetime of knowledge on to me. I had to go back to California though and I left feeling like I had let Mr. Bray down in the end. And even today I’m not settled. I’m still trying to finish the damn job.
 I log into several online groups as a way of avoiding doing something constructive. One of the groups features photos of New Mexico. Some of the photos are spectacular, some are way over-processed. One guy started labeling his photos as “No Filter New Mexico.” This means the photo has not been doctored beyond the camera’s initial setting. A long-winded argument ensued pitting photographers (the guys who watermark their embarrassing, Willie-Wonka-colored Martin-landscape shots in an attempt to retain rights) and snap-shooters.
 If I shoot a scene and then push the photo edit sliders to their limits did I create art or am I just working within an algorithm provided by the software manufacturer? Is the coder who designed the software the real artist? If I successfully dial a number on my cell phone is that art? No way! Now say I invite 500 people to a theater and I go on stage and successfully dial a phone number on that exact same phone. Is that art?
 Maybe art is made when its creator declares it as art. Even bad art like those over-processed photos are art if Slider-Man says so. The watermark guys proclaim their saturated images as art, who am I to deny them their petition?
 In the days of film, and before that when oil painting was the best way to record a scene, a modest-to-hard level of difficulty was involved. Cameras have become so good that nearly anyone can take a technically decent photo. Selecting the best angle and framing the photo are artistic things but they pale in comparison to carving a block of marble or tossing feces onto a canvas.

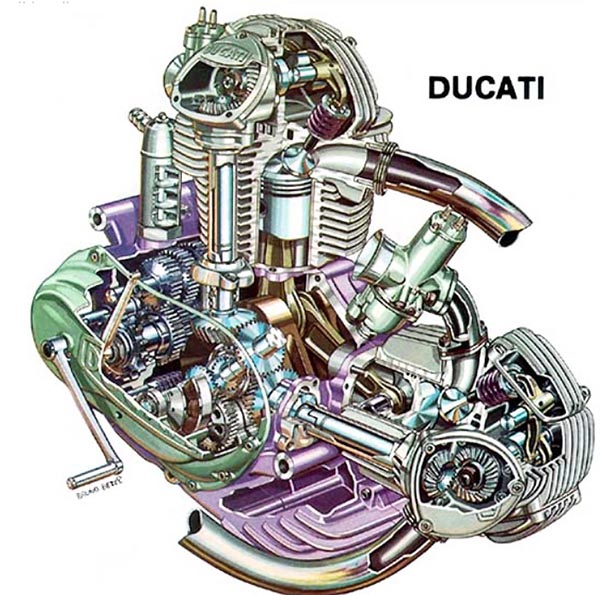
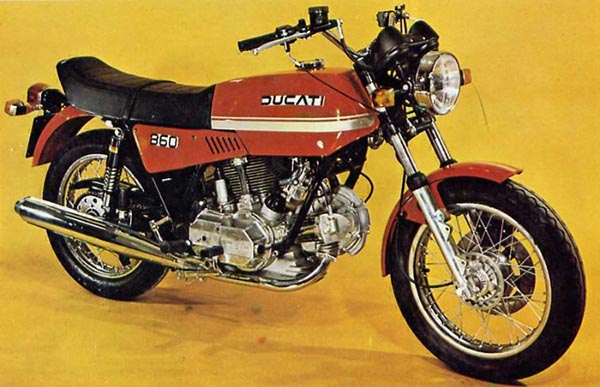 There are only a couple Ducatis that make my Dream Bike fantasy garage and the numero uno, top dog, ultimate Ducati is the springer 860. Unlike most Ducatis, this square-case, 90-degree, V-twin motorcycle eliminates the positive-closing desmodromic valve actuation system and in its place uses a conventional spring-return valve train. To some posers this change negates the whole reason for owning a Ducati. Not in my view: The ability to set valve lash with only a potato peeler on a motorcycle axle deep in cow manure plus the fact that I rarely run any motorcycle at valve floating RPMs means Desmo Ducks hold no advantage for me.
 Is it wrong to love a motorcycle solely for its looks? Giorgetto Giugiaro’s Jetson-cartoon styling speaks of optimism and a bold stepping-forth into the future. It looks fabulous and slabby and never ages in my eyes. This is one of those motorcycles you can stare at for hours. Why stop there? I’ve never ridden an 860GT so I’m just extrapolating from Ducati’s past performance but I’m sure the thing will handle street riding without issue.
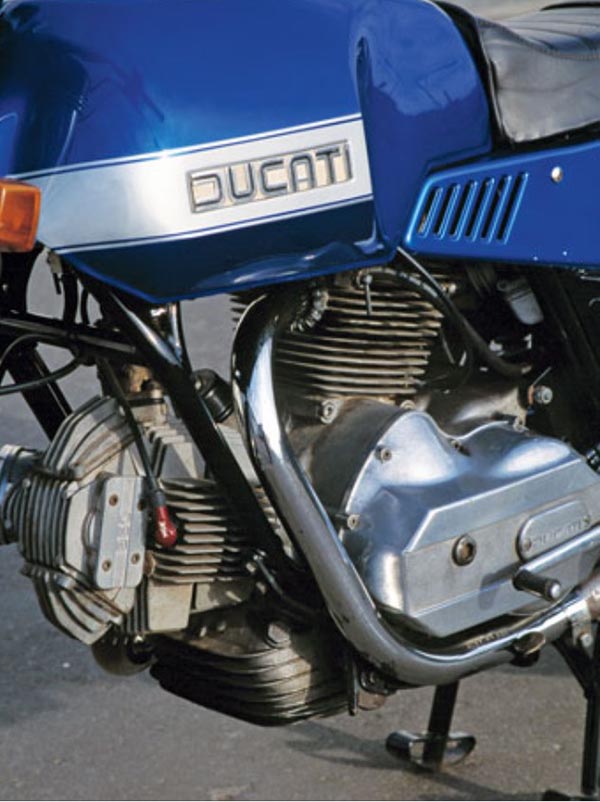 The bikes were available with electric start for the kicking-impaired and after 1975 Ducati exchanged the perfect angular styling for the more traditional, rounded Desmo GT look. It was an error that I may never forgive them for. The springer 860 stayed in production a few more years but Ducati decided to go all in with desmodromic to give their advertising department some thing to boast about.
 The China tour story I wrote took a long, winding road to publication. I like to pre-sell any feature-ish story and since we had recently done another big CSC story at That Other Magazine I pitched the China ride to Editor in Chief, Marc Cook. He liked the idea and suggested making the story less about the CSC motorcycle and more about the ride.
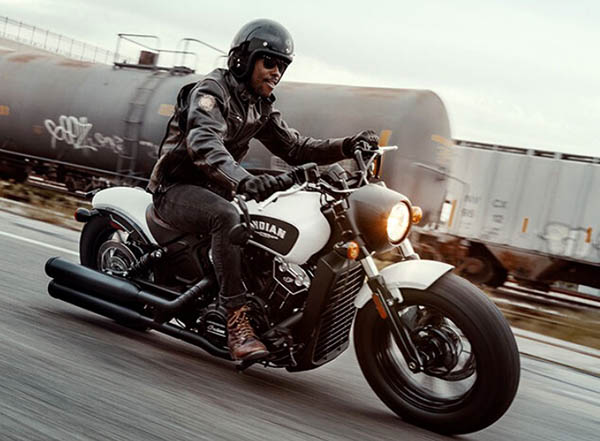 The paper magazine business has taken a beating in the last few years. One magazine that seems to have their stuff together is American Iron, a book that focuses on American-made motorcycles. Somehow these guys get away with charging subscribers what it costs to produce 13 issues a year. For those of you counting that is three more issues a year than Cycle World and Motorcyclist combined!
 In an oddly satisfying way, climate change activists and good old fashioned mechanics have found an issue they can both agree on. The BBC News recently published a story on the
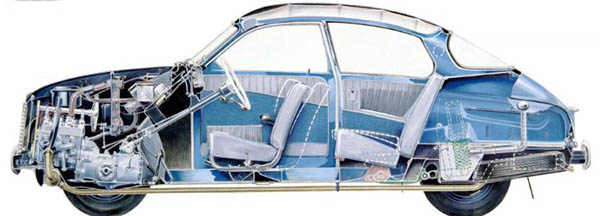
 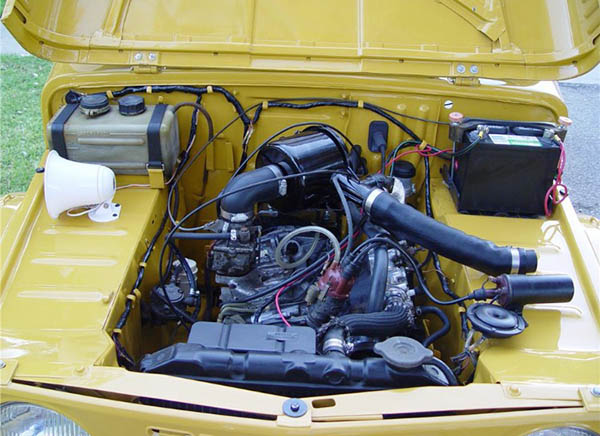 Maybe I’d organize both cars and bikes by engine type. There would be a Kawasaki 750 triple, a Saab 93 triple, a Suzuki 750 triple next to a crisp, modern Honda NS400. Flathead Row would have a Melroe Bobcat with the air-cooled Wisconsin V-4, and all three Harley flatties: The 45- incher, the Sportster KH and that big block they made (74-inch?). You’d have to have an 80-inch Indian and the Scout along with most of the mini bikes built in the 1970s.
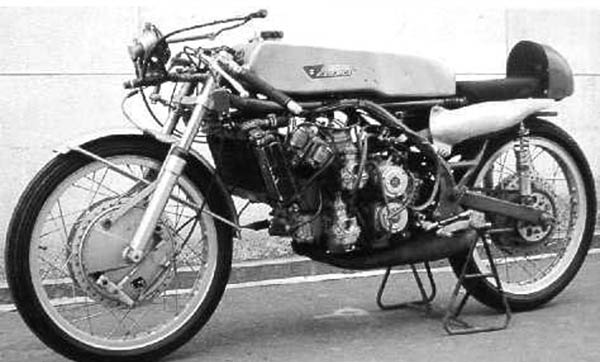
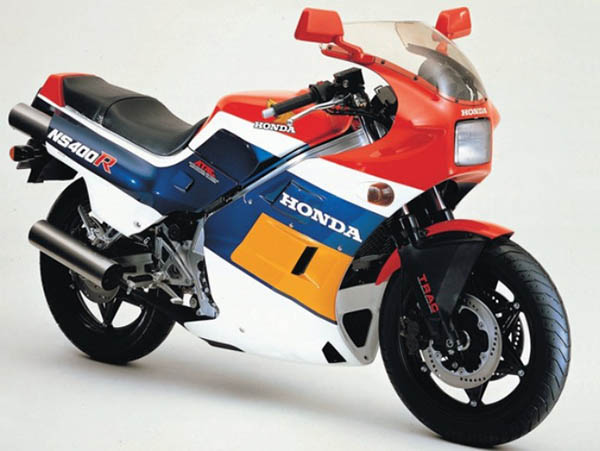 I love a disc-valve two stroke but I’ve never owned one. First bikes in that section will be a bunch of Kawasaki twins (350cc and 250cc). I’d have a CanAm because with their carb tucked behind the cylinder instead of jutting out the side they don’t look like disc bikes should. A Bridgestone 350 twin without an air filter element would be parked next to a ferocious Suzuki 125cc square-four road racer, year to be determined.


 To complement the Bobcat I’d have a gas-engined backhoe, something from the 1950’s with all new hoses and tires. I’ll paint it yellow with a roller and then hand paint “The Jewel” in red on both sides of the hood with the tiny artist’s brush from a child’s watercolor set. The backhoe would be a smooth running liquid-cooled flathead with an updraft carburetor and it would reek of unburnt fuel whenever you lifted a heavy load in the front bucket.
 I didn’t start out working for Mr. Bray. He was a deep red construction foreman who had been baking in the Florida sun all his life. His nose looked like Bob Hope’s except God had pressed his thumb into Mr. Bray’s right nostril and kind of smooshed the thing to the side. Mr. Bray ran projects all around Miami. I was a laborer helping my dad who was an equipment operator. The main job of labor for an equipment operator is to never let the operator get off the machine. Anything that needed to be done in order to keep him in his seat was my responsibility.

 The positive battery cable was swollen like a snake swallowing a pack rat. I cut the jacket away to reveal a green, copper powder. This is never a good sign and even though the cable will still read ok on an ohmmeter, under high current the flow of electricity will be restricted.
 I de-soldered the original battery lugs and re-crimped and soldered a new 6-gauge positive lead. The original battery terminals are shaped to lay flat alongside the battery and you won’t find anything to match them at your local Home Depot. The terminals are solid copper so they clean up and take solder nicely. I also added a new 30-amp, inline fuse holder to replace the melted original.
 This 3-way connection is the heart of Zed’s power supply. One lead is to the 20-amp fuse from the battery positive. One lead is charging current from the rectifier and the last lead supplies power to everything on the motorcycle (except the starter). This connection takes a beating and Zed’s was discolored, and overheating had taken the spring out of the female bullet connectors.
 I decided to go off-script here because the three-way connection is one of the few bad design choices Kawasaki made on the Z1. Instead I used 3 soldered ring terminals and bolted the connection together. Then I insulated the connection with electrical tape and thick red heat shrink tubing (not shrunk).
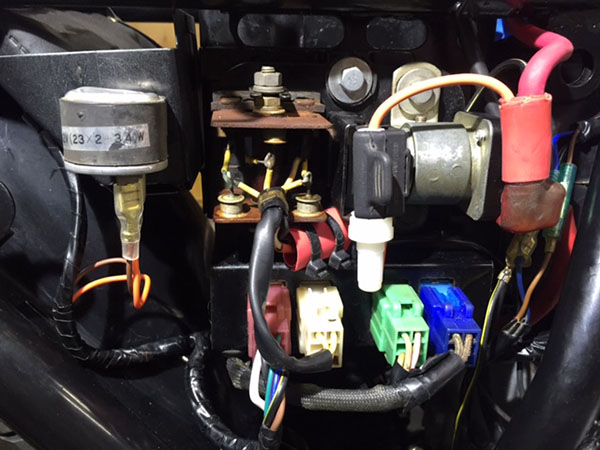
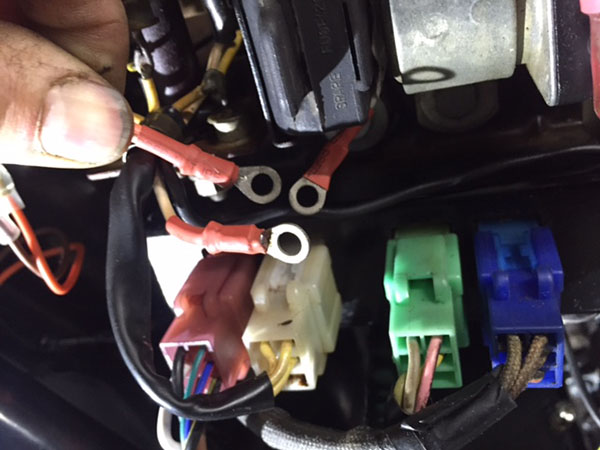 With the new fuse holder, jumper harness, battery cable, grounds to the block, blinker relay, brake light switch and tail harness everything under the right-side cover is complete. It’s not the prettiest wiring and may not faithfully follow original Kawasaki wiring practices but it should work and hopefully not melt down.
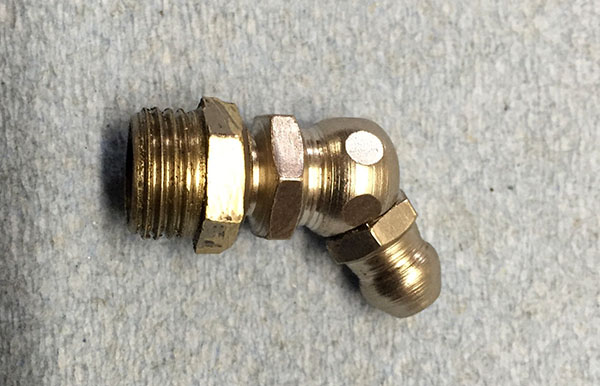
 Hardcore Zed’s Not Dead fans will recall the hokey swing arm zerk fitting that was gnawing into my Zen. The main issue is the swing arm is metric thread and I’m too lazy to find a stock metric grease fitting. I pulled the offending fitting and cut the entire top off of the thing then drilled and tapped the part that fits into the swing arm for a ¼-28 zerk fitting.
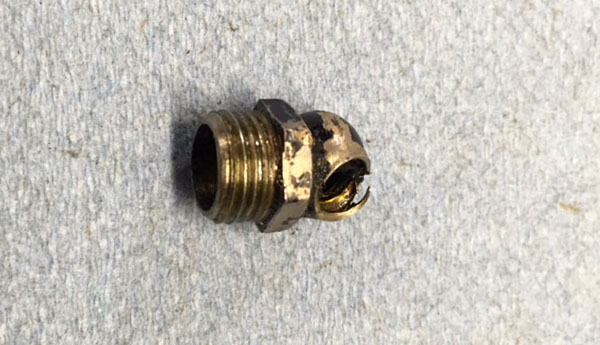 The new set up is much cleaner looking and even though no one will ever see it I’ll sleep better at night knowing it’s there. Oooooommmmmm…
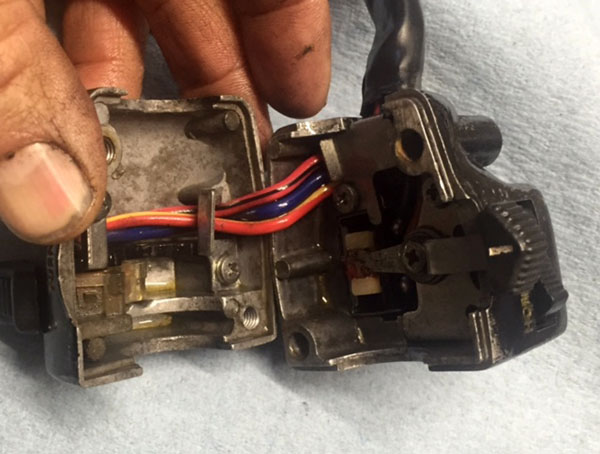
 The left handlebar switch cluster was a cluster. The blinker switch was stuck and no amount of WD40 would free the lever so I dismantled the switch and cleaned all the tiny, rusted parts.
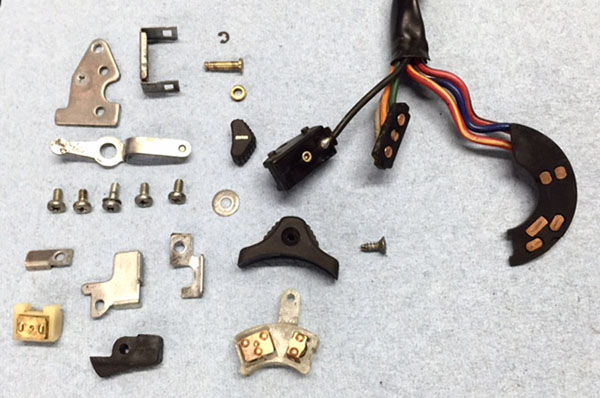 The switch now moves in all the right places. It remains to be seen if it actually directs the electrons where they are supposed to go. The last major electrical challenge on Zed is the instruments and the connections inside the headlight shell. I’ll tackle those in Zed 15.

 Until I misted the swing arm, for some reason the transition zone between bare metal and original paint bubbled up making a mess out of the thing. I don’t know what the difference was but after trying to remedy the situation four times I gave up, sanded the swing arm and shot it with primer. The black paint laid down nicely after that but so much for keeping it original-ish.
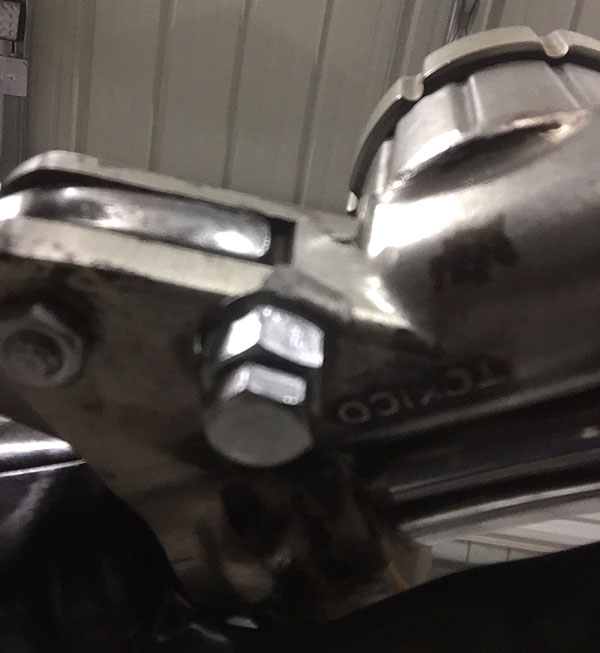 I started on the front brake system and noticed this cool little eccentric bolt that adjusts the free play on the master cylinder. There are so many nice touches like this on the Z1. Kawasaki tried to build the best motorcycle they could. The master cylinder was in good shape. These things are a bear to reassemble but after five tries I managed to get the plunger in the bore along with the c-shaped travel stopper and the snap ring. The only complaint I have against the Z1 Enterprises master cylinder kit is that it didn’t come with the rubber bellows (the part that keeps brake fluid from sloshing in the reservoir) so I’ll have to order that bit.
 The metal brake line to the caliper was stuck mightily. I tried heat and penetrating oil and even bought a set of metric line wrenches but in the end it took a vise and brute force to remove the line. It’s not destroyed but I’ll be buying a new metal line along with both flexible hoses and the little bracket that holds the line away from the front fender.
 Once apart, the caliper was in excellent condition. I sanded the bore to remove corrosion and the
 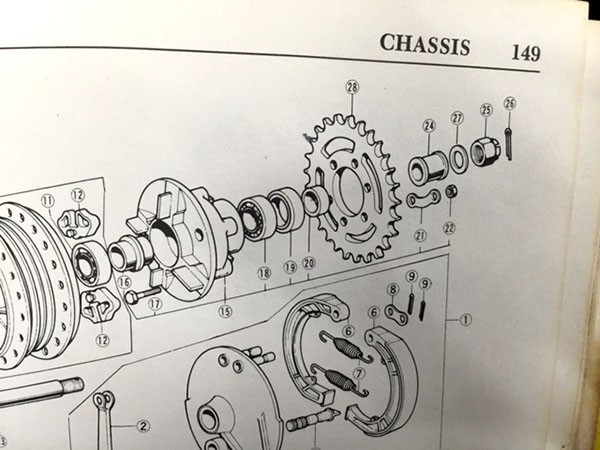 The previous owner had the rear axle assembled wrong and my book was illustrated with the spacers reversed so a quick message to Skip Duke and I had the spacer order correct.
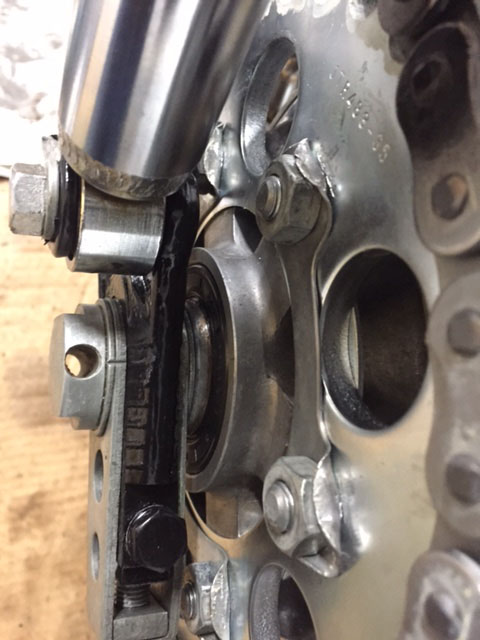
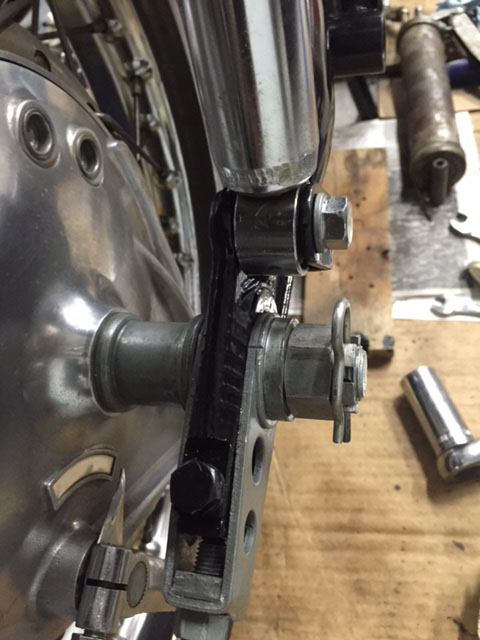 The sprocket side gets only the seal spacer while the drum brake side gets the long, necked-down spacer. The thick washer-spacer (that was jammed into the drum brake side) is actually a washer. It spaces the castle nut the correct distance for the cotter pin or hitch pin hole.
 The stock swing arm grease nipple would not accept my grease gun fitting resulting in grease all over the place. In this photo you can see the differences. Rather than get the correct tool I tapped the fitting for a standard nipple and screwed the mess together.
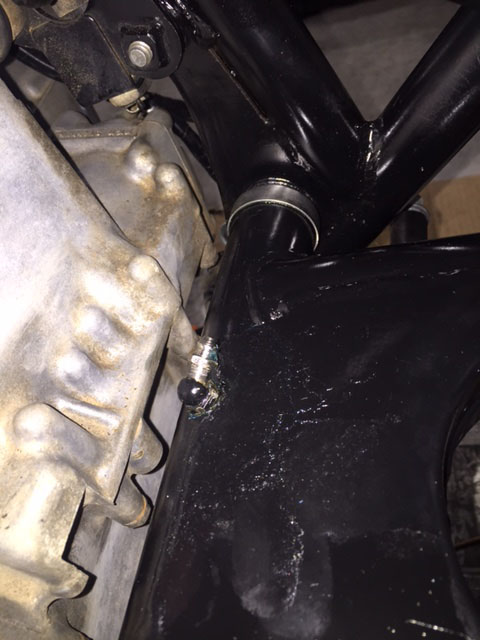 I’m not happy with the grease nipple set up although it did allow me to grease the swing arm. I’m going to remove the fitting and have another go at making it look better.
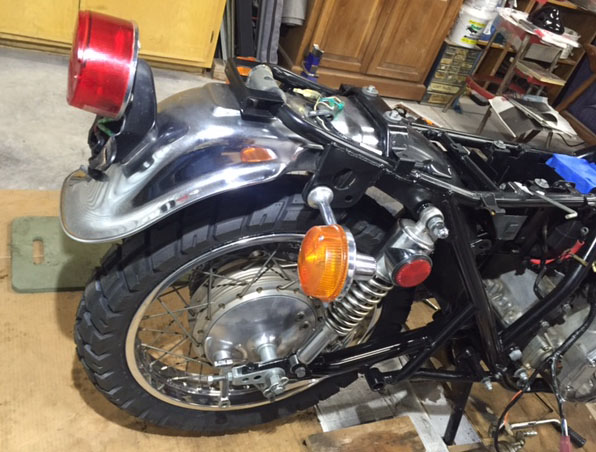 Zed’s rear end is coming along nicely. I think the 4.10X18 tire looks a little puny on the bike so you may get a Smokey burn out video after all. Next tire I get will be a 4.50X18.