By Joe Berk
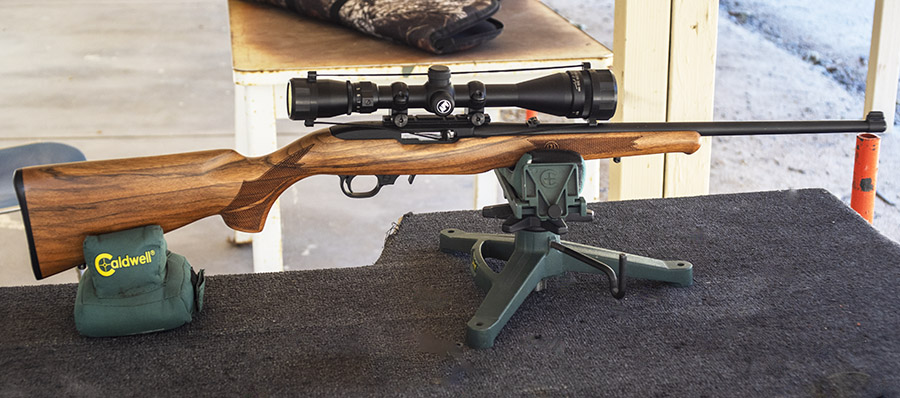
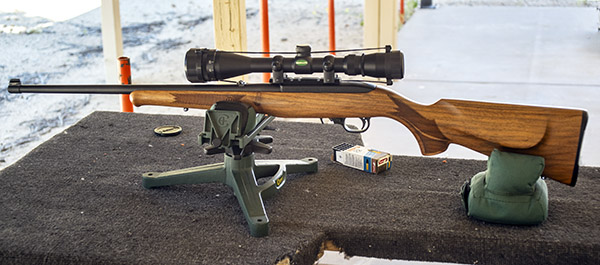
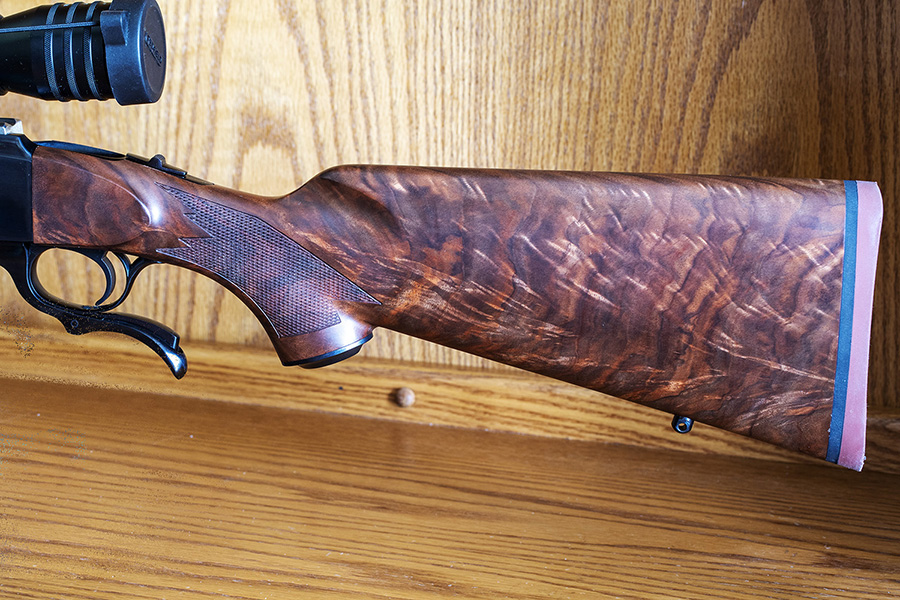
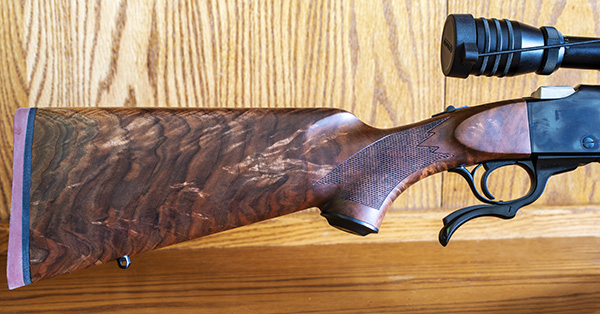
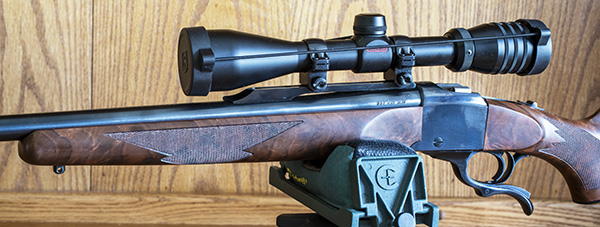
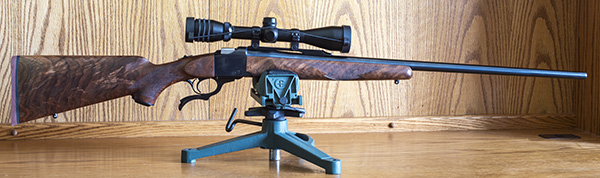
I promised a story on the Ruger No. 1 photo I shared a little while ago and this is it. It’s on my Ruger No. 1 chambered in .257 Weatherby. I’ll try to keep it short, but there’s a lot to this story. The bottom line up front: Ruger’s customer service is among the best in the business. They are one of two companies that all others should emulate (Leupold is the other). Ruger’s No. 1 single shot rifles are the most elegant rifles in the world. That’s a strong statement and you might disagree, but hey, it’s a free country and if you want to disagree, it’s okay by me. Go ahead and be wrong. I know that after seeing the photo at the top of this blog, you have to be wondering if the stock looks as good from the other side. The answer is yes.
Back to the tale: Ruger has essentially discontinued the No. 1, but that’s okay. Inexpensive and tasteless rifles with black Tupperware stocks are all the rage now and if they float your boat, more power to you. But it’s not me. I own a few Ruger No. 1 rifles and their value has increased tenfold since I started collecting back in the 1970s. Not that I’m interested in selling; that’s not going to happen. I mention the No. 1 rifles’ appreciation just because…well, I’m not sure why. It makes me feel good, and that’s enough.


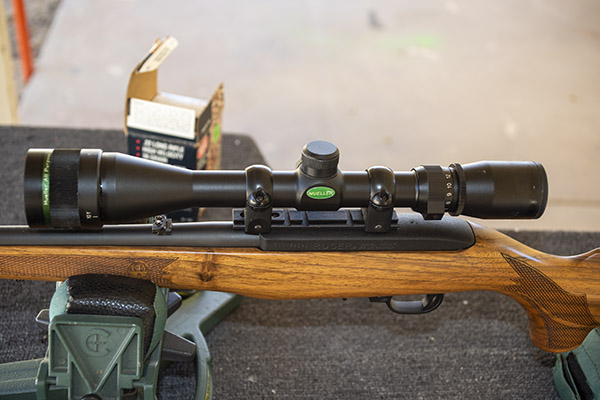
The .257 Weatherby cartridge is brilliant. It’s one of the fastest in the world at around 4,000 feet per second, which creates a unique problem: If you do not load with the right projectiles, the bullets travel so fast they tend to disintegrate in flight. The Ruger No. 1 in .257 Roy has a 28-inch barrel (two inches longer than the original Weatherby Mk V rifles in which it debuted back in the 1950s), and that extra two inches bumps the velocity up even more than the fabled round was achieving in its namesake Weatherby rifles (they have 26-inch barrels). The bottom line here is that you almost have to use monolithic (and expensive) Barnes bullets (they are solid copper, not lead sheathed in a copper jacket) to push the bullets at their max velocity without the bullets coming apart in flight. There’s something appealing about that. I like it.

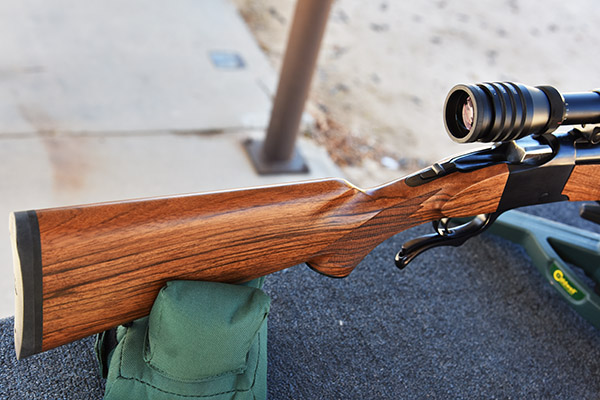
So, back to the main story. When Ruger first announced their limited run of the No. 1 in .257 Weatherby, I started watching the ads on Gunbroker.com for one with nice wood. It took a little while, but I found one and I pounced. I encountered the bullet disintegration problems mentioned above, I got some good advice from a guy I met on Facebook, and I got the rifle to group under an inch using Barnes monolithic copper bullets. Then while at the range one day I noticed the stock had cracked. My heart was as broken as the Circassian walnut stock, and the rifle went back to Ruger. I told them the story about wanting good wood, and they did their best to oblige. I also told them to make sure the stock was relieved behind the tang, as the first stock (the one that cracked) was not and that was what had caused the stock to split.
When the rifle came back, the stock had been relieved but the inletting and the gap between the receiver and the stock was excessive. The wood was not as good the original set, but it was not bad. The inletting was the real disappointment. I shot it a bit and the rifle grouped well, but it looked ridiculous with the gap around the receiver. I put the gun in the safe and it remained there for a year. Then one night I had a few beers and I wrote an email to Ruger. I wasn’t too complimentary. I told them the story. The beer helped get it all out.
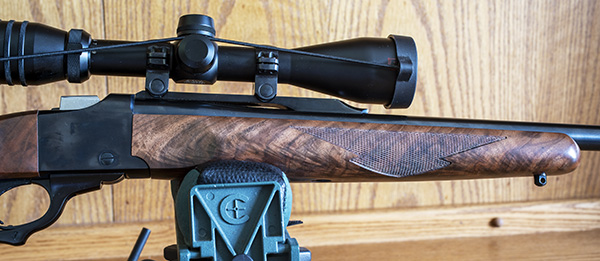
I had an email from Ruger the next morning, and at their request I returned the rifle to them again. A few days later I received an email from a guy in Ruger’s No. 1 shop. He sent a photo of a matched stock and fore end that had just come in, he said. and he told me it was probably the last they would ever receive of this quality. Did I want it? Hell yes, I said. That was followed by another email: What color pad did I want? Red is the more collectible of the two colors (the older Ruger No. 1s had red pads; they switched to a black pad back in the 1980s. Red it would be.
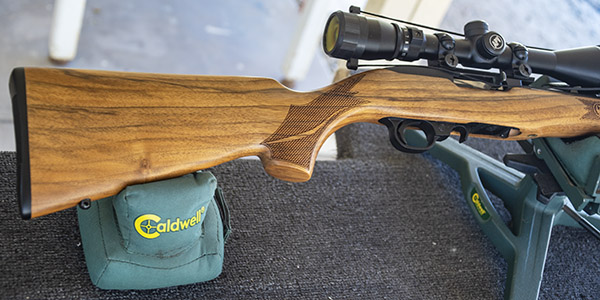
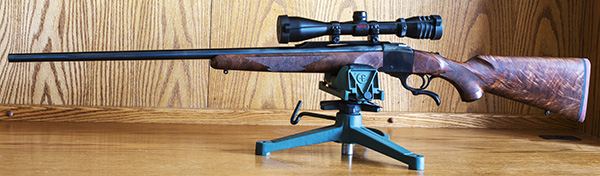
When the restocked Ruger arrived (this rifle had now worn three sets of lumber), I was totally blown away. The wood is exquisite on both sides of the stock and the fore end. I’m pleased with the photos you see here, but trust me on this, they don’t do the wood justice. The fore end matches the stock on both sides. The figure is what stockmakers would grade as XXX and the rifle is just stunning. If there’s such a thing as rifle porn, this is it. And it’s XXX rated.
So there you have it: Two promises fulfilled. When you buy a Ruger, if you’re not pleased they will make it right. I promised you the story on this amazing set of walnut furniture. And if you are wondering, the answer is no. The rifle is not for sale.
Never miss an ExNotes blog:
Want more Tales of the Gun? The stories are here!
Into Weatherby? We are, too!