By Joe Berk
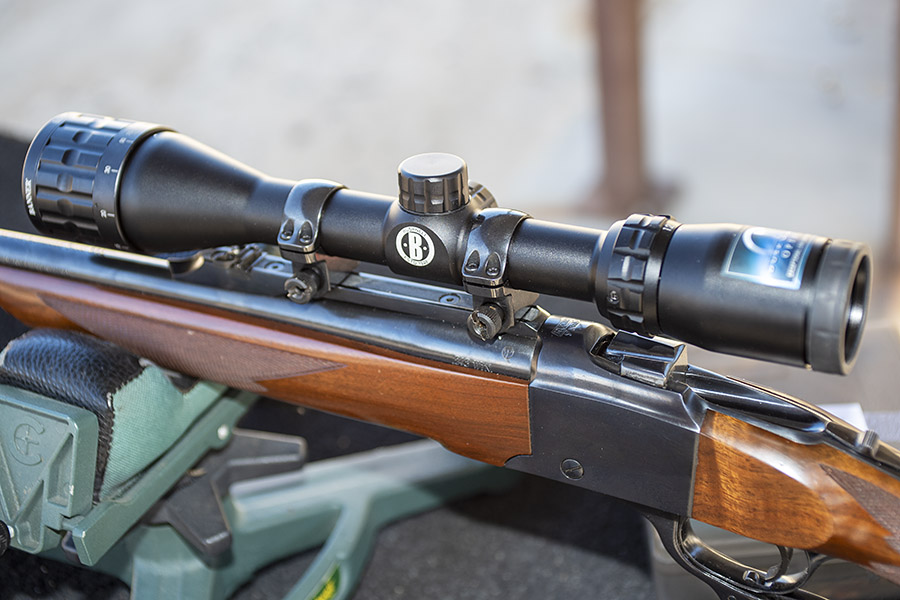
Bushnell scopes have been around forever and they are kind of a generic scope…just as effective as the name brand medication but at a fraction of the cost. I’ve had several that came with rifles I bought, but I never bought a new one until recently. I’m glad I did. I bought the Bushnell Banner 4×12 and it’s a great scope.

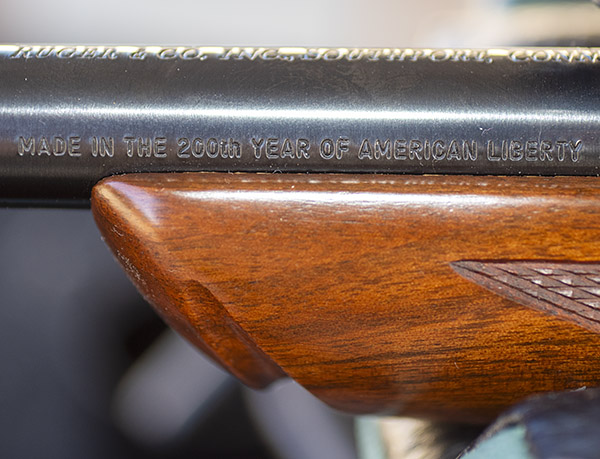
The story goes like this: I won a Ruger No. 1 in 243 Winchester in an online auction about 15 years ago. The rifle was a 200th year Liberty model, it looked good, and I stashed it in the safe. I shot it for the first time a month ago, and that’s when I learned I had an accuracy issue. The Ruger came with a period-correct 4×12 Weaver (long since discontinued), which provided plenty of magnification but my groups were embarrassing.
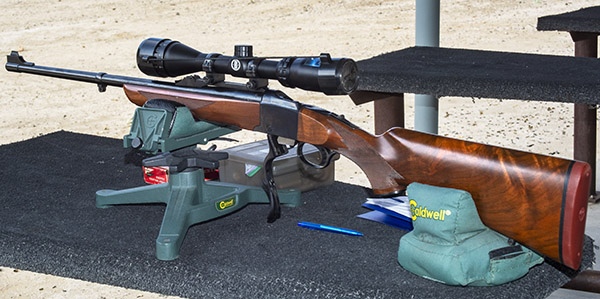
Let’s go tangential for a second or two: The “4×12” I use above refers to the scope’s variable magnification, which ranges from 4 times actual size to 12 times actual size. With a good scope (one offering optical clarity), you can see the bullet holes in the target at 100 yards when the scope is zoomed up to 12 times actual size.
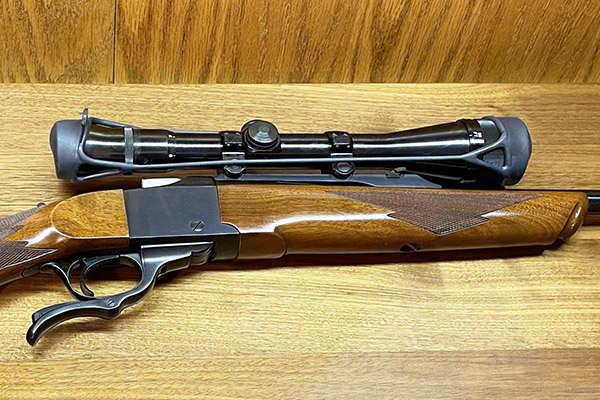
For hunting, I always prefer a straight 4-power scope (i.e., a nonvariable) because of its wider field of view and the fact that I can still hold a pretty tight group with a 4-power scope. Magnifying the target four times is good enough for hunting. That’s especially true on a deer-sized target, but it’s good enough even on rabbits. I’ve sent a lot of Texas jacks to the promised land with a simple 4-power Redfield on my .30 06 Ruger No. 1.
The scope companies pretty much all say that you should keep a variable scope at low magnification to acquire the target, and then zoom it up for a more precise aim. But I’ll tell you that’s just marketing hype, it’s laughable, and it’s a lot of baloney. When I’m hunting and I see a game animal, the adrenal glands go into overdrive. It’s all I can do to remember to take the safety off, and I can remember a few times when I forgot to do that. The thought of seeing a target, acquiring it in the scope at low magnification, taking the safety off, lowering the rifle, increasing the zoom, raising the rifle again, reacquiring the target, and then squeezing the trigger is ludicrous. Nope, for hunting purposes, a straight 4-power scope is the way to go for me. On the other hand, when I’m on the range, I just leave the variable scopes at their highest magnification. In short, I don’t need a zoomable scope. But the marketing guys know better, I guess, and that means they weather vane to variable scopes. That’s pretty much all you see these days.
But I digress. Let’s get back to the main attraction, and that’s the new Bushnell Banner 4×12 scope on my .243 No. 1 rifle. This all started when I loaded some brass good buddy Johnnie G sent my way. The rifle would not consistently hold a zero, and even when it did, it shot grapefruit-sized groups. My thought was that the old 4×12 Weaver scope that came with the rifle had conked out, so I replaced it with another inexpensive scope I had laying around (an older Bushnell Banner 3×9 scope that is probably 50 years old). While mounting the older 3×9 Bushnell, I checked both Ruger rings (front and rear) to make sure they were secure. They seemed to be, but they were not (more on that below). I took the No. 1 (now wearing the older model Bushnell Banner) to the range. The accuracy situation did not improve.
So I removed the older 3×9 Bushnell and the Ruger rings. That’s when I discovered that the front ring was not secure. It had felt like it was, but it fooled me (which is not too hard to do). Ruger provides rings with their centerfire rifles and they are good, but the rings on this rifle were muey screwed up. The clamp (the bolt with the angled head) on the front ring was mangled, and both the nut and the clamp were gunked up with some sort of adhesive (probably Loctite, but who knows). I think what had happened was the clamp could be tightened on the mangled part of the clamp’s angled surface. The buggered-up clamp was not properly positioned in the mounting surface and the caked-on adhesive compounded the felony. Under recoil, the forward ring was moving around.
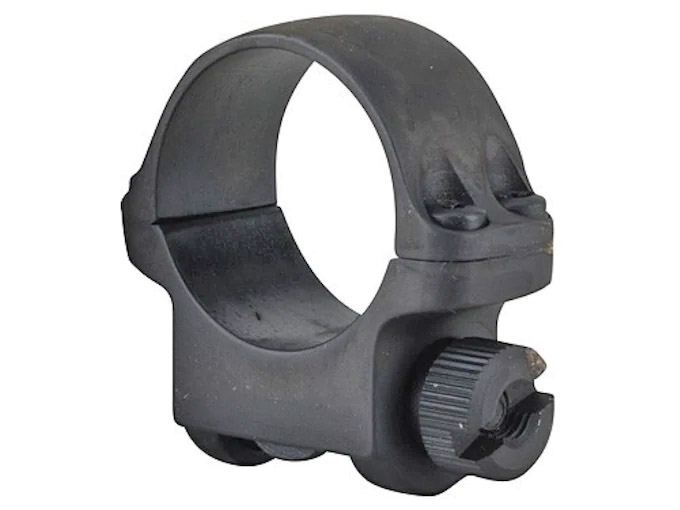
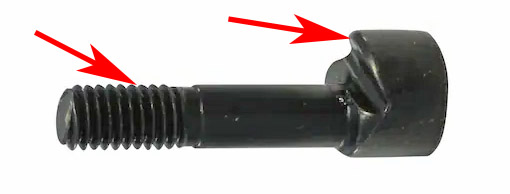

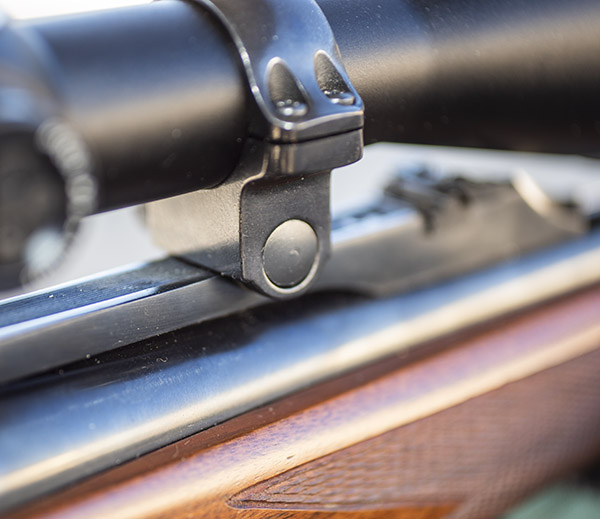
I recut the clamp ‘s angled surface with a file to eliminate the mangled portion and reblued the clamp using Birchwood Casey Cold Blue, and I wire-brushed as much of the adhesive as I could from the clamp’s threaded shaft with a bore brush. I then worked the clamp into the nut until I cleaned out the remaining adhesive on the nut. I reinstalled the ring and satisfied myself that this time it was secure.
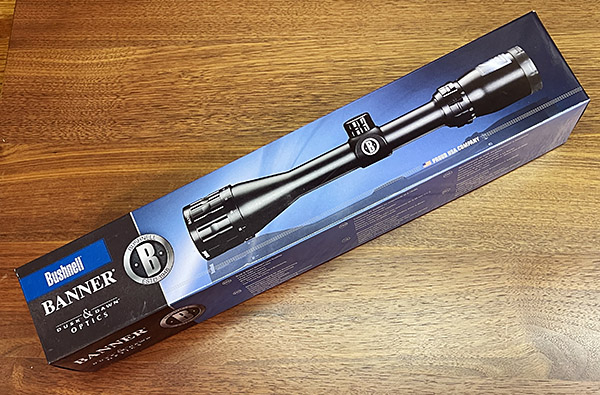
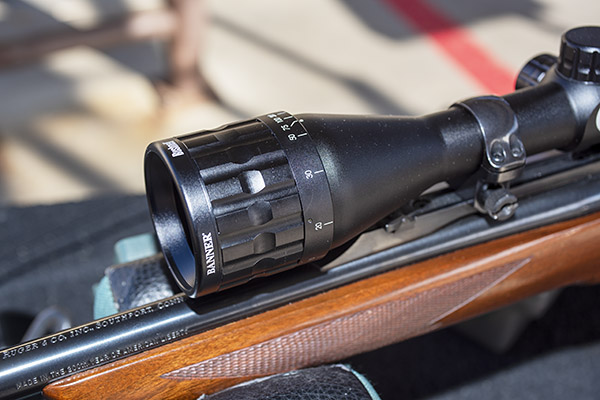
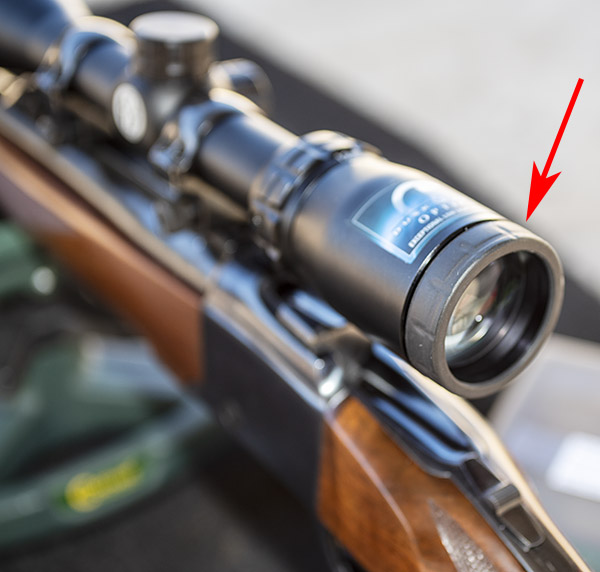
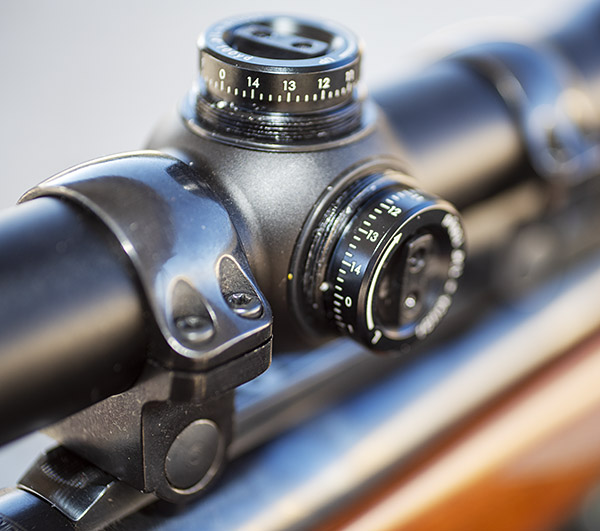
When my new 4×12 Bushnell Banner scope arrived a few days after I ordered it on Amazon, I was impressed with its appearance. I even liked the box. I looked through the scope and was impressed with its optical clarity. These inexpensive Banner scopes have continued to improve over the years, and this one looks great.
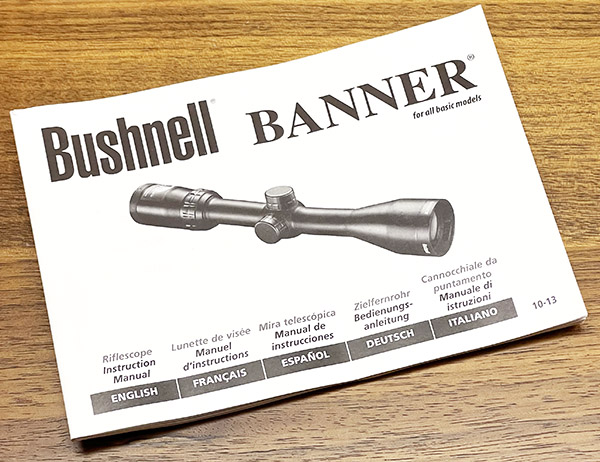
The Bushnell scope has a lifetime warranty and it came with what I thought was an impressively thick operating manual. The manual is printed in five languages (English, French, German, Italian, and Spanish), so it was only one fifth as thick as it first appeared to be. But it was still a good manual. The scope also came with lens covers, which is a nice touch.
The Bushnell has other features that are important to me. It has a quick focus ring at the rear to focus the reticle, and it has a parallax adjustment feature on the objective end (the front of the scope). Parallax adjustment has become increasingly important to me; it minimizes the scope’s susceptibility to slightly different eye positions. You adjust for parallax by moving your eye around and making sure the reticle stays centered on the target.
The Bushnell has removable windage and elevation adjustment dial covers, and windage and elevation adjustment can be made by hand (no special tools are required). Each click represents 1/4-inch of movement on a 100-yard target, which is pretty much the standard on scopes.
The Bushnell has a 40mm objective lens, which I think is about right. It looks right and still allows the scope to be mounted low on the rifle. Some scopes go bigger with 50mm objectives, but I think they look silly. These bugeye scopes have to sit higher on the rifle (which makes sighting through them difficult). Nope, for me a 40mm objective is as big as I care or need to go.
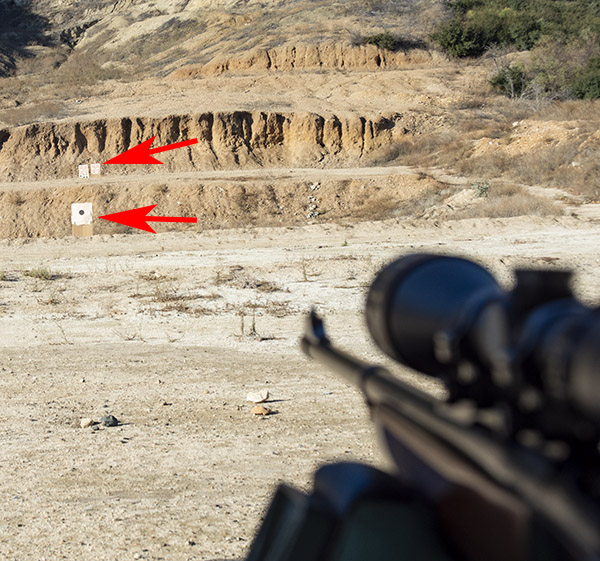
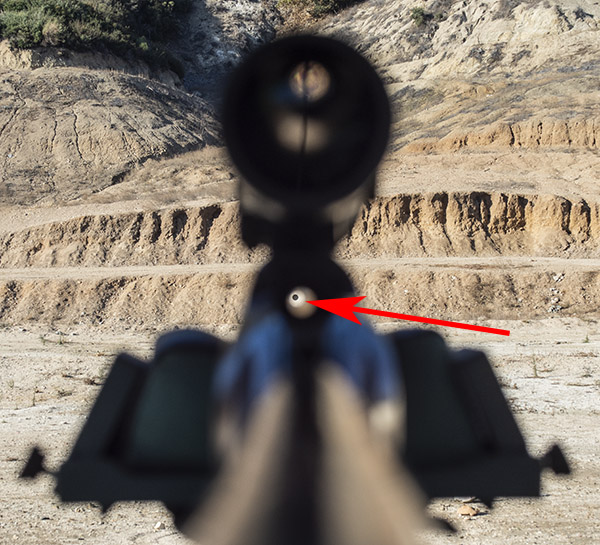
Although I own a boresigting device that mounts on the barrel, I prefer not to use it. The thought of potentially damaging a rifle’s crown, which a boresighting device can do, is not something I want to entertain. I boresight the old-fashioned way: I’ll set the rifle up in a rest, look through the bore (from the breech end) and move the rifle around until a 50-yard target is centered in the bore. Then, without moving the rifle, I’ll adjust the scope’s windage and elevation until the reticle is approximately centered on the target. Once I’ve done that, I’ll fire one shot and see where it hits. I’ve actually done this and had the impact be on the target with that first shot, but it took four shots this time. After each shot, I adjusted the windage and elevation to get the next shot two inches below my point of aim at 50 yards, and then switch to a target at 100 yards to finalize the adjustment.
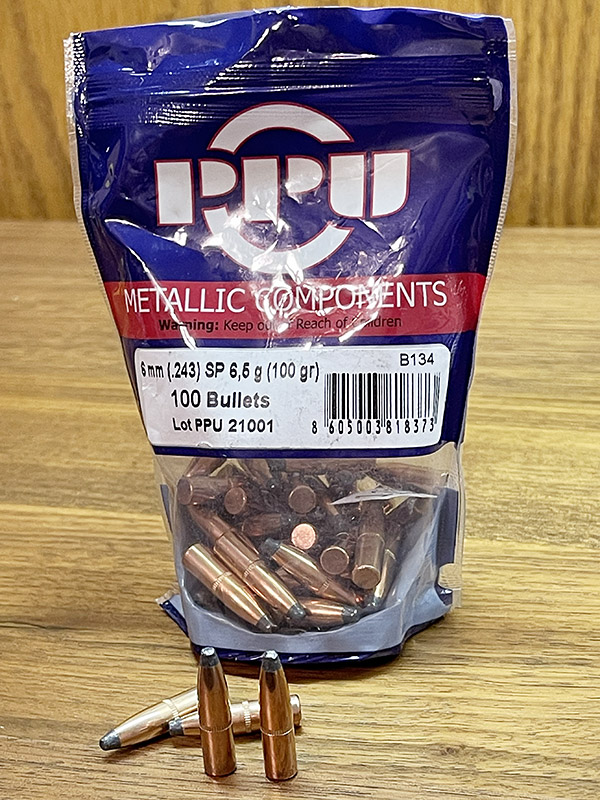
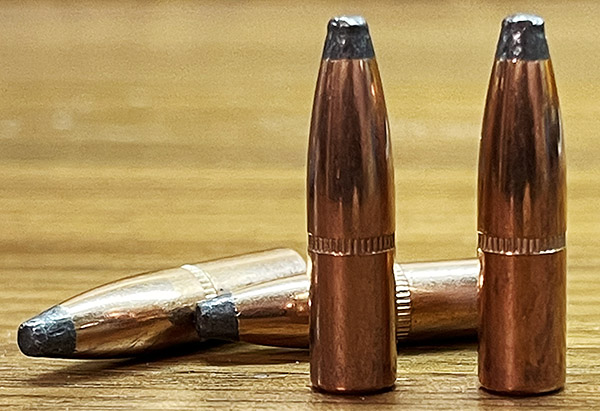
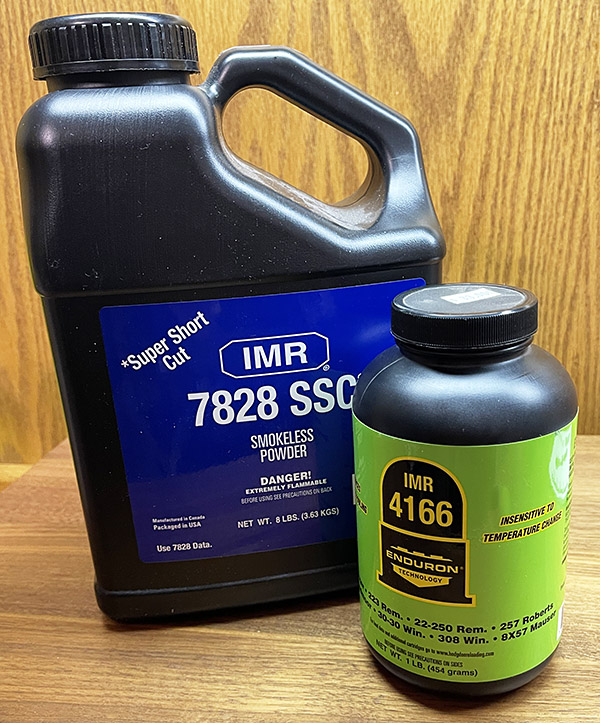
For this outing, I had loaded two groups of .243 ammo, both using PRVI Partizan 100-grain jacketed soft point bullets. One load had 43.0 grains of IMR 7828 propellant; the other group had 34.5 grains of IMR 4166 propellant. I used the IMR 4166 ammo last. IMR 4166 was one of those new powders that is supposed to not leave copper deposited in the rifling (I’ll explain why I used the past tense in a second). I wanted to use it to minimize the cleaning after shooting the rifle.
So how did it all work? The IMR 7828 load didn’t perform well as the IMR 4166 load. The IMR 7828 load was shooting 2 1/2 to 4-inch groups. Part of that was due to the Ruger’s twist rate (1 in 10), which is marginal for a heavy (for the .243) 100-grain bullet. But I was surprised with the last group of the day, which was with IMR 4166 powder.
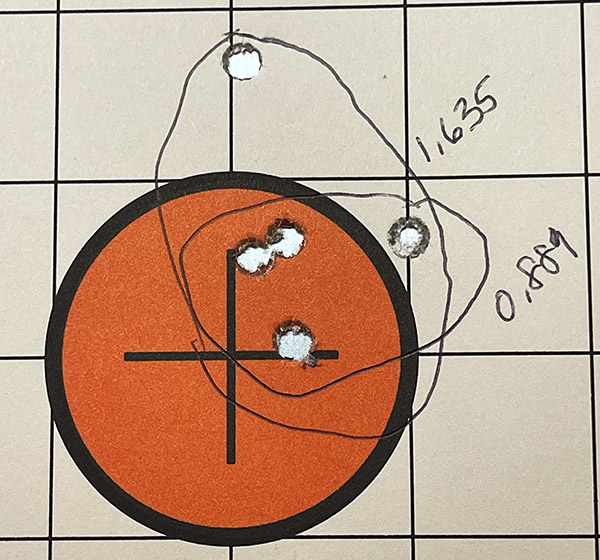
Four of the five shots went into 0.889 inch; the fifth shot opened the group up to 1.635 inches. That fact that the IMR 4166 grouped much better might be due to the fact the propellant may have removed some of the copper fouling (it appeared to have a lot less copper fouling when I cleaned the rifle later), it might be due to the fact that IMR 4166 is a faster powder compared to IMR 7828, it might have been me, or it might be a statistical fluke. You might think this would push me to develop a load with IMR 4166, but unfortunately the powder has been discontinued (I’m on my last bottle). Future load development work for this rifle will be with lighter bullets and other powders with burn rates similar to IMR 4166. Varget comes to mind. I’ll keep you posted.
I know, I’m digressing again. I started out with the intent to do a product review on the Bushnell Banner 4×12 scope, which I think I did, but I morphed into a bit of load development work for the .243 Ruger No. 1. On my intended topic: The Bushnell Banner is a great scope, and it performs way beyond what it’s sub-$100 price would indicate (I paid $72 for mine on Amazon). If you’re looking for a good low-priced scope, the Bushnell is hard to beat. I like it so much I’m going to by another one for another Ruger, but that’s a story for another time.
Never miss an ExNotes blog:

