By Joe Berk
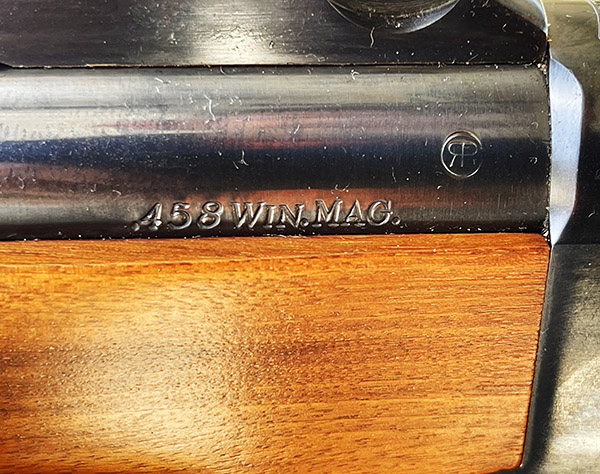
About 20 years ago I bought a .458 Ruger No. 1, but until recently, I had not shot it.
I first saw a .458 No. 1 when I was in the Army at Fort Bliss, Texas. Bob Starkey (who owned Starkey’s Guns in El Paso) had one, and that rifle was stunning. I had just bought a .45 70 No. 1 from Bob and I didn’t have the funds to buy the .458. But man, I sure wanted it.
Bob Starkey’s personal .458 Win Mag was a custom rifle built on a 1903 Springfield action. I asked Bob what firing it was like. “Well,” he said, “you’re glad when it’s over.” Call me a glutton for punishment, but I immediately knew two things:
-
-
- I had to have a .458, and
- Someday I would.
-
I’ve since owned several .458 Win Mags, including a Winchester Model 70 African (long gone), a Browning Safari Grade (it was a beautiful rifle based on a Mauser action; I’m sorry I let that one go), a Remington 798 (also based on a Mauser action), and my Ruger Model 77 Circassian. Every one of those .458 rifles was surprisingly accurate. If you reload and you’ve ever thought of buying a .458, trust me on this: Take the plunge. With cast or jacketed bullets and light loads, .458 Winchester Magnum rifles are very easy to shoot.
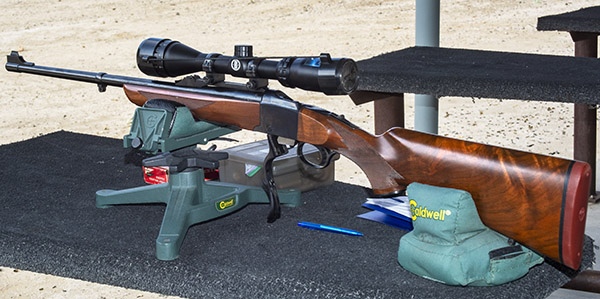
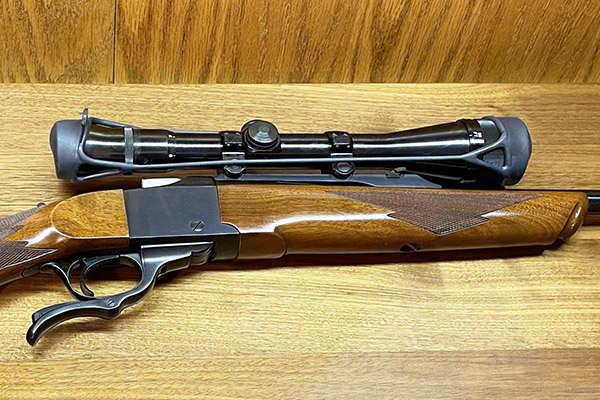
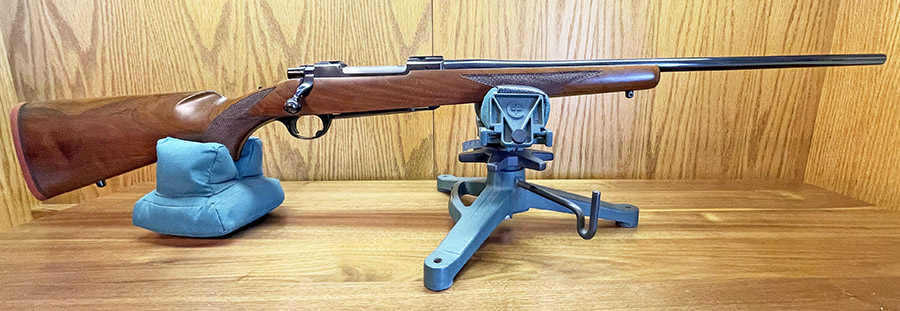
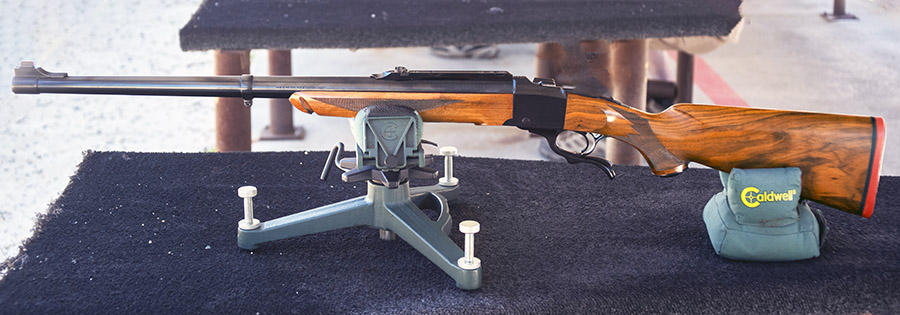
Back to the main attraction: My .458 No. 1. Technically, the Ruger .458 No. 1 is called a Ruger No. 1H. The H designates what Ruger calls their Tropical rifle; I’m guessing the Tropical’s heavier barrel means the H stands for heavy. The .458 No. 1 is big, it is heavy, and it just looks like it means business. You might say it’s the Norton Scrambler of elephant guns.
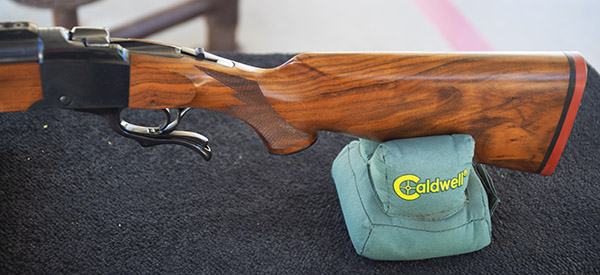
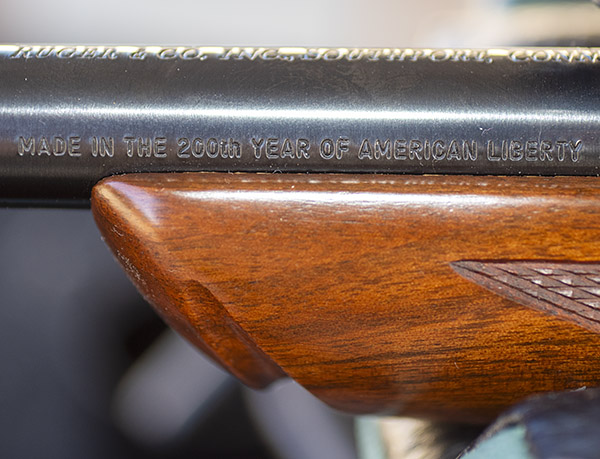
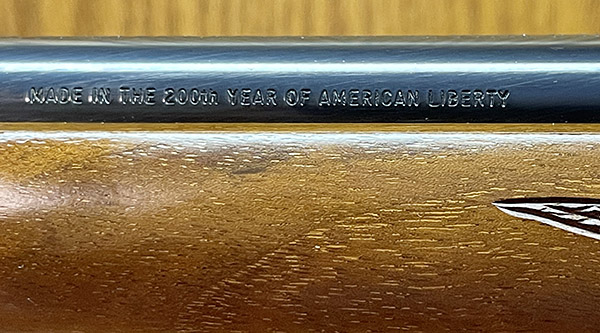
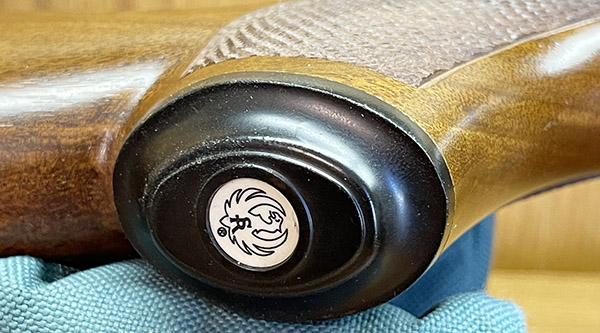
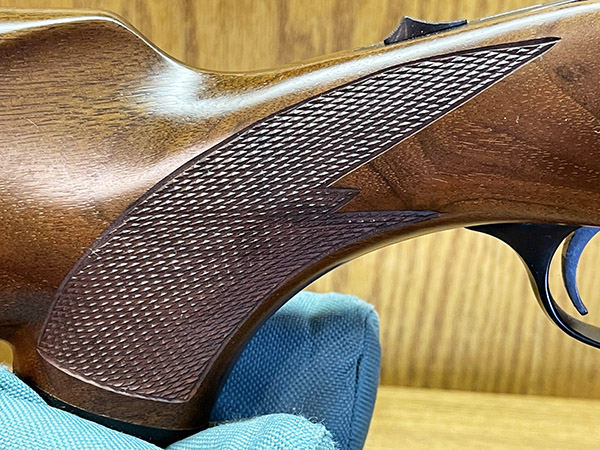
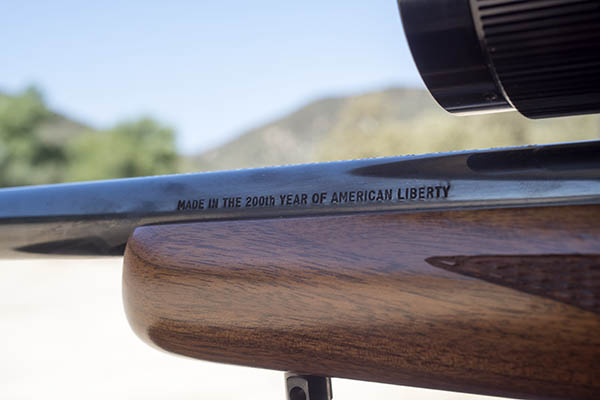
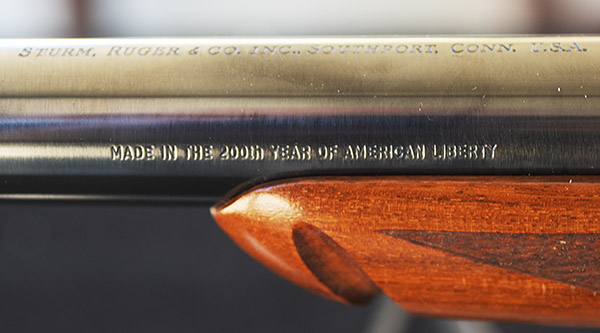
When I saw this No. 1 advertised on the Gunbroker.com auction site, it pushed all the buttons for me. It was a .458, it had beautiful walnut, it had the older red recoil pad (a desirable feature), it had the 200th year inscription, and it had the early Ruger No. 1 checkering pattern.

Every once in a while over the last two decades I’d haul the .458 out of the safe to admire it, but I had never fired it. I was thinking about that a couple of weeks ago, and I decided my failure to get the No. 1 on the range was a character flaw I needed to correct.
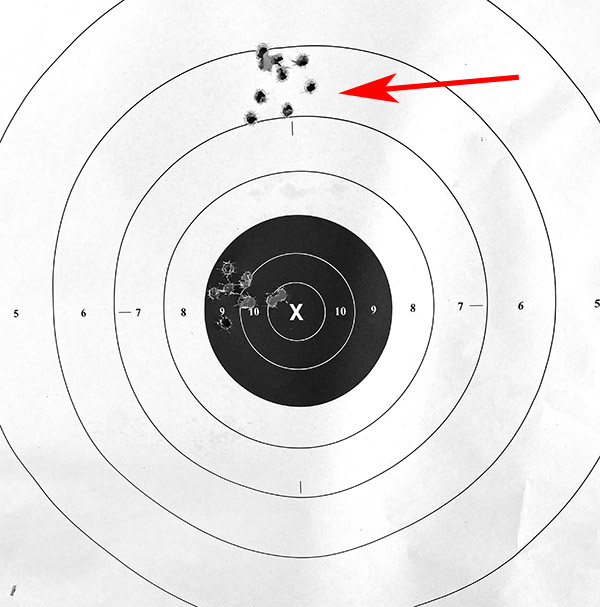
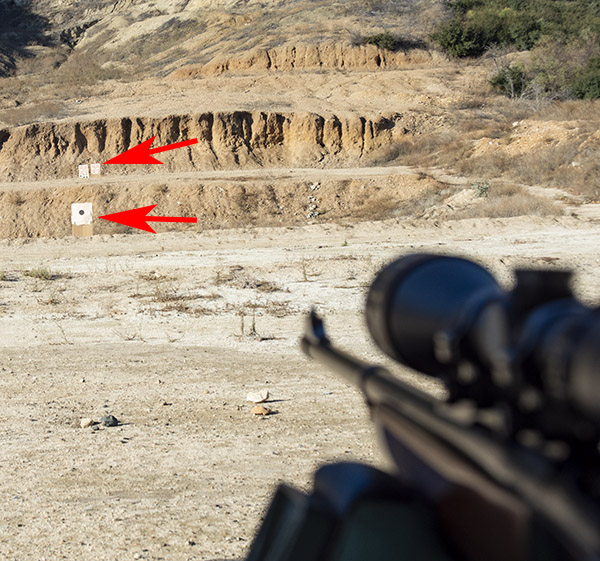
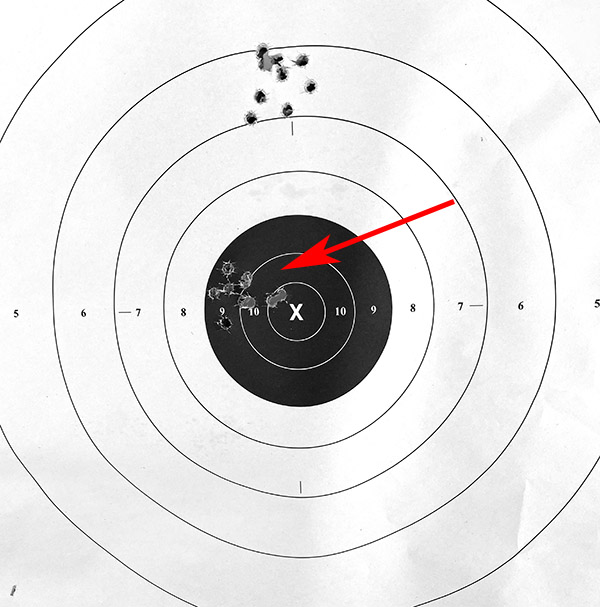
With my light .458 Win Mag reloads, the No. 1 grouped about 12 inches above the point of aim at 50 yards. When I examined the rifle more closely, I saw that the rear sight was abnormally tall compared to the rear sights on my other No. 1 Rugers, and it was already in its lowest setting. Evidently the previous owner discovered the same thing (i.e., the rifle shoots high), he took the rear sight all the way down, and then he sold it when it still shot too high. Lucky for me.
My first thought was that the forearm was exerting undue upward pressure on the barrel. I loosened the screw securing the forearm to address this and tried firing it again, but it made no difference. It wasn’t the forearm that was causing the rifle to shoot high.
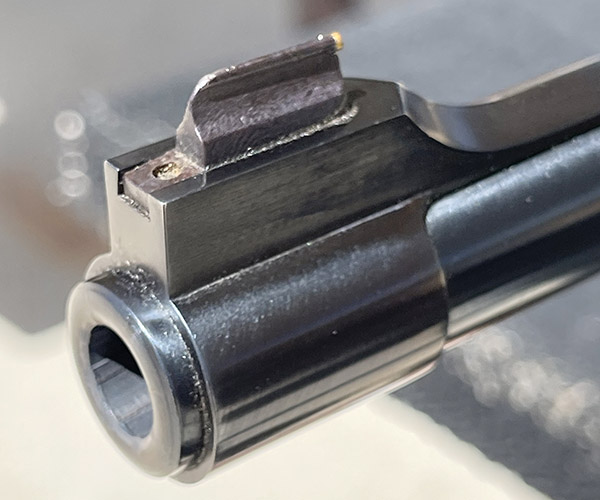
I realized I needed either a lower rear sight or a taller front sight. The rear sight was already bottomed out, so I couldn’t go any lower with it. I think Ruger put the taller rear sight on the .458 to compensate for the recoil with factory ammo. I have some 500-grain factory ammo so I could fire a few rounds and find out, but I don’t want to beat myself up. The heavier and faster factory ammo bullets get out of the barrel faster than my lighter and slower loads. With factory ammo the muzzle doesn’t rise as much before the bullet exits the bore, so with factory ammo the rear sight has to be taller to raise the point of impact. At least that’s what I think is going on. The bottom line is the factory ammo shoots lower than my lighter, slower loads.
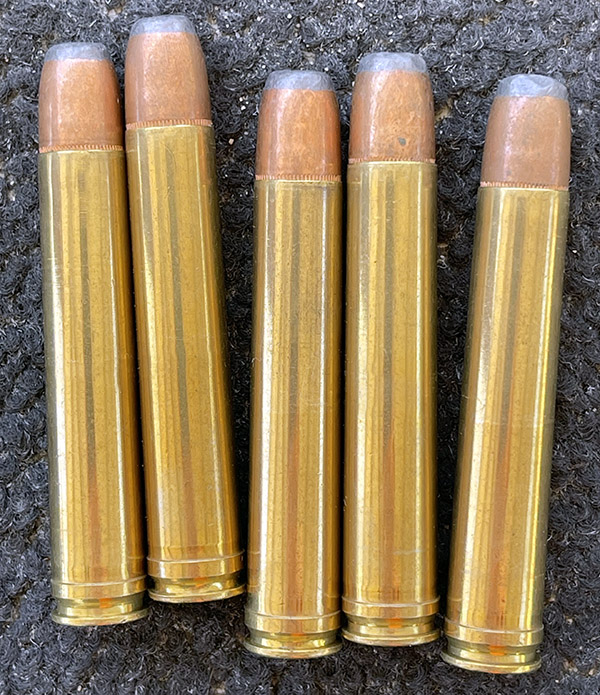
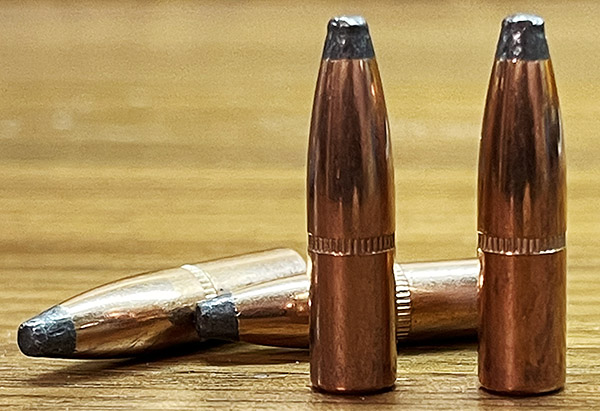
The factory .458 load is a 500-grain bullet with a muzzle velocity of 2000 feet per second. Those loads are designed to DRT an elephant (DRT stands for “Dead Right There”). My needs are different: I want a load that makes small groups in paper targets while drawing ooohs and ahs from everyone on the range (you know, because I am shooting small groups with a .458 Win Mag). Doing so with lighter loads on paper targets keeps both me and Dumbo happy.
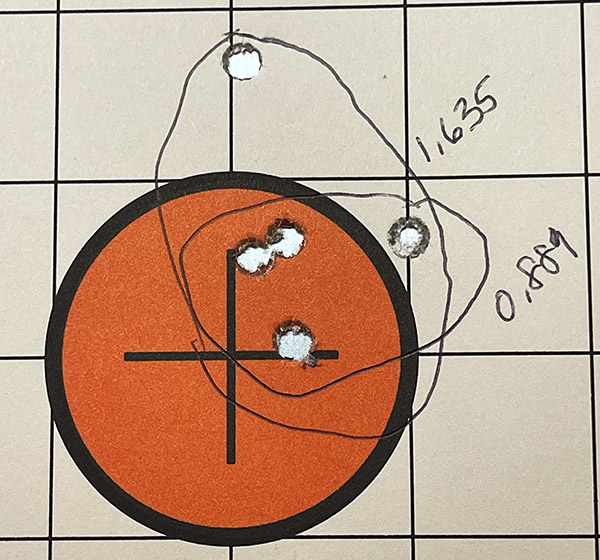
If you are reading this and thinking I was obsessing about this situation, you would be correct. I don’t know why, but when a gun is misbehaving I tend to get tunnel vision. I continued to look at the rear sight and started thinking. I knew I needed it to be lower by about a tenth of an inch, so I thought perhaps instead of using a sight picture where the front bead was concentric with the U in the rear sight blade, I could rest the bottom of the front sight’s gold bead lower in the rear sight. I fired five shots with a normal sight picture and then another five with my “lower in the rear sight” concept, and son of a gun, the two groups were right on top of each other. Both were still about a foot above the point of aim (which was 6:00 on the bullseye). What they say about peep sights is true, I guess. Your eye will naturally center the front sight as you squeeze the trigger.
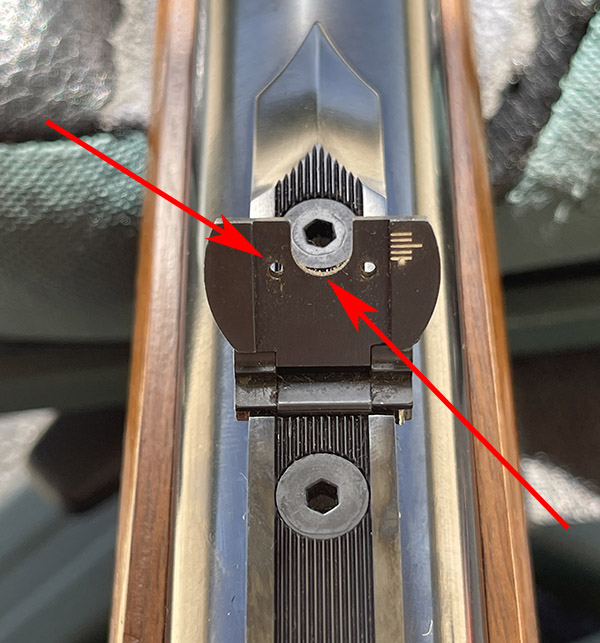
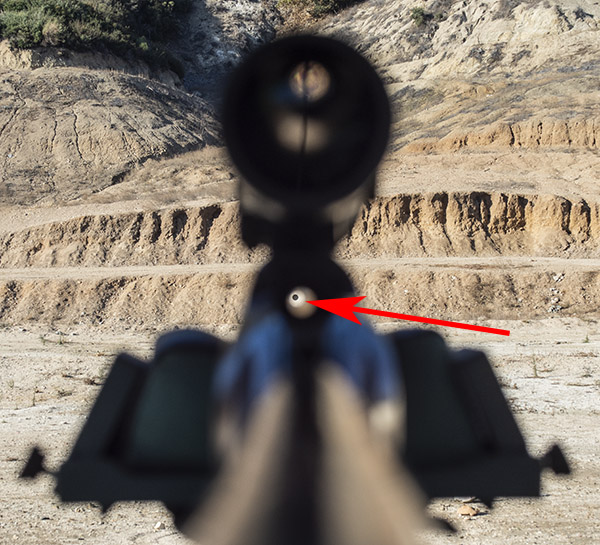
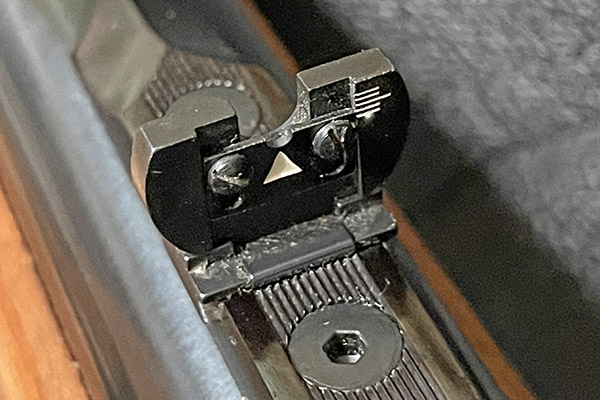
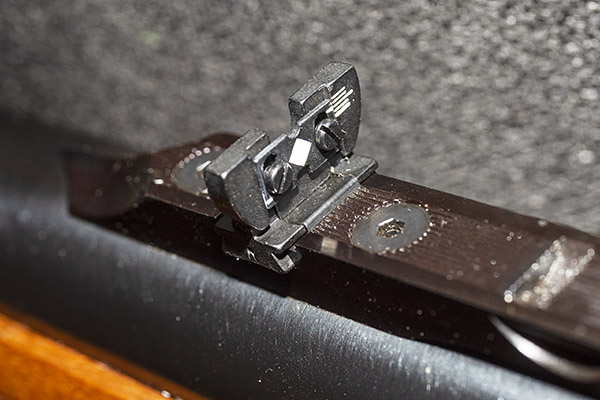
Out there on the range, I kept thinking about this as I stared at the rear sight. It was a nice day and I was the only guy out there. An idea hit me. The rear sight blade is removable (it’s held in place by two screws that loosen to move the blade up or down), and the rear sight leaf (to which the blade attaches) has a much wider and deeper U. Could I remove the blade altogether and use the wider and lower U of the rear sight frame as the rear sight notch?
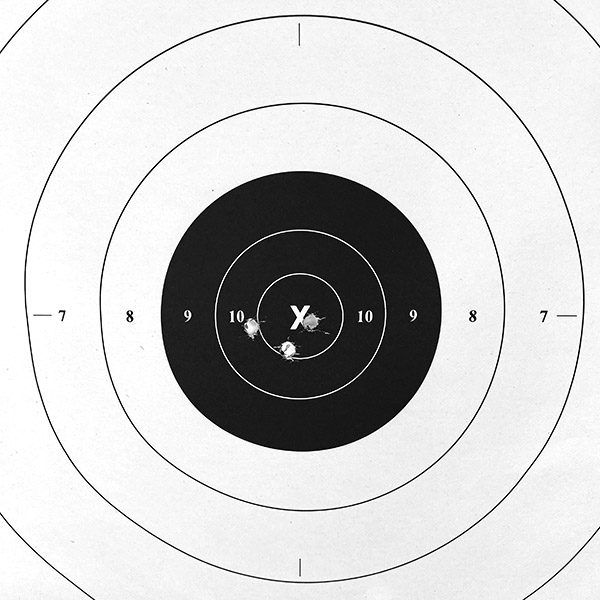
I had my gunsmith’s tool kit with me and I took the two tiny screws out (the smallest screwdriver in the kit did the trick). I was sweating bullets (pardon the pun) about dropping either of those screws (I knew if I did I’d never find them), but the screwdriver blade is magnetized and it held onto them. With the sight blade removed, I fired five rounds, and voilà, I was in the black. I fired another five, and they went right on top of the first five. The group size, with open sights at 50 yards from a .458 Win Mag, wasn’t too bad. In fact, it was essentially identical to the group size with the rear sight blade in place.
I knew I needed to lower the rear sight, but by how much? The Ruger’s sight radius is 17 inches (the distance from the front sight to the rear sight), and the distance to the target (on which the group was about 12 inches high) was 50 yards. Remember when your junior high school teacher told you that algebra would come in handy someday and you didn’t believe him? Well, today was that day for me. Here’s how it shakes out:
(distance rear sight must be lowered)/(sight radius) =
(12 inches)/(5o yards)
Solving for the distance the rear sight must be lowered (let’s call it x), we have:
x = (12 inches)*(17 inches)/(50 yards*36 inches/yard) = 0.1133 inches
My first thought was to call the Williams Gun Sight company because I assumed Williams made the sights for Ruger. I’ve worked with Williams before and I knew they have excellent customer service. When I called them, I learned that they didn’t make the sights for my Ruger. The guy who took my call had a reference document and he told me that in the early No. 1 days, Marble made the sights. I called Marble, but I struck out there, too. The Marble’s sight base is different than the Ruger’s. While all this was going on, I examined the rear sight more closely and I saw a small Lyman stamp on it. So I contacted Lyman. Their guy told me they haven’t made sights for the Ruger No. 1 in decades.
At that point in my quest to find a lower rear sight, I was up to Strike 3 or maybe Strike 4, so I called Ruger directly. The pleasant young lady I spoke with at Ruger told me they could not sell me a lower replacement sight for my .458 No. 1; they can only sell what originally came on the rifle. So I told them I wanted a replacement rear sight for my .30 06 No. 1 (it has a much lower rear sight). I had to give them a serial number for my .30 06 (which I did), and they were happy to go with that. Ruger charged me $20 for the replacement.
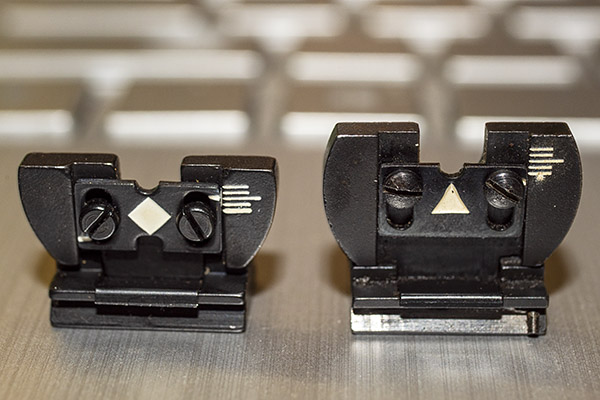
After a week’s wait, I had my lower rear sight from Ruger. I drifted the old rear sight out with a brass punch and I installed the new one. The distance from the top of the old (tall) sight to the sight base is 0.505 inches. The distance from the top of the new (lower) sight to its base is 0.392 inches. Subtracting one from the other (i.e., 0.505 inches – 0.392 inches), I found the new rear sight was exactly 0.113 inches lower than the old rear sight. My calculation was that the rear sight needed to be lower 0.1133 inches lower. The fact that my calculation is almost exactly equal to how much lower the new rear sight is has to be coincidental. I just love it when things work out. Mathematically, that is. You might be wondering how the new rear sight worked out on the range. Quite well, thank you.
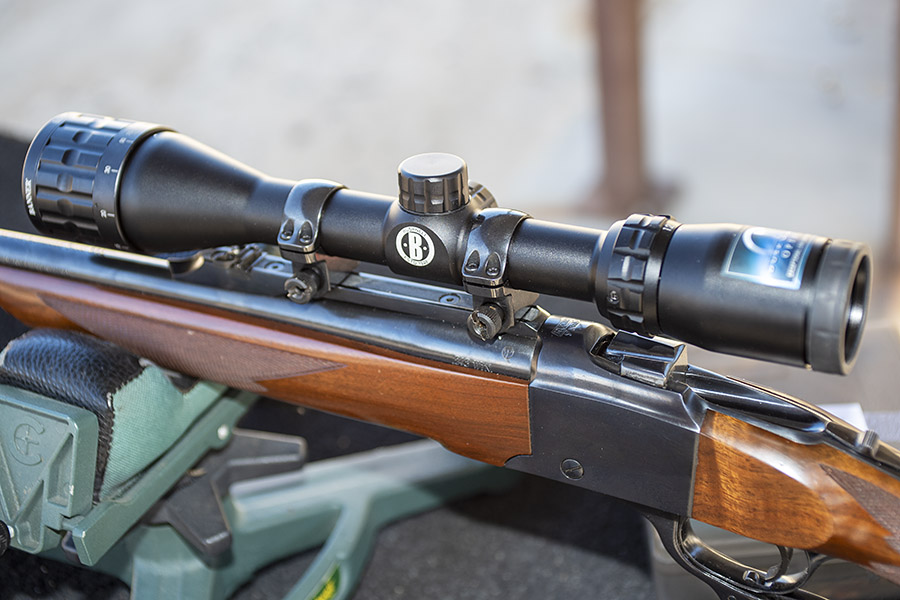
You know, if I had mounted a scope all the above would have gone away. The scope would probably have enough adjustment range to compensate for the rifle shooting high. But a scope seems somehow out of place on an elephant gun, and I like shooting with open sights. I’ve read a lot of comments from older guys describing how they need a scope to cope with their aging eyes. I’m certainly an older guy with the inevitable attendant vision degradation, but I’ve gone the opposite way. I find shooting with open sights makes me feel younger, and getting tight groups with open sights is its own reward. I first learned to shoot a rifle using open sights, and doing so again makes me feel like a kid.
Next up will be trying a few shots at 100 yards. Stay tuned.
Never miss an ExNotes blog:
Don’t forget: Visit our advertisers!