
A couple of years ago I spotted a beat-up old Mini 14 rifle stock in the used parts junk pile at my favorite local gunstore, and I thought it might be fun to refinish it. It was for the earlier series Mini 14 and I didn’t own one, but the stock looked like it needed me. It was dinged up but didn’t have any gouges, and the anodized aluminum buttplate had multiple scratches. I asked John, the guy behind the counter, what he wanted for the stock, and we were both in a quandary. John’s brow furrowed. He was searching for a price that wouldn’t be insulting, but I could see that he was eager to unload something that had all the earmarks of becoming a permanent resident. There were several old timers in the shop (there always are; it’s that kind of place). All eyes were on John and me.
“I don’t know…maybe $25?” John said.
I recoiled as if struck by an arrow. It’s all part of the game, you know. All the eyeballs were on me now. It was like being in a tennis match.
“I don’t know, John,” I answered. “I was going to offer $30, but if you gotta have $25, then $25 it is…”
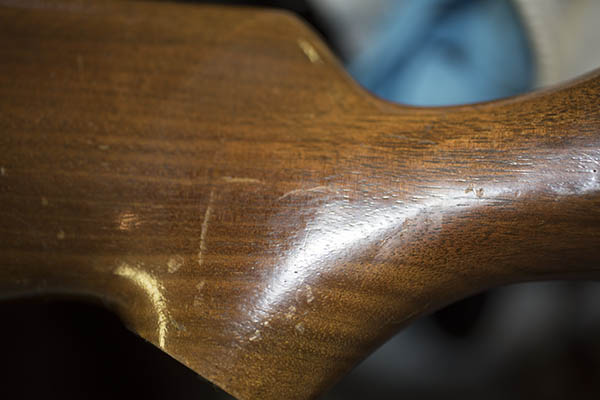
Everybody laughed and I went home with a Mini 14 stock that looked as if it had been to Afghanistan. I wished I had the foresight to grab a few “before” photos of it, but I did not.
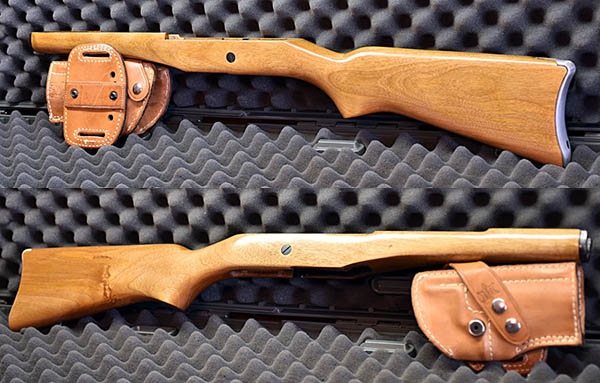
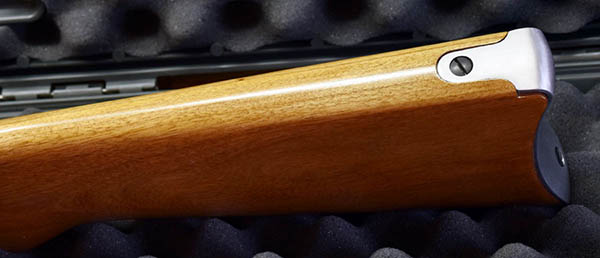
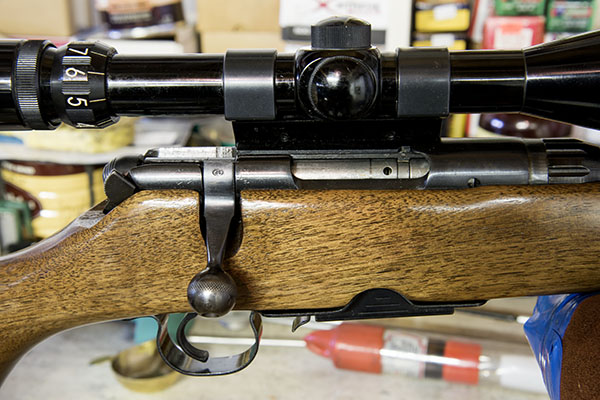
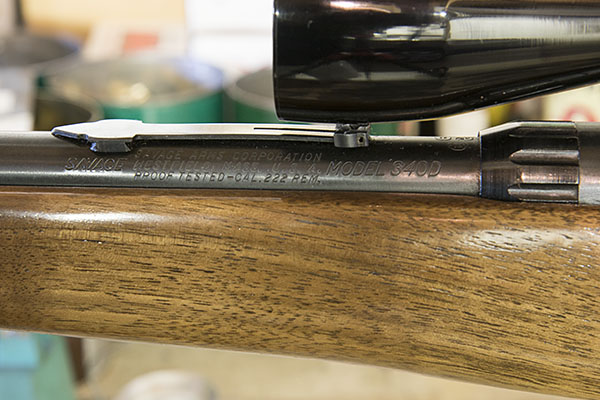
Like I said, the stock was decrepit, but I wanted a refinishing project and now I had one. I removed all the metalwork, I stripped the finish (you can see how to do that in our series on the Savage 340 refinish), I steamed out the dents (same story there; it’s covered in the Savage 340 stock refinish series), and then I went to work on it with 200, 320, 400, and 600 grit sandpaper. The buttplate was hopelessly scratched all to hell, so I did the same thing with the same grades of sandpaper and I decided to leave the aluminum bare. In one of my prior aerospace lives, I worked at company that made interior doodads for aircraft, and the approach I just described was one we frequently used for doorknobs, latches, and the other metal chotchkas you see in aircraft cabins. That particular company was not a good place to be (my boss was a butthead), but I liked working with the crew of Armenians who handled all of our finishing work. Whenever I had an idea about making an improvement, those guys were quick to tell me that wasn’t how they did it in the old country, and I went with their expertise (it was the right thing to do). But I digress; that’s a story for another time.
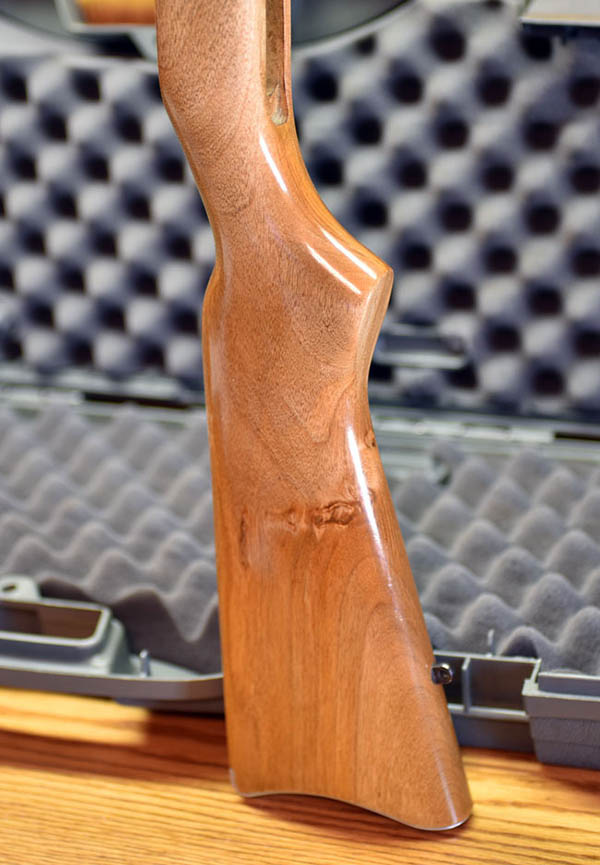
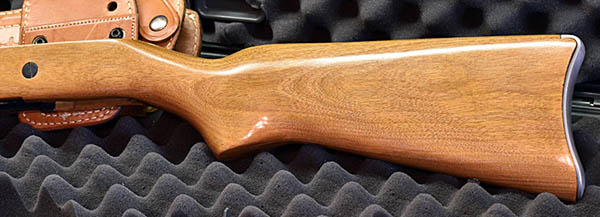
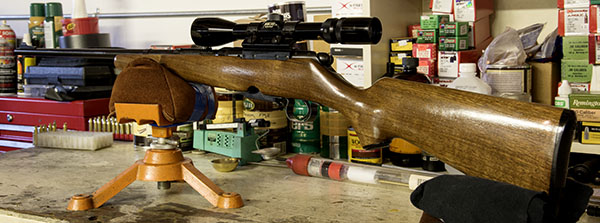
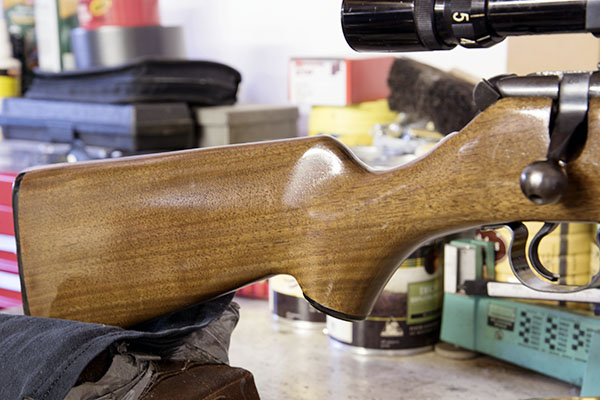
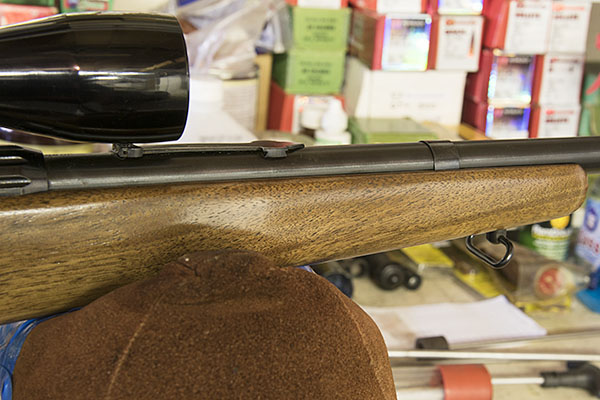
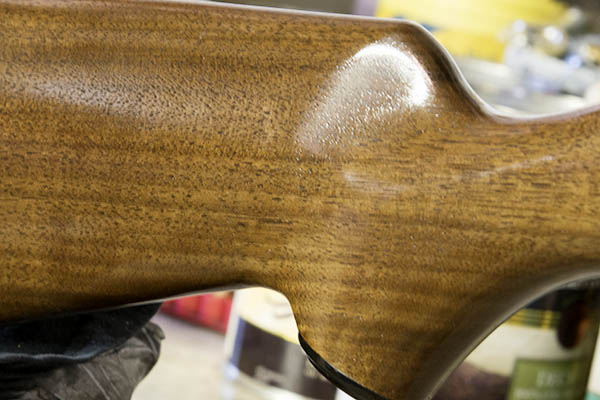
Mini 14 stocks are birch, which is a light wood, and the question was do I want to stain the birch for a darker look, or leave it unstained for a lighter look? I went for Door Number Two, and I think it turned out well. I used the same approach described in the Savage 340 blog, taking care to use very light coats applied with a fresh bit of T-shirt cloth each time and waiting a day between applications. This one has 10 coats of TruOil. TruOil
is good stuff.
I had a beautiful rifle stock, but no rifle to go with it. One of my good buddies told me his brother had a Mini 14 that was in rough shape, so I gave the refinished Mini 14 stock to him to send to his brother. It was a fun project and I really liked the way this one turned out.
Check out our other Tales of the Gun stories!
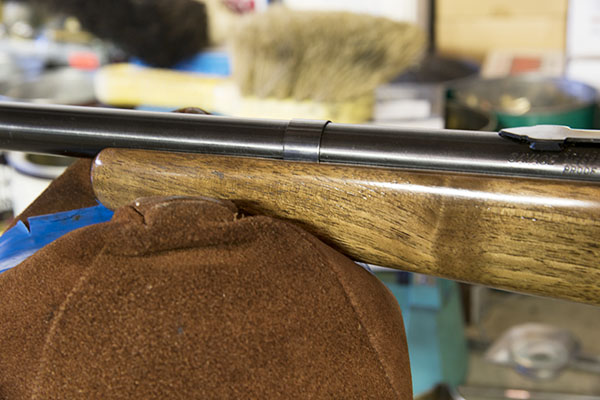
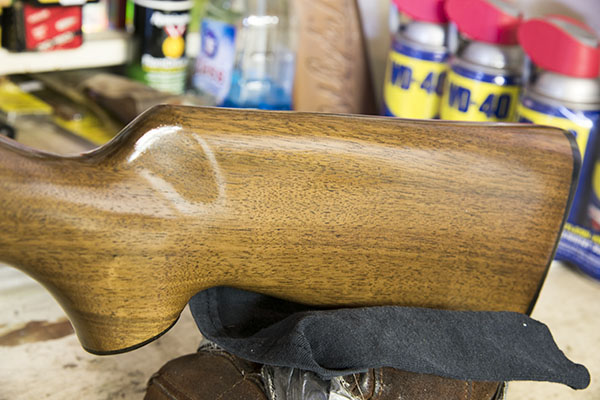
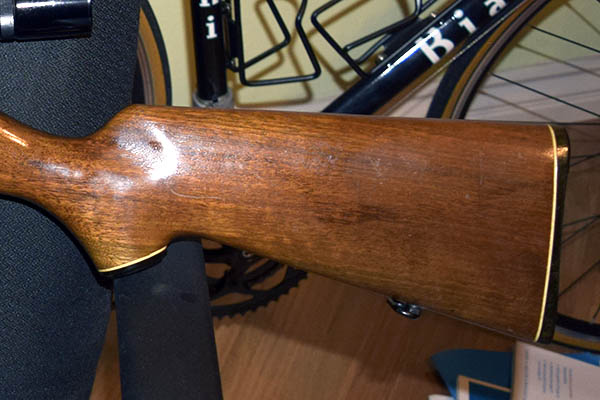
 The original finish had a lot of scratches and dings; those are all gone. The 340 originally had white line spacers between the buttplate and the stock, and between the pistol grip cap and the stock. I like the “less is more” look (I think it’s more elegant), and I think I achieved it by deleting the spacers. The rifle’s original finish was some sort of shellac or varnish that gave a reddish hue to the stock; the new