
This blog will wrap up the series on refinishing the Savage 340 rifle. It’s been quite an adventure and the Savage is quite the rifle. As you may recall, I found this rifle on the consignment rack at a local gun store, and to my great amazement, my little $180-dollar econo gun turned out to be quite the tack driver. I purchased the rifle with a refinishing project in mind, and now it’s complete.
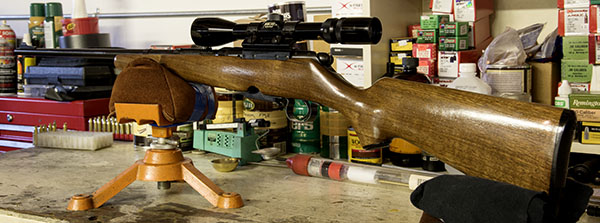
The Refinished Savage
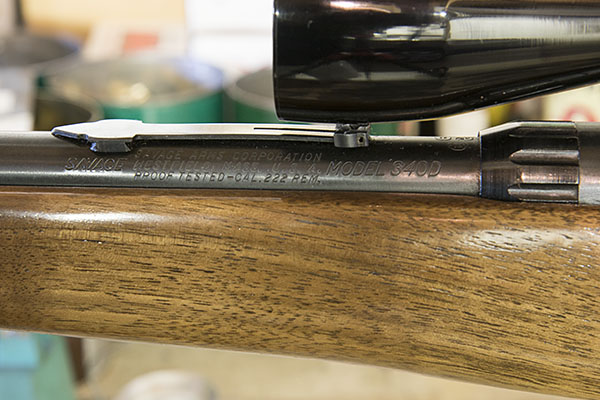
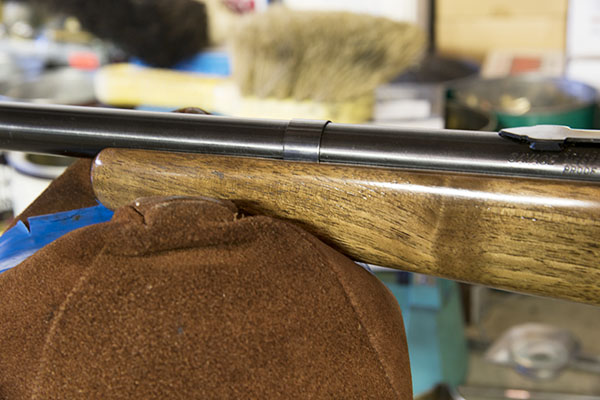
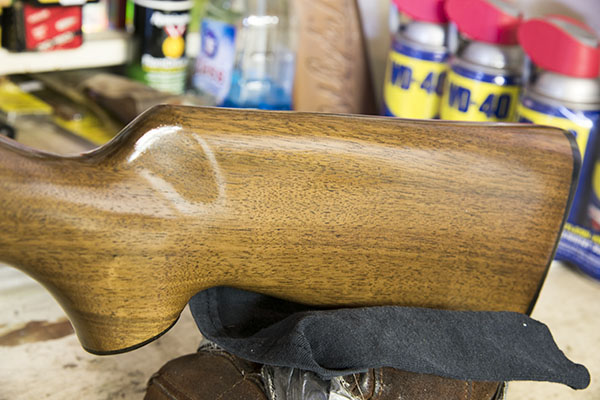
I stopped after eight coats of TruOil, as the results were the same after the sixth and seventh coats. The Savage went back to together in minutes, and it looks like a new rifle. Actually, that’s not quite right…the 340 Savages that left the factory never looked this good..
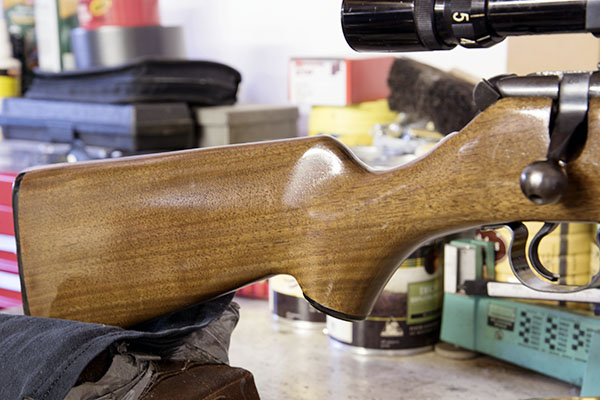
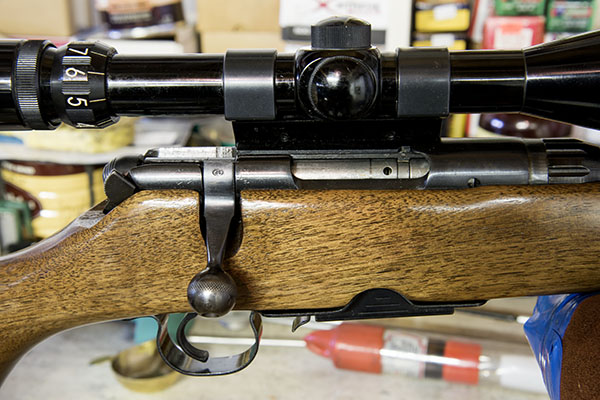
Here are a few shots from the right side…
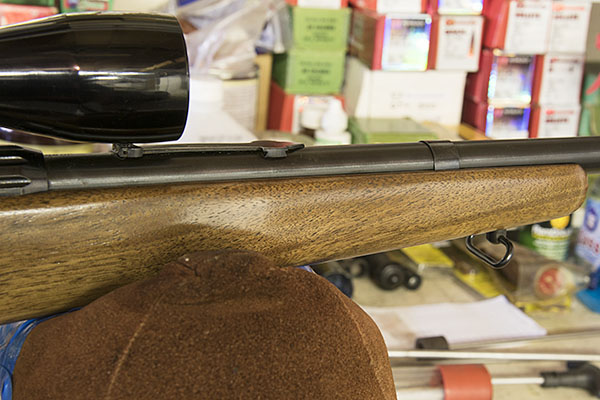
And a few from the left…
Before and After Comparisons
Here are a few before and after shots to allow a more direct comparison…
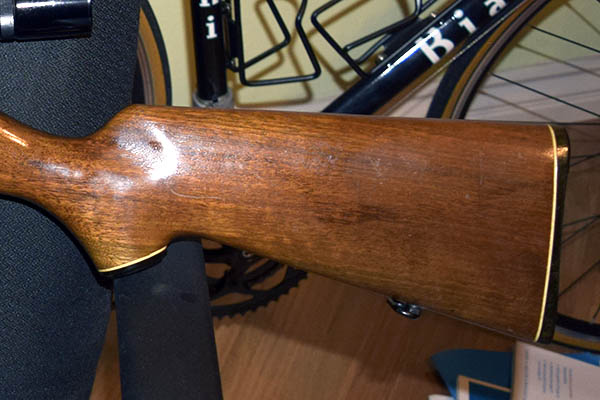
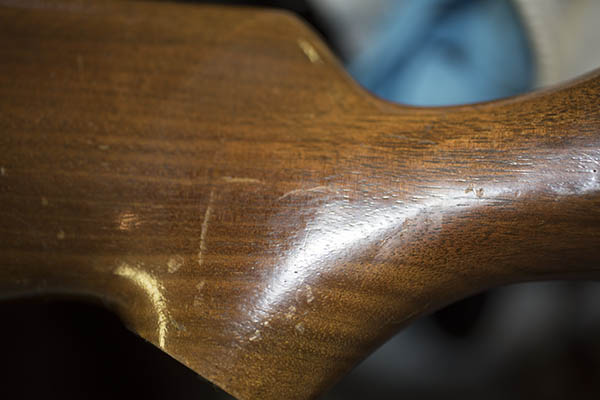
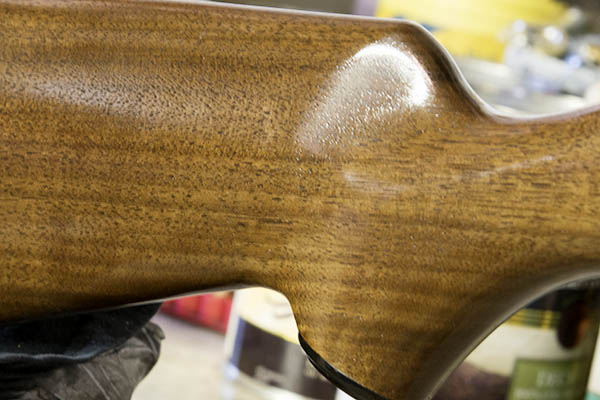 The original finish had a lot of scratches and dings; those are all gone. The 340 originally had white line spacers between the buttplate and the stock, and between the pistol grip cap and the stock. I like the “less is more” look (I think it’s more elegant), and I think I achieved it by deleting the spacers. The rifle’s original finish was some sort of shellac or varnish that gave a reddish hue to the stock; the new TruOil
 finish allows the natural walnut color to emerge and I like that better.
Oil Finish Advantages
There are other advantages besides just good looks to an oil finish. When the stock gets scratched or worn (and if it’s used in the field, it will), it’s a simple matter to just reapply the TruOil again. When you do that, the stock will be like new again. It’s easy to touch up an oil finish. Another advantage is that the stock is sealed. The oil finish is relatively impervious to moisture, and that keeps the stock stable. It won’t induce a shift in bullet impact as a result of the stock absorbing moisture and distorting. And of course, there’s that most basic advantage: It just flat looks good.
If you would like to see how this project began and read a bit about the Savage’s accuracy, you can do so here.
A Savagely Inexpensive Rifle
Savage Refinish Part I
Savage Refinish Part II
Savage Refinish Part III
Well done. I may have to try this on my grandpa’s old Model 86 Springfield .22.
Patience is your friend. Thanks for your kind words.
Joe, while good, I’m afraid your descriptions along the pathway of the steps of refinishing were insufficiently detailed. Fortunately, I can supply a couple of rifles for you to more carefully walk through those steps, more properly documenting and photographing them so your readers get a complete grasp of the process. I’ll set them aside and you can start any time. Probably best to do several, instead of just one, in case anyone needs multiple examples. I think I can come up with three or four I’d be willing to lend to this effort…
That’s very generous of you, Greg, and like most mechanics, I figure it’s always best to make mistakes and learn on other people’s stuff. I’ve seen some of the rifles you’ve refinished and I suspect you are too modest.
I still have my late dads Savage 340-3030win&before he passed I had ordered new mags for it from Brownel’s.The Ole 340is still like it was new except for wear on the blueing from age&use.Your 340looks good.
Thanks for your comments, Kevin. Hey, if you have a photo, send it to us for inclusion on the blog.
Yeah, the old 340s are good rifles. I am enjoying mine.