
By Joe Gresh
The pressure of getting the ZRX1100 finished by July has eased off a bit. The Carrizozo Mud Chuckers may not be able to make July’s Laguna Seca races. I may have to go alone, which isn’t a bad thing, or skip the modern bikes and go to the vintage races held a week after. I’m leaning towards the vintage races as I really don’t have much interest in motorcycle road racing and the vintage bikes hold my attention just by existing. That doesn’t mean I’m backing off the ZRX1100 resurrexion project. I’m full speed ahead and will stay on the job until I am able to ride Rex again.
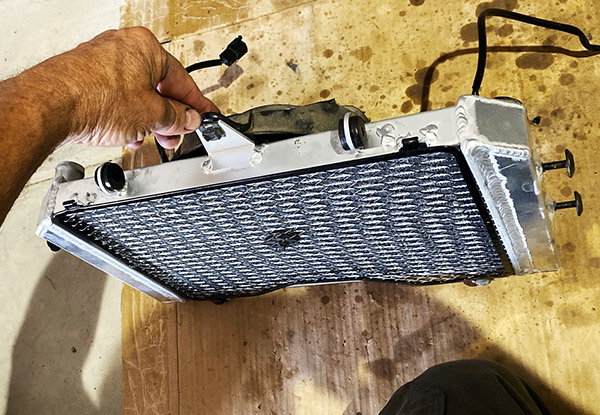
One of the things that worried me on the ZRX was the 24-year-old radiator. Kawasaki makes a quality motorcycle but how long can a radiator last? I found an aftermarket radiator on eBay for only $80 dollars with free shipping. You know how I like a deal. The radiator arrived securely packed and undamaged. It was welded aluminum and the workmanship looks excellent.
Unfortunately, there are a few problems with the fit of the aftermarket radiator. The top mounting ears are slightly too wide apart. When fitted with the original rubber isolator grommet the ears squeeze in as you tighten the bolts. It will need a thicker rubber isolator and that will require a longer spacer and bolt in order to avoid squeezing the rubber flat.
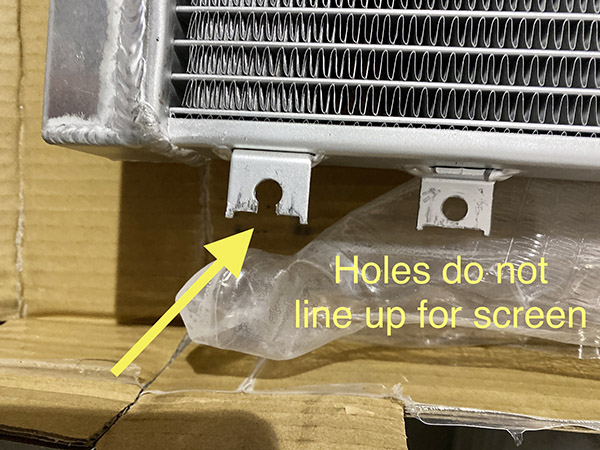
The next issue is the top tabs that hook into the expanded metal radiator bug screen are slightly too low. When the bottom screw holes are lined up the screen misses the top tabs completely; they hook into thin air. I slotted the screw holes to lower the screen on the radiator and it seemed to work although it looked like hell.
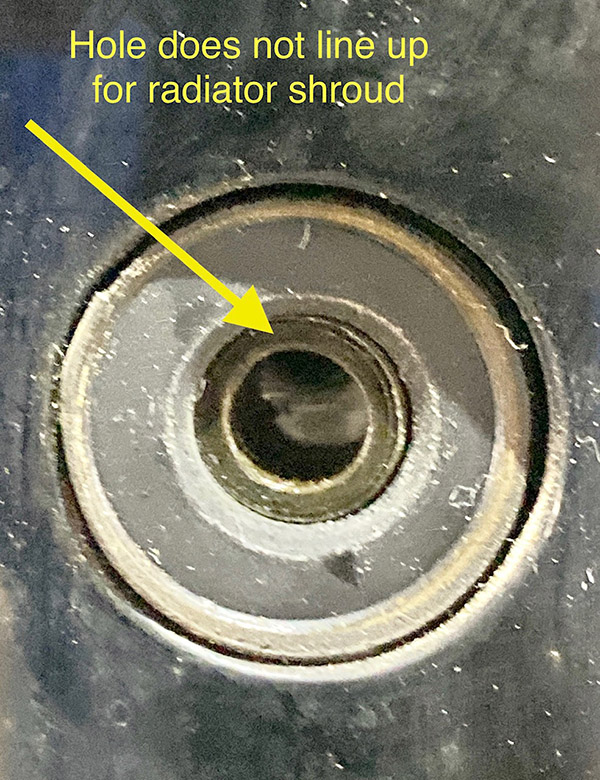
After those problems I found the blind holes in the side of the radiator that secure the radiator side covers were not centered correctly. You could get one bolt started or the other, but not both at once. This was fairly critical as the side covers also incorporate the bottom radiator mount and horn mounting bolts. To fix this I will need to fabricate new radiator side supports along with horn mounts. I decided to punt and cleaned up the original radiator and installed it. The aftermarket radiator might see future use but I’m not in the mood to do the fabrication right now.
The new Kawasaki water pump fit perfectly and I was able to install the hard plumbing pipes and hoses. This included the log manifolds located on the front and back of the cylinder block. I ordered a set of silicone hoses that fit fairly well except one hose was missing. Fortunately, it’s the easiest one to get to and it is straight, so I reused the old hose. I can fix it later if it springs a leak.
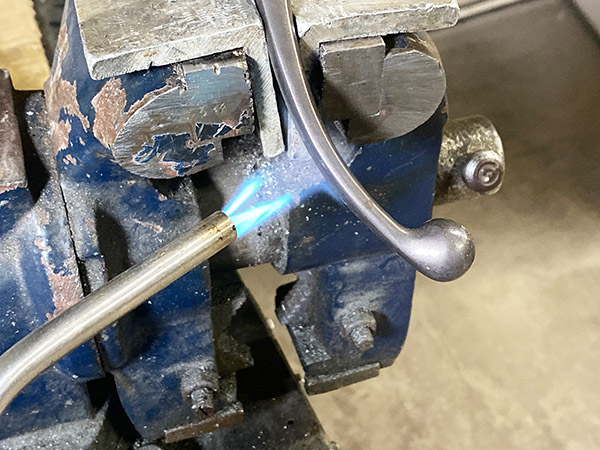
When I bought the ZRX used all those years ago the previous owner had dropped the bike moving it around. There is a small scuff on the headlight faring and the front brake lever was bent out at an awkward angle. I rode the bike like this for years. I decided that since I had the brakes apart I may as well straighten the lever. A little heat from a propane torch is all you need. Don’t go hog wild or you’ll melt the aluminum.
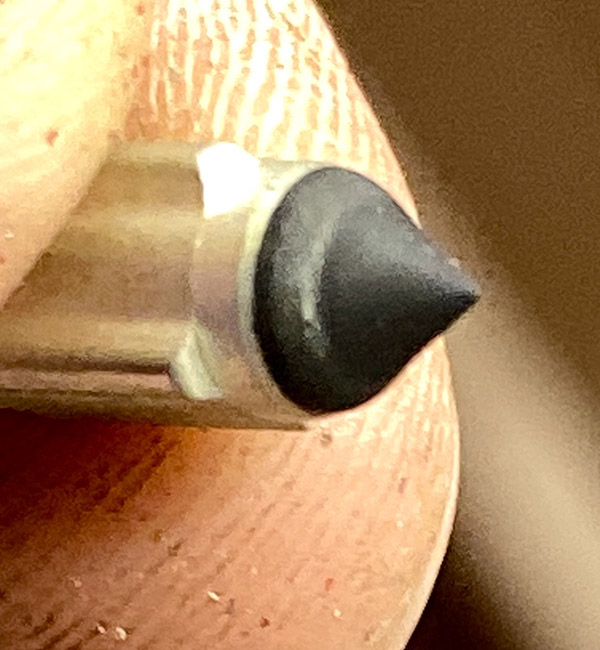
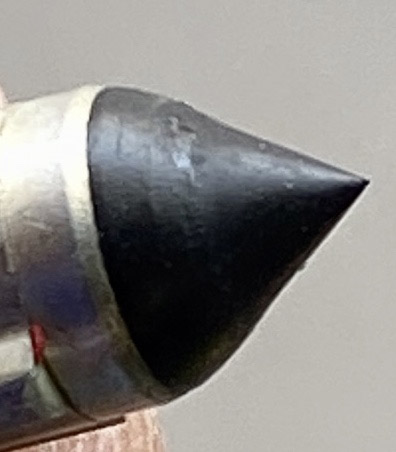
After closer examination I could see why the old float needles were leaking. There was a ridge worn into one and another had the rubber tip flaking apart. I ordered a new set of four needles for $28 (shipping included) from China but could not get an accurate delivery date. I was getting nervous about our trip so I went down to the local Kawasaki dealer. The dealer had Kawasaki-OEM needles for only $39 each. It killed me but I dropped $156 and bought the four needles.
With new needles in hand I checked the float levels. The range given in my book was 18.5mm ± 2mm from the float bowl flange to the bottom of the float. Mine were all sitting a bit high at 18mm. I readjusted them to 20mm anticipating needle wear and seating. After the carbs were back together I checked the floats on the bench and no fuel leaked out. I hope this status holds. Two days later my needles from China showed up. They look identical to the Kawasaki needles and even came with the tiny wire bail that fits over the float to pull the needle down when the float drops. My $156 needles required reusing the wire bail from the old needles.
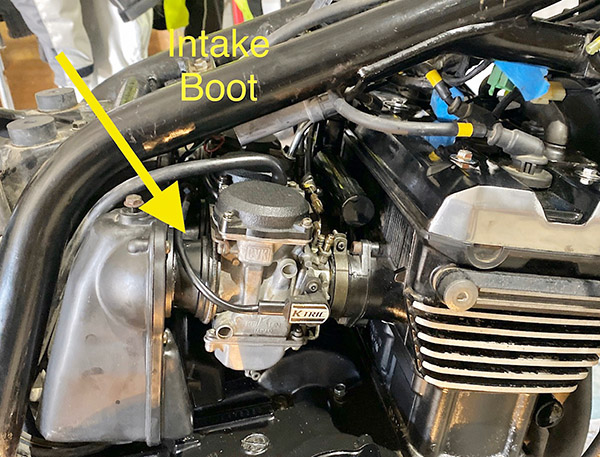
I can see why so many ZRX riders convert the original air box to pod-type filters. It’s a challenge getting the carbs back into position. You have to mount both throttle cables and the choke cable, then feed the cables through the frame as you battle to slide the carb assembly between the manifolds and the air box rubbers. It took at least an hour fighting to get the things in. Then, once you feel like you have succeeded, there’s the not-small matter of fitting the springs onto the air box rubber groove. None of this would be difficult if there were access. The two inside boots were out of reach and too crowded for my fingers. I managed to get the springs in place using a couple of screwdrivers and a lot of bad language.
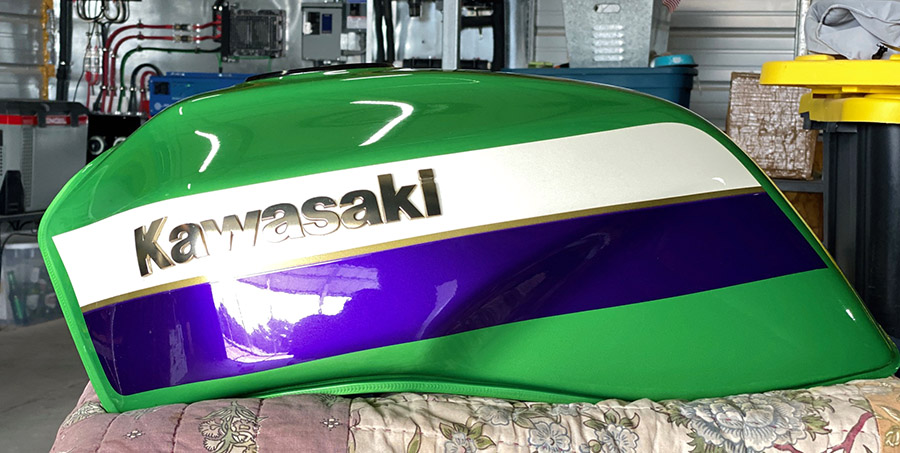
While waiting on parts I tackled the fuel tank. Amazingly the inside of the gas tank was not rusted. It had stinky old yellow muck inside but was otherwise in good condition. This might be due to my diligent addition of fuel stabilizer several times over the course of the ZRX’s long slumber. I rinsed the tank using fresh gas and after 4 flushes the inside was pretty clean.
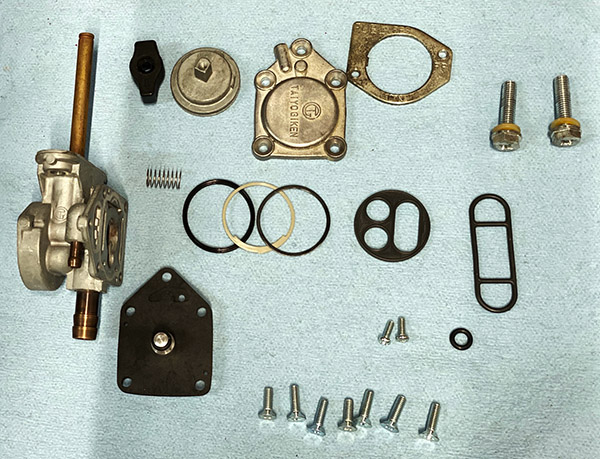
The fuel filter on the petcock was brittle with age (or fuel stabilizer) and crumbled to the touch. The filter is not sold as a separate part so I bought an entire petcock for less than a few Kawasaki gaskets. Again, from China. I didn’t pay attention to the delivery date and the petcock was promised between June 7th and July 15th. This was a huge window, so I bought a rebuild kit and it didn’t show up, either. Panicking, I went to the local dealer and ordered the inner packing and the gas tank O-ring figuring I could at least make something work. As you can see, I’m using a shotgun approach to parts as time grows short.
The petcock rebuild kit showed up a day before the Kawasaki stuff did and I managed to get a petcock assembled. My main issue with this plan is that since there is no interior fuel filter I’ll have to fit an inline filter. This is not as easy as it sounds because the Kawasaki uses a large 3/8” fuel barb and the 3/8” inline filters I’ve found are too large to fit under the carbs or below the petcock. Maybe my new petcock will show up soon and solve the problem for me.
The big holdup now is the gaskets for the reed-valve pollution plumbing located on the valve cover. The law of unintended consequences says that I should have left the reed valves alone when I painted the valve cover. But I didn’t. They tore when I removed the reeds to paint. I ordered the gaskets weeks ago and they have not arrived.
The reed valves allow fresh air to be drawn into the exhaust ports when there is a vacuum pulse at the exhaust port. Kind of like a smog pump without the pump. The reeds connect to a carb-vacuum-actuated valve that is supplied via the air box. I’m guessing this is some sort of backfire control. I can eliminate all this junk and I might do just that but I will need to make a blank plate to replace the reeds and a blob of high heat silicone to replace the gaskets. Then I’ll need to plug the hole in the air box. It would be faster to bolt the junk back on as the bike ran fine with it.
I also installed the new battery and tested the electrical system. I tested the lights and horn and they seemed to work then I bumped the engine over to see if the electric starter still functioned. Maybe in Part 6 this motorcycle will start.
Like what you see? Please thank us by clicking on a few of the popup ads.
Never miss an ExNotes blog:
More Resurrections are here.
I enjoy reading this kawi revival .
Happy I don’t have to deal with more than 1 carb . Normally.
My R65 has two.
My hinkley has 2 injectors .
My older bikes all have one carb. They seem to work ok .
Chinese parts. That would be different than Taiwan Chinese parts?
I always liked the looks of that particular model Kawasaki.
Glad I don’t own one though .
Just too complicated compared with obtaining vintage Brit and HD parts.
I often wonder how future enthusiasts of motorcycles made today will deal with all the ins and outs of rebuilds 40 years from now.
Good luck finishing this machine up !
You need some no-flo
https://www.kwick.biz/product/noflo-emission-pair-block-off-plug-set/
Doug,
That ELS stuff from Kwick is too nice for my old Rex. I’ll hammer a few nails in the port…
Joe – I have done a couple of Yamaha XS 650’s that I had to use Chinese parts on due to no other source being available (the parts being dealer obsolete). As a rule you are much better off with the O/E Kawi part. Trust me on that one. There is a huge difference in quality. Fitment was generally poor and the materials inferior. I had a petcock that was all of a year or two old dissolve on one of my bikes and side cover retainer bolts that would never have fit. And the electrical stuff was a total roll of the dice. Pay the money and get good stuff. Cheap parts get cheap results.
Bob,
It’s getting so the expensive parts are as bad as the cheap stuff. Price alone is not a reliable indicator of quality.
On the radiator, a new Kawasaki radiator is around $850. The knock off was $80. That’s a big, big gap. It looks well made just the dimensions are off. I might use it but I’ll have to do a few mods.
Great news on the clean tank. A 1/2 inch trade size (actual 7/8” OD) threaded PVC plumbing plug for the air box and a piece of 1/2 inch copper tubing between those 90 degree rubber fittings on the reed valves and call it a day. Oh, block off the vacuum line. Lotsa luck with the eBay petcock. Better order a manual shutoff, I’m tellin’ you.
Marcus,
I think I’m going to replace the entire vacuum petcock with a regular on-off-reserve type.