
By Joe Berk
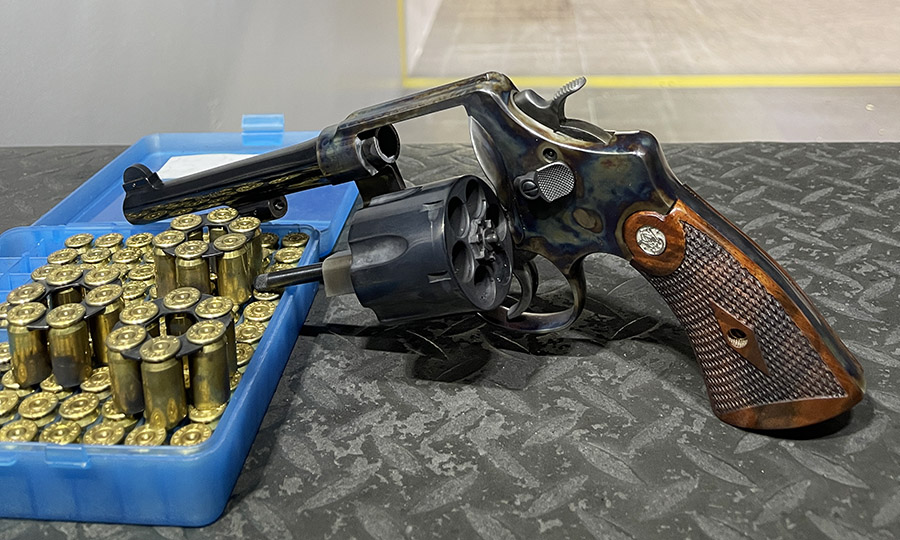
The Model 1917 saga continues. After looking for a variety of ways to replace the front sight with something shorter (the gun shoots low with most every load except the hardball government load, which is probably what these guns were regulated for), I found one in Dawson Sights. But it wouldn’t look authentic, and I wanted this pistol to look like the ones issued to the Army in World War I and II (the color case hardening, highly polished blue, and fancier grips notwithstanding).
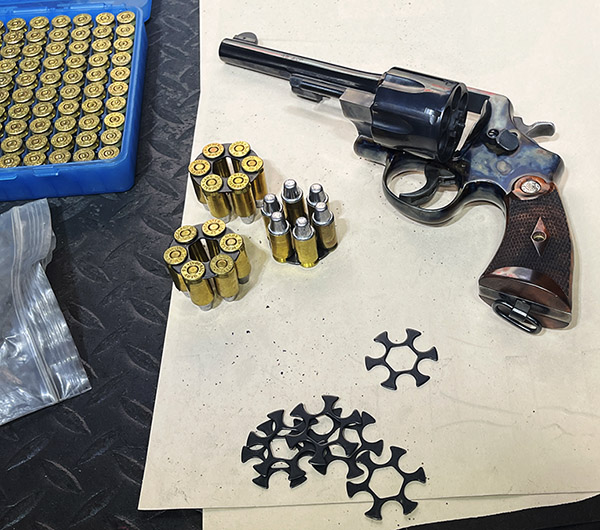
I was shooting my standard accuracy load for the 1911 (4.2 grains of Bullseye, and a 200-grain cast semi-wadcutter Missouri bullet). I used the star clips (I was shooting with .45 ACP brass, not AutoRim ammo).
Because the 1917 shot low, I thought about putting a line on the front sight, or painting it. I discarded that idea because paint on a front sight never lasts. Then I went with Elmer Keith’s recommendation: Just hold the front sight higher in the rear sight groove, and keep the target on the top of the front sight. That’s what I did.
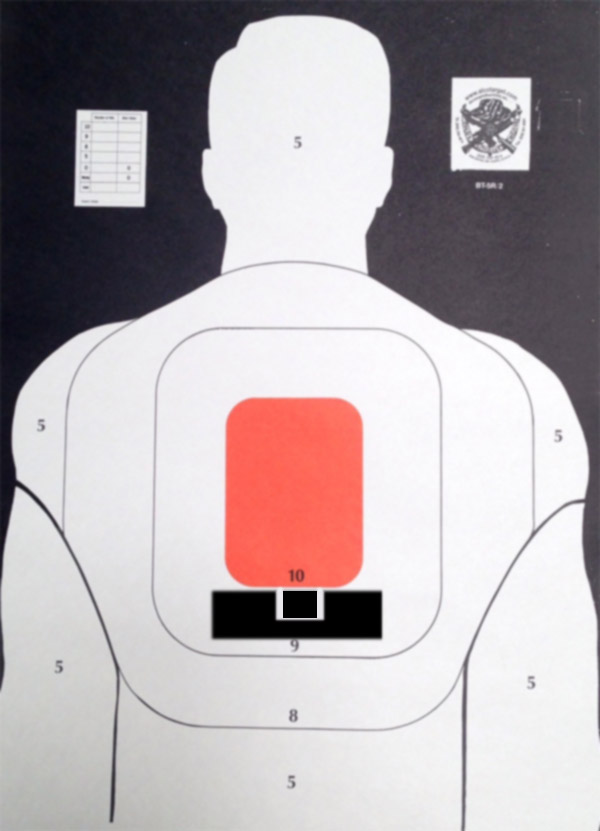
Here’s my first target, shot at 45 feet, to sort of get things dialed in and to determine how much the front sight should exceed the rear sight.
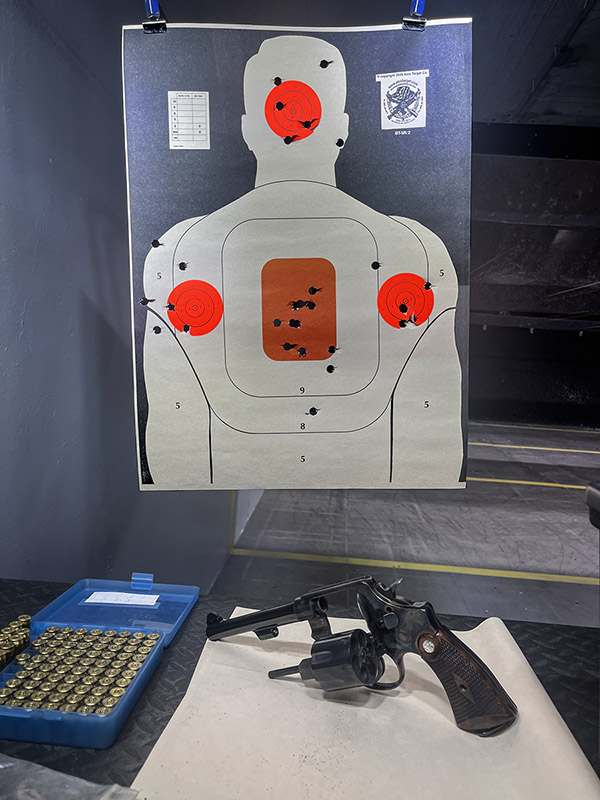
The first two shots below the center bullseye (on the target above) made me realize I was subconsciously reverting to my old sight picture. I made a conscious effort to keep the front sight high, and I shot the remainder of my shots on the center bullseye and the red stickies. I took a little while to get used to the new sight picture.
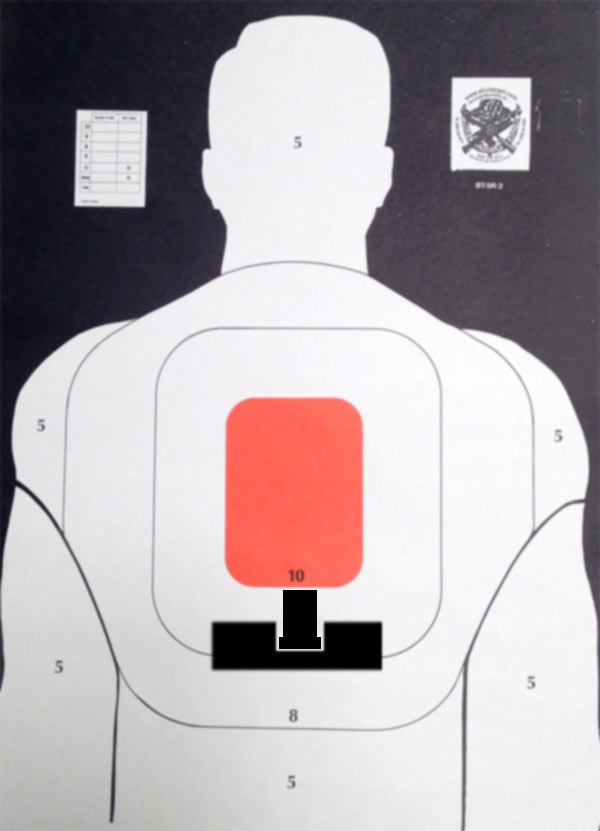
The above target gave me a pretty good idea of what I needed to do with respect to the sight picture. The upper 2/3 to 3/4 of the front sight needs to be above the top of the rear sight, and the top of the front sight needs to be at 6:00. I moved a new target to 30 feet and shot the next group (with 18 shots). I think 10 yards is a good distance for dialing in a combat handgun.
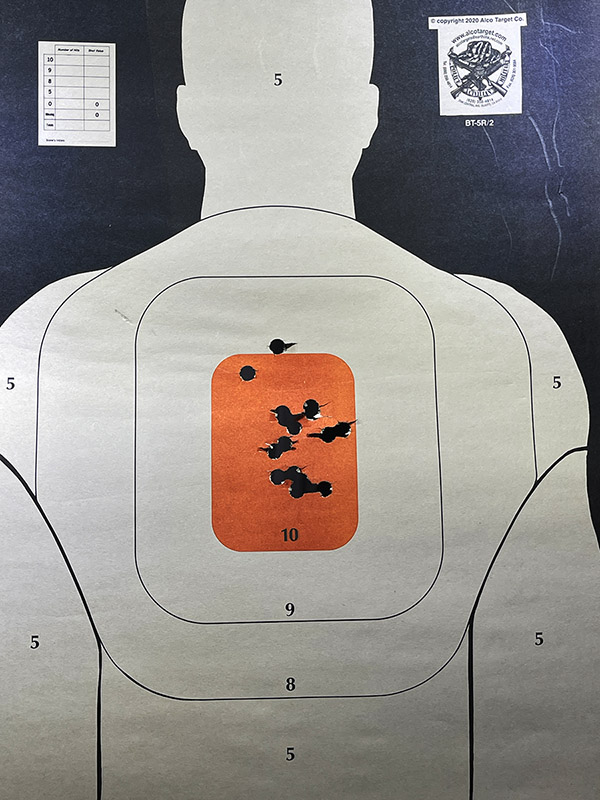
All the above were shot single action. I may try shooting some double action on my next outing. This is a big gun, though, and I think double action shooting won’t be too easy.
You might wonder: Why does the gun not shoot to point of aim with a standard sight picture? Keep in mind that this was a gun designed to shoot military hardball ammunition as an expedient during World War I. That’s a 230-grain full metal jacket moving at about 830 feet per second. I found (see my earlier blog) that when shooting a comparable reload (a 230-grain cast roundnose bullet with 5.6 grains of Unique), this revolver shoots just about to point of aim at 10 yards using a standard sight picture. That’s what the gun was designed for. With a different load (such as the one described above), the point of impact will shift (as it did for me).
I’m going to leave the revolver alone (no change to a newer, lower front sight) and shoot it frequently. I like it a lot. Best to leave things as they are. I feel like I know the gun pretty well now. I sure to do love shooting it.
Enjoying these .45 ACP revolver blogs? Join our Facebook .45 ACP Revolvers group!