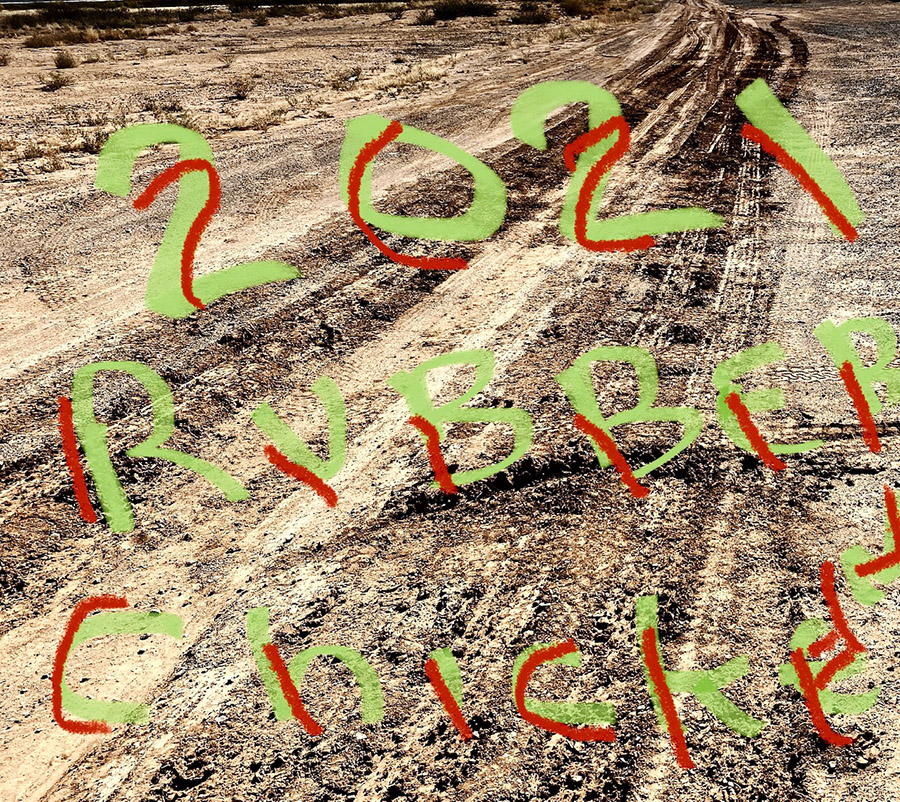
If you had asked me a week ago what the Rubber Chicken Ride is about I would have replied, “I have no clue, Bubba.” Held annually in Truth or Consequences, New Mexico the 2021 Rubber Chicken Ride resisted any defining characteristics and after three days participating I still have no clue what it was about.
There’s an entry fee, $50, that goes to the New Mexico Off Highway Vehicle Association, (NMOHVA). I guess it’s a like a fundraiser except a motorcycle ride breaks out while passing the collection plate.
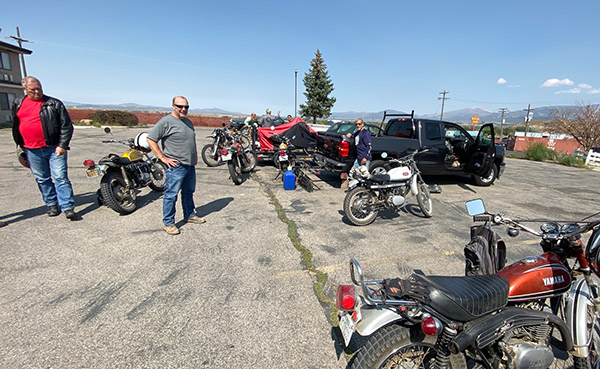
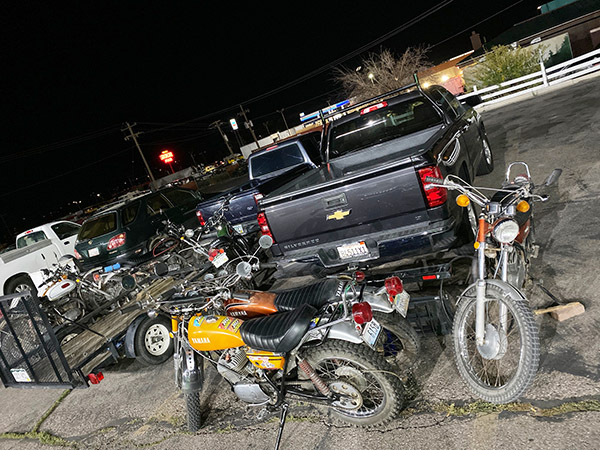
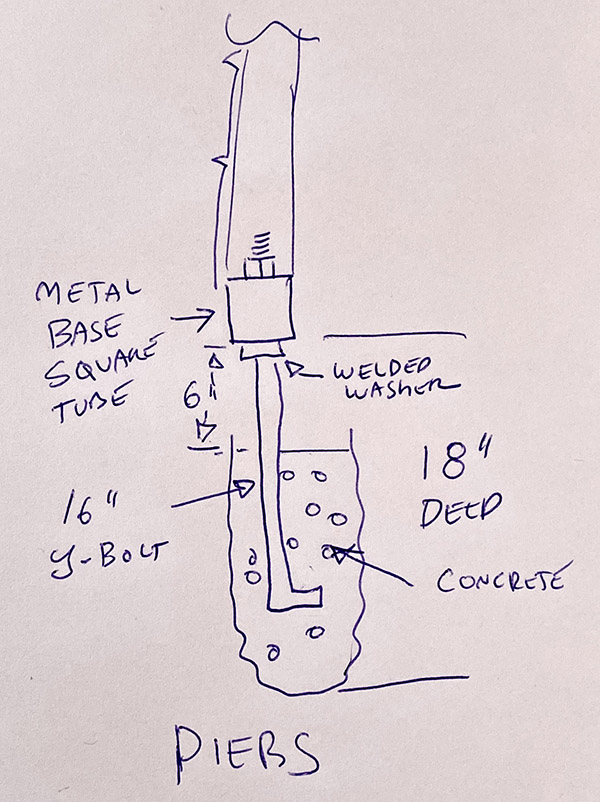
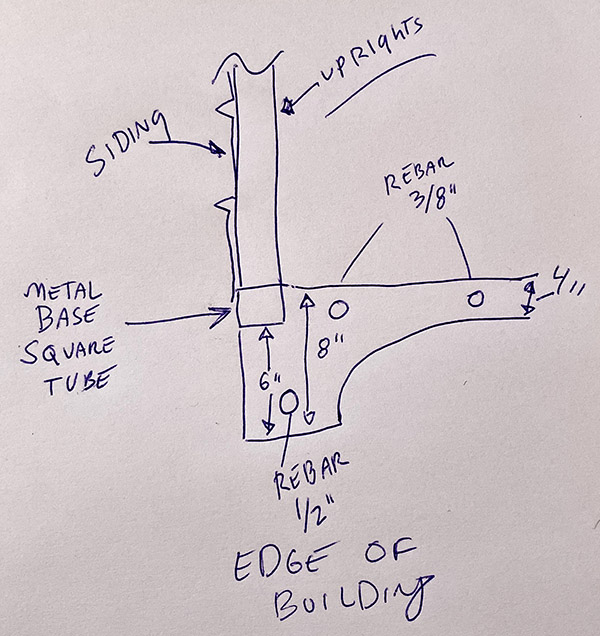
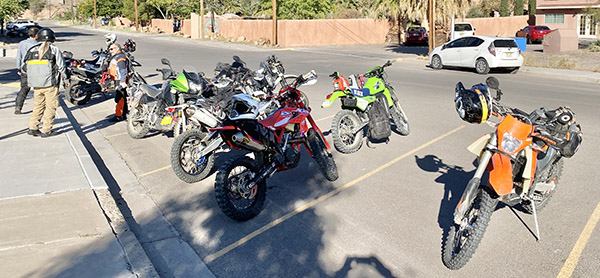
I met up with the near legendary dirt-riding group, The Carrizozo Mud Chuckers at the Truth or Consequences Travel Lodge motel. The Travel Lodge is one of the few remaining old school types where the room doors open out directly onto the parking lot. I like this layout as you can hang out as a group tinkering with the bikes. It fosters community spirit and you can lock your bike to the uprights supporting the overhang. At the motel we met six other Rubber Chicken Riders none of who had any idea what was going on and all pushing 70 years old. That’s like 3 years older than the Chuckers.
This year’s Chicken was stripped to the bare bones due to Covid. No group dinners, no Show Us Your Scars competition, no organizing at all: just show up and ride. Part of the confusion was due to my not bothering to download the GPX files from the Rubber Chicken thread on ADVrider, which I knew nothing about until I was at the event. I probably couldn’t have figured out how to migrate the files to my GPS anyway. It annoys me that those old codgers can download files into their displays and I’m still using paper maps. I think of my GPS is kind of a last resort deal; I use it when I’m not sure how to get home.
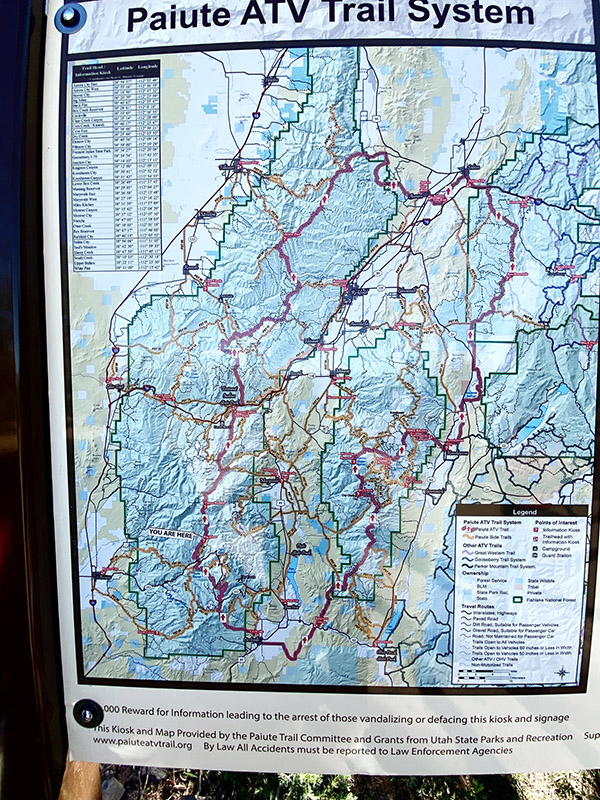
That first day we tried to find the Rubber Chicken sign up area at Healing Waters Plaza, a place no one in Truth or Consequences seems to have heard of. Everyone we asked sent us to a different Healing Waters but they were hot springs, not the sign up staging area. The town was named Hot Springs in the past and has quite a few still around. Luckily, my Garmin knew about the palm-lined plaza and after riding past it several times we were able to find the pocket park along with a couple other Rubber Chicken Riders. Oddly, there was no water in sight.
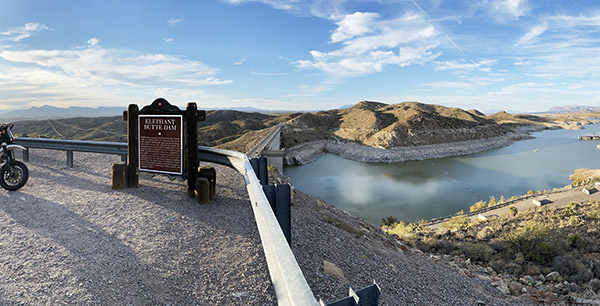
The other riders we met at Healing Waters were as clueless as we were so we sat around and talked bikes for a while then the Chuckers and I decided to ride out to nearby Elephant Butte Dam to check out the scenery. After the dam tour we hit up the local Denny’s. You know how they say landing and take off are the most dangerous parts of flying, that’s how it is for me getting on or off the tall Husky 510. The Husky’s kickstand is so designed that once you’re on the bike you can’t tip it over far enough to retract the stand. This means I have to get on or off the bike with the kickstand up. Not a problem on a normal motorcycle, with the Husky it takes Baryshnikov-level flexibility to toss a leg over the high seat and rear luggage stores. I’m no Baryshnikov.
I got half way off the bike but my boot hung for a life-altering moment, still on one leg the bike started to topple over the far side. I pulled the bike back towards me but pulled a little too much. With my stubby, grounded-leg near the centerline of the wheel track the bike toppled over onto the near side taking me out in the process. In the Denny’s parking lot. In front of everyone.
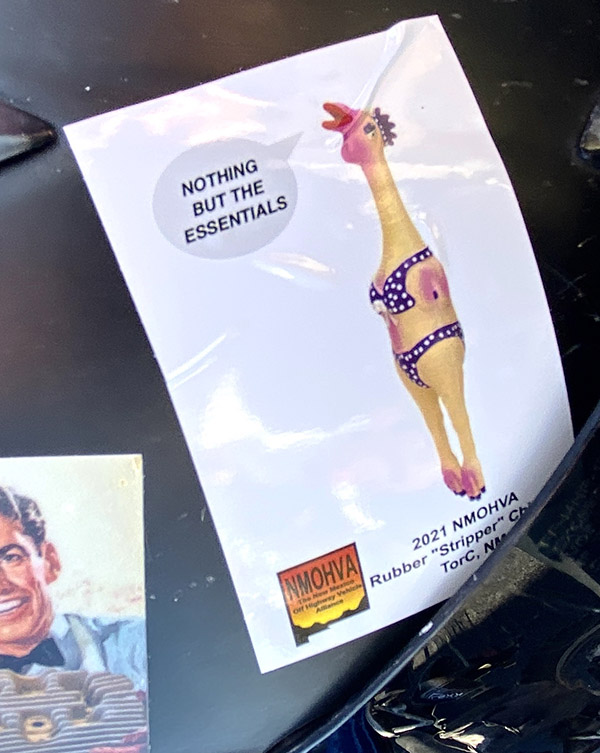
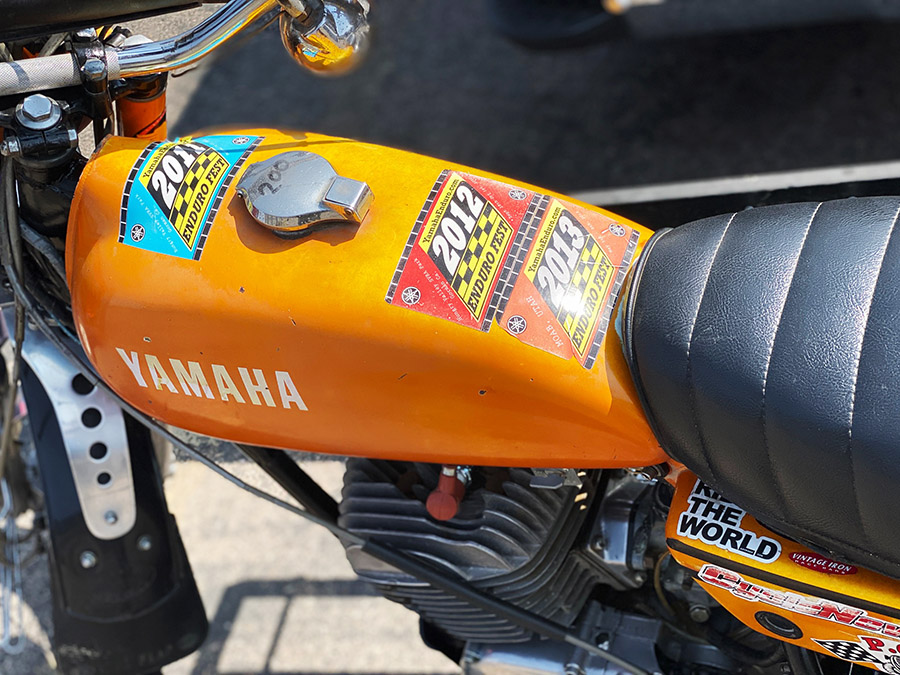
Back at the Travel Lodge we grilled the other riders. They resisted at first but stopped struggling as soon as they were evenly browned on both sides. The way it was supposed to work is you download route files and load them in your GPS before arriving, then at the plaza meet up with like-minded riders and off you go, a merry band of riders. It’s a great way to meet new riding buddies. There’s no NMOHVA sanctioned rides. This is the loosest possible group ride you can imagine. One of the riders had an old, Rubber Chicken event T-shirt. In a testimony to how damaged things have become since Covid all we got this year was a tiny NMOHVA sticker with a rubber chicken on it.
The second day there was a sign up table at the Healing Waters Plaza. Maybe 15 riders had gathered and we had a good gabfest with the boys and one girl. By now we pretty much had the event figured out so the Chuckers and I headed out to Chloride, an occupied-ghost town for one of the routes: the Chloride canyon loop. We didn’t have GPX files but the Chuckers had paper maps.
At the end of the road in Chloride the road turns hard left and becomes unpaved. It’s sort of rough and rocky being a dry streambed at the bottom of a steep canyon. After about a mile of this abuse we stopped to reassess our riding skills and time left in the day. For a route that 6 guys on dirt bikes had done just a day before there were no tire tracks except the ones we were making. I dreaded turning on the Garmin because I’ve never read the owner’s manual, it always leads to a bunch of button pushing and frustration instead of riding. The Garmin said the road went for 5.6 more miles then dead-ended.
We started doubting our direction. Maybe we are on the wrong route, those 70 year-old guys couldn’t have gone this way. None of us liked the idea of riding this rocky trail 5 miles and then turning around and riding it back. We chose an alternate route. Seeing as there were no official routes anyway we felt we could take liberties with the Rubber Chicken.
Our alternate route was a long, 60-mile stretch of fairly easy dirt bookended between 80 miles of pavement on either side. The route seemed to go on forever. We went over the continental divide twice, once on paved Highway 59, once on Dirt Road 150. The later it got the faster we went. Highway 152 was a marvelous twisty road that we could use as much of the side-tread of our knobbies as we dared. We arrived back at the Travel Lodge at 7 pm; 9 hours of riding over widely varying terrain made for excellent sleeping.
On the third day of the Rubber Chicken Ride, a Sunday, the other riders at the Travel Lodge had loaded up their bikes and gone home. The Mud Chuckers and I decided to leave the Rio Grande Valley and work our way one valley east to Tularosa Valley, our home turf. In retrospect, we didn’t get much for our $50 but it got us away from our usual dirt-riding spots and it supported the NMOHVA so it was money well spent. While I was telling this story to my wife, CT, it must have sounded like I was complaining. Maybe I did bitch a little. She said that volunteer organizations always need help and that maybe next year we should print a few maps, plan a Rubber Chicken route and set up a ride instead of waiting for others to do the hard work for us. That sounded an awful lot like a gauntlet being thrown down to me.
Subscribe to ExNotes!
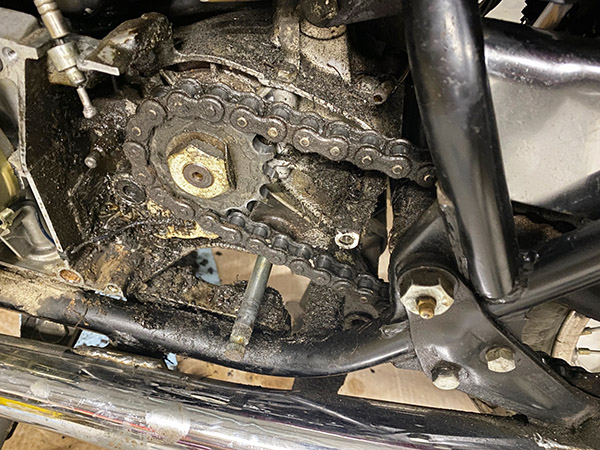

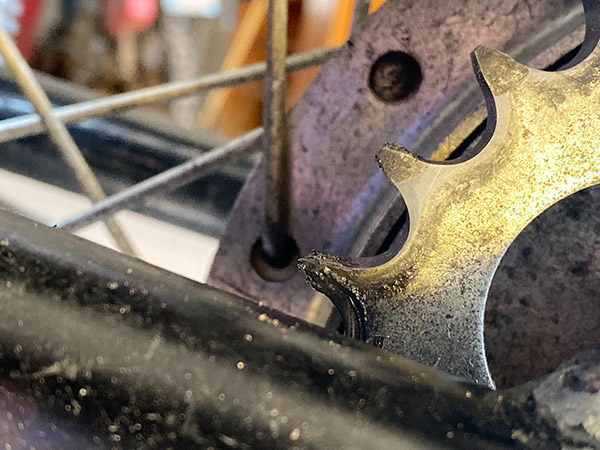
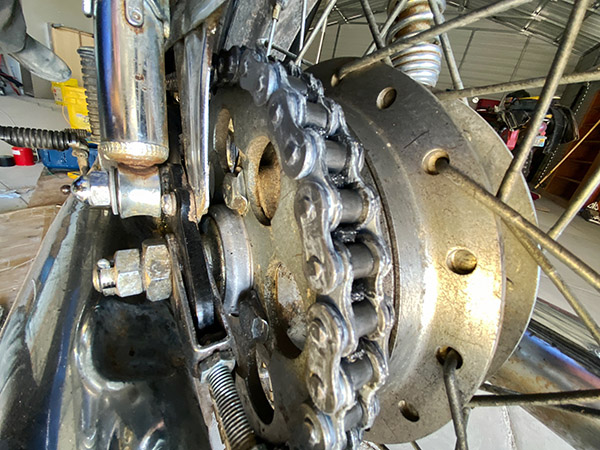
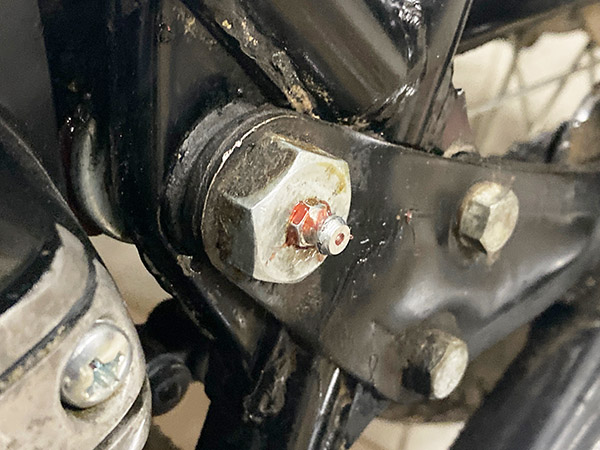
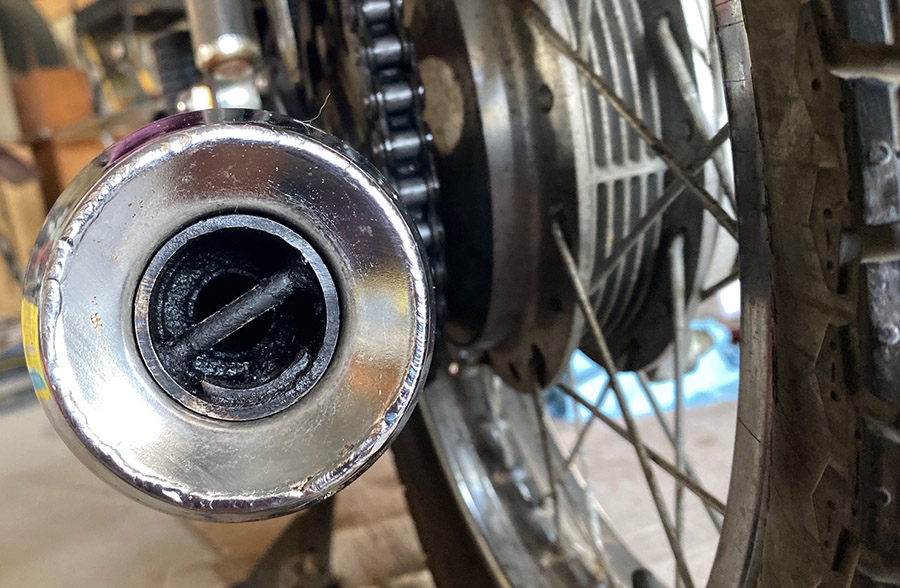
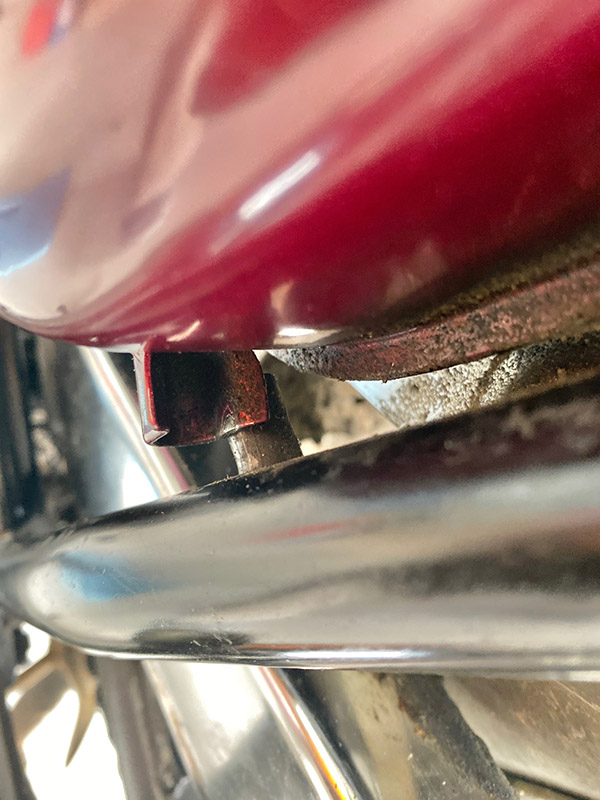
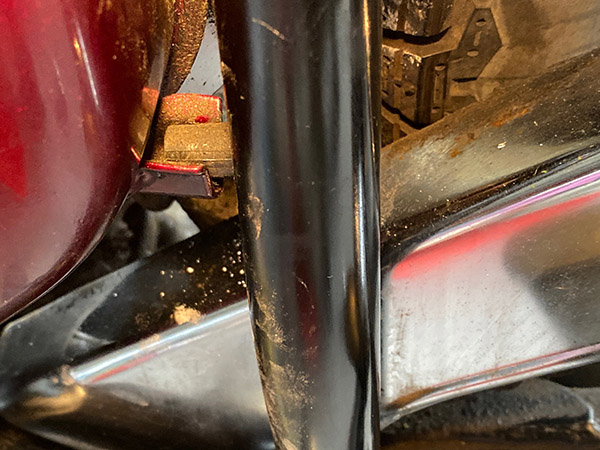
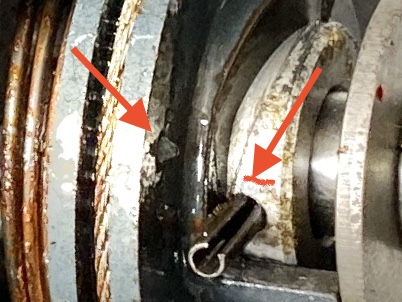
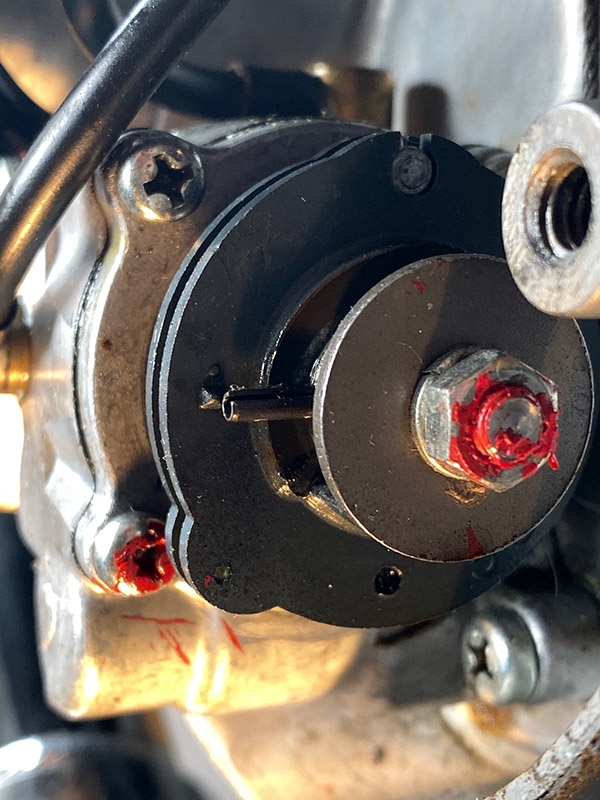
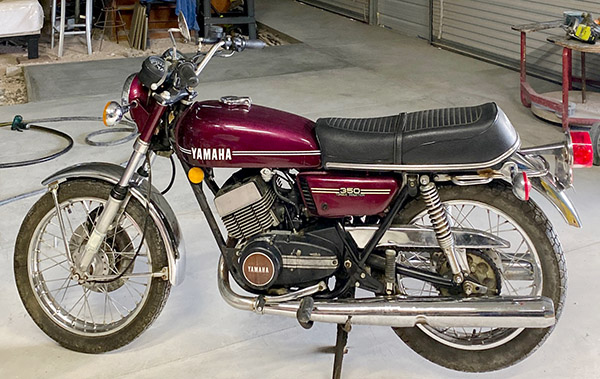
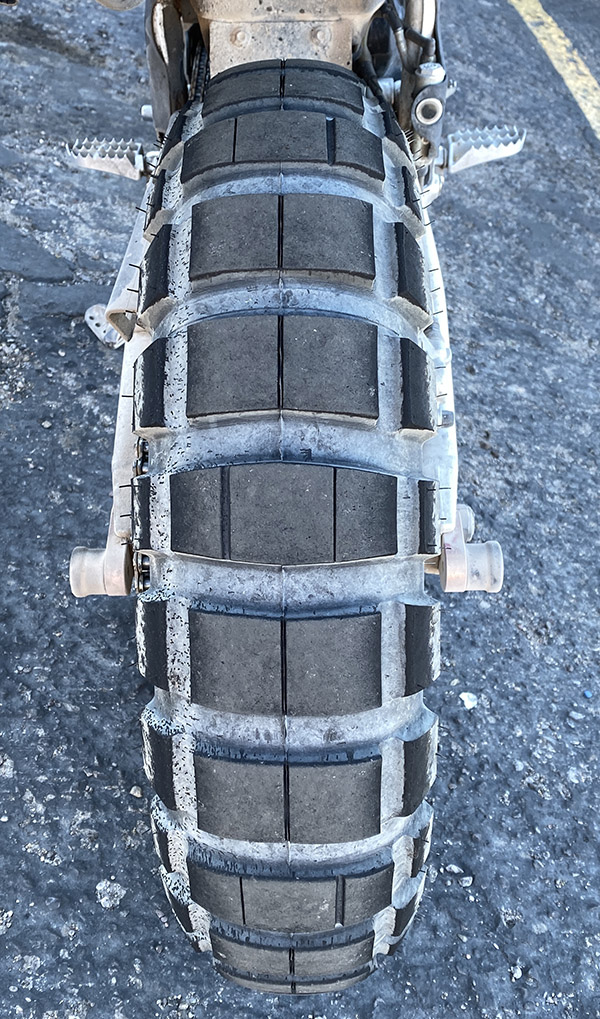
 While I had the clutch helix cover apart I decided to install a new chain. I’m not one of those, replace-it-all-or-you’ll-die, type of guys. If the sprockets look unworn I’ll slap a new chain on the old sprockets. I realize this is hearsay in the Big-Sprocket boardrooms but those guys are in the sprocket selling business. The RD sprockets look like new so don’t worry, it will be fine. One glitch was the old tire is a 3.75-18 IRC, the bike calls for a 3.50-18. The narrow swingarm of the RD can barely accommodate the extra ¼ inch. I had to adjust the chain a wee bit tighter than I like to keep the tire from rubbing the front of the gusset. That problem will be solved when I replace the tires.