Where Were You In ’62: Part 5

By Joe Gresh

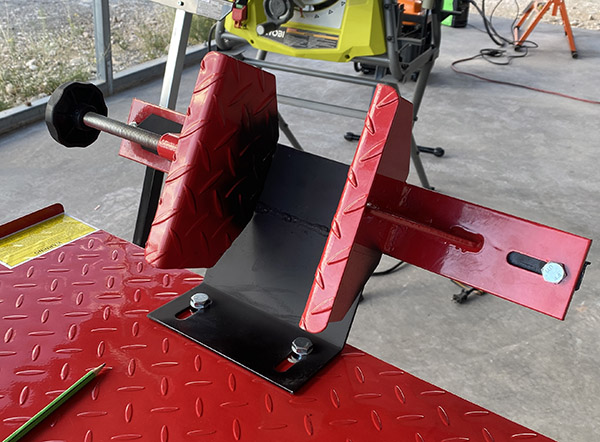
The Dream is perched on the new Harbor Freight lift and slowly coming apart. I’ve been busy with other projects so don’t freak out if it seems like progress is slow. It’s not me. It’s the environment I work in.

This installment involves a bit of inventory control. I need a decent front rim but all the ones online look just as bad as the rim I have. The parts bike front rim is bad too. They are sturdy and run true but lots of surface rust makes them look bad. I can get new rims on eBay, sold in pairs for around $200 delivered, but I only need one rim. Anyone want to form a syndicate and go halvies on some 305 Dream rims?

$20 kickstand. Sometimes I do it the easy way.

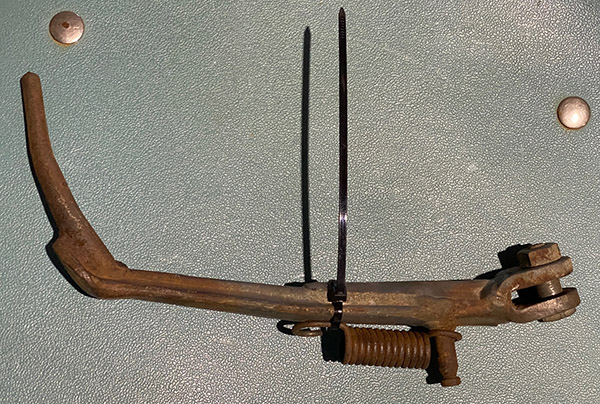
Both of the Dreams were missing their side stands and I debated making one from scratch. Just for kicks I went on eBay and some hero had a side stand for $20 so I bought it. It’s kind of like cheating but It would take me two days to make a stand.

Hopefully these seals will work, keeping the oil inside where it belongs.

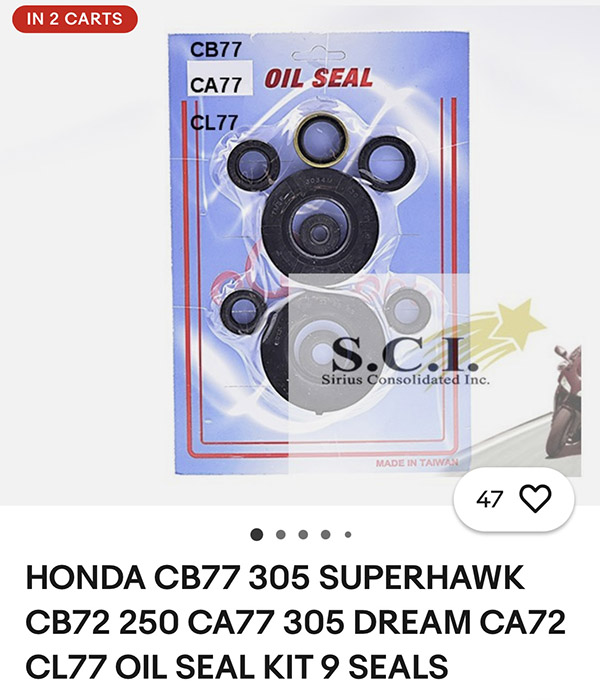
I’ve also ordered a set of engine seals. I’ll have the engine side covers off to free up the clutch plates and clean the centrifugal oil filter can. Also I need to remove the alternator to gain access to the starter clutch as it’s hit and miss. I figure it’s a good time to replace the seals. The only one leaking at the moment is the shift-shaft seal but you know how it goes with old rubber. Twenty miles down the road another seal will start leaking. Then another.

Deez Nuts were tight as hell. It took me two days to get them loose.

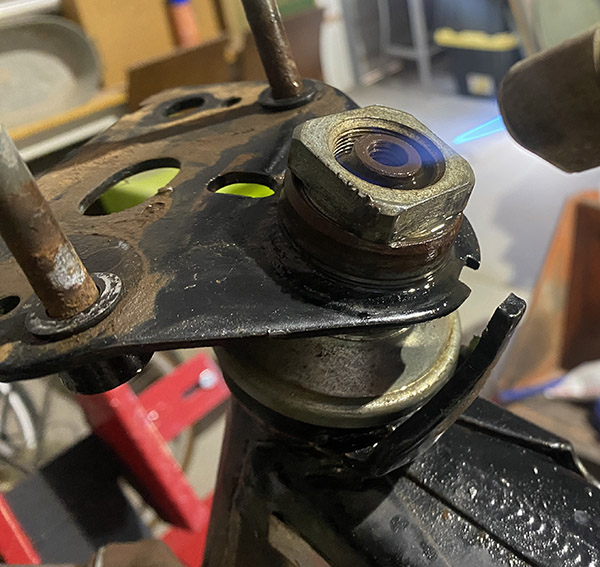
Getting the Dream’s steering stem apart was an Ossa. The top lock nut was knitted to the cone nut and the thing was tight as hell. Much hammering, heat and penetrating oil was used over the course of two days. The steering stem nuts finally unwed and spun off by hand. All the bearings and races look good with no divots or flat spots to cause erratic steering. There was even soft grease still inside! Impressive for a 63-year-old motorcycle.

The Dream on the maiden lift.

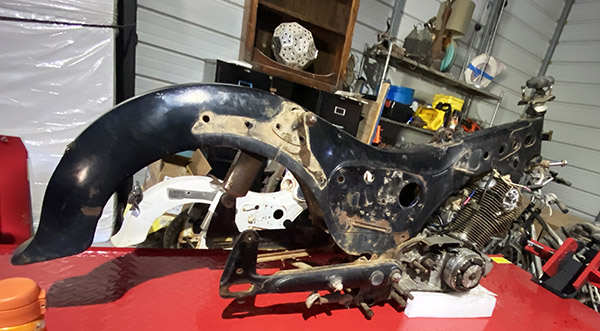
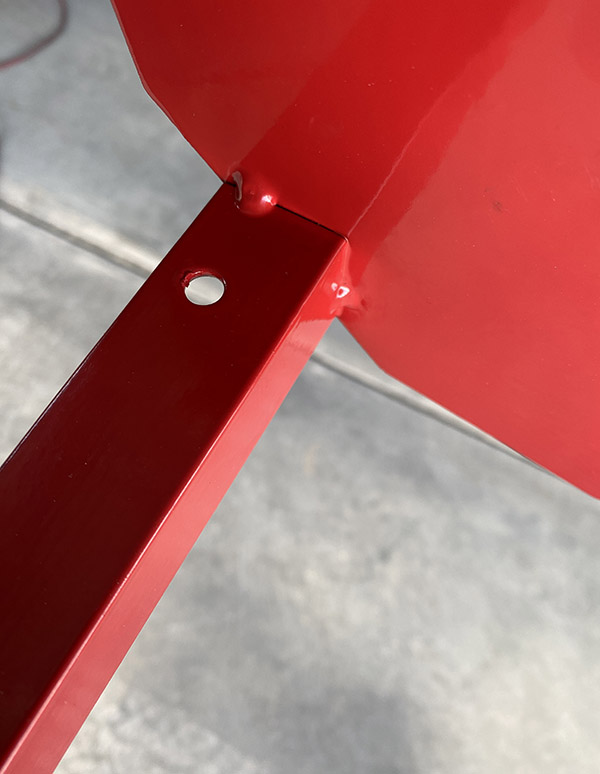
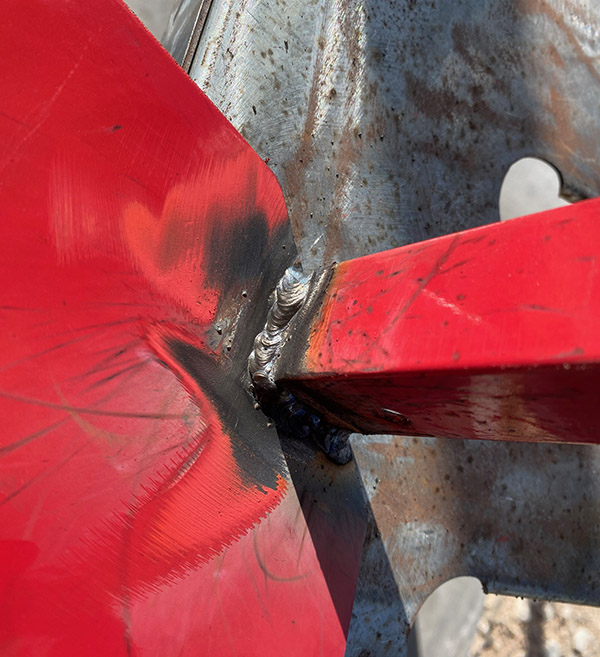
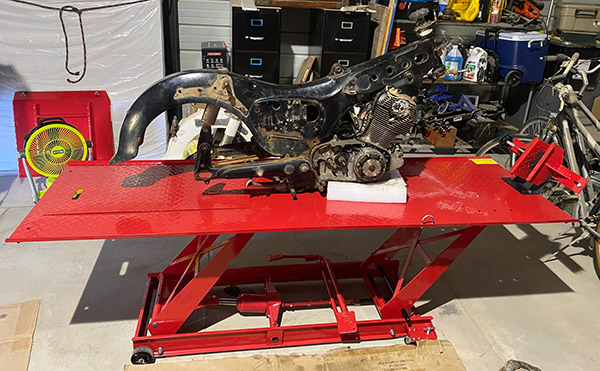
I’ve got the frame off the engine now. It’s a fairly lightweight sheet metal construction. Kind of like a monocoque Norton but with a separate fuel tank. Honda copied a lot of ideas from German and British sheet metal frame manufacturers.

The Dream frame is light. Easy to lift off the engine for an old man.

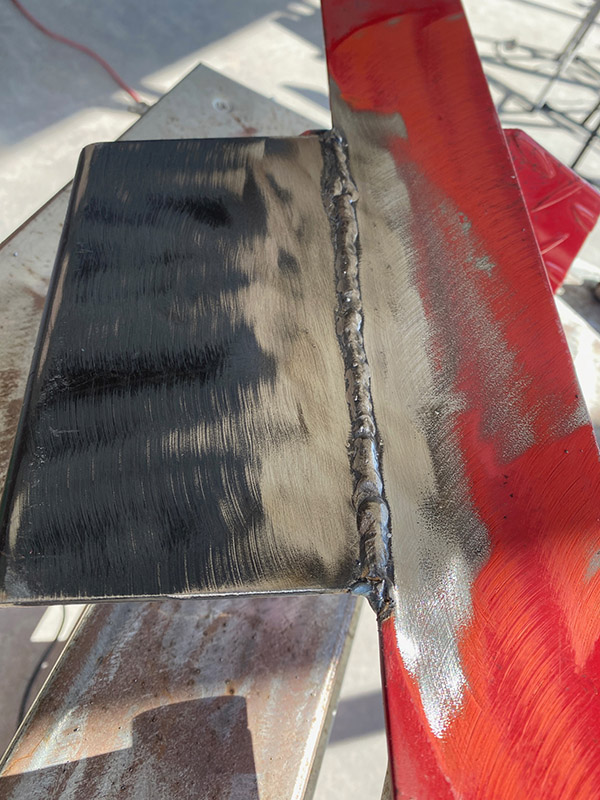
The frame has a few dings to fix and the Dream is made from pretty thick metal. The dents are hard to get behind to push out. I’ll try the painless/paintless dent remover but I don’t hold out much hope as the frame is twice as thick as gas tank metal. If that doesn’t work I’ll get a stud welder and pull the dents with a slide hammer.

Kind of Kawasaki green for the new paint on the stand. Almost safety vest green. I had a can in stock.

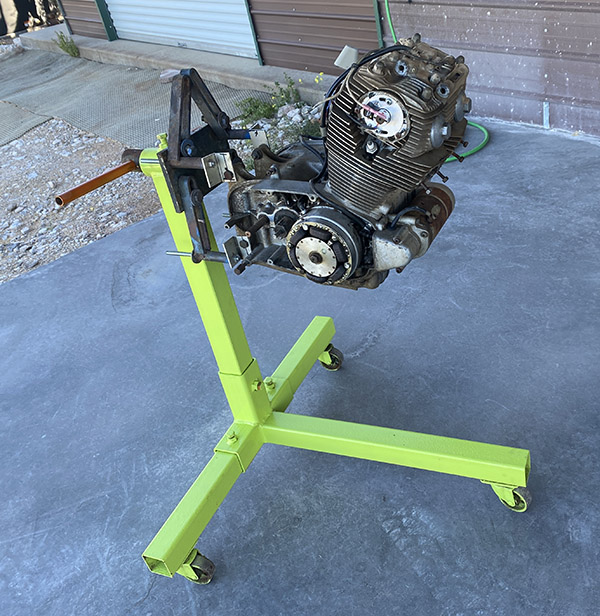
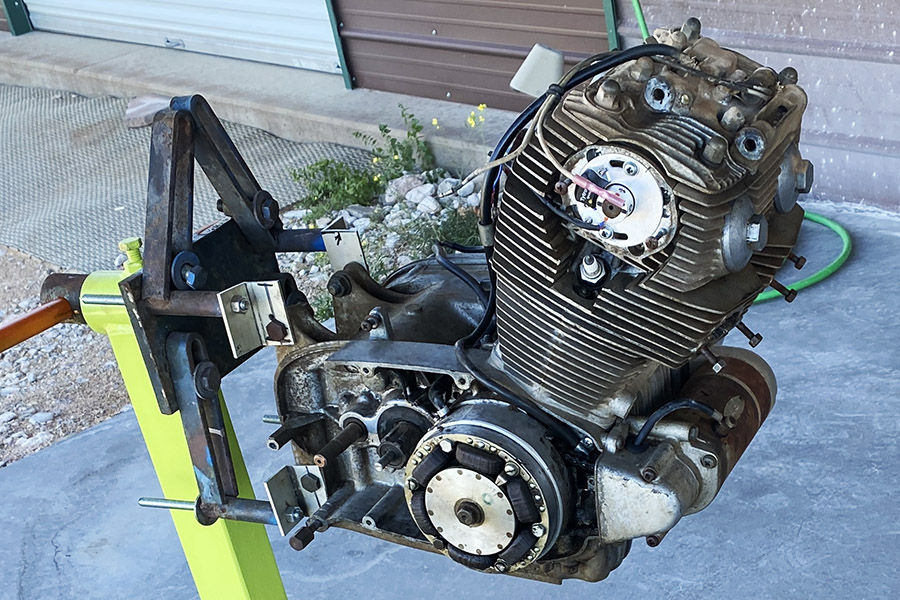
Since I have a new, shiny lift I decided to clean up the old, rusty engine stand to match. I’ve had this stand since the late 1970’s and it’s had everything from a 4-Cylinder Volvo marine engine, many Chevy small blocks and a big, heavy, Ford 427-inch OMC inboard strapped to the thing. The big Ford was pretty bouncy. With the cast iron, water-cooled exhaust manifolds the thing probably exceeded the stand’s weight rating by 300 pounds. I used a 2×4 in the front to help stabilize the engine.

A few aluminum tabs and the Dream engine bolted right up. I’m going to do this method on the next MC engine I work on.

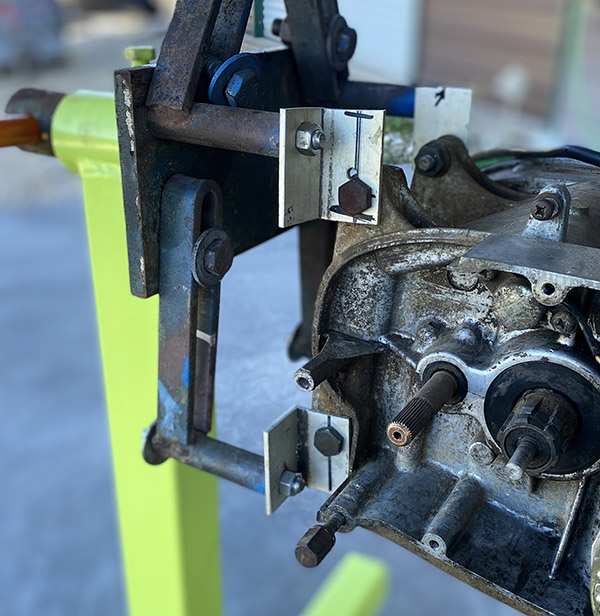
In all those years this will be the first motorcycle engine I’ve had on the stand. It makes everything easy with the mill at hip level. You can rotate the engine 360 degrees by spinning the T-handle. Which begs the question: why didn’t I think of this before?

I’m thinking heavy metallic with candy-copper followed by 2K clear. What are the odds it won’t bubble?

I hear you: not much progress but I’m a bit lame right now and taking it easy for a week or so. What about a 3-part metallic orange for a color? Too much? Atomic Green? Black, red or white is boring.


More Joe Gresh motorcycle resurrections are here.


Join our Facebook ExNotes page!


Never miss an ExNotes blog:


Help us keep the lights on:


Don’t forget: Visit our advertisers!


ExNotes Review: Harbor Freight Motorcycle Lift

By Joe Gresh

One of the many red lines crossed on the way to becoming moto-saturated is owning a motorcycle lift. If a rider finds that he needs a lift then things have gone too far and he needs to reevaluate what the hell is actually up.

I’ve wanted a lift for many years but haven’t been able to justify the expense or space requirements a lift brings to the table. (ha!, get it? Table?)

The lift comes securely packaged in a wooden crate. If you know the price of wood nowadays the lift is almost free!

This particular lift from Harbor Freight cost around $300 when it first appeared on my radar 30 years ago. At the time my shop was a 10×10 metal shed and there just wasn’t enough space to park the thing.

Turns out it was a good thing I didn’t take  the plunge as my shed in Florida was flooded several times and the lift would have corroded away. (Ha! Get it? Plunge-flooded? I kill myself!)

My recent acquisition of a pair of Honda Dreams and subsequent crawling around on battered knees got me thinking about a lift again. I have the room now. Floods are unlikely where my shop is situated and the HF sale price of $399 defied quantitative easing, inflation-tracking and recent tariffs on China. In short, $399 seemed like a pretty good deal.

You definitely get your money’s worth in weight as the lift was a heavy bitch to load and unload. Plan on having a few strong backs to move the lift. The guys at Harbor Freight loaded it into the truck with a forklift but I don’t have any strong backs available at home.  I had to slide the crate out of the truck and let it fall the last two feet from the tail gate. It wasn’t really a free fall, I had a floor jack mid-crate to act as a fulcrum when the crate cleared the tailgate. Think of it as a controlled crash landing. The crate took the fall in stride and its contents were undamaged by my rough handling. Plus the lift is a sturdy thing, it would take some doing to bend it.

In this Harbor Freight photo you can see how the clamp won’t do much for holding the motorcycle upright.

The lift comes 99% assembled with only the wheels, tie down points and tire vise to bolt on. If you’re handy 1/2 hour should see the project through. There are a few niggling issues though.

Like most things from China Freight the lift needed a few modifications. It goes with the $399 price point.

Slightly reduced nipples to go with the reduced price. If you want to grease your new lift you’ll need to replace the gold Chinese nipples with good old USA style, silver Chinese nipples.

China must have different size grease guns because all of the grease fitting were slightly undersized and didn’t fit a US style grease gun. Attempts to grease the various grease points just pumped gook all around the nipple. I replaced the China-sized nipples with US-sized nipples and the pressurized grease flowed to the desired locations with no ooze-out around the fitting.

This rubber plug is where you add oil to the pump. Warning: it’s a bear (like Ossa!) to get back in the hole.

The owners manual that came with the lift recommended checking the hydraulic oil in the ram. It was slightly low so I put in a few ounces of fork oil. That was the easy part. Getting the little rubber plug back into the ram housing was a struggle with the lift in the lowered position. I finally gave up and raised the lift for access. It was still a PITA to get the plug back in.

Not much weld on sliding part of the clamp.
I stuck some more welding wire to help hold the slider together
Here it is in action. I’ve yet to clamp the rest of a motorcycle to the table so it may fall apart on me.

As delivered, the tire clamp installs in the wrong place. Down on the floor, it doesn’t provide much resistance to tipping leverage. There are many internet solutions for this issue but all of them required spending additional money. I figure at $400 you shouldn’t need to buy more stuff just to keep the bike from falling over.

As delivered the tire clamp is too close to the fulcrum of tip-ology.
If all you have is a hammer every problem is a nail. It’s the same when you get a welding machine. I added the tire clamp to the top of the tire stop to gain better leverage.
The repositioned tire clamp gets a higher grip for less tip.

The thriftiest way to fix the tire clamp is to relocate the thing on top of the tire stop. This gave me a chance to practice poor welding on a mission critical part. The sliding part of the clamp was lightly welded so I slathered on a bit more metal.

Once the clamp was in place I added a piece of angle iron to prevent jaw-spread, a common occurrence among older motorcyclists. Drilling two extra holes in the angle iron gave me another, more forward attachment point for tie down straps.

This all sounds like a lot of work but it took maybe 2-3 hours and that number includes thinking about things. I’ve got the Dream on the lift for its maiden voyage and it seems to be stable. I give the lift 5 stars for value and 2 deep vein thrombosis’ for HF still not quite getting it right after all these years. If you need a motorcycle lift and don’t mind tinkering and welding a bit the HF lift on sale is hard to beat.

The ’62 Dream gets the honor of being the first to sit atop the HF lift.

Join our Facebook ExNotes page!


Never miss an ExNotes blog:


Help us keep the lights on:


Don’t forget: Visit our advertisers!