By Joe Berk
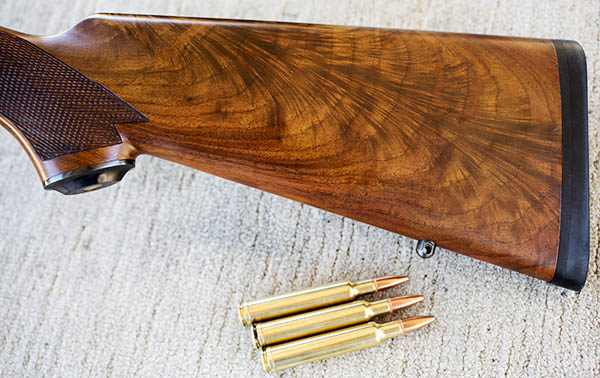
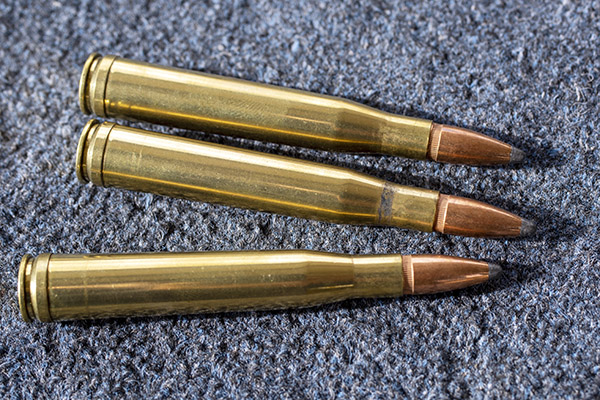
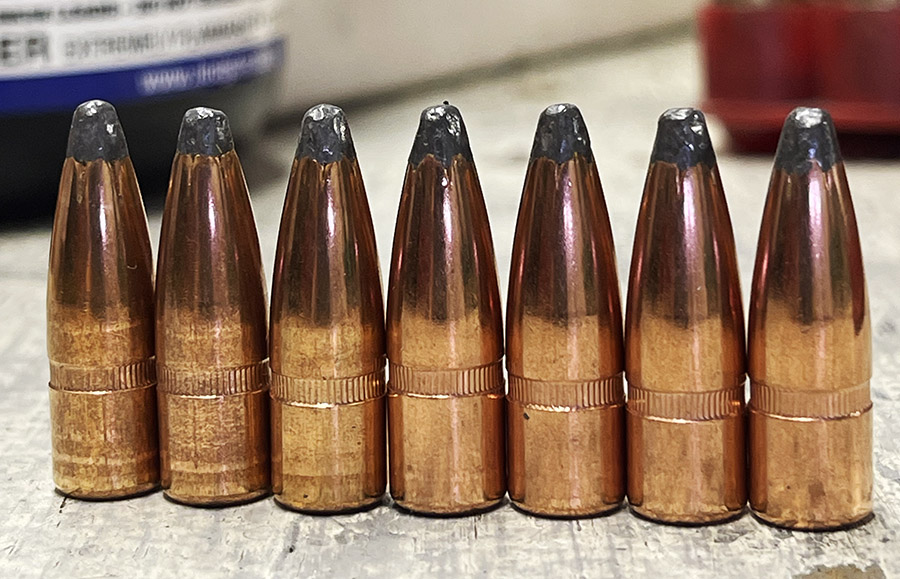
Notice anything flaky about the bullets above? At first, I didn’t. But it’s there. Read on, my friends.
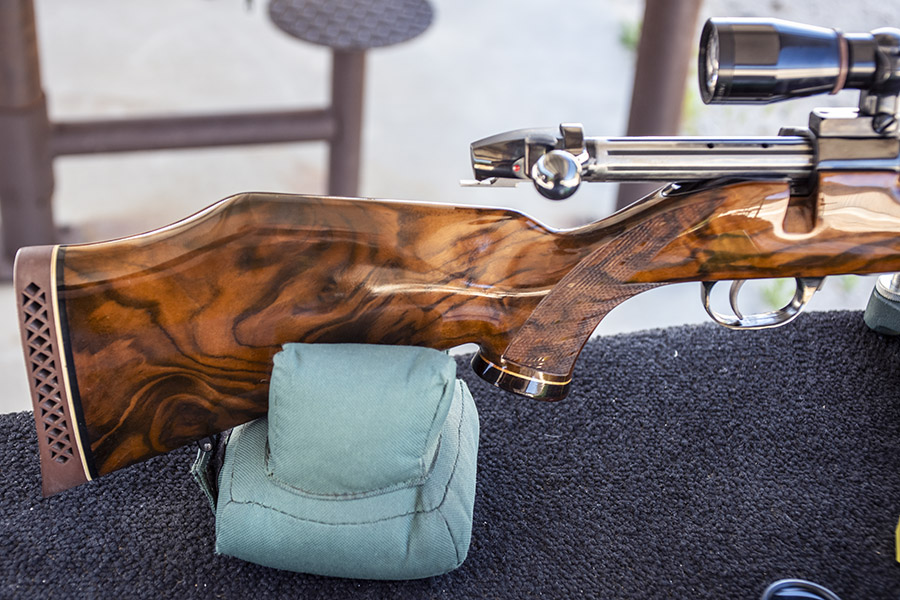
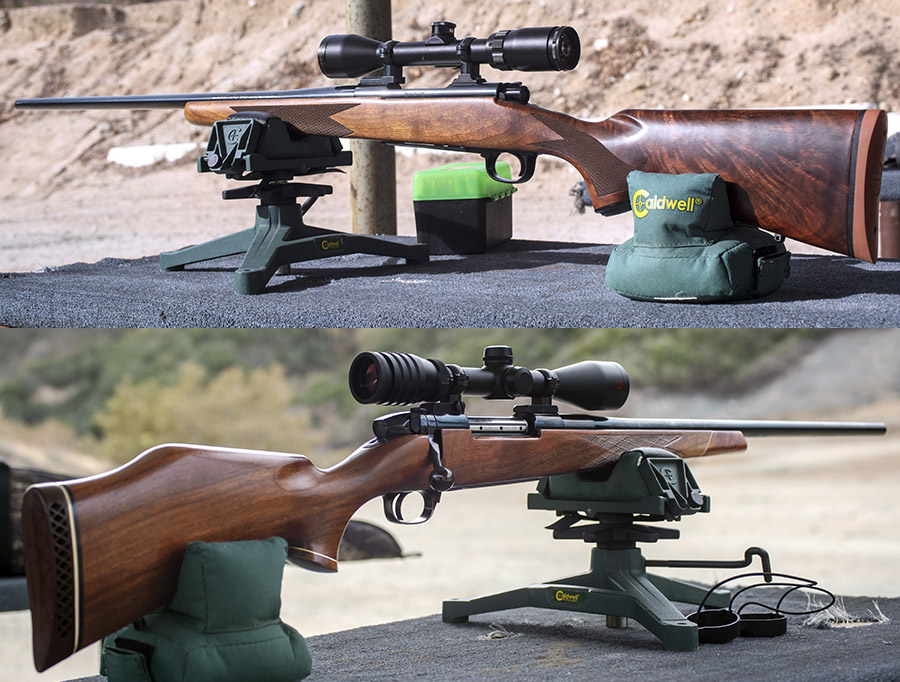
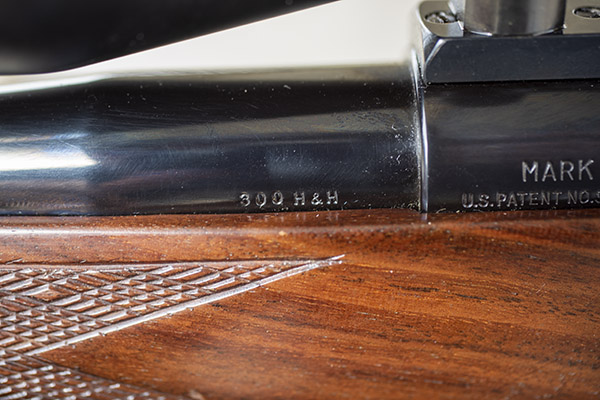
I confirmed a couple of good loads for the .30 06 Weatherby this morning and several months of trying different bullet weights, powders, powder charges, seating depths, and more. In the past, one of my favorite bullets for both the .30 06 and .300 H&H cartridges has been the Winchester 150-grain jacketed softpoint so I wanted to try these again, but they have been unavailable for a long time.
When the Winchester bullets finally came back on the market again a few months ago, I bought 1000. Sometimes they grouped well in my Weatherby, at other times they did not. I got to where I worked up a load with 51.0 grains of IMR 4064 (a max load for this bullet) and that had shown promise, but I’d get a good group and then a bad one. I was pretty sure it wasn’t me being flaky behind the gun; things looked good through the scope when I pulled the trigger.


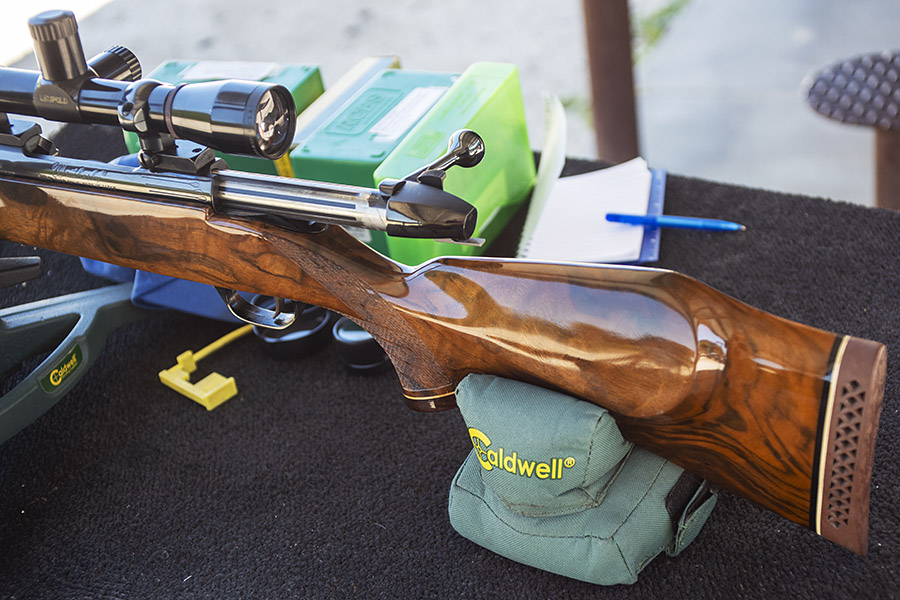
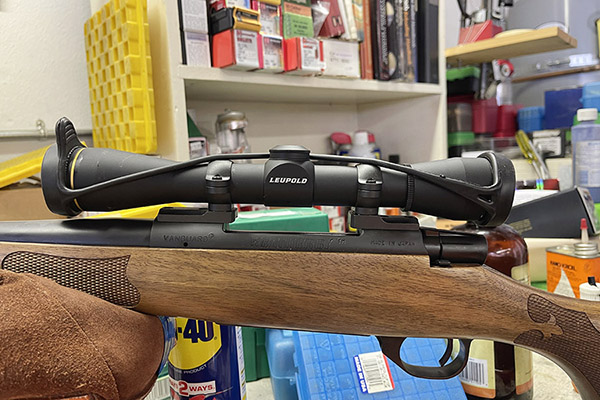
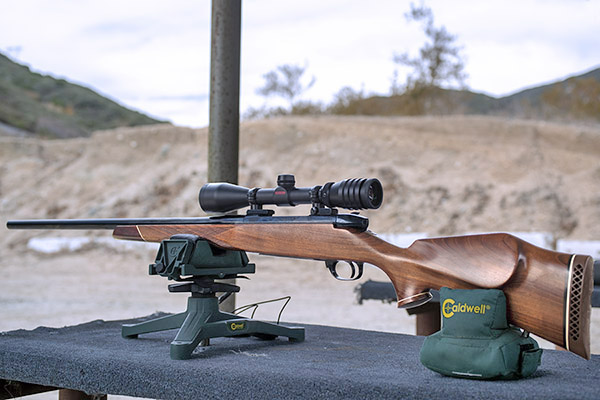
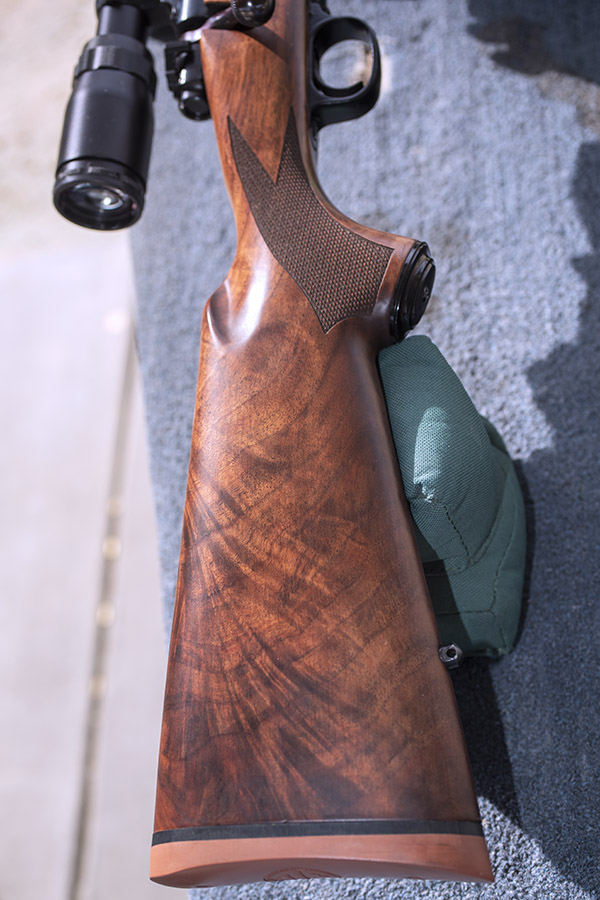
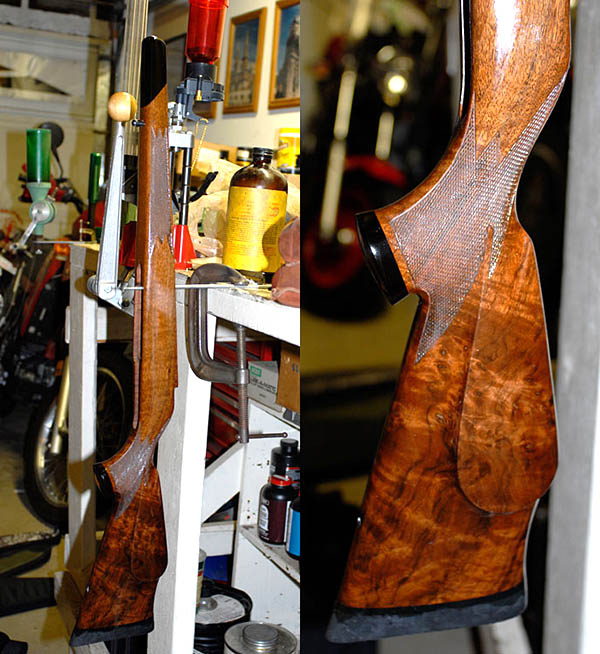
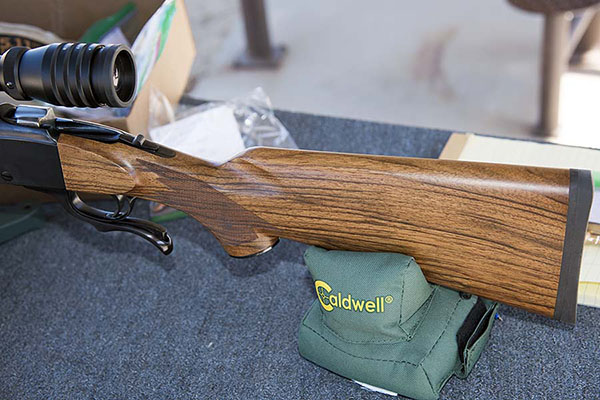
I found that how I positioned the rifle in the Caldwell rest made a difference. If I had the rifle positioned so that the rest was just forward of the rifle’s floorplate, it grouped well; if I had the rifle positioned further back, it did not group as well. Even while taking care to appropriately position the rifle, though, the Winchester bullets grouped erratically. I’d get good groups and then I’d get bad groups.
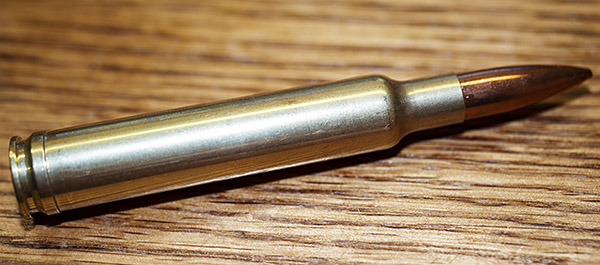
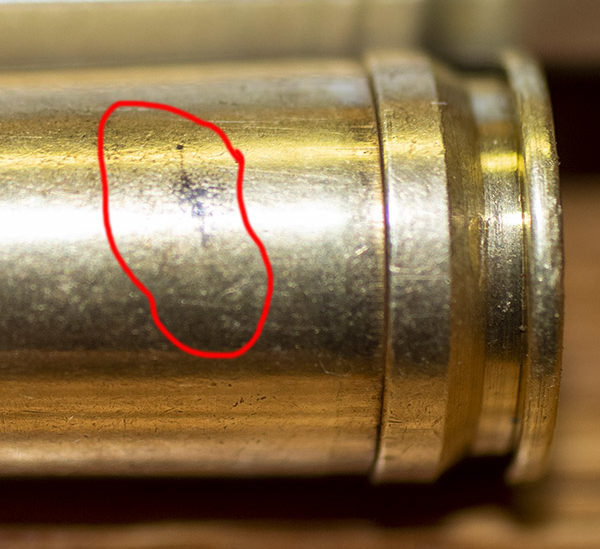
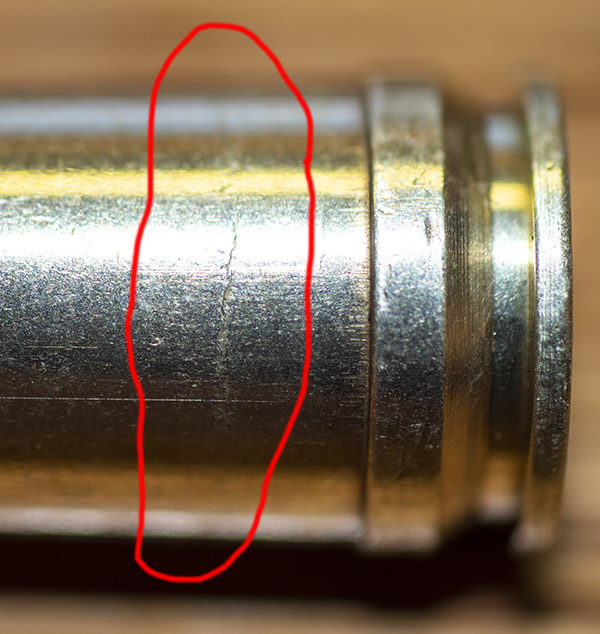
Then one day after another frustratingly inconsistent range session, I returned home, cleaned the rifle, resized the brass, threw the brass in the tumbler, and was reloading it with the above load when I noticed that the bullet cannelures were not at consistent heights above the case mouth after seating the bullets. Hmmmm.

So I lined up some bullets on the bench, and son of a gun, the cannelures were all over the place on the bullets (with regard to height above the bullet base). I bitched to Winchester about this through their website and they agreed to refund what I had paid for the bullets. They even had a UPS guy stop by and give me a prepaid shipper to return them. I didn’t want to, though, because the bullets had done well in the past, and I still wasn’t certain that the cannelure location issue was affecting accuracy.
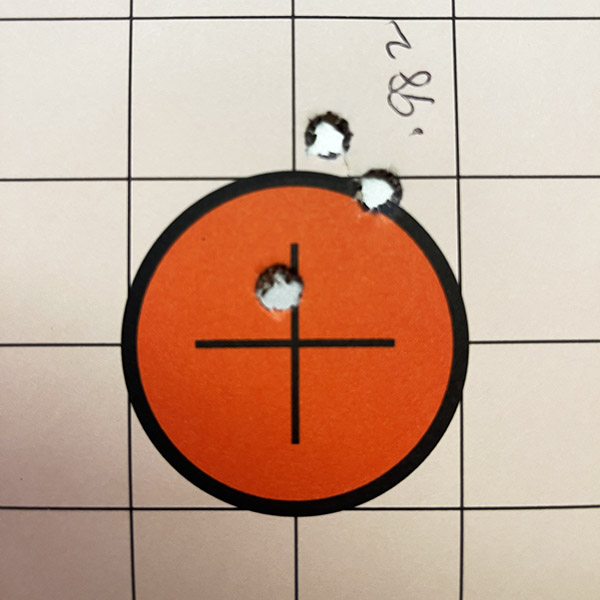
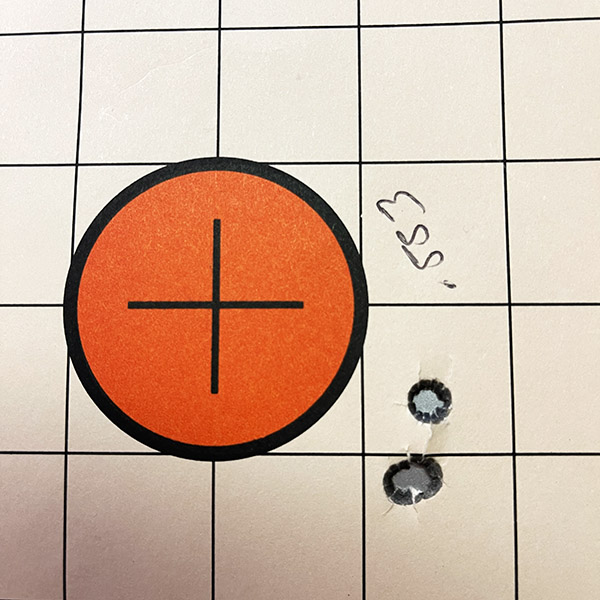
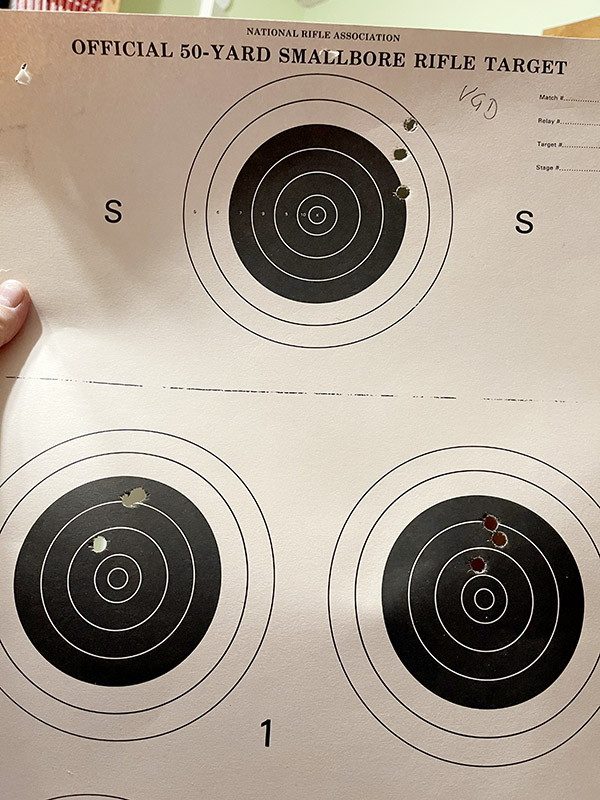
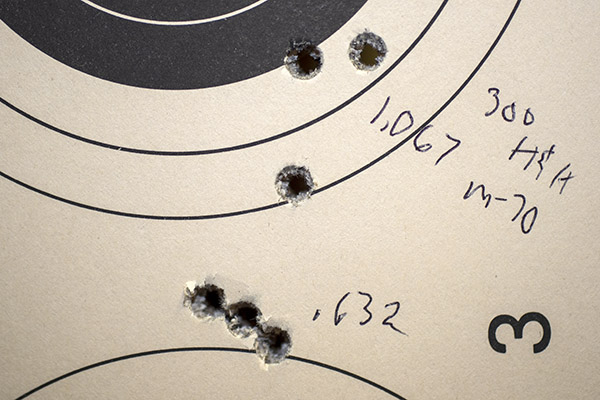
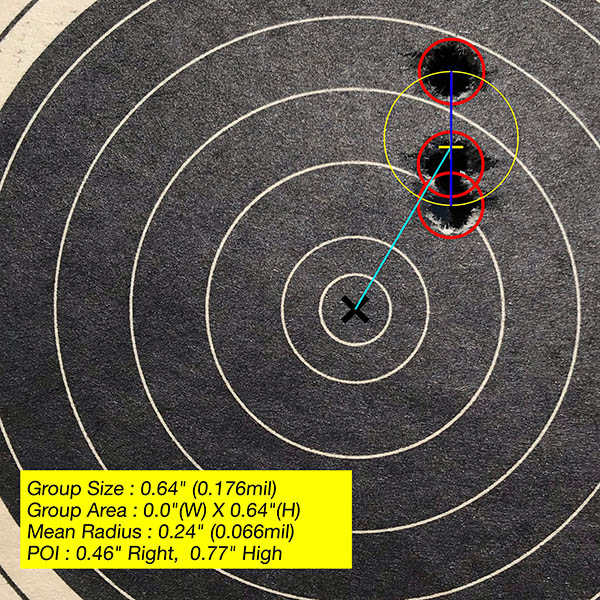
So I reloaded another 12 rounds and before I did so, I sorted the Winchester bullets by cannelure height. I loaded 6 cartridges with bullets that had cannelures at what appeared to be approximately the same location, and I took the bullets I had screened with what were obvious cannelure location differences and loaded 6 more rounds. The next morning I got out early to beat the heat and set up a 100 yard target at the West End Gun Club. I proved my hypothesis: The cannelure height variability was degrading accuracy significantly.
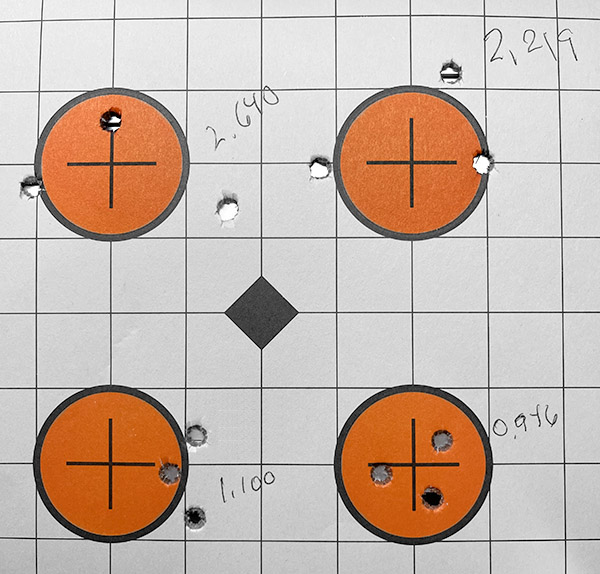
The group sizes for bullets with the same cannelure locations returned minute-of-angle groups; the group sizes for bullets with random cannelure height locations were more than twice the size of the consistent-cannelure-location bullets. Duh. I proved (at least to myself) that this cannelure height location issue is making a difference. I can hypothesize that cannelure location can affect the bullet’s center of gravity, center of pressure, drag, and perhaps other aerodynamic and mass properties characteristics. The bottom line to me is that cannelure location variability plays a big role. Winchester screwed the pooch when they made these bullets, which is a shame. I should also mention that these bullets were not sold as seconds. They were supposed to be good bullets. An old line company with a name like Winchester ought to be making a quality product, but they clearly are not. That notwithstanding, I think I’ll keep the bullets and sort them. I’ll use what I cull out for open sight rifles, or maybe I’ll sell them to a gas station and they can melt them down for wheel weights.
Yeah, I could just send the bullets back. To Winchester’s credit, they were willing to refund what I had paid for the bullets. But they disappointed me, and I have to tell you, I spent a lot of time and money in wasted components trying to shoot good groups with lousy bullets. What I’d really like is a note from Winchester telling me they’ve fixed the problem, and then I’d buy another thousand bullets.
You might wonder: Why not just use Hornady’s comparable 150-grain jacketed soft point bullet? It’s a logical question. I tried that with the same load, and it wasn’t as accurate as the screened Winchester bullets (even though the cannelure location was consistent on the Hornady bullets).
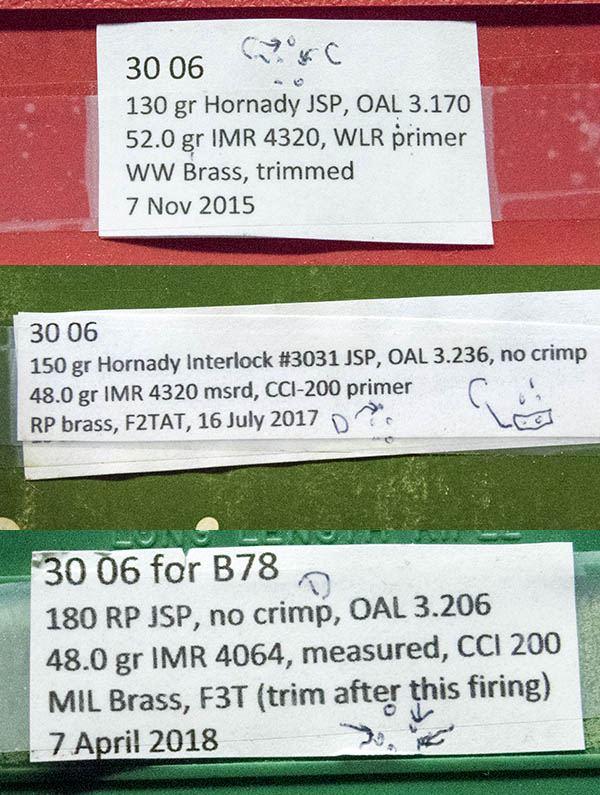
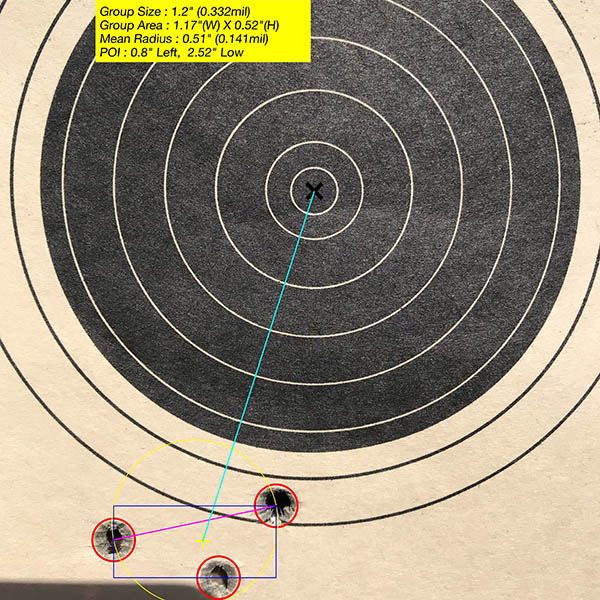
I did find a Hornady bullet and a load that worked well in this rifle, though, and that’s the 130-grain Hornady jacketed soft point bullet with 53.0 grains of IMR 4320 (a max load, so work up to it). It shoots slightly high and to the right compared to the load above. IMR 4320 is no longer in production, but I have a stash and I’ll continue to use it. This load is also extremely accurate in my Ruger No. 1A.
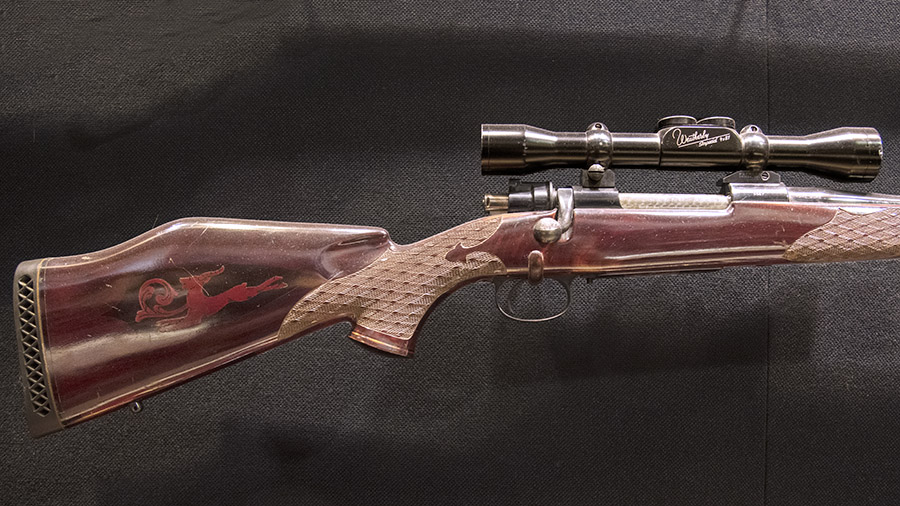
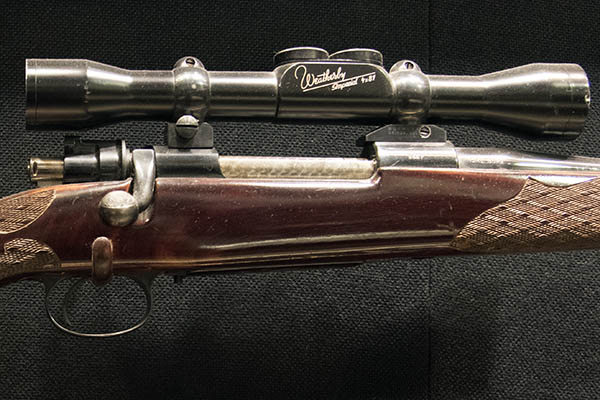
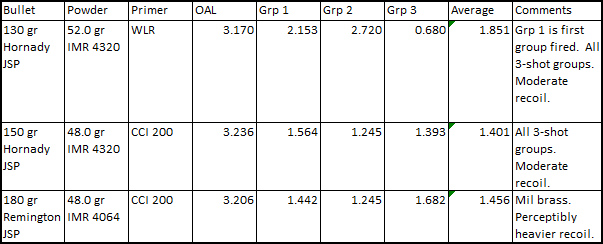
Wondering about the chrono results for the loads described above? Here they are, as shot from my 26-inch barreled Weatherby Mark V:
150-grain Winchester Loads
-
- 150-grain Winchester jacketed soft point bullet, 51.0 grains of IMR 4064, no crimp, cartridge overall length 3.250 inches, Fiocchi large rifle primer, inconsistent bullet height cannelure
- Min velocity: 2861.7 fps
- Avg velocity: 2891.8 fps
- Max velocity: 2909.8 fps
- Extreme spread: 48.1 fps
- Standard deviation: 15.9 fps
-
- 150-grain Winchester jacketed soft point bullet, 51.0 grains of IMR 4064, no crimp, cartridge overall length 3.250 inches, Fiocchi large rifle primer, screened for consistent bullet height cannelure
- Min velocity: 2902.9 fps
- Avg velocity: 2912.5 fps
- Max velocity: 2933.1 fps
- Extreme spread: 30.2 fps
- Standard deviation: 10.0 fps
- 130-grain Hornady Load
-
- Load: 130-grain Hornady jacketed soft point bullet, 53.0 grains of IMR 4320, no crimp, cartridge overall length 3.095 inches, Fiocchi large rifle primer
- Min velocity: 3022.8 fps
- Avg velocity: 3037.2 fps
- Max velocity: 3063.8 fps
- Extreme spread: 40.9 fps
- Standard deviation: 10.9 fps
Never miss an ExNotes blog:
Don’t forget: Visit our advertisers!