
By Joe Berk
This blog outlines the first steps in setting up the Lee Classic Turret Press Kit. Although it’s easy, there are a lot of steps and it’s more than you or I want to cover in a single blog. I’ll present additional blogs covering this topic in the coming days.

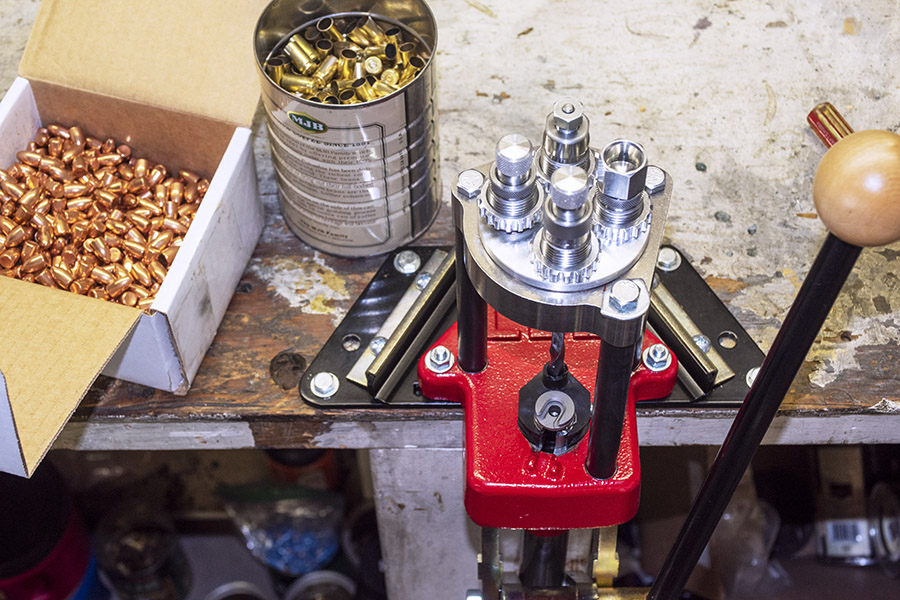
After the turret press has been secured to your reloading bench (you can view the Lee bench plate installation blog here), attach the primer catch tube to the barb fitting beneath the ram.

Lee provides a clear plastic bag containing the hardware items you see below.
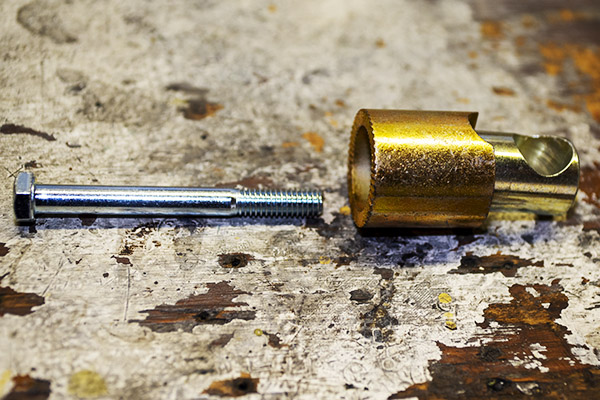
You can install the press handle to operate the press from either the left side or the right side. I installed mine on the right side. To do this, install the bolt from the left side and the two fittings (one goes inside the other) on the right side of the ram linkage.
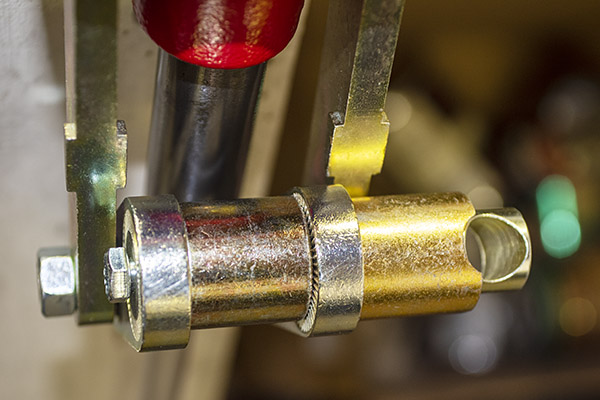
Insert the press handle on through the fitting, and then tighten the bolt.
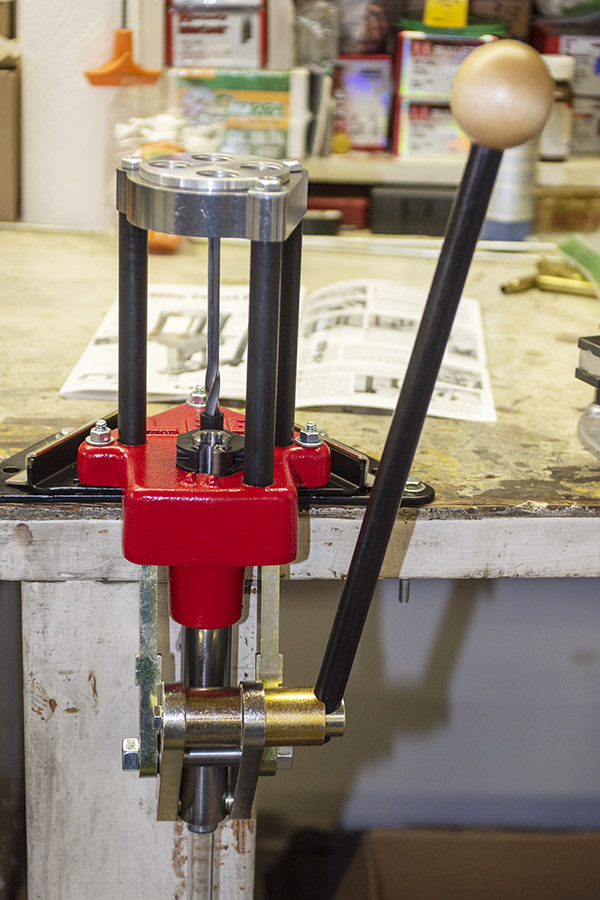
After installing the press handle, you can operate the press to cycle the ram. Each time you do so by raising and the lowering the ram, the turret head will advance a quarter turn (or 90 degrees) counterclockwise. At this point, it’s a good idea to oil the ram, the ram linkage, and the turret. I used gun oil on my press. Lee states in their instructions that any gun oil will do.
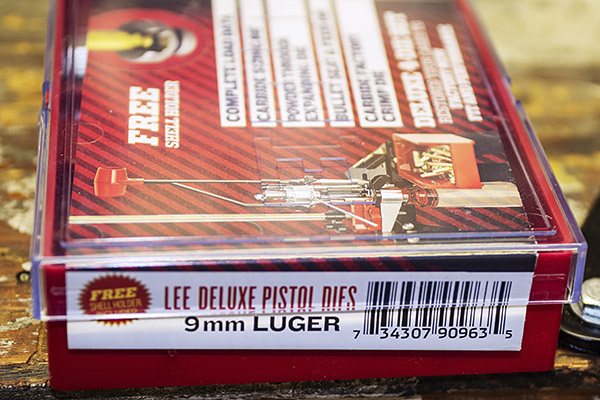
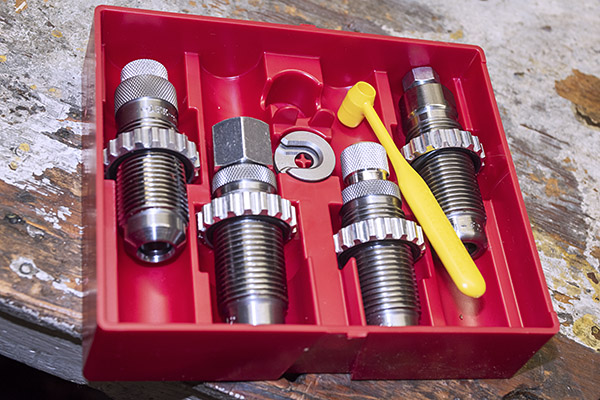
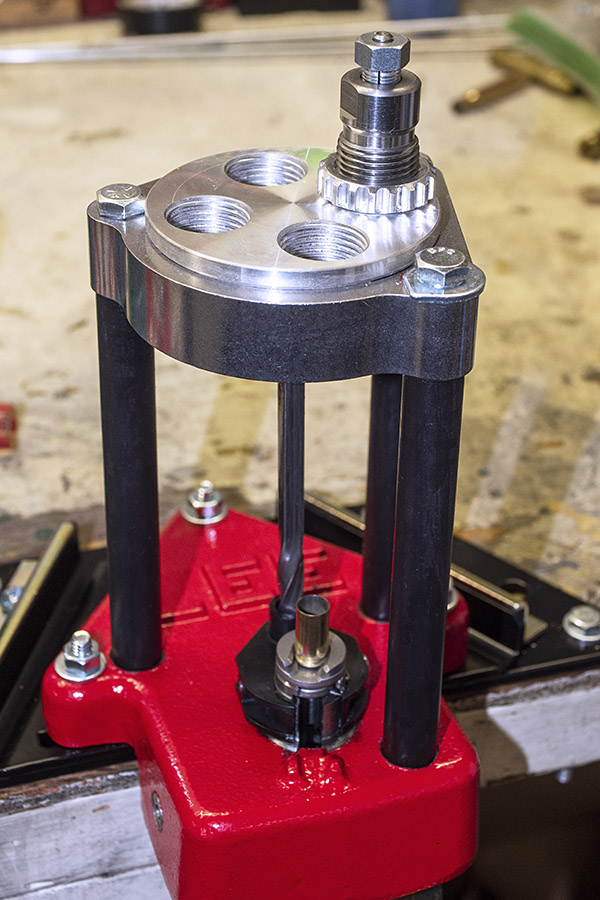
I’m going to initially reload 9mm ammo on my Lee turret press, so the next step involved installing the Lee Deluxe 4-die set in the turret. We’ve previously written about Lee’s Deluxe 4-die sets for other cartridges here on the ExhaustNotes blog (we’ll include a set of links below). In my opinion, they are the best dies available from any reloading equipment supplier.
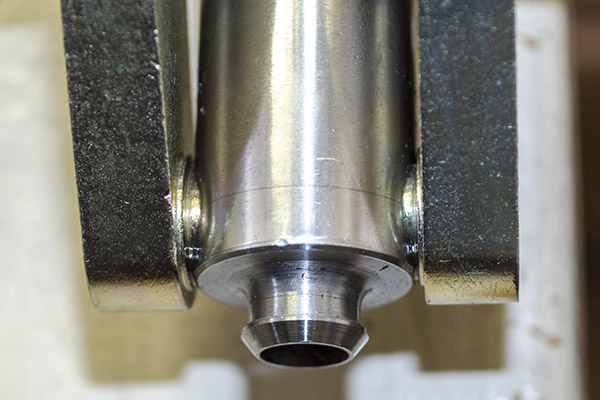
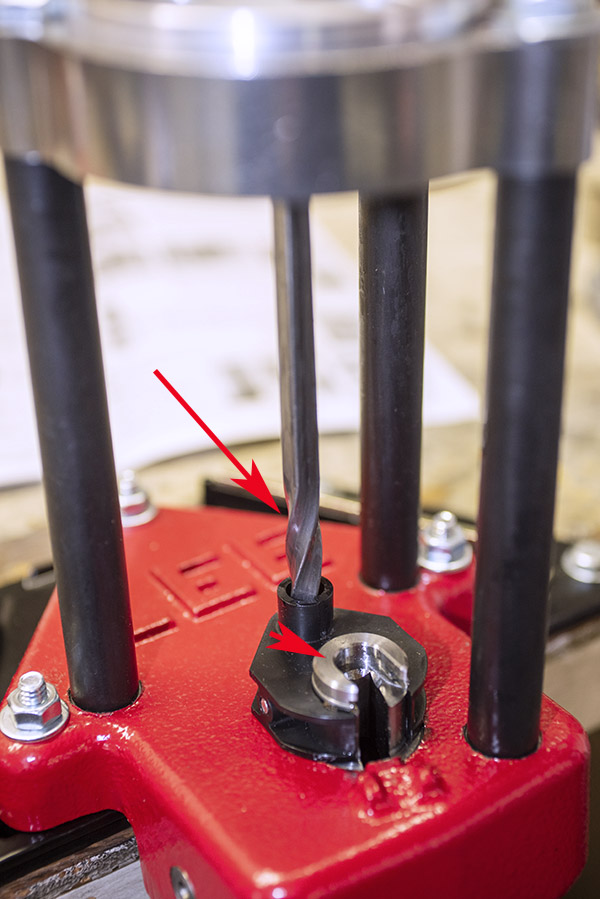
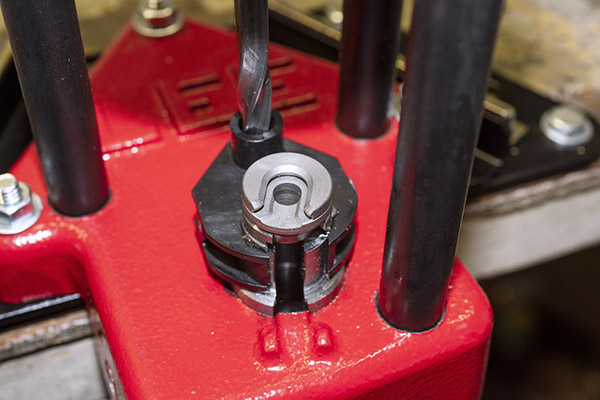
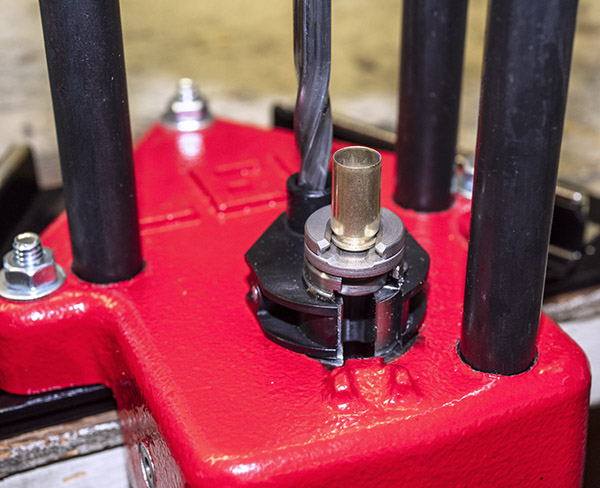
I started by installing the 9mm shell holder in the ram. After installing the shell holder in the ram, I raised the ram all the way up.
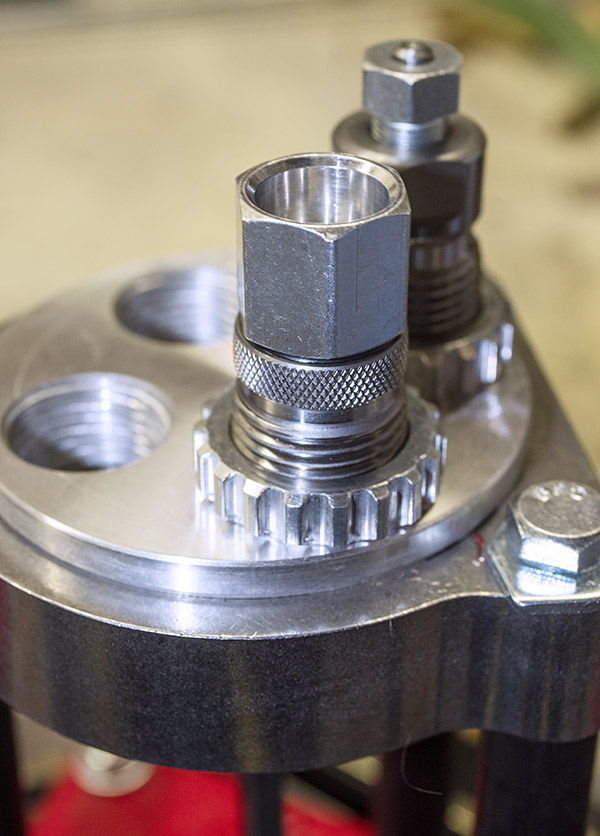
I next installed the the decapper and resizing die in the turret head. With the ram fully raised, I screwed the sizing die into the ram until it contacted the shell holder, and then locked it in place with the locking ring.

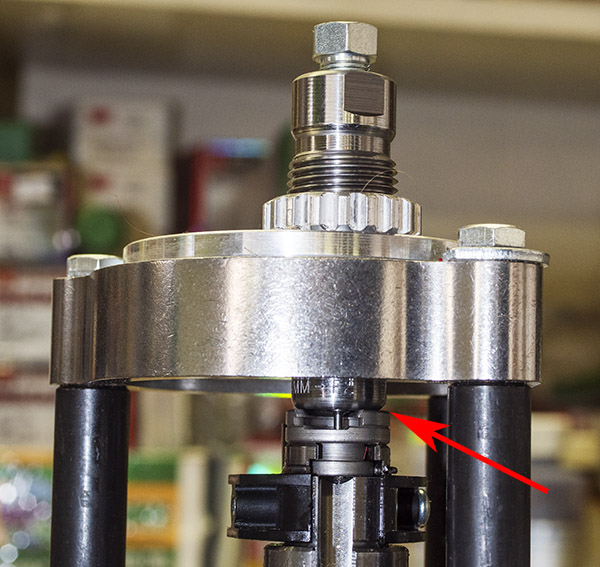
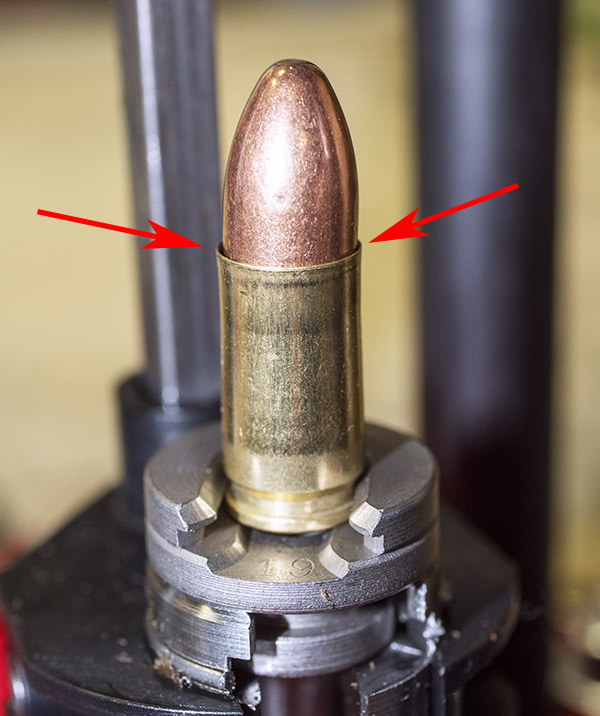
After doing the above, I lowered the ram and inserted a 9mm case in the shell holder. I then partially raised and lowered the ram halfway four times. That rotated the turret to position the sizing die directly above the ram again. You can also turn the ram manually. With the sizing die directly over the ram, I raised the ram fully. The sizing die resized the 9mm case, the old primer was pushed out of the case, and the primer was captured by the tube hanging beneath the ram.
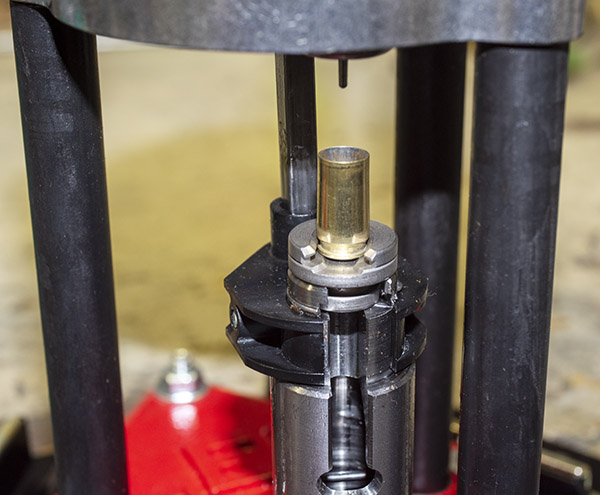
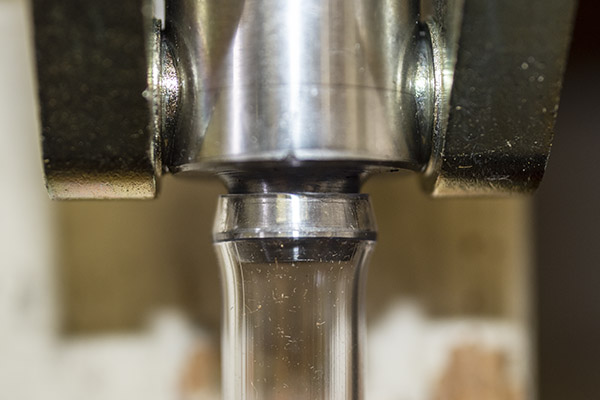
The next die, installed one position to the left of the sizing die, was the expander die. After raising the ram, I screwed it all the way into the turret such that it touched the shell holder, and I locked it in position with its locking ring. I then repeated what I had done earlier. I raised and lowered the ram halfway four times to bring the expander die back over the ram. I put the 9mm case into the shellholder and ran the ram up fully. It flared the case mouth perfectly, just enough to allow starting a 9mm bullet.
I then installed were the last two dies. I installed the bullet seating die by partially screwing it into the turret’s third threaded hole, and then I installed the factory crimp die by partially installing it into the turret’s fourth threaded hole. I didn’t attempt to adjust the bullet seating die or the factory crimp die yet; that will come later and we’ll discuss this in subsequent blogs.
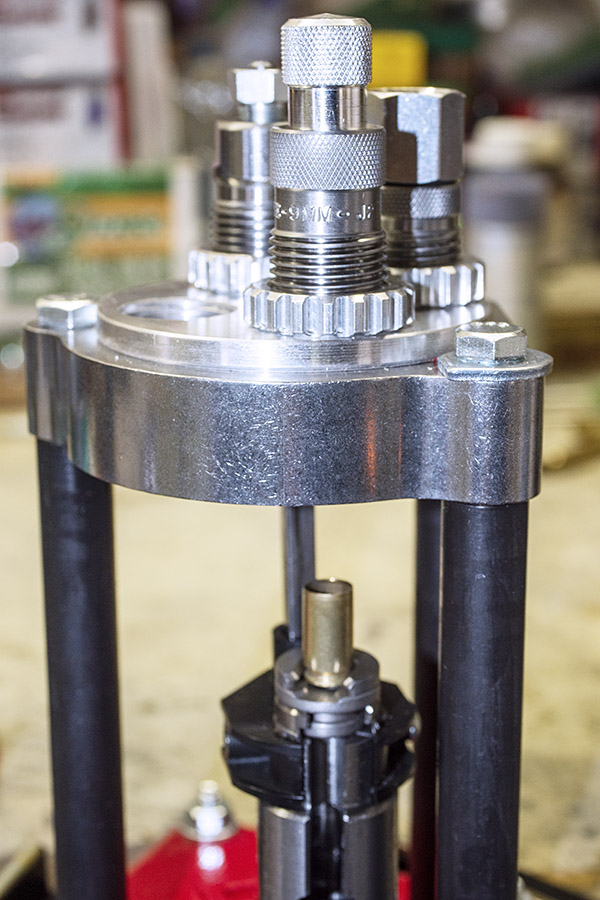
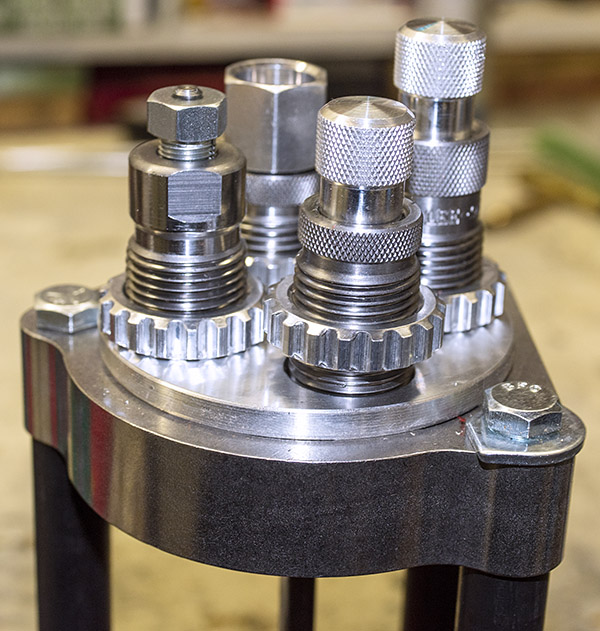
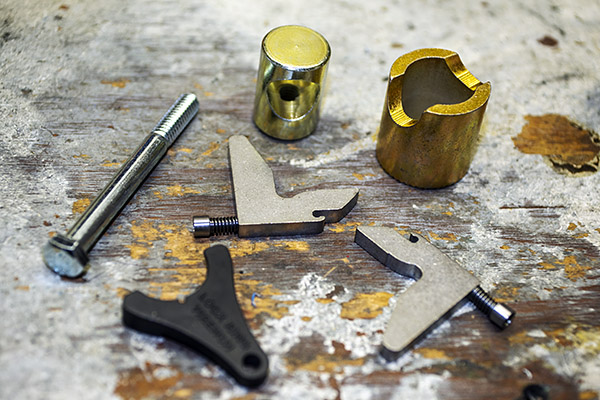
Lee includes two priming arms and a lock ring wrench in the clear plastic bag containing the turret press hardware. You may have noticed that the four dies are right next to each in the turret. The lock ring is a clever tool that makes it a bit easier to tighten the four dies’ lock rings.

Two days from now, I’ll cover installing and adjusting Lee’s auto-drum powder measure, and then after that I’ll have a blog on installing Lee’s safety primer feed. Stay tuned, there’s more coming on this awesome reloader.
Never miss an ExNotes blog:
More reloading and more gun stories? You bet!
Here are links to our earlier blogs on Lee reloading equipment:
Lee Bench Plate
Lee’s Modern Reloading Manual
Lee Safety Powder Scale
Lee Classic Turret Kit Unpacking
Lee .44 Magnum Dies 1
Lee .44 Magnum Dies 2
Lee .44 Magnum Dies 3
Lee .357 Magnum Dies
Joe, I’ve been wondering. What type of rounds do military snipers use? Are they just ‘off the shelf’ military issue? Does the military have a selection within each caliber? Or do they use their own custom blend?
A good question, Marcus. I don’t know the answer. Perhaps another reader can weigh in.
Perhaps another interesting topic? I’d ask around but I don’t personally know any snipers and my one Vietnam friend who may know has sadly passed.