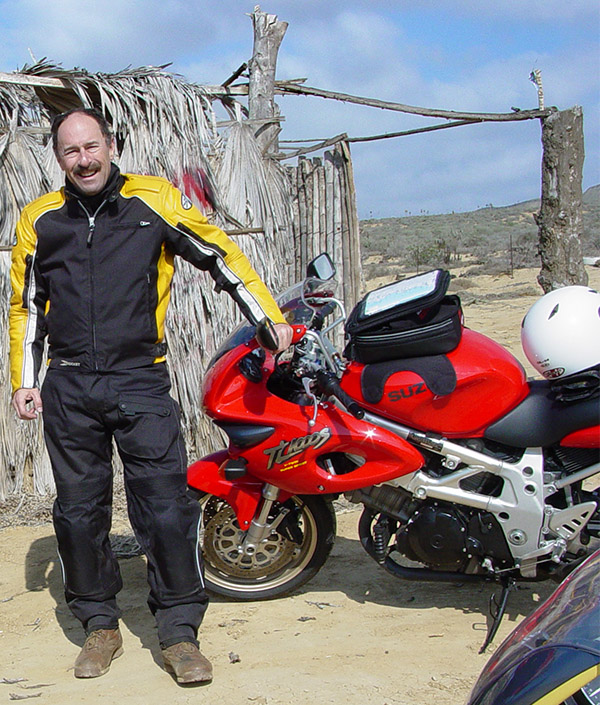
By Mike Huber
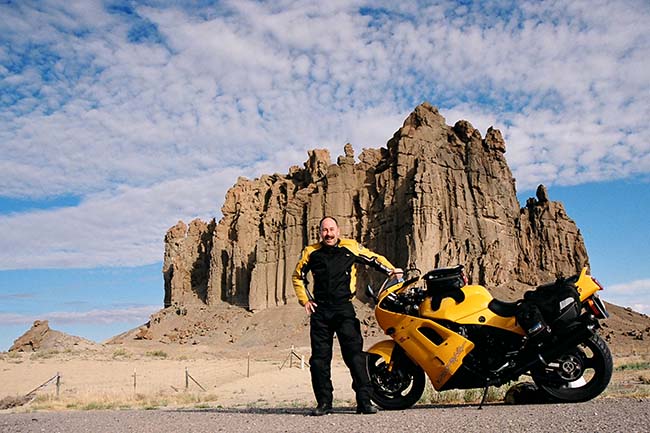
As an avid motorcyclist it’s easy to appreciate the beauty in each state and for many riders discovering amazing roads that many would overlook can become second nature to us. Some might even say it’s an art form. Throughout this vast and beautiful country called the United States of America we are fortunate enough to have a plethora of both paved and dirt roads that are meant to be sought out like the Ark of the Covenant. These roads are meant to be experienced intimately the only way they can be, on two wheels. Experiencing them on a motorcycle can become a thirst that is never quenched, and although each state has its own unique characteristics, ultimately some will stand out more than others. One state that has that effect for me is Colorado.
Colorado is one of those states that as soon as you ride past the “Welcome to Colorful Colorado” sign the roads seem to present themselves to you like a feast on a golden platter with an endless amount of wine. The rides we will review can each be completed in one or two days and are best ridden between late April and early October. To help with prioritization since there are so many incredible rides we have developed a very complex mathematical rating system of 1 to 5 wheelies (5 being the highest). The rating uses the following criteria:
-
- Road conditions
- Diversity of riding options
- Activities along the route
- Abilities to disperse camp/hotel access
- Scenery
Route 550: The Million Dollar Highway
Rated 5 Wheelies
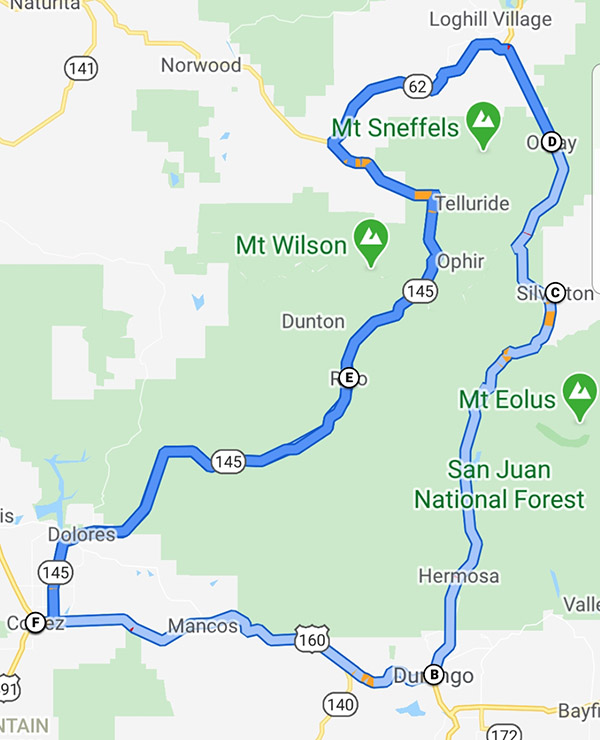
Road Description. This loop may be one of the greatest roads in all of North America. The road is paved and in immaculate condition. It combines some of the tightest switchbacks one can expect to experience on a motorcycle. The full route per the map is ~355 miles and can be done in 1 day, but highly recommend taking at least 2-4 to fully experience and immerse yourself in this beautiful part of the country. There are endless forest roads off 550 to get your fill of dirt riding littered with an infinite amount of beautiful dispersed campsites. Also some wonderful old mining towns rich with history, hiking, restaurants, hotels, and hot springs.
Points of Interest. There’s no shortage of amazing places to stop along this road. Below is a small list of the places you should not miss along this route.
-
- Silverton is a great little mining town with wonderful people. It’s a perfect place to load up on supplies if you are camping. You can warm up after getting some miles in at the Brown Bear Café.
- Ouray is a beautiful mountain town with several hikes to waterfalls, hot springs, and some wonderful restaurants. My favorite is the Ouray Brewery.
- Rico is a really tiny town which consists of a great hotel and bar called the Enterprise Bar and Grill, with wonderful people, great food and cold beer.
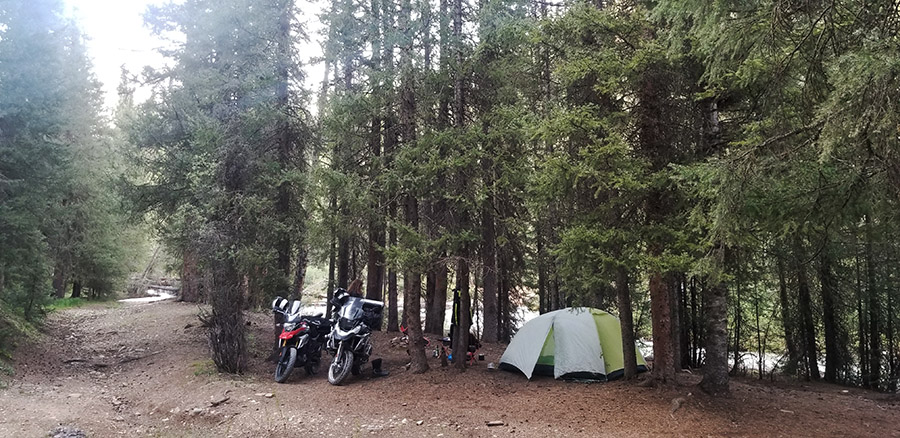
Where to Stay/Camp. There is an immense amount of national forest land that can be used to camp on along this loop. Really any dirt road you ride down will guide you to an epic campsite next to a creek. This makes for a relaxing post ride time to wind down in a hammock, while having a refreshing beverage. The towns of Silverton and Ouray have several hotels that are right in the heart of the town and a short walk to tourist activities and restaurants.
Off-Roading. There is an endless amount of dirt roads to find here, this goes from flat well-groomed forest roads to find a campsite to the technical challenging mountain passes like Engineer or Imogene Pass (which I have not done due to the size of my GS1200 and conservative riding style).
Out of so many outstanding rides in the state of Colorado, the Million Dollar Highway should be on the top of any list. This road and area really earn that 5 Wheelie rating due to exceeding each standard for riders of all ability levels. There are so many sights to see along this route that you will never tire of absorbing the beauty that surrounds you in this part of the state. If you are fortunate enough to have the time, doing the loop in reverse can be a great way to add a few more days to your adventure.
Mesa Verde National Park
Rated 5 Wheelies
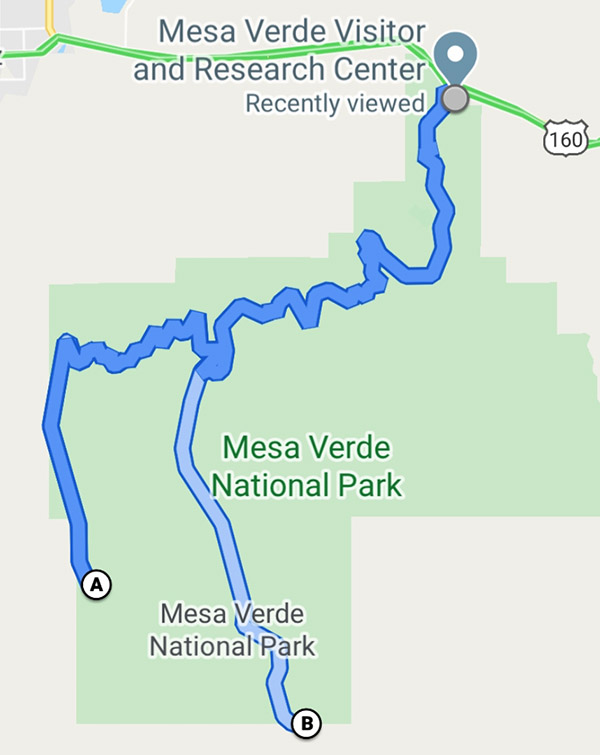
Road Description. As soon as you enter Mesa Verde National Park the road begins screaming up in elevation with some incredible views overlooking the valley below you will almost have a sense of vertigo overcome you. What is wonderful about this feeling as it goes on and on as you travel through the park. Although the distance from the park entrance to the furthest point is only 28 miles, those miles are filled with numerous overlooks and pullouts that can make this seemingly short ride take 2-3 days. This is especially true if you are taking in the hikes along the way. The only piece of concern for this ride is the numerous road snakes in some areas of this ride. Otherwise its full enjoyment as you have a 360 view of the valleys below that outstretch clear into Utah, New Mexico, and Arizona.
Points of Interest. Since this is a National Park there are ample amounts of short hikes and tours to break up the day(s) you spend in this magical location. A few of the more popular ones are outlined below:
-
- The Cliff Palace requires purchasing a tour ticket at Park Visitor Center, but even without one you can walk to the overlook to get a spectacular view of the houses the Hopi built into the cliffs which are all but hidden except from this vantage point.
- The Balcony House also requires a tour ticket but is well worth it as you can walk through the ruins and really get a sense of the
- The Knife’s Edge Hike is a great 2-mile hike with little elevation next to Morefield Campground that has incredible sunset views, which enable the rocks to really light up and glow.
Where to Stay/Camp. Morefield Campground- This is the only campground in the park so making reservations ahead of time is recommended. It is one of the better National Park campgrounds I have stayed at and includes free showers, great Wi-Fi from most campsites (antennas are off the bathrooms), and a launderette, gas, and fully stocked store for all your camping and souvenir needs. There are also several wonderful hiking trails right next to the campground.
Off-Roading. This is one of the drawbacks of a National Park, as there is no off-roading permitted within the park boundaries. The beauty and activities from hiking and riding makes up for this shortcoming.
Route 65: Grand Mesa Scenic Byway
Rated 5 Wheelies
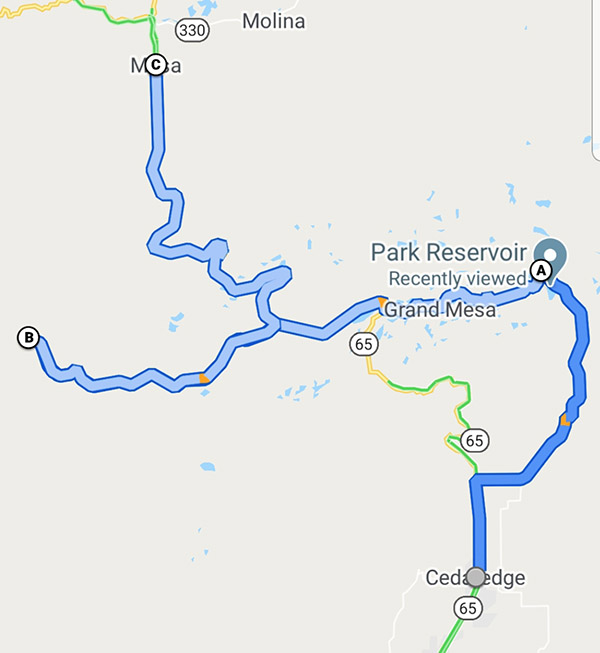
Road Description. Yet another beautiful Colorado mountain road filled with switchbacks that rise in elevation and bring you to over 10,000 feet up and onto the World’s largest Mesa. There are several pullouts along this route to take in the views, but no gas stations from Cedaredge to Mesa (50 miles, but can be close to 100 miles if you are doing the off-road portion) plan accordingly.
Points of Interest. The main point of interest the mesa itself and the amazing views, alpine lakes, dispersed camping, and off-roading.
Where to Stay/Camp. Dispersed camping is plentiful along Rte125 where you can get a lakeside campsite with little issue and make it your own paradise for the evening as you watch the sunset glistening off one of the many alpine lakes. There are also plenty of campgrounds along this way if you are looking for less primitive camping. Hotels are scattered along this route in the towns of Delta, Mesa, or driving to up Grand Junction for a greater variety of lodging.
Off-Roading. Route 125 Surface Creek Road is a great 15-mile loop. This road has you experience the mesa while passing crystal clear alpine lakes with numerous dispersed camping areas. There is also a 10-mile dirt road in great condition to visit the Lands’ End Observatory. The views off the mesa looking down on the plateau can allow you to see into Utah on a clear day with awe inspiring views.
Route 141: Grand Junction to Naturita
Rated 4.5 Wheelies
Road Description. This is a low elevation beautifully paved road that is 105 miles long. This road will have you leaning your ride until you feel the mist kissing your windshield from Dolores River as you pass amazing rust colored mesas that stretch into the sky and rival that of Monument Valley. The road has very little traffic which will allow you to enjoy some solitude as you embrace the scenery you ride through. The only reason this route is rated as 4.5 is the lack of amenities.
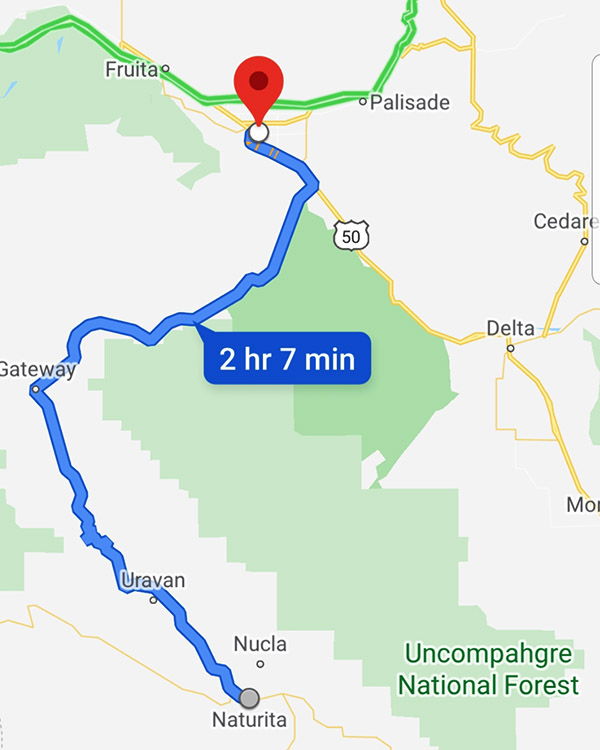
Points of Interest. This road is in quite a desolate area, outside the tiny town of Gateway. Gateway Canyons General Store is owned and run by the preacher of the church next door to it. This is the only place to gas up between Grand Junction and Naturita so be sure to check your fuel levels.
Where to Stay/Camp. Dispersed camping here is plentiful but mainly in one area just south of Grand Junction, Divide Road. This road is a steep switchback dirt road that connects to numerous other roads which are great fun exploring for campsites to settle down in. There are numerous dispersed sites with beautiful views over the canyon in which you can see the Dolores River running far beneath you.
Off-Roading. Divide Road also encompasses numerous off-roading opportunities that sprawl out across this mesa. This is a perfect place to explore for that unique dispersed campsite while hitting some fun dirt to enhance your day. There are however areas of slippery clay, so if it is raining it can become slick in portions of this road.
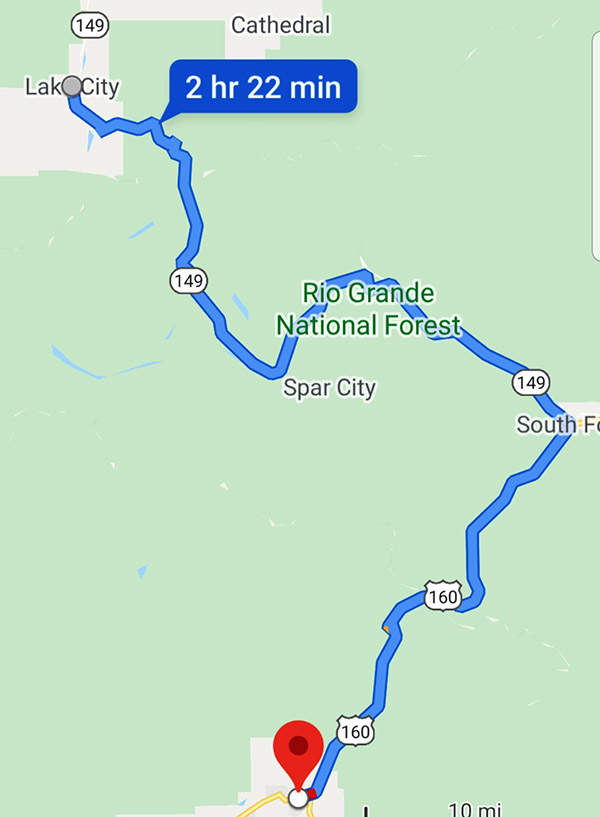
Routes 160 and 149: Pagosa Springs to Lake City
Rated 4 Wheelies
Road Description. This route consists of 45 miles of a four-lane highway on Route 160 that will have you summit at over 10,000 feet. The road will then drop you into South Fork, Colorado. This is where you will turn left onto Route 149. Route 149 will quickly whittle down to a tighter and quieter road for the next 75 miles, which are filled with mountain passes. South Fork is the only town between these areas so make sure you gas up and grab lunch before heading onto the second part of this amazing road. The next portion will have you speeding across lower elevation prairies and then climbing high into the mountain tundra that will resemble something from another planet before descending into Lake City.
Points of Interest. I specifically wanted this trip to begin (or end) in Pagosa Springs so you have an opportunity to experience the hot springs in Pagosa.
Where to Stay/Camp. Throughout the ride there is no shortage of camping in both dispersed and paid locations. In Pagosa there are numerous hotels. I prefer the hotel directly across the street from the spa as it is much more affordable then the spa and in a great location. For Lake City, the Matterhorn is a beautiful Swiss style motel which will allow you a solid night’s sleep at a great price. It’s a perfect spot to recharge if you are going to take on some of the more challenging off-road portions in Colorado the following day.
Off-Roading. Lake City is the starting point for some of the more serious off-roading mountain passes, such as a few of the most popular passes including Cinnamon and Engineer. Both of these passes surpass 12,000 feet. If you crave technical off-roading challenges with views that can’t be beat, these are the two passes I recommend.
Conclusions
Southern Colorado is a rider’s paradise, and a region that should not be missed for riders of all experience levels. Other avid motorcyclists have also recommended these roads to me, which reinforces my approval for these routes and motivated me to write this comprehensive layout to help others. I hope this breakout has been helpful and serves as a reason to visit Southern Colorado and have the riding experience of a lifetime.
Never miss an ExNotes blog:
Don’t forget: Visit our advertisers!


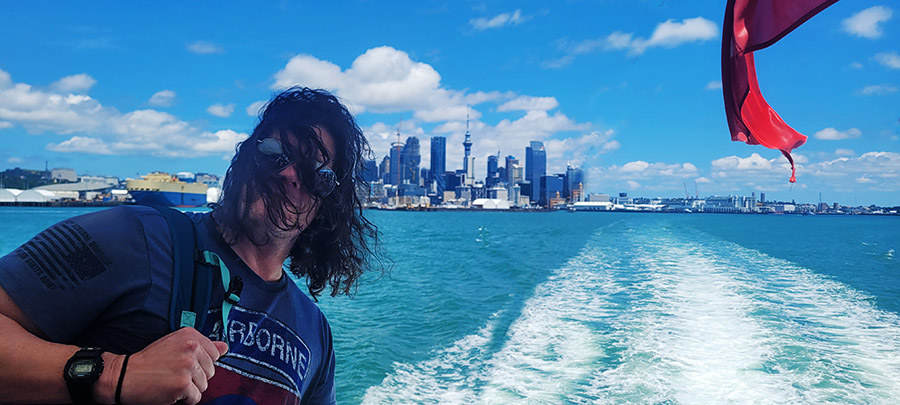
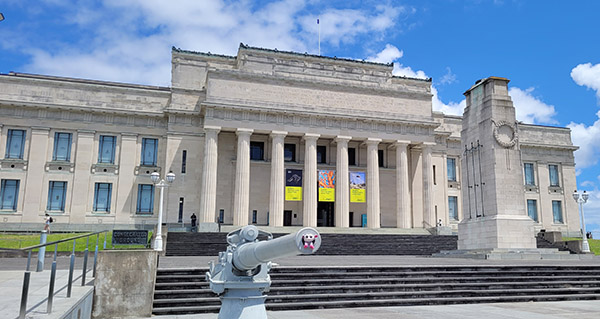
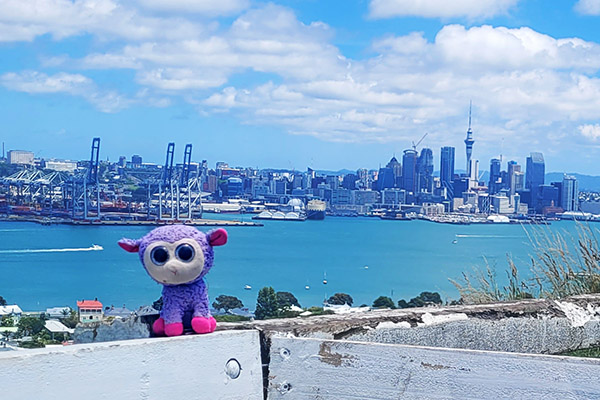 Arriving at my hotel around 11:00 a.m. I knew it was way too early to check in and for some reason I had a lot of energy. I found a local island on a map and saw ferries frequented it. What a great way to spend my first day. The island was like a little Martha’s Vineyard with shops, restaurants and bars. It also had a short hike up to the highest point on the island, Mt. Victoria. The hike got my legs moving again after my long flight. Once I began feeling tired I ferried back to Auckland. Upon disembarking the ferry I was starting to feel a bit tired so I thought taking one of those Lime Scooters would be a great idea. Well, I now know how I am going to die. It will be on a Lime Scooter. Not only was I starting to fade fast but the traffic drives on opposite the side of the road. Fortunately for me people are super nice here and I didn’t hear one F-Bomb as I clumsily navigated my way back to the hotel on the scooter. I was asleep within an hour. What a cool first day in New Zealand.