Motorcycles, Scooters, Guns, Adventures, Opinions, and More
Lee’s .303 British Ultimate 4-Die Set: Part 2 of 3
By Joe Berk
In Part 1 of this three-part series on using Lee Precision dies to reload the .303 British cartridge, we covered resizing, decapping, full-length resizing, neck sizing, and flaring the case mouth. Part 2 continues the reloading process.
The next step for me (after the brass is resized and flared) is case cleaning. I use a Frankford Arsenal vibratory polisher. I’ll drop the brass in it and do other things for an hour or so as the brass is polished.
Resized cases in the Frankford Arsenal vibratory polisher. The media is made from corn cobs. I add Dillon’s polishing liquid to it prior to starting the polisher.Finished brass. I like it to be clean and well polished both for aesthetics and for accuracy. When the inside of the case neck is polished, it is free of any lubricant from the resizing operation, and case neck grip (or tension) will be consistent from round to round. Case neck tension variability will increase group size.
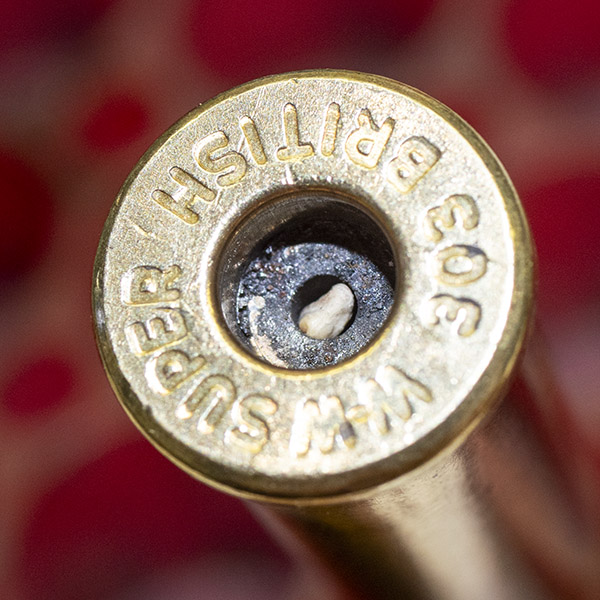
After the brass comes out of the polisher, I inspect each one to make sure there are not bits of the polishing media stuck in the primer hole. I’ve never tested to determine if this would interfere with the round firing or if it would cause a flyer, but it’s not the sort of thing that would help.
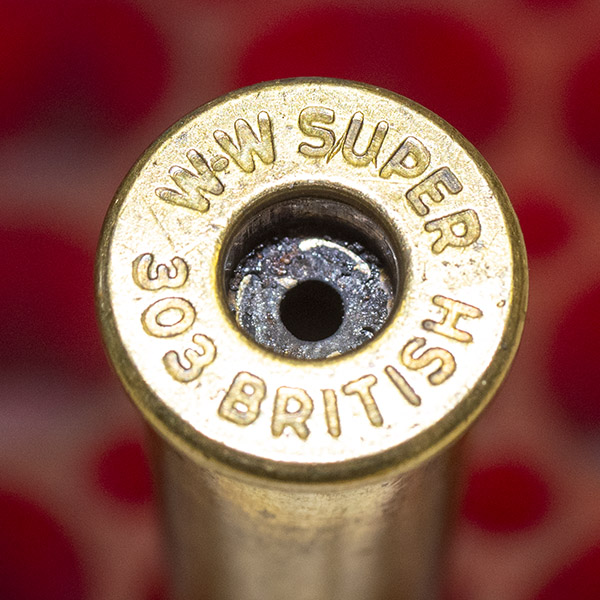
A primer hole with a bit of media stuck in it. Usually about 10% of the cases have media stuck in the primer hole after polishing. I push it out with a dental pick.A cartridge case with a clean primer hole (i.e., with no media stuck in the primer hole).
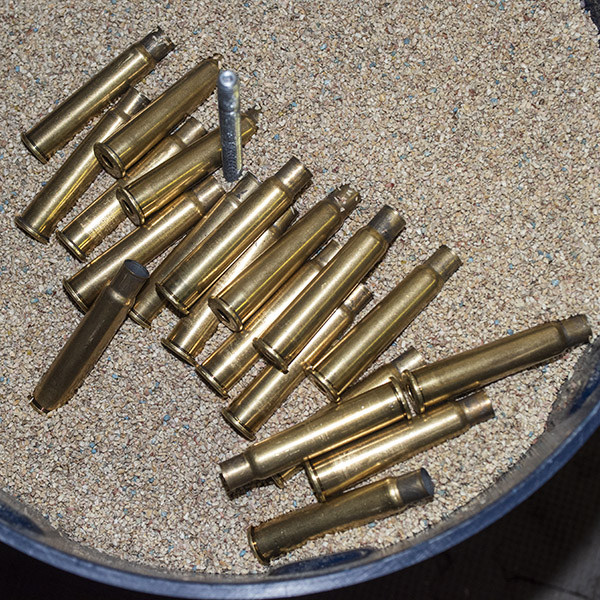
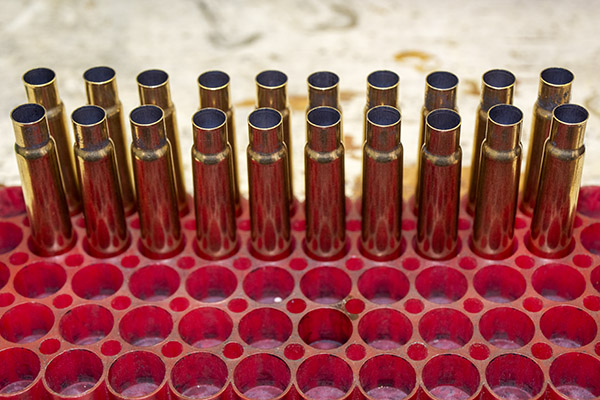
When all the cases are completely free of media and all the primer holes are clear, I’ll set them in a reloading tray, as you see below.
Twenty polished cases ready to be primed.
Next, I’ll prime the brass. There are a lot of tools available to do this. I use a Lee Auto Prime, an item that I bought a good 50 years ago. Remember that I mentioned that Lee gear is good? Lee no longer makes this item (I can’t tell you why) but they do have other priming devices available today. For me, this one just keeps on working, and I like how it works. It consists of three groups of parts: The primer tray and feed system, the case holder/primer seater assembly (it installs above the reloading press), and the ram that installs on the press ram.
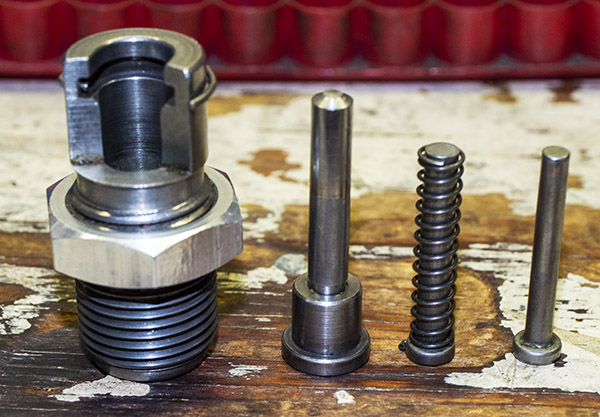
An old Lee Auto Prime, still in its original box. The two feed chutes on either side of the primer tray are used for either large or small primers. The primer seating assembly components are in the plastic container at the photo’s bottom.Lee Auto Prime components. From left to right: The die body, the priming ram, the two primer rods (one for small primers, the other for large primers), and the spring. The spring goes over priming rod selected for use (as shown here, the large primer rod). The priming ram is installed on the reloading press’s ram where the shell holder would normally be. One of the priming rods, with a spring over it, goes into the die body (see photo below).
I install the case holder/primer seater assembly on top of the ram, then I remove the shell holder on the reloading press ram and install the primer ram on top of the ram, and then I load the primer tray and feed chute.
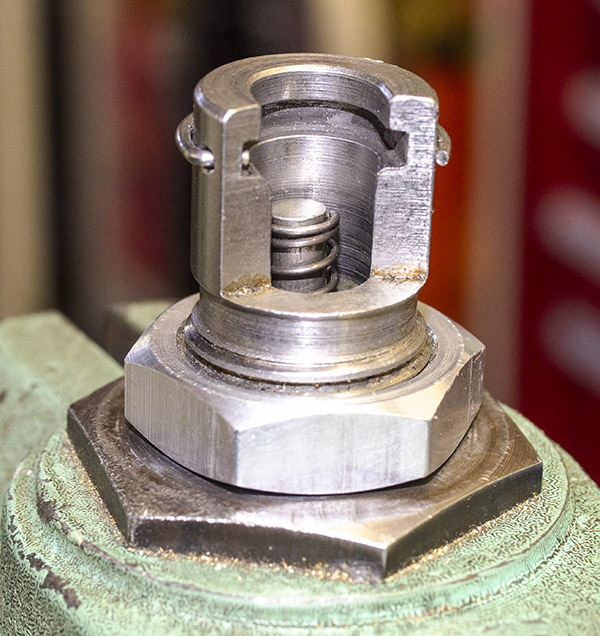
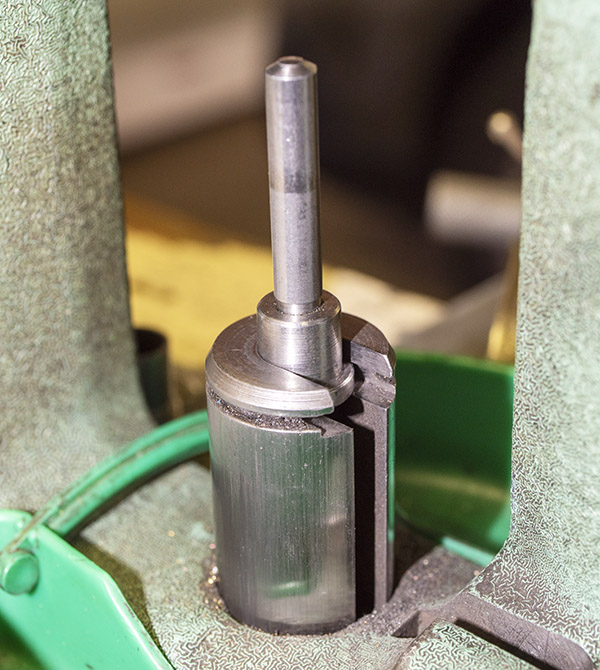
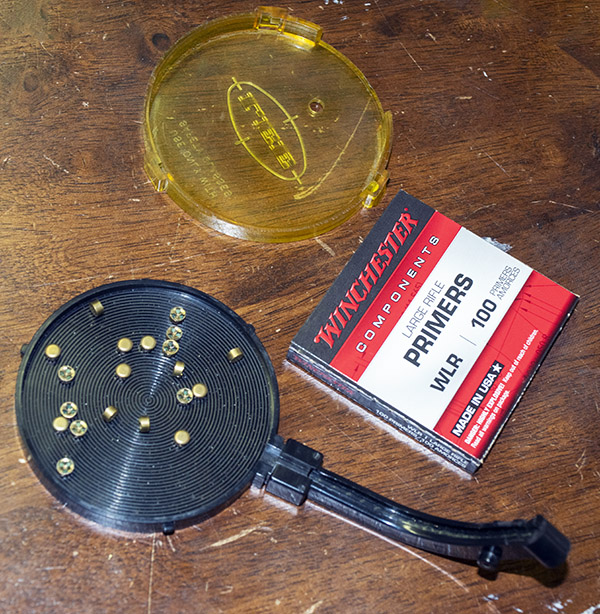
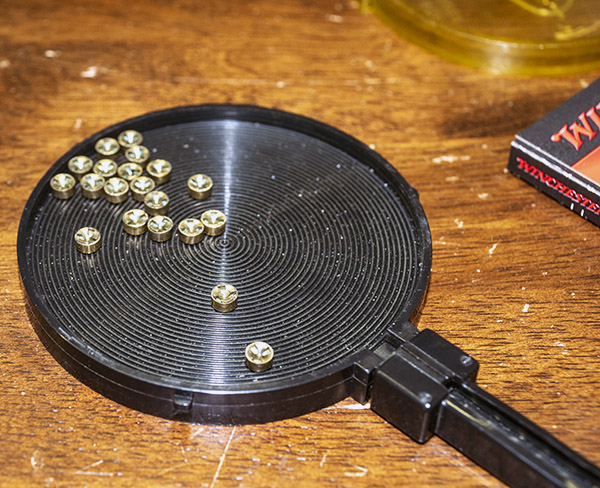
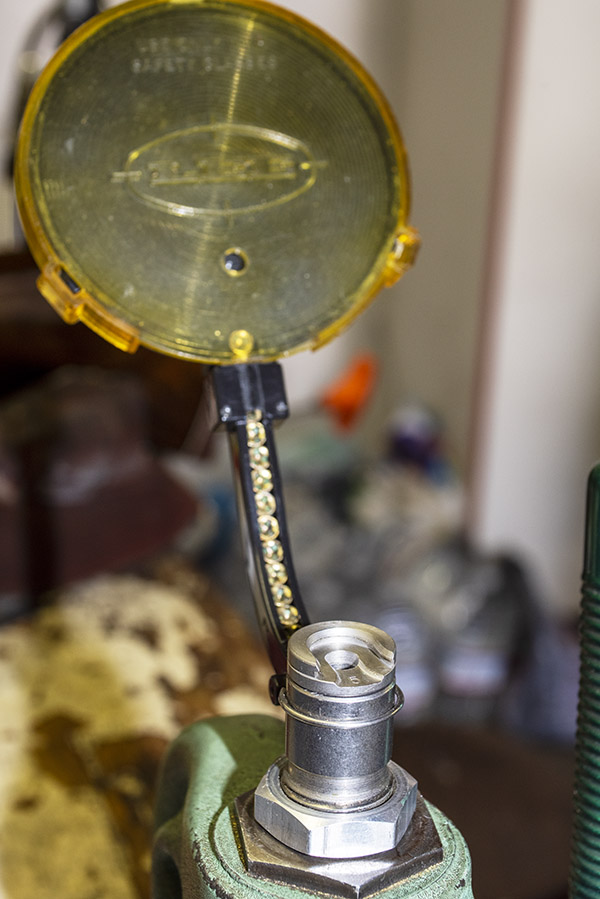
The Lee Auto Prime die body installed in the reloading press, with the priming rod and spring in place. The primer chute will go over the priming rod and spring, and the shell holder snaps into the die body over the priming rod and spring.The Auto Prime ram installed on the reloading press ram. It fits into the ram where the shell holder is normally installed.The primer chute installed on the primer tray, with 20 primers dropped onto the tray. Note that some primers are facing up, some are facing down, and some are on their sides.The tiny concentric ridges in the primer tray help to flip all primers such that they face up. By gently shaking the tray from side to side, all primers orient themselves to face up. If you shake too aggressively, you’ll drop some of the primers out of the tray. It sounds more complicated than it actually is, and after doing it once, you’ll get a feel for how much “shake” is needed.After getting all the primers into a face up orientation, I put the primer tray cover on the primer tray, and then use a toothpick or the previously-mentioned dental pick to obstruct the primer chute at the primer tray. Then, I’ll place the bottom end of the primer chute in the die body. Finally, I’ll slide the shell holder into the die body and remove the obstruction from the primer tray. The primers will slide down into the chute and the first primer will be in position over the priming rod.
Once the above is complete, I prime each case. I insert each case into the shell holder, and then gently run the press’s ram up. Doing so seats the primer. The beauty of this approach is you can feel each primer being seated, and the power of the ram makes sure each primer is fully seated. When the case is primed, I remove it and the primers in the chute slide down, forcing a new primer into position above the priming rod. I’ll repeat the process until all the cases have their primers seated.
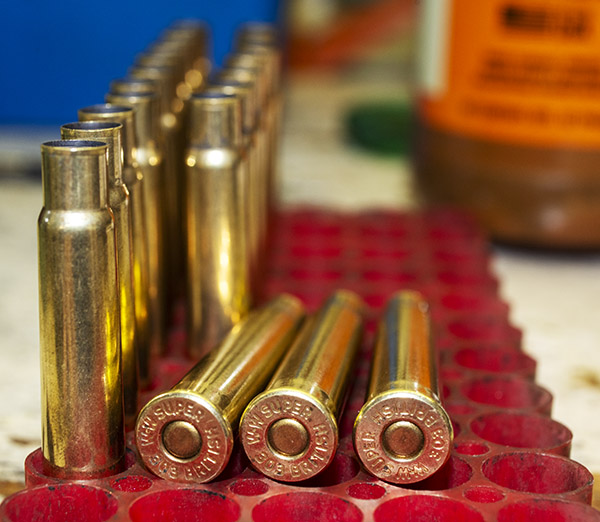
Primed cases, ready to continue the reloading process.
After the above is complete, I’ll have a tray full of cases ready to be charged with propellant. We’ll cover that in Part 3.